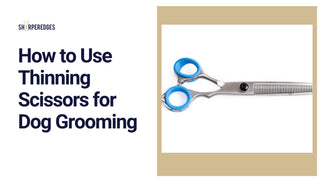
If you want to keep your dog’s coat looking neat without taking off too much hair, thinning shears are your best friend. But using them the wrong way can leave your dog’s fur uneven or patchy.
You’ll discover simple, step-by-step tips to use thinning shears like a pro. Whether you’re a pet owner or a beginner groomer, you’ll learn how to create a natural, smooth finish that makes your dog look and feel great. Ready to give your furry friend a stylish, comfortable trim?
Keep reading to unlock the secrets of thinning shears!
Choosing The Right Thinning Shears
Thinning shears help groom dogs by removing bulk without cutting too much hair. Picking the right shears makes grooming easier and safer for your dog.
Good thinning shears fit well in your hand and match your dog’s coat type. Knowing the types and features helps you choose the best tool.
Types Of Thinning Shears
Thinning shears come in different styles for specific grooming needs. Some have teeth on both blades, while others have teeth on only one blade.
Double-tooth shears remove less hair and blend coats smoothly. Single-tooth shears remove more hair and are good for heavy thinning.
- Double-tooth shears: gentle thinning, good for fine coats
- Single-tooth shears: more hair removal, for thick coats
- Chunking shears: remove large amounts quickly, not for detailed work
Blade Sizes And Teeth Count
Blade size affects how much hair the shears cut at once. Teeth count controls how much hair is removed with each cut.
More teeth mean finer thinning and blending. Fewer teeth remove thicker sections of hair fast but less precisely.
| Blade Size | Teeth Count | Use |
|---|---|---|
| 5.5 to 6 inches | 20-30 teeth | Fine thinning and blending |
| 6 to 7 inches | 15-20 teeth | General thinning for most coats |
| 7 to 8 inches | 10-15 teeth | Heavy thinning and chunking |
Material And Quality Considerations
Shears made from high-quality steel last longer and stay sharp. Stainless steel resists rust, which is important for pet grooming tools.
Look for shears with smooth, sharp blades and comfortable handles. Good quality shears reduce hand fatigue and give better results.
- Stainless steel blades resist rust and corrosion
- High-carbon steel stays sharp longer
- Ergonomic handles reduce hand strain
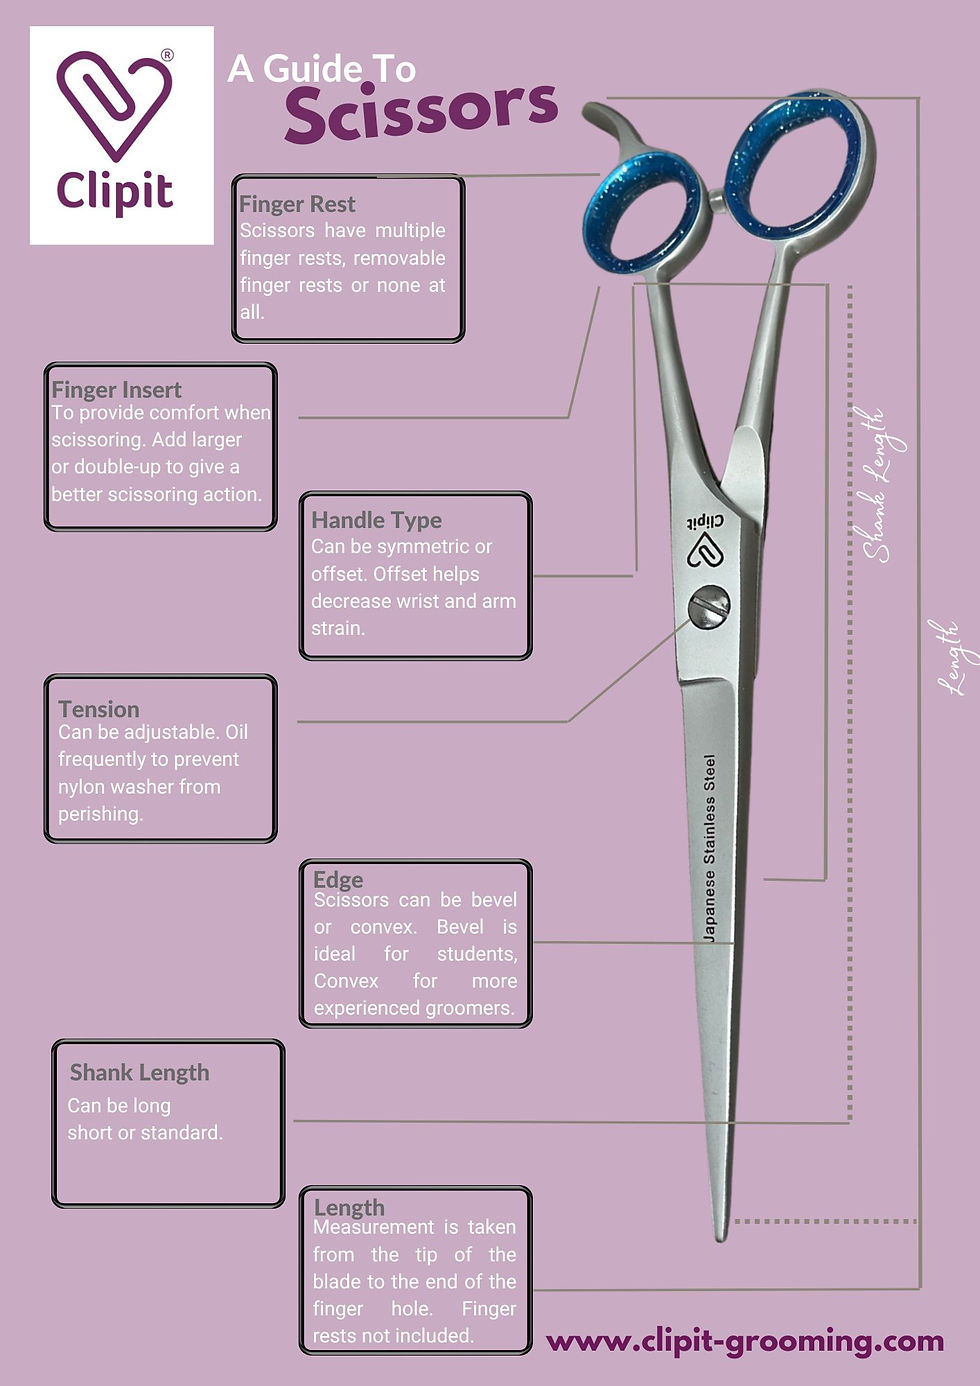
- Adjustable tension screw for smooth cutting
Preparing Your Dog For Grooming
Getting your dog ready for grooming helps make the process easier. A calm, clean dog is safer to trim with thinning shears. Take time to prepare your dog before you start.
Focus on bathing, brushing, and calming your dog. These steps keep the coat healthy and the dog relaxed. Each step builds a better grooming experience.
Bathing And Drying
Bathing removes dirt and loose hair. Use a dog shampoo that fits your dog’s skin type. Rinse well to avoid irritation. Dry your dog fully before cutting.
- Use lukewarm water for the bath.
- Massage shampoo gently into the coat.
- Rinse thoroughly to remove all soap.
- Towel dry first to remove excess water.
- Use a blow dryer on low heat if your dog allows it.
Brushing And Detangling
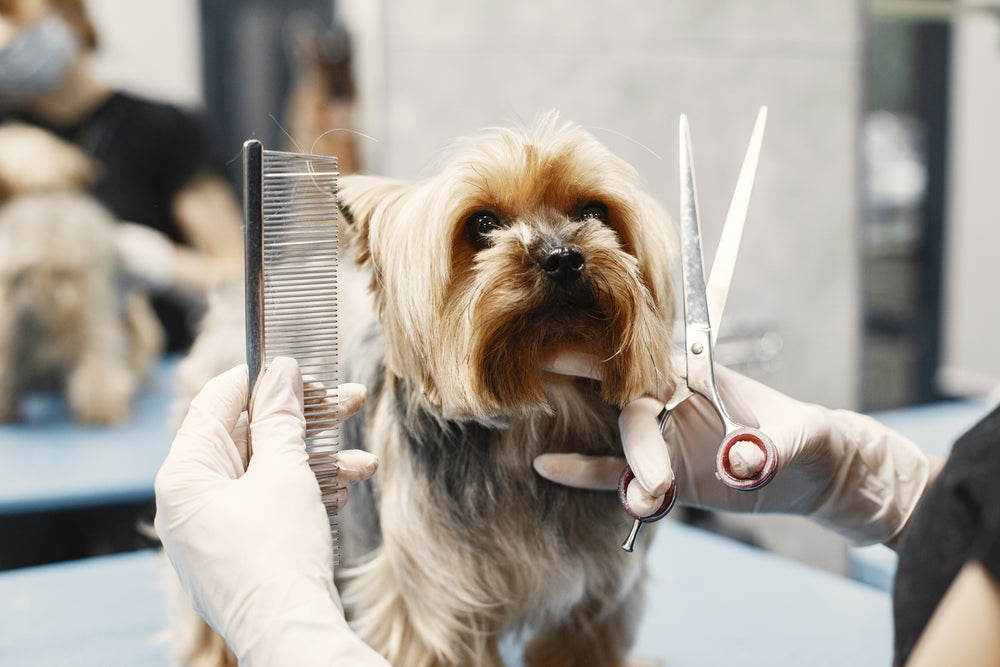
Brush your dog’s coat to remove tangles and loose hair. Detangling helps thinning shears cut smoothly and prevents pulling hair. Be patient and gentle during this step.
| Brush Type | Use For |
| Pin Brush | Long or curly coats |
| Slicker Brush | Removing mats and loose hair |
| Comb | Fine detangling and smoothing |
Calming Your Dog
Calm dogs stay still and feel safe during grooming. Use soft voices and gentle petting. Praise your dog often and give small treats for good behavior.
- Find a quiet place for grooming.
- Speak in a calm, soothing tone.
- Use slow, gentle movements.
- Give your dog breaks if needed.
- Offer treats to reward calmness.
Basic Techniques For Thinning Hair
Thinning shears help reduce thick fur and blend hair on dogs. They make grooming easier and keep your dog comfortable.
Using the right techniques with thinning shears keeps the coat smooth and natural. It also prevents uneven cuts and irritation.
Holding The Shears Properly
Hold the thinning shears like a pair of scissors. Place your thumb in the smaller hole and your ring finger in the larger hole.
Keep your hand relaxed to control the movement. Avoid gripping too tightly to reduce hand fatigue and improve accuracy.
- Thumb in the smaller hole
- Ring finger in the larger hole
- Keep your wrist straight
- Relax your hand while cutting
Sectioning The Coat
Divide the dog’s coat into small sections before thinning. This helps you work evenly and avoid missing spots.
Use clips or your fingers to hold the sections apart. Work on one section at a time for better control.
- Separate coat into small sections
- Use clips or fingers to hold hair
- Work on one section at a time
- Check your progress often
Using Gentle Strokes
Use slow and gentle strokes with the thinning shears. Avoid cutting too much hair at once to keep the coat looking natural.
Start near the skin and move upwards. Repeat the strokes lightly until the hair is thinned to the desired level.
- Use slow, gentle strokes
- Cut small amounts at a time
- Move shears from skin upwards
- Repeat until hair is thinned
Common Areas For Thinning
Thinning shears help reduce thick fur on dogs. They create a natural look by blending hair.
Use thinning shears carefully on different parts of the dog’s body. Each area needs a different approach.
Face And Head
Thinning shears soften thick fur around the face and head. This makes the dog look neat without sharp lines.
Be gentle near the eyes, ears, and mouth. Thin small amounts to avoid cutting too close to the skin.
Body And Sides
Use thinning shears to blend thick fur on the body and sides. This helps remove bulk and smooth the coat.
Cut in long, even strokes. Focus on thick patches to make the fur look balanced and natural.
Legs And Paws
Thinning shears work well on legs and paws to reduce heavy fur. This keeps the dog clean and comfortable.
Be careful around joints and paw pads. Thin the fur to avoid mats and allow movement without pulling.
Tail
Use thinning shears on the tail to soften thick or bushy fur. This shapes the tail without cutting it short.
Cut lightly along the tail’s edges. This keeps a natural look and helps the fur flow smoothly.
Avoiding Common Mistakes
Using thinning shears on dogs needs care and attention. Many pet owners make simple mistakes that affect the dog’s look.
Here are some common errors to avoid for a neat and safe grooming experience.
Over-thinning
Over-thinning makes the dog’s coat look patchy and uneven. It can also expose the skin too much, causing irritation.
- Use thinning shears sparingly and in small sections.
- Check your progress often to avoid removing too much hair.
- Blend the cut hair with the surrounding coat for a natural look.
Uneven Cuts
Uneven cuts happen when the shears are not held at the right angle or moved inconsistently. This creates a rough appearance.
| Cause | How to Fix |
|---|---|
| Cutting too fast | Slow down and take small snips |
| Wrong shear angle | Hold shears parallel to the coat |
| Not blending edges | Use light strokes to blend |
Cutting Too Close To Skin
Cutting too close can hurt the dog and cause skin problems. It also makes the coat look unnatural.
- Keep a small distance between shears and skin.
- Use gentle pressure and avoid digging into the coat.
- Stop if the dog shows signs of discomfort.

Credit: magixshears.com
Maintaining Your Thinning Shears
Thinning shears help keep your dog’s coat neat and healthy. Proper care keeps the shears sharp and safe to use.
Regular maintenance extends the life of your thinning shears and improves your grooming results.
Cleaning After Use
Clean your thinning shears after every grooming session. This removes hair, dirt, and oils that can cause rust or dull blades.
- Use a soft cloth to wipe off hair and debris.
- Apply a drop of blade oil to keep blades smooth.
- Open and close the shears to spread the oil evenly.
- Wipe off any extra oil to avoid sticky buildup.
Sharpening Tips
Sharp blades cut cleanly without pulling your dog’s fur. Dull blades can hurt your dog and damage the shears.
| Sharpening Method | Details |
|---|---|
| Professional Sharpening | Send shears to a specialist every 6-12 months for best results. |
| Manual Sharpening | Use a sharpening stone carefully if you know the technique. |
| Signs to Sharpen | Blades pull hair or cut unevenly. |
Storage Recommendations
Store thinning shears in a dry place to avoid rust and damage. Proper storage keeps blades aligned and clean.
- Keep shears in a protective case or pouch.
- Avoid dropping or tossing shears into drawers.
- Store them away from moisture and dust.
- Check shears before use for any signs of damage.
When To Seek Professional Grooming Help
Using thinning shears on dogs can be tricky. Some situations need a professional groomer.
Experts know how to handle difficult coats and behaviors safely. They also meet special grooming needs.
Complex Coat Types
Dogs with thick, curly, or double coats need special care. Thinning shears can damage these coats if used wrong.
Professional groomers understand how to thin these coats without hurting the dog or changing the coat’s texture.
- Double coats require careful thinning to avoid patchiness.
- Curly coats can become frizzy if cut improperly.
- Thick coats need experience to thin evenly.
Behavioral Challenges
Some dogs do not stay still during grooming. They might get scared or aggressive with scissors near their skin.
Professional groomers are trained to calm anxious dogs and keep them safe while thinning their fur.
- Dogs that bite or snap need special handling.
- Fearful dogs require gentle, slow grooming sessions.
- Large or strong dogs may need extra control tools.
Special Grooming Needs
Dogs with skin problems or medical issues need careful grooming. Thinning shears can irritate sensitive skin.
A professional groomer can work around wounds, allergies, or infections without causing pain or harm.
- Dogs with hot spots or rashes need gentle trimming.
- Older dogs may have fragile skin that tears easily.
- Dogs recovering from surgery need careful handling.
Credit: www.clipit-grooming.com
Credit: elitetrimgrooming.com
Frequently Asked Questions
What Are Thinning Shears Used For On Dogs?
Thinning shears are used to thin out a dog’s coat and remove bulk. They’re perfect for blending different fur lengths and creating a natural, smooth finish. These shears help manage thick coats, reducing matting and tangling, making grooming easier and more comfortable for your dog.
How Do You Safely Use Thinning Shears On Dogs?
To use thinning shears safely, start by brushing your dog’s coat. Gently snip at the fur’s midsection, not too close to the skin. Work slowly and calmly, ensuring you don’t cut too much at once. Always move in the direction of the hair growth to avoid creating noticeable lines.
Can All Dog Breeds Be Groomed With Thinning Shears?
Yes, most dog breeds can benefit from thinning shears. They’re especially useful for breeds with thick, double coats. However, for dogs with very short or single-layered coats, thinning shears may not be necessary. Always consult a professional groomer if you’re unsure about your dog’s specific grooming needs.
How Often Should You Use Thinning Shears On A Dog?
The frequency of using thinning shears depends on your dog’s coat type and growth rate. Typically, every 4-6 weeks is sufficient for maintaining a well-groomed appearance. Regular use helps manage shedding and keeps the coat healthy. Always monitor the coat’s thickness and adjust the schedule as needed.
Conclusion
Using thinning shears helps keep your dog’s coat neat and healthy. Take your time and work gently for best results. Always comb the fur before cutting to avoid mistakes. Regular trimming with these shears reduces bulk without changing shape. Practice makes perfect, so don’t rush the process.
Your dog will feel more comfortable with a well-groomed coat. Keep the shears clean and sharp for safe use. Enjoy the bonding time while grooming your furry friend. Small steps lead to great grooming skills over time.