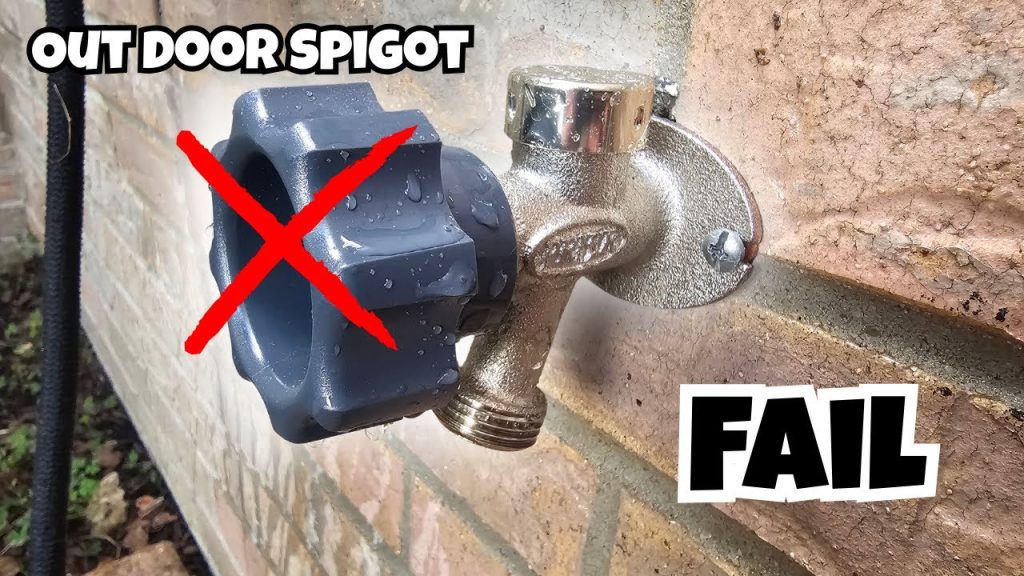
Are you struggling with a leaky or broken garden hose spigot? Removing it might seem tricky, but it doesn’t have to be.
Whether you want to replace an old spigot or fix a stubborn one, this guide will walk you through the simple steps you need to get the job done quickly and safely. Keep reading, and you’ll learn easy tips that save you time, money, and frustration—so your garden stays happy and watered without any hassle.
Essential Tools And Materials
Removing a garden hose spigot requires the right tools and materials. Using proper items makes the job easier and safer.
Gathering everything before starting helps avoid delays and frustration during the removal process.
Adjustable Wrench
An adjustable wrench fits different sizes of nuts and bolts. It helps loosen the spigot from the pipe without damage.
Pipe Wrench
A pipe wrench provides extra grip on round or slippery surfaces. Use it to hold the pipe steady while turning the spigot.
Teflon Tape
Teflon tape seals pipe threads to prevent leaks. Use it when you reinstall the spigot or a new one.
Bucket Or Container
A bucket catches water left in the pipe. This keeps your work area dry and clean during removal.
Gloves And Safety Glasses
- Gloves protect your hands from sharp edges and dirt.
- Safety glasses shield your eyes from debris or water spray.
Lubricant Spray
Spray lubricant helps loosen stuck or rusty spigots. It makes twisting easier and reduces risk of damage.
Summary Of Tools And Materials
| Tool or Material | Purpose |
| Adjustable Wrench | Loosen nuts and bolts |
| Pipe Wrench | Hold pipes steady |
| Teflon Tape | Seal pipe threads |
| Bucket or Container | Catch water during removal |
| Gloves | Protect hands |
| Safety Glasses | Protect eyes |
| Lubricant Spray | Loosen stuck spigots |
Safety Precautions
Removing a garden hose spigot can be simple. Still, it needs care to avoid injury or damage.
Follow safety rules before and during the removal to keep safe and protect your tools.
Turn Off The Water Supply
Always shut off the water supply before removing the spigot. This stops water flow and pressure.
Check that no water leaks from the spigot before starting work.
Wear Protective Gloves
Wear gloves to protect your hands from sharp edges and dirt. Gloves also improve grip on tools.
Use Proper Tools
Use the correct tools like adjustable wrenches or pliers. Wrong tools can slip or break.
Check tools for damage before using them to avoid accidents.
Be Careful With Old Or Rusty Spigots
Old spigots may be rusty or stuck. Work slowly and gently to avoid breaking pipes.
- Apply lubricant to loosen rust
- Do not force the spigot if it resists
- Seek help if unsure about removal
Protect Surrounding Areas
Cover plants and surfaces near the spigot. Tools or water can cause damage during removal.
Clear the work area to prevent trips or falls.
Shutting Off The Water Supply
Before removing a garden hose spigot, you must turn off the water supply. This step stops water from flowing and prevents leaks or floods.
Knowing where and how to shut off the water is important. It makes the process safer and easier.
Locate The Main Water Valve
The main water valve controls water to the entire house or outdoor plumbing. You need to find it first to stop the flow to the spigot.
Most main valves are near the water meter or where the water line enters your home.
Turn Off The Outdoor Shut-off Valve
Many homes have an outdoor shut-off valve dedicated to garden hoses. This valve is usually near the spigot or inside an outdoor box.
- Find the valve handle, which looks like a small wheel or lever.
- Turn the handle clockwise until it stops to close the valve.
- Make sure the water flow to the spigot is completely stopped.
Drain Remaining Water From The Hose
After shutting off the water, open the spigot to drain any water left inside the hose or pipe. This prevents water from spilling when you remove the spigot.

Credit: diy.stackexchange.com
Removing The Hose
Removing the garden hose from the spigot is a simple task. It helps prevent leaks and damage during winter or repairs.
Follow these easy steps to safely detach your hose without causing harm to the spigot or the hose itself.
Turn Off The Water Supply
Before removing the hose, ensure the water supply is completely turned off. This stops water from flowing and avoids spills.
Release Pressure From The Hose
Open the nozzle or end of the hose to let any remaining water drain out. This reduces pressure and makes removal easier.
Unscrew The Hose From The Spigot
Grip the hose connector firmly and turn it counterclockwise. Keep turning until the hose detaches from the spigot.
- Hold the spigot with one hand to keep it steady.
- Use a cloth for better grip if the connector is tight.
- If stuck, use a wrench gently to avoid damage.
Check Hose And Spigot For Damage
After removal, inspect both hose and spigot for cracks or leaks. Fix any issues to keep your system working well.
| Part | Check for | Action |
|---|---|---|
| Hose Connector | Cracks, wear | Replace if damaged |
| Spigot Threads | Rust, dirt | Clean or repair |
| Rubber Washer | Hardening, cracks | Replace if needed |
Loosening The Spigot
Removing a garden hose spigot can be hard if it is stuck. The spigot may have rust or dirt that holds it tight. Loosening the spigot helps you remove it without damage.
Use the right tools and some oil to make the job easier. This guide explains two ways to loosen the spigot safely.
Using A Wrench
A wrench is the best tool to grip and turn the spigot. Choose a wrench that fits the spigot size well. This helps avoid slipping and damage.
Turn the wrench slowly and steadily. Try to move the spigot counterclockwise. If it does not move, do not force it too hard.
- Use an adjustable wrench or pipe wrench
- Grip the base of the spigot firmly
- Turn slowly to avoid stripping
- Stop if the spigot does not budge
Applying Penetrating Oil
Penetrating oil helps loosen rust and dirt that hold the spigot. Spray the oil where the spigot meets the pipe. Let it soak for at least 10 minutes.
After the oil soaks in, try turning the spigot again with a wrench. You may need to apply oil and wait more than once for tough rust.
- Spray oil on the spigot base and threads
- Wait 10 to 15 minutes for best effect
- Reapply if the spigot is very stuck
- Use a clean cloth to wipe excess oil
Detaching The Spigot From The Pipe
Removing a garden hose spigot from the pipe is simple. You only need a few tools and some care.
Follow these steps to detach the spigot safely and avoid damaging the pipe.
Turn Off The Water Supply
Before removing the spigot, shut off the main water valve. This stops water flow and prevents leaks.
Open the spigot to drain any water left in the pipe.
Use A Pipe Wrench Or Adjustable Wrench
Grip the spigot firmly with a wrench. Turn it counterclockwise to loosen the threads.
If the spigot is stuck, apply a little penetrating oil. Let it sit for a few minutes before turning again.
- Hold the pipe steady with a second wrench if needed
- Turn slowly to avoid breaking the pipe
- Use gloves to protect your hands
Check For Pipe Damage
After removing the spigot, inspect the pipe threads. Look for cracks or rust that could cause leaks.
Clean the threads with a wire brush before installing a new spigot or cap.
Use Teflon Tape On Threads
Wrap Teflon tape around the pipe threads before attaching a new spigot. This helps prevent leaks.
- Wrap the tape clockwise to match thread direction
- Cover threads with 2-3 layers of tape
- Press tape firmly for a tight seal
Inspecting The Pipe
Before removing a garden hose spigot, it is important to inspect the pipe carefully. This helps avoid damage and ensures a smooth removal process.
Checking the pipe condition gives clues about what tools you will need and how to proceed safely.
Look For Visible Damage
Examine the pipe surface around the spigot. Look for cracks, rust, or corrosion. These signs show the pipe is weak or old.
Check Pipe Material
Pipes can be made from different materials like copper, PVC, or galvanized steel. Each needs a different approach to remove the spigot.
- Copper pipes are softer and need gentle handling.
- PVC pipes are plastic and can crack if forced.
- Galvanized steel pipes are strong but may rust.
Measure Pipe Size
Knowing the pipe diameter helps select the right wrench or tool size. Use a tape measure or caliper for accuracy.
| Pipe Type | Common Diameter Sizes |
| Copper | 1/2 inch, 3/4 inch |
| PVC | 1/2 inch, 3/4 inch, 1 inch |
| Galvanized Steel | 1/2 inch, 3/4 inch |
Inspect Pipe Thread
Look at the threads where the spigot connects. Clean threads make removal easier. Dirt or rust can block threads and cause damage.
To clean threads:
- Use a wire brush gently.
- Apply some penetrating oil.
- Wait 10 minutes before trying to remove the spigot.
Installing A New Spigot
After removing the old garden hose spigot, you need to install a new one. A proper installation ensures no leaks and steady water flow.
Follow the right steps to pick and secure your new spigot for best results.
Choosing The Right Spigot
Pick a spigot that fits your outdoor water system. Check the size and thread type of your pipe before buying.
Consider these features when choosing your spigot:
- Material: Brass is strong and lasts longer than plastic.
- Handle type: Choose between a lever or round handle for easy use.
- Freeze resistance: Some spigots are made to prevent freezing in cold weather.
- Anti-siphon: This feature stops dirty water from going back into your clean water supply.
Securing The New Spigot
Make sure the new spigot fits tightly to stop leaks. Use plumber’s tape on the threads for a secure seal.
Follow these steps to secure your spigot:
- Wrap plumber’s tape around the pipe threads clockwise.
- Screw the new spigot onto the pipe by hand until tight.
- Use a wrench to tighten it more, but do not over-tighten.
- Turn on the water and check for leaks around the spigot.
Testing For Leaks
Checking for leaks is important after removing a garden hose spigot. Leaks can waste water and cause damage. Testing helps find problems early.
You can test for leaks using simple tools and methods. This guide explains how to do it safely and effectively.
Visual Inspection
Look closely at the spigot area for water drops or wet spots. Check around the pipe and connections. Any moisture could mean a leak.
Turn On Water Slowly
Open the main water valve slowly after reinstalling or removing the spigot. Watch the area carefully for drips or sprays of water.
Use Soapy Water Test
Mix a small amount of dish soap with water in a spray bottle. Spray the solution on joints and connections. Look for bubbles that show escaping air or water.
- Mix 1 part dish soap with 3 parts water
- Spray on spigot threads and pipe joints
- Watch for bubbling spots carefully
- Bubbles mean a leak is present
Check Water Pressure
Low water pressure may signal a leak or blockage. Use a pressure gauge to measure pressure before and after the spigot area.
| Location | Pressure Reading (psi) |
| Before Spigot | 50 |
| After Spigot | 40 |
| Normal Range | 45-55 |

Credit: www.youtube.com
Maintaining Your Garden Hose Spigot
Keeping your garden hose spigot in good shape helps it last longer. You can avoid leaks and damage with regular care.
Removing the spigot properly is key for maintenance or replacement. It helps you fix problems and keep water flowing well.
Turn Off The Water Supply
First, shut off the water supply to the spigot. This stops water from flowing while you work on it.
Check that the water is fully off by opening the spigot and letting any water drain out.
Gather The Right Tools
Use a wrench or pliers to remove the spigot. Have a cloth handy to protect the spigot’s surface.
- Adjustable wrench
- Channel-lock pliers
- Rag or cloth
Loosen And Remove The Spigot
Wrap the rag around the spigot to avoid scratches. Use the wrench to turn the spigot counterclockwise.
Keep turning until the spigot loosens and you can remove it by hand.
Inspect And Clean The Spigot
Check the spigot for cracks or rust. Clean off dirt and old sealant using a brush or cloth.
Replacing worn parts can prevent leaks and improve water flow.
Apply New Thread Seal Tape
Wrap fresh thread seal tape around the spigot threads. This helps create a tight seal when you reattach it.
- Wrap tape clockwise
- Cover threads evenly
- Use 2-3 layers for best results
Reattach The Spigot Securely
Screw the spigot back onto the pipe by hand first. Then tighten it with the wrench, but do not overtighten.
Test for leaks by turning the water on slowly. Tighten more if needed.

Credit: www.familyhandyman.com
Frequently Asked Questions
How Do I Safely Remove A Garden Hose Spigot?
Turn off the water supply first. Use a wrench to loosen the spigot’s packing nut. Unscrew the spigot by hand or with pliers. Take care not to damage the pipe threads during removal.
What Tools Are Needed To Remove A Garden Hose Spigot?
You need an adjustable wrench, pliers, and possibly a pipe wrench. A cloth can protect the spigot’s surface. These tools help loosen and unscrew the spigot safely and efficiently.
Can I Replace A Garden Hose Spigot Myself?
Yes, replacing a spigot is a simple DIY task. After removal, install a new spigot with plumber’s tape on threads. Tighten securely but avoid overtightening to prevent damage.
Why Is My Garden Hose Spigot Hard To Remove?
Corrosion or mineral buildup often causes stiffness. Use penetrating oil and let it sit for 10-15 minutes. This softens rust and makes unscrewing easier.
Conclusion
Removing a garden hose spigot can be simple and quick. Use the right tools and work carefully. Tighten or loosen the spigot as needed. Watch out for leaks and fix them early. Taking your time helps avoid damage. Now, you can replace or repair your spigot with ease.
A little effort saves money and stress later. Keep your garden hose working well all year. Simple steps make the task less confusing. You got this!