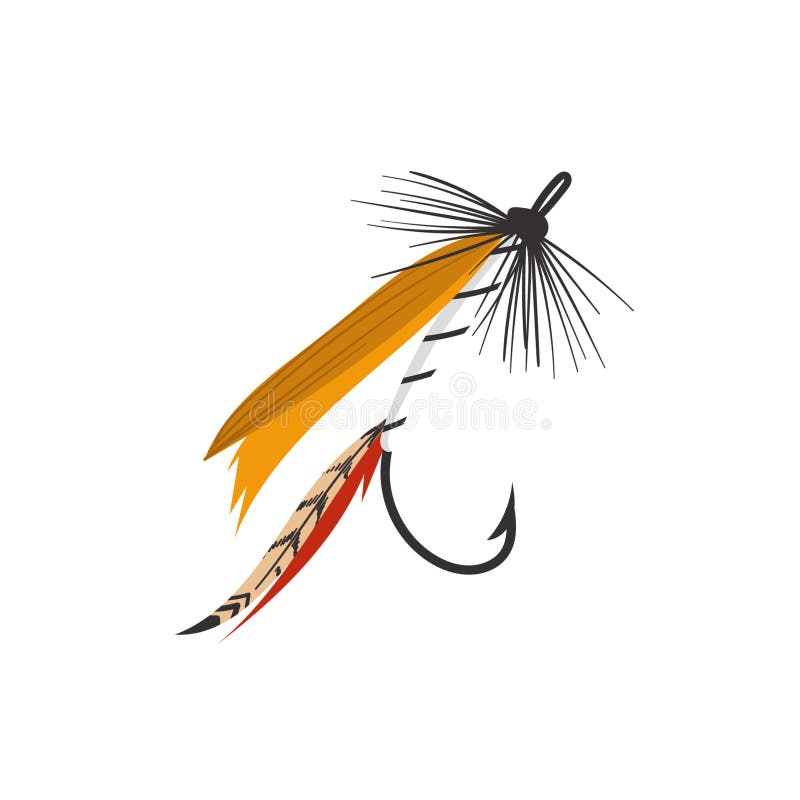
Have you ever wanted to create your own fishing lures but didn’t know where to start? Drawing fishing lures can be a fun and rewarding way to bring your ideas to life.
Whether you’re a beginner or just looking to improve your skills, this guide will help you step-by-step. By the end, you’ll have the confidence to design lures that stand out and even inspire your next fishing trip. Ready to make your fishing gear truly unique?
Let’s dive in and learn how to draw fishing lures that catch attention every time.
Choosing The Right Materials
Drawing fishing lures starts with choosing good materials. The right supplies make your work easier and better.
Picking quality parts helps your lures look real and last longer in water. Let’s look at what you need.
Selecting Lure Blanks
Lure blanks are the base shapes for your fishing lures. Pick blanks that fit your fishing style and fish type.
Wood and plastic are popular blank materials. Wood offers a natural feel, while plastic is easy to shape.
- Wood blanks are good for hand carving and painting
- Plastic blanks are smooth and ready to paint
- Choose sizes that match the fish you want to catch
- Check the weight to ensure it suits casting and swimming
Essential Tools And Supplies
Having the right tools helps you draw and finish your lures well. Some tools are simple but very useful.
Basic supplies include pencils, brushes, and paints made for outdoor use. Sandpaper and sealants protect your work.
- Pencils for sketching lure designs
- Fine brushes for painting details
- Waterproof paints and markers
- Sandpaper for smoothing blanks
- Sealants to protect paint from water damage
- Measuring tools to keep proportions right
Sketching Basic Shapes
Drawing fishing lures starts with simple shapes. These shapes help build the lure’s form.
Use easy lines and shapes to sketch the basic structure before adding details.
Understanding Lure Anatomy
Fishing lures have several key parts. Knowing them helps you draw better shapes.
| Part | Description |
| Body | Main shape that floats or sinks |
| Hook | Catches the fish |
| Eye | Where you tie the line |
| Lip | Helps lure dive underwater |
Creating Simple Outlines
Start with oval or cylindrical shapes for the body. Draw circles for eyes and curves for the lip.
- Sketch the body shape lightly with a pencil.
- Add the lip as a small curve at the front.
- Draw circles or ovals for the eyes.
- Mark where the hooks will attach.
Adding Details And Features
Adding small details makes your fishing lure drawings look real. Focus on parts like eyes, fins, and textures. These features bring your lure to life on paper.
Use simple shapes and patterns to show these details clearly. This helps others see the lure’s design and purpose easily.
Designing Eyes And Fins
Eyes give the lure a lifelike look and attract fish. Draw the eyes using circles or ovals. Add a small highlight spot to show shine.
- Draw a round pupil in the center
- Shade around the pupil for depth
- Use small lines to suggest eyelashes or eyelids
- Place fins with smooth curves near the body
- Show fin rays by drawing thin parallel lines
Make fins look flexible by adding small curves and folds. This adds motion to your drawing.
Incorporating Textures
Textures show the lure’s surface and materials. Use dots, lines, or scales to create different feels. Texture adds interest and realism.
| Texture Type | How to Draw | Effect |
|---|---|---|
| Scales | Draw small overlapping circles or ovals | Makes the lure look like a fish |
| Dots | Place tiny dots in patterns or clusters | Suggests rough or bumpy surface |
| Lines | Use short, curved lines along the body | Shows grooves or muscle texture |

Credit: www.dreamstime.com
Using Color And Patterns
Colors and patterns bring fishing lures to life. They help attract fish by mimicking real prey.
Choosing the right colors and patterns can make your drawing more realistic and interesting.
Choosing Color Schemes
Pick colors that match the fish’s natural food or environment. Bright colors work well in murky water.
- Use blues and greens for clear water
- Choose reds and oranges for stained water
- Try metallic colors to reflect light
- Mix light and dark shades for depth
Applying Patterns And Stripes
Patterns add texture and detail to your lure drawings. Stripes can imitate fish scales or markings.
| Pattern Type | Description | When to Use |
| Spots | Small round marks | To mimic trout or bass |
| Stripes | Long lines along the body | For perch or striped bass |
| Blotches | Irregular shapes | To copy sunfish or catfish |
| Gradient | Color fades smoothly | For subtle natural look |
Enhancing With Finishing Touches
Adding finishing touches to your fishing lure drawings brings them to life. These details help show texture and make your design stand out.
Small highlights and protective layers improve both the look and durability of your lure art. Let’s explore how to do this well.
Highlighting Key Features
Use highlights to show light reflection and surface details. This makes your lure look shiny and realistic.
- Add white or light-colored strokes on curved parts
- Use a fine brush or pencil for small dots or lines
- Apply shadows near edges to show depth
- Blend colors gently to create smooth transitions
- Focus on eyes, scales, and hooks for more impact
Sealing And Protecting Designs
To keep your drawing safe, apply a sealant once the paint or ink is dry. It guards against smudges and fading.
| Sealant Type | Purpose | Application Tips |
|---|---|---|
| Matte Spray | Reduces shine, protects colors | Spray lightly in a well-ventilated area |
| Glossy Spray | Adds shine, enhances colors | Use thin coats to avoid drips |
| Clear Acrylic | Strong protection, water resistant | Apply with a brush evenly over surface |

Credit: www.shutterstock.com
Common Mistakes To Avoid
Drawing fishing lures can be fun but tricky. Many beginners make simple mistakes.
Avoiding these mistakes helps you create better, more useful lure designs.
Overcomplicating Designs
Many people add too many details to fishing lures. This makes the design confusing.
Simple shapes and clear lines work best. Focus on what makes the lure stand out.
- Use basic shapes like circles and ovals
- Limit the number of colors and patterns
- Keep the design easy to understand
Ignoring Balance And Proportion
Fishing lures must look balanced and proportional. Wrong sizes make lures unrealistic.
Check that all parts fit well together. A balanced lure looks natural and works better.
- Make the body and tail sizes match
- Keep the hook size in proportion to the lure
- Ensure the lure looks steady from all angles
Showcasing Your Lures
Displaying your fishing lures in the best way helps others see their details clearly. Good presentation can highlight your design skills.
Use simple methods to make your lures look attractive and professional. This guide covers photographing and displaying your lures.
Photographing For Impact
Take clear photos with good lighting to show your lures’ colors and shapes. Natural light works well for true colors.
- Use a plain background to avoid distractions
- Take close-up shots to show details
- Use multiple angles for a full view
- Keep the camera steady or use a tripod
- Adjust focus to highlight important features
Displaying In Collections
Organize your lures in a neat collection for display. This helps viewers compare styles and see variety.
| Display Method | Benefits |
| Shadow Box Frame | Protects lures and creates a clean look |
| Mounted on Corkboard | Easy to rearrange and add new lures |
| Glass Display Case | Shows lures clearly and keeps dust out |
| Custom Stand | Makes each lure stand out individually |

Credit: www.shutterstock.com
Frequently Asked Questions
What Materials Do I Need To Draw Fishing Lures?
You need pencils, erasers, colored markers, and drawing paper. Optional tools include rulers and reference photos of lures for accuracy.
How Do I Start Drawing A Fishing Lure?
Begin by sketching the basic shape lightly. Focus on the lure’s body, then add details like hooks and patterns.
Which Colors Work Best For Fishing Lure Drawings?
Use vibrant colors like red, yellow, green, and silver. These replicate real lure designs and attract fish visually.
How Can I Add Realistic Texture To Lure Drawings?
Use shading and fine lines to mimic scales and reflections. Layer colors to create depth and a lifelike finish.
Conclusion
Drawing fishing lures can be fun and relaxing. Start with simple shapes and add details slowly. Practice helps improve your skills every day. Use colors that match real lures to make drawings look real. Don’t worry about mistakes; they help you learn.
Keep your lines clear and clean for better results. Try different styles to find what you like best. Enjoy the process and watch your drawings get better. Drawing fishing lures opens up creativity and patience. Keep practicing, and your art will grow with time.