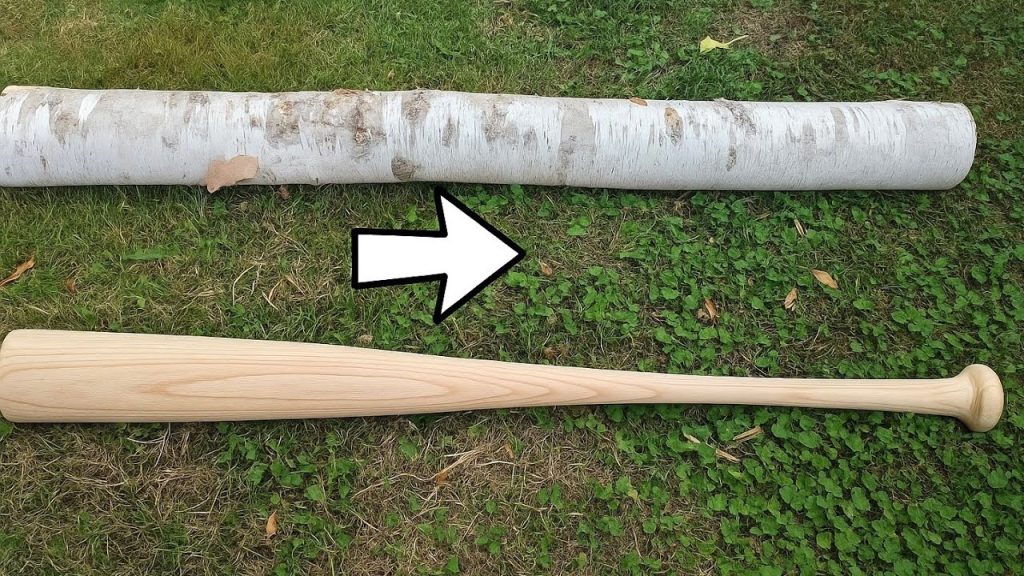
Have you ever wondered how a simple piece of wood turns into a powerful baseball bat? If you’ve held one in your hands, you know it feels just right—balanced, smooth, and ready to hit a home run.
But what exactly goes into making that perfect bat? You’ll discover the step-by-step process behind crafting a baseball bat, from selecting the wood to the final polish. Whether you’re a baseball fan, a DIY enthusiast, or just curious, understanding how your bat is made will give you a new appreciation every time you step up to the plate.
Keep reading, and you’ll see how skill and precision come together to create a tool that changes the game.
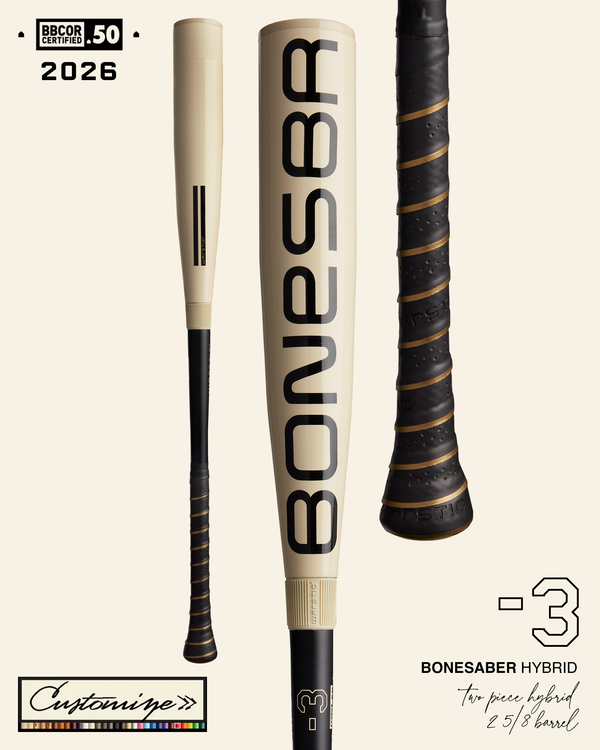
Credit: warstic.com
Choosing The Right Wood
Choosing the right wood is important to make a good baseball bat. The wood affects the bat’s strength, weight, and performance.
Different types of wood have unique features. Knowing about wood types, quality, and where to get materials helps you pick the best wood.
Types Of Wood Used
Baseball bats are mostly made from hard woods. The most common woods are maple, ash, and birch. Each wood has special qualities that affect the bat’s feel and durability.
- Maple:Dense and hard, gives strong hits but can be heavier.
- Ash:Lighter and flexible, good for fast swings.
- Birch:Combines hardness and flexibility for balanced use.
Wood Quality And Grain
Good wood quality means fewer knots and cracks. The grain direction should be straight. This makes the bat stronger and less likely to break.
| Quality Factor | Why It Matters |
| Straight Grain | Improves strength and durability |
| No Knots | Prevents weak spots in the bat |
| Proper Drying | Reduces warping and cracking |
Sourcing Materials
You can find wood for bats from lumber yards or specialty suppliers. Look for certified wood to ensure quality. Buying locally can reduce cost and support local businesses.
- Check for certifications like FSC (Forest Stewardship Council)
- Ask suppliers about wood origin and treatment
- Inspect wood before buying for damage or defects

Credit: www.youtube.com
Preparing The Wood Blank
Making a baseball bat starts with preparing the wood blank. The blank is a piece of wood shaped to become the bat.
Good preparation ensures the bat is strong and balanced. It also helps the bat last longer during use.
Cutting To Size
The first step is cutting the wood into the right size. The wood usually comes in long logs or planks.
Cut the wood into blanks that are slightly longer and thicker than the final bat. This allows room for shaping.
- Choose a straight piece of wood
- Cut a blank about 36 inches long
- Make the diameter about 2.5 inches
- Keep the blank uniform for even shaping
Drying And Seasoning
Wood must be dried to remove moisture. This process is called seasoning. It prevents cracks and warping.
Drying can take weeks or months. The wood is stored in a dry place with good air flow.
- Stack blanks with space between for air
- Keep wood away from direct sunlight
- Check moisture content regularly
- Wait until wood is around 6-8% moisture
Initial Shaping
After drying, the blank is shaped roughly. This step removes extra wood and forms the bat’s basic shape.
Use tools like a lathe or hand planes to shape the blank. Keep the bat’s length and weight balanced.
- Mark the bat shape on the blank
- Start shaping the barrel and handle
- Keep the wood smooth and even
- Leave extra wood for final finishing
Turning The Bat On A Lathe
Making a baseball bat involves several steps. One important step is turning the bat on a lathe. This process shapes the bat from a raw piece of wood into its final form.
Using a lathe allows for precision and smoothness in crafting the bat. This guide will explain the steps involved in turning a bat on a lathe.
Setting Up The Lathe
The first step is setting up the lathe. Make sure the lathe is stable and secure. This will help you turn the bat safely and accurately.
Check that all tools are sharp and ready for use. Dull tools can damage the wood and make the process harder.
- Position the lathe on a flat surface
- Secure the wood piece firmly in the lathe
- Ensure proper lighting for clear visibility
Shaping The Barrel And Handle
Start shaping the barrel and handle of the bat. Use the lathe to form the bat’s distinct curves and dimensions.
Work slowly and carefully to avoid removing too much wood. Regularly check the bat’s symmetry and balance as you work.
- Begin with the barrel, then move to the handle
- Use calipers to measure dimensions
- Adjust speed as needed for different sections
Sanding And Smoothing
After shaping, it’s time to sand and smooth the bat. This step ensures a sleek finish, making the bat comfortable to hold.
Start with coarse sandpaper to remove rough patches. Gradually switch to finer sandpaper for a polished surface.
- Use sandpaper of varying grits
- Wipe away dust between sanding
- Finish with a fine grit for smoothness
Adding The Grip And Finishing Touches
After shaping the baseball bat, you add the grip and final details. These steps make the bat comfortable and ready to use.
Proper finishing protects the wood and shows the maker’s brand. Each step is important for quality and appearance.
Applying Grip Tape Or Finish
The grip helps players hold the bat firmly. You can wrap grip tape or apply a smooth finish to the handle.
Grip tape comes in many textures and colors. Wrap it tightly starting from the bottom of the handle to the top.
- Clean the handle before wrapping
- Overlap tape slightly for a secure hold
- Trim excess tape neatly at the top
- Press tape edges firmly to avoid peeling
Branding And Stamping
Branding adds the maker’s mark or logo to the bat. It shows who made the bat and gives it a unique look.
Stamps can be burned or pressed into the wood. Some makers use ink stamps or paint for branding.
- Place the brand near the handle or barrel
- Use a hot iron or press for wood burning
- Let ink or paint dry fully before use
- Check the design for clear and sharp edges
Final Inspection
Inspect the bat carefully before it leaves the workshop. Look for any rough spots or defects.
Make sure the grip is secure and the finish is smooth. Check the brand mark for clarity and quality.
- Run your hand along the bat to feel for roughness
- Look for cracks or splits in the wood
- Ensure the grip tape or finish is properly applied
- Verify the bat weight and balance
Testing And Quality Control
Testing and quality control are key parts of making a baseball bat. These steps make sure every bat meets the right standards. They check the bat’s weight, balance, and durability.
Each bat goes through careful checks. This process helps catch any flaws before the bat is sold. It also helps keep the bats safe and reliable for players.
Weight And Balance Checks
Weight and balance affect how well the bat performs. Workers measure the bat’s weight with precise scales. They also test the balance point to ensure it fits the design.
| Test | Purpose | Tool Used |
| Weight Measurement | Check if bat meets weight specs | Digital Scale |
| Balance Point | Find the center of gravity | Balance Tester |
| Length Check | Confirm correct bat length | Measuring Tape |
Durability Testing
Durability tests ensure the bat can handle repeated hits. These tests simulate real game conditions to check for cracks or breaks. They also look at the bat’s surface for wear and tear.
- Hit tests with machines that mimic swinging
- Impact tests on different parts of the bat
- Stress tests to check for material strength
Adjustments And Corrections
If a bat fails any test, workers make adjustments. They might sand or reshape the bat to fix balance issues. If cracks appear, the bat is repaired or discarded.
After corrections, the bat goes through tests again. This cycle continues until the bat passes all quality checks.

Credit: m.youtube.com
Frequently Asked Questions
How Is A Baseball Bat Made From Wood?
A wooden baseball bat starts as a solid log. It is shaped on a lathe to the desired size and weight. The bat is then sanded smooth and often coated for protection. Finally, it is inspected for quality before use.
What Materials Are Used To Make Baseball Bats?
Baseball bats are typically made from ash, maple, or birch wood. Aluminum and composite materials are also common for non-wood bats. Each material affects the bat’s weight, durability, and performance differently.
How Long Does It Take To Make A Baseball Bat?
Making a baseball bat usually takes a few hours. The process includes cutting, shaping, sanding, and finishing. Mass production can speed this up, but handcrafted bats take longer for precision.
Can You Make A Baseball Bat At Home?
Yes, with the right tools and wood, you can craft a bat at home. You need a lathe, sanding tools, and proper safety gear. However, skill and patience are essential for a quality bat.
Conclusion
Making a baseball bat involves careful steps and attention to detail. Wood selection, shaping, sanding, and finishing all matter. Each step affects how the bat feels and performs. Crafting a bat takes patience and skill. Whether for fun or sport, understanding the process helps appreciate the bat more.
Next time you hold a bat, remember the work behind it. Simple materials become a tool for the game. The art of bat making combines nature and craft in a unique way.