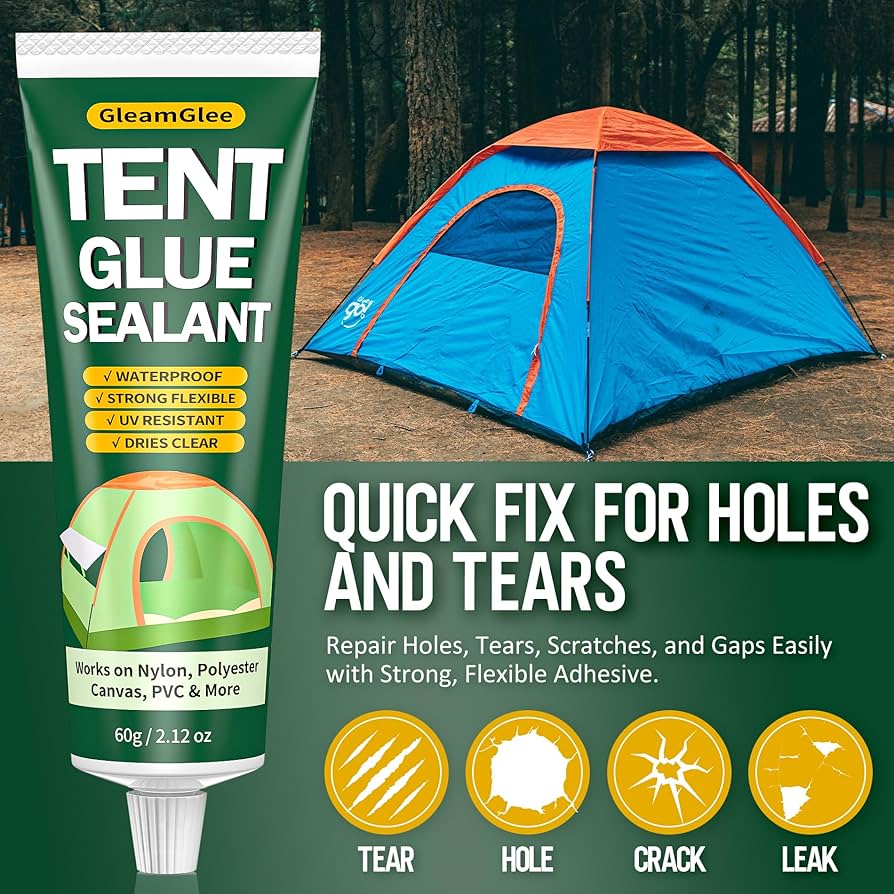
A tear in your tent can turn a great camping trip into a stressful experience. If you’re staring at a ripped fabric and wondering how to fix it quickly and effectively, you’re not alone.
The good news is, repairing a tear in your tent is easier than you think. With the right tools and simple steps, you can restore your tent’s strength and keep it weatherproof. Keep reading, and you’ll learn exactly how to handle those pesky rips so your next adventure stays comfortable and dry.
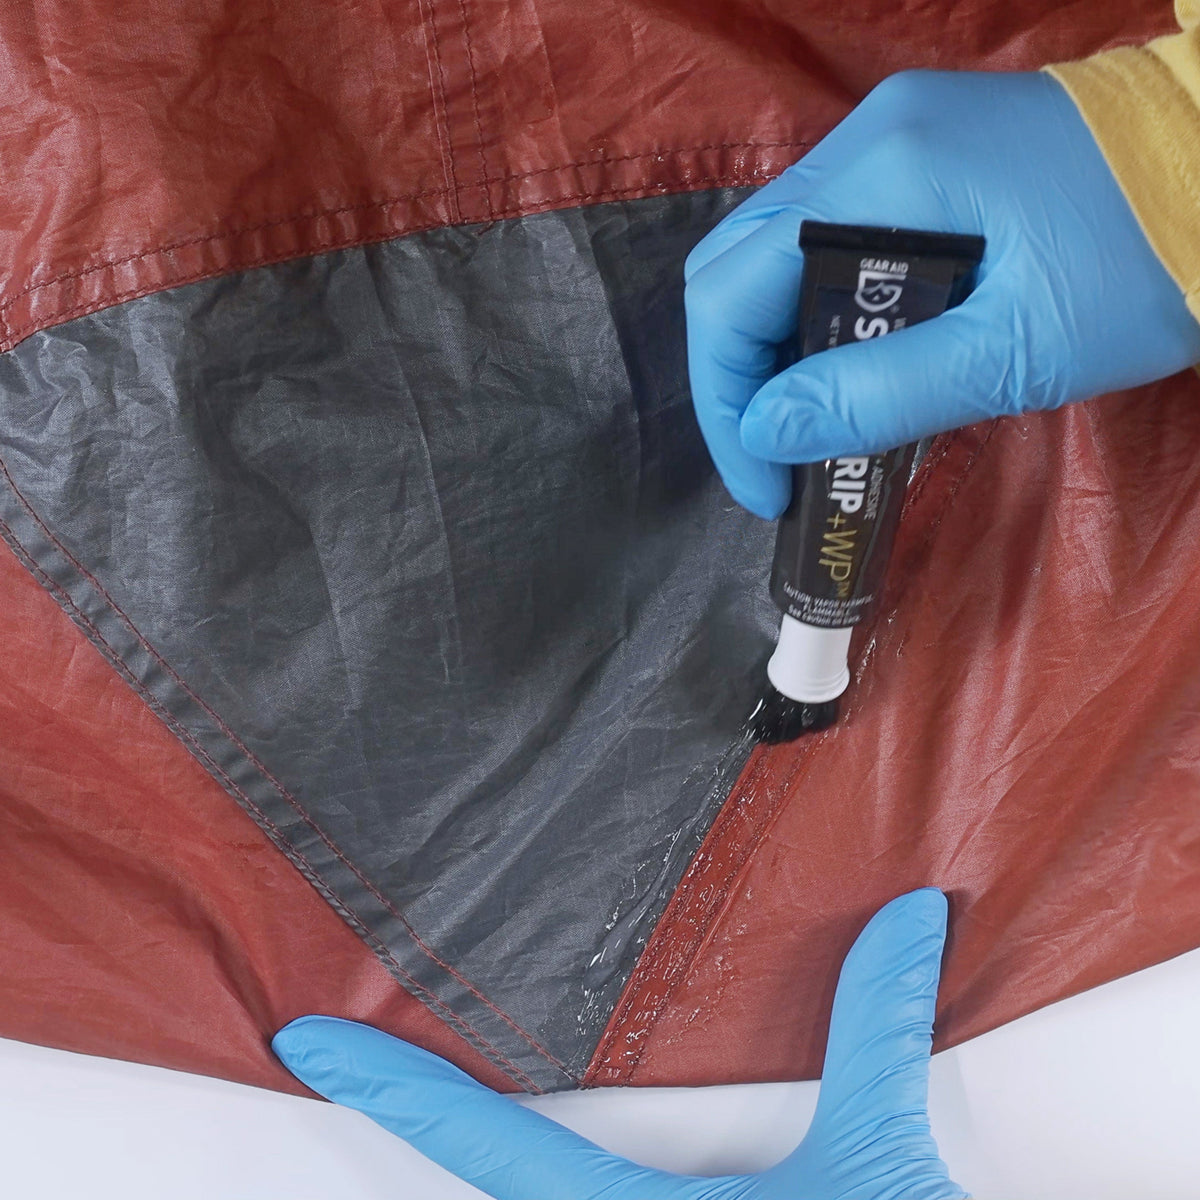
Credit: www.gearaid.com
Tools And Materials Needed
Fixing a tear in a tent needs some basic tools and materials. Having the right items helps make the repair strong.
This guide covers what you need for a simple and effective tent repair.
Basic Repair Kits
Basic repair kits often come with everything needed for quick tent fixes. They are small and easy to carry.
Most kits include patches, glue, and sometimes a small brush or applicator.
- Fabric patches cut to size
- Waterproof adhesive
- Cleaning wipes or alcohol pads
- Instructions for use
Adhesives And Patches
Adhesives and patches are key for a lasting repair. The patch covers the tear and the glue holds it in place.
Choose patches made from tent fabric or vinyl. Use waterproof glue made for outdoor gear.
- Silicone-based adhesive
- Polyurethane glue
- Self-adhesive patches
- Clear or matching color patches
Alternative Supplies
If you do not have a repair kit, some household items can work for small tears. These help in emergencies.
Use tape or strong glue with fabric pieces for a quick fix. Clean the area well before applying.
- Duct tape or gaffer tape
- Clear packing tape
- Strong fabric glue
- Old tent fabric or nylon cloth
- Scissors and sandpaper (to smooth edges)

Credit: www.amazon.ca
Preparing The Tent For Repair
Fixing a tear in your tent needs good preparation. You must clean, dry, and check the damage first.
These steps help the repair last longer and keep your tent strong.
Cleaning The Torn Area
Remove dirt and dust from the torn fabric. Use a soft brush or cloth and mild soap with water. Avoid harsh cleaners that can harm the material.
- Brush off loose dirt gently
- Use a damp cloth with mild soap
- Wipe the area carefully
- Rinse with clean water
- Pat dry with a towel
Drying The Fabric
Dry the tent fabric fully before repairing. Moisture can stop glue or patches from sticking well.
| Drying Method | Details |
|---|---|
| Air Dry | Hang the tent in a shaded, breezy spot |
| Towel Dry | Use an absorbent towel to remove water |
| Sunlight | Avoid direct sunlight for long periods to prevent fading |
Assessing The Damage
Look closely at the tear size and fabric condition. Check if the area has extra holes or weak spots around it.
- Measure the tear length and width
- Inspect fabric edges for fraying
- Note any waterproof coating damage
- Decide if a patch or sewing is needed
Quick Fixes For Small Tears
Tears in tents can ruin your camping trip. Quick fixes help you stay dry and comfortable.
These methods are simple and don’t require special tools. Use them to fix small tears quickly.
Using Seam Sealer
Seam sealer stops water from entering through small tears. It is a liquid that dries and forms a waterproof layer.
Apply the sealer on both sides of the tear. Let it dry completely before using the tent.
- Clean the area around the tear
- Apply seam sealer evenly
- Allow it to dry for several hours
Applying Tape Patches
Tape patches are easy to use on small tears. They stick well and provide a strong seal.
Use tape patches for quick repairs during your trip. They are great for nylon and polyester tents.
- Cut the patch to cover the tear
- Press it firmly over the tear
- Smooth out any air bubbles
Temporary Stitching
Temporary stitching holds torn fabric together until you can make a permanent fix. Use strong thread for best results.
Stitch along the tear to prevent it from growing. This works well for larger tears too.
| Needle | Thread | Scissors |
| Thread the needle | Sew the tear | Cut excess thread |
Credit: www.montbell.com
Repairing Larger Tears
Larger tears in a tent need careful repair to restore strength. You can fix them by sewing, patching, and taping. Each method helps keep water out and the tent stable.
Using the right tools and techniques makes the repair last longer. Choose the method that fits the tear size and fabric type.
Sewing Techniques For Strength
Sewing is the strongest way to fix big tears. Use a heavy-duty needle and thread. Double stitching adds extra strength.
- Trim loose threads and clean the tear area.
- Use a strong polyester or nylon thread.
- Sew with small, tight stitches along the tear edges.
- Go over the seam twice for extra durability.
- Finish with a knot or backstitch to secure.
Applying Fabric Patches
Fabric patches cover the tear and add support. Use patches made from similar tent material. Cut the patch larger than the tear for full coverage.
| Patch Type | Material | Best Use |
|---|---|---|
| Iron-on | Nylon or polyester | Quick fixes on smooth fabric |
| Sew-on | Canvas or ripstop | Strong, long-lasting repairs |
| Adhesive | Waterproof fabric | Temporary fixes outdoors |
Reinforcing With Tape
Tape adds a waterproof layer and stops the tear from growing. Use special tent repair tape that sticks well to fabric. Clean the area before applying tape for best hold.
Tips for using repair tape:
- Cut tape 2 inches wider than the tear on all sides.
- Apply tape on both inside and outside if possible.
- Press tape firmly to remove air bubbles.
- Allow tape to set for 24 hours before packing the tent.
Waterproofing The Repair
Fixing a tear in a tent is not complete without waterproofing. Water can ruin your gear and comfort. Use proper methods to keep water out after repair.
Waterproofing adds a strong barrier against rain and moisture. It also protects the fabric and makes the repair last longer.
Using Waterproof Sealants
Waterproof sealants fill gaps and stop water from entering the tear. Choose sealants made for outdoor fabrics. Apply them carefully and evenly.
- Clean the area around the tear before applying sealant.
- Use a small brush or applicator to spread the sealant.
- Cover the entire repaired spot and a bit beyond the edges.
- Let the sealant dry completely before folding or using the tent.
Reapplying Seam Sealer
Seam sealer strengthens the stitched parts of your tent. It seals tiny holes where water can sneak in. After repairing, reapply seam sealer on the seams.
| Material | Type of Seam Sealer | Dry Time |
| Nylon | Polyurethane-based | 24 hours |
| Polyester | Silicone-based | 12 hours |
| Cotton Blend | Water-based | 8 hours |
Testing For Leaks
After waterproofing, test the repair to be sure it works. You can do this by simulating rain or using water spray. Check carefully for any water passing through.
- Set the tent in a shaded area to avoid fast drying.
- Spray water on the repaired area using a hose or spray bottle.
- Look inside the tent for any wet spots or leaks.
- If leaks appear, dry the area and apply more sealant.
- Repeat testing until no leaks are found.
Preventing Future Damage
Fixing a tear in your tent is important. Keeping your tent safe from new damage is just as important. You can protect your tent by using good habits.
Using the right setup, storing the tent well, and checking it often helps it last longer. These steps stop small tears from growing bigger.
Proper Tent Setup
Set up your tent on smooth, flat ground. Avoid sharp rocks, sticks, or rough areas. These can poke holes or cause tears.
Use a groundsheet under your tent. It adds a layer of protection from dirt and rough surfaces. Make sure the groundsheet is smaller than the tent floor.
- Clear the area of sticks and stones
- Choose a flat spot to avoid stress on fabric
- Use a groundsheet to protect the tent floor
- Tighten the tent poles and stakes properly
Storage Tips
Store your tent dry and clean. Wet tents can grow mold and weaken fabric. Dirt can also damage the material over time.
Keep your tent in a cool, dry place away from direct sunlight. Heat and sun rays can make the fabric brittle and fade colors.
- Dry the tent fully before packing
- Clean off dirt and debris
- Store in a breathable bag, not plastic
- Keep away from heat and sunlight
Regular Maintenance
Check your tent often for small tears or holes. Fix them quickly to stop them from getting bigger. Use repair tape or patches as needed.
Keep zippers clean and working well. Lubricate zippers if they stick. Replace broken parts to avoid stress on the fabric.
- Inspect tent fabric after every trip
- Patch small tears immediately
- Clean and lubricate zippers regularly
- Replace damaged poles and stakes
When To Seek Professional Help
Fixing a tear in your tent can be simple or tricky. Small tears you can repair yourself. Bigger or complex damage may need expert help.
Knowing when to call a professional saves your tent and keeps you safe outdoors. This guide explains when to get help.
Assessing Repair Limits
Look at the size and place of the tear. Small tears under 6 inches can usually be patched at home. Large tears or holes need special tools.
If the tear is near a seam, zipper, or pole area, it might weaken the tent’s structure. Repairs in these areas are harder and need skills.
- Tears larger than 6 inches
- Damage near seams or zippers
- Multiple tears or holes close together
- Fabric is worn out or thin around the tear
- Damage affecting waterproof coating
Finding Tent Repair Services
Search for local outdoor gear repair shops. Many offer tent fixes and can handle tough damage. They use strong materials and special machines.
Check if the service can repair your tent brand. Some brands have authorized repair centers. Ask about repair time and cost before sending your tent.
- Look for outdoor gear or camping stores with repair services
- Contact tent manufacturers for authorized repair centers
- Read reviews to find trusted repair shops
- Ask about repair warranty and materials used
Frequently Asked Questions
How Do I Fix A Small Tear In My Tent?
To fix a small tear, clean the area first. Use a tent repair patch or fabric tape. Apply adhesive evenly and press firmly. Allow it to dry fully before use. This prevents water leaks and keeps the tent durable.
What Materials Are Best For Tent Tear Repair?
Use strong, waterproof materials like nylon or polyester patches. Fabric tape and special tent adhesive work well. These materials are durable, weather-resistant, and flexible. They ensure a long-lasting repair that withstands outdoor conditions.
Can I Repair A Tent Tear Without Sewing?
Yes, you can use fabric glue or adhesive patches. These methods are quick and effective for small tears. Sewing is ideal for larger or structural damage. Adhesive repairs help maintain waterproofing and tent integrity.
How Long Does Tent Tear Repair Take?
Most tent tear repairs take 15 to 30 minutes. Drying time for adhesives or glue may vary. Always allow full curing before packing or using the tent. Quick repairs can prevent further damage during camping trips.
Conclusion
Repairing a tear in your tent keeps it strong and safe. Small fixes stop water and wind from entering. Use the right tools and patches for best results. Regular checks help catch damage early. Take care of your tent to enjoy many trips.
A little effort saves money and stress later. Now, you can fix tears quickly and keep camping fun.