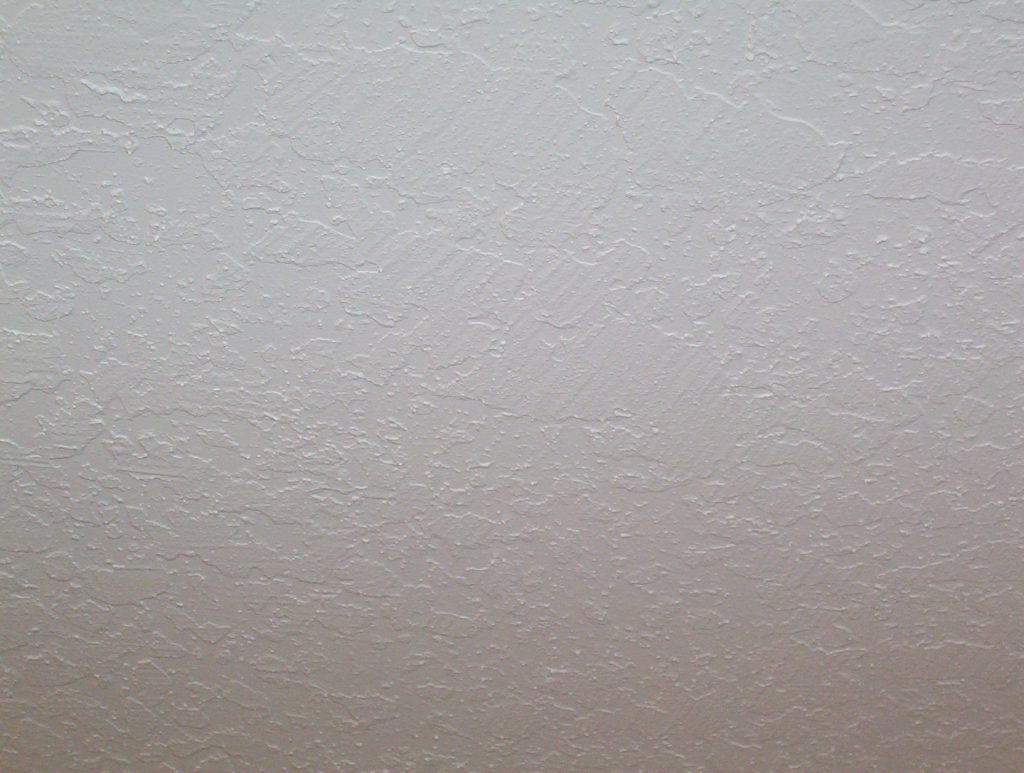
Are you looking to add a fresh, stylish look to your walls without spending a fortune? Learning how to do a skip trowel texture might be the perfect solution for you.
This simple technique can transform plain surfaces into eye-catching features with a unique, textured finish. Whether you’re a beginner or have some DIY experience, this guide will walk you through each step, making the process easy and enjoyable. Keep reading, and by the end, you’ll have the confidence to create a beautiful skip trowel texture that impresses everyone who sees it.
Tools And Materials Needed
Creating a skip trowel texture requires some specific tools and materials. These help you achieve a nice, consistent finish on your walls or ceilings.
Before you start, gather everything you need. This will make the process easier and faster.
Essential Tools
You need the right tools to apply the skip trowel texture correctly. These tools help spread and shape the joint compound smoothly.
- Hawk or mud pan to hold the joint compound
- 6-inch or 12-inch drywall taping knife for spreading compound
- Skip trowel knife or small trowel for creating texture
- Sandpaper or sanding block to smooth rough spots
- Mixing paddle and drill to prepare the compound
- Drop cloths to protect floors and furniture
- Protective gloves and safety glasses
Choosing The Right Materials
Selecting the correct materials affects the look and durability of your skip trowel texture. Use quality products to get good results.
| Material | Purpose | Notes |
| Joint Compound | Creates the textured surface | Use lightweight or all-purpose compound |
| Primer | Prepares the wall for texture | Use a bonding primer for better adhesion |
| Paint | Finishes the textured wall | Flat or eggshell finish works well |
| Water | Thins the joint compound if needed | Add slowly to reach correct consistency |

Credit: www.youtube.com
Preparing The Wall Surface
Before applying a skip trowel texture, the wall surface must be ready. A smooth and clean wall helps the texture stick better and look great.
Proper preparation includes cleaning, fixing damage, and priming the wall. These steps create a strong base for your texture.
Cleaning And Repairing
Start by cleaning the wall to remove dust, dirt, and grease. Use a mild detergent and water with a sponge or cloth. Let the wall dry fully before moving on.
Check the wall for cracks, holes, or dents. Use spackle or joint compound to fill small holes and cracks. For bigger damage, use patching plaster. Sand the repaired areas smooth once dry.
- Remove loose paint or wallpaper
- Wash the wall with mild detergent
- Fill holes and cracks with spackle
- Sand repairs smooth for a flat surface
- Let the wall dry completely
Priming The Wall
Priming seals the wall and improves texture adhesion. Choose a primer that matches your wall type and finish.
Apply primer evenly using a roller or brush. Allow it to dry fully before starting the skip trowel texture. This step helps prevent peeling and uneven texture.
Mixing The Skip Trowel Compound
Creating a skip trowel texture involves mixing the compound to the right consistency. This guide will help you get started on this decorative wall finish.
The process requires selecting the right compound and ensuring it has the perfect consistency for application.
Selecting The Right Compound
Choosing the correct compound is crucial for a successful skip trowel texture. You will need a compound that adheres well to surfaces and provides a smooth finish.
- Choose a premixed joint compound for ease of use.
- Avoid compounds that are too thick or dry.
- Consider lightweight options for easy application.
Achieving The Perfect Consistency
The consistency of your compound affects the texture quality. It should be neither too runny nor too thick.
Here’s a simple test to check consistency:
- Scoop a small amount with a trowel.
- Hold it upside down.
- If it sticks without dripping, it’s perfect.
Adjust the mix by adding small amounts of water to reach the desired thickness. Mix thoroughly to ensure an even consistency.
Applying The Skip Trowel Texture
Skip trowel texture adds a subtle, decorative finish to walls and ceilings. It uses a drywall compound applied with a trowel to create a pattern with gaps.
This technique works well on drywall and plaster surfaces. It gives your room a unique look with a simple process.
Loading The Trowel
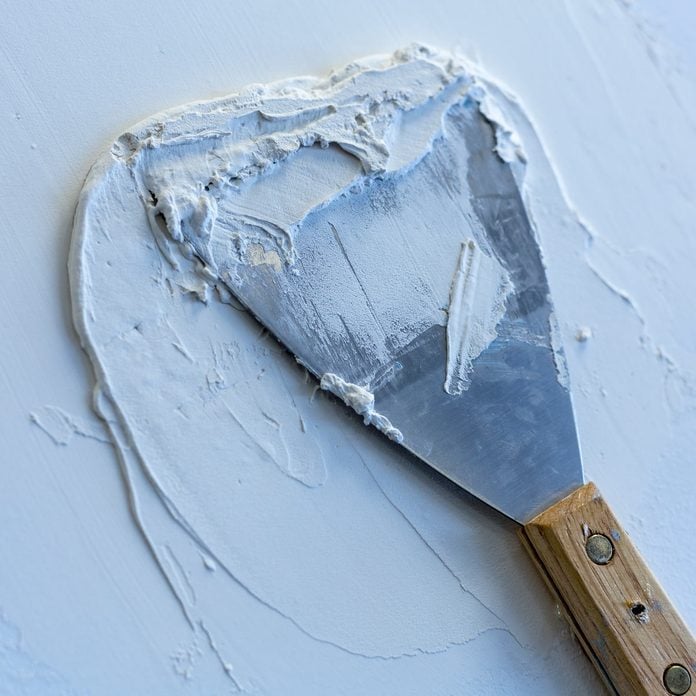
Start by scooping drywall compound onto your trowel. Use a 12-inch drywall knife for best results. Load only a small amount to avoid heavy application.
- Use a hawk or mud pan to hold your compound.
- Scoop a thin, even layer onto the trowel edge.
- Remove excess by scraping the trowel against the pan.
- Keep the compound slightly wet for easy spreading.
Creating The Skip Pattern
Apply the compound with a light touch. Hold the trowel at a 30 to 45-degree angle. Drag it across the wall, skipping spots to reveal the base surface.
| Action | Description |
|---|---|
| First Pass | Spread compound lightly in random areas, leaving gaps. |
| Second Pass | Fill in any uneven spots without covering gaps completely. |
| Drying | Let compound dry fully before painting or finishing. |
Tips For Even Application
Consistency helps create a balanced look. Use steady pressure and keep your trowel clean. Work in small sections to control the pattern.
- Keep the compound texture moist but not runny.
- Use overlapping strokes to avoid harsh lines.
- Practice on scrap drywall before starting your wall.
- Clean the trowel often to prevent dried compound buildup.
- Lightly sand after drying if needed for smoothness.
Drying And Finishing Touches
After applying the skip trowel texture, the drying and finishing process is key. Proper drying prevents cracks and prepares the surface for painting.
Finishing touches help create a smooth and attractive look. Follow these steps to get the best results.
Drying Time
Let the skip trowel texture dry fully before touching it. Drying can take from 24 to 48 hours depending on temperature and humidity.
- Avoid touching the surface during drying
- Keep the area well-ventilated
- Use fans to speed up drying if needed
- Check for any soft spots before sanding
Sanding And Smoothing
Once dry, sanding helps smooth rough edges and high spots. Use fine-grit sandpaper for best results.
| Tool | Purpose | Tip |
| Fine-grit sandpaper (120-150 grit) | Smooth texture surface | Sand lightly to avoid removing texture |
| Hand sander or sanding block | Even sanding | Use gentle pressure |
| Vacuum or brush | Remove dust | Clean surface after sanding |
Painting Over The Texture
Painting protects the texture and improves appearance. Use paint made for textured walls or ceilings.
Follow these tips for painting:
- Apply a primer coat first
- Use a thick-nap roller for better coverage
- Apply two coats of paint for durability
- Allow drying time between coats
Credit: www.familyhandyman.com
Common Mistakes To Avoid
Skip trowel texture can add a nice look to your walls. Avoiding common mistakes helps you get a good finish. Learn what to watch out for.
Many beginners make errors that affect the texture’s appearance. Fix these to save time and effort on your project.
Overworking The Texture
Working the texture too much can ruin the pattern. The skip trowel effect needs a light touch.
- Apply the compound with a trowel or knife smoothly.
- Do not go back over the texture after it starts to dry.
- Keep your strokes gentle and avoid pressing hard.
- Let the compound set before adding more layers.
Improper Compound Consistency
The texture compound must have the right thickness. Too thin or thick causes problems.
| Consistency | Effect on Texture |
| Too Thin | Runs and drips, no texture hold |
| Too Thick | Hard to spread, uneven texture |
| Proper | Easy to apply with visible skip pattern |
Skipping Surface Preparation
Good surface prep is key for the texture to stick and last. Skipping this step causes peeling and cracks.
- Clean the wall to remove dust and dirt.
- Fill holes and smooth rough spots.
- Prime the surface if needed for better adhesion.
- Allow the wall to dry completely before texturing.
Maintenance And Care Tips
Skip trowel texture adds a unique look to walls. Keeping it clean and well maintained helps it last longer. Proper care prevents damage and keeps walls looking fresh.
Follow simple steps to clean and repair textured walls. This guide shows easy ways to keep your skip trowel texture in great shape.
Cleaning Textured Walls
Dust and dirt can build up on skip trowel walls. Cleaning them gently protects the texture and paint. Use soft tools and mild cleaners to avoid damage.
- Use a soft brush or vacuum with a brush attachment to remove dust.
- Dampen a sponge with mild soap and water to wipe spots carefully.
- Avoid harsh chemicals or scrubbing tools that can wear the texture.
- Test any cleaner on a small hidden area first to check for color change.
- Dry the wall with a soft cloth to stop moisture from settling.
Repairing Damaged Areas
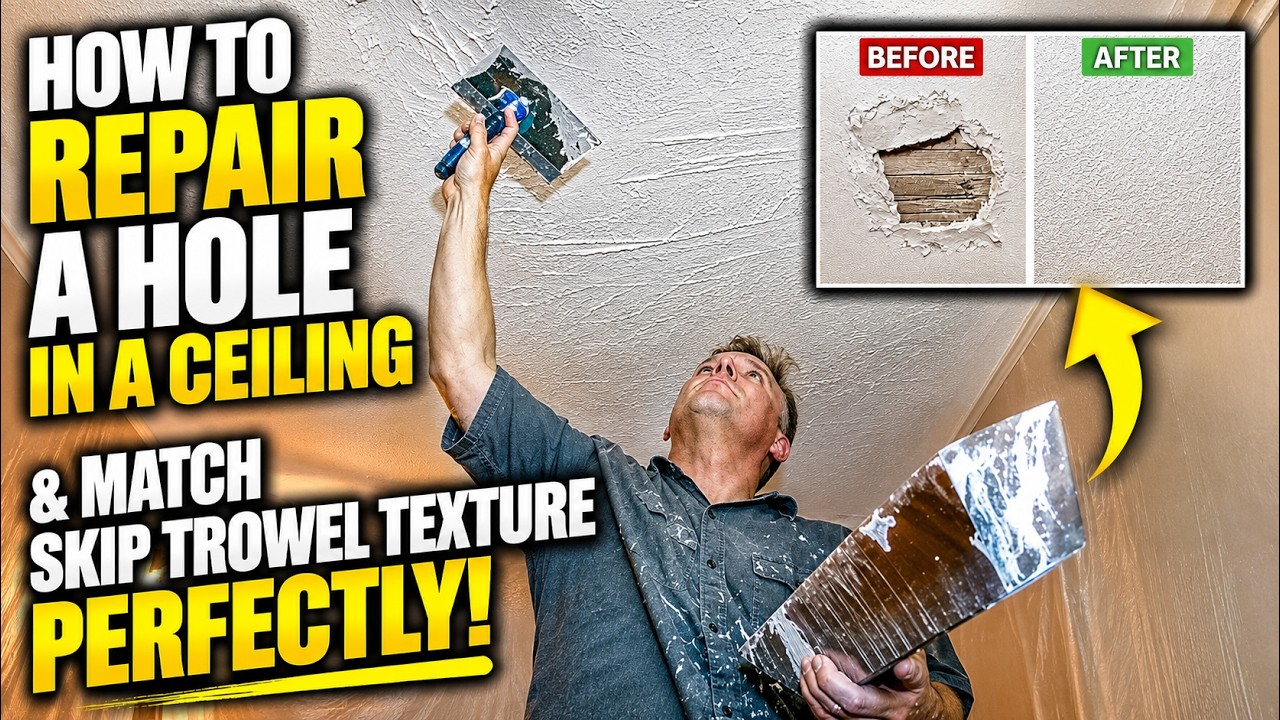
Small cracks or chips happen over time. Fix them quickly to keep walls strong and looking good. Proper repairs match the skip trowel texture and paint.
| Repair Step | Description | Tools Needed |
|---|---|---|
| Clean Area | Remove dust and loose material around the damage. | Brush, damp cloth |
| Apply Patch | Use joint compound or patching plaster to fill cracks or holes. | Putty knife, patching material |
| Texture Match | Create skip trowel texture while compound is wet using a trowel or sponge. | Trowel, sponge |
| Dry and Sand | Let dry fully, then lightly sand to blend edges. | Sandpaper |
| Paint | Touch up with matching paint for a seamless finish. | Paintbrush, matching paint |
Credit: www.youtube.com
Frequently Asked Questions
What Tools Are Needed For Skip Trowel Texture?
You need a trowel, hawk, joint compound, and a drywall knife. Optional tools include a paint roller and sprayer for application. These tools help create the skip trowel’s signature uneven, textured finish. Proper tools ensure a smooth and efficient application.
How Long Does Skip Trowel Texture Take To Dry?
Skip trowel texture typically dries within 24 hours. Drying time depends on humidity and temperature. Ensure the surface is completely dry before sanding or painting. Proper drying prevents cracks and ensures a durable finish.
Can Skip Trowel Texture Be Painted?
Yes, skip trowel texture can be painted easily. Use a primer first for better adhesion. Then apply your chosen paint with a roller or sprayer. Painting enhances the texture’s appearance and protects the wall surface.
Is Skip Trowel Texture Suitable For All Walls?
Skip trowel texture works best on drywall and plaster surfaces. It may not adhere well to textured or glossy walls. Always prep the wall by cleaning and patching holes for best results. Proper surface prep ensures long-lasting texture.
Conclusion
Skip trowel texture adds character to any wall. It hides imperfections and creates a unique look. The process takes patience but is worth the effort. Use the right tools and materials for best results. Practice on a small area before starting the full wall.
Clean your tools after each use to keep them ready. Enjoy the fresh look and feel of your textured wall. This simple technique can refresh your home’s style easily. Give it a try and see the difference yourself.