Are you tired of running back and forth between your kitchen and garden with a watering can? Imagine turning your kitchen faucet into a handy water source for your garden hose in just a few simple steps.
It sounds tricky, but you can do it yourself quickly and easily. In this guide, you’ll discover exactly how to attach a garden hose to your kitchen faucet without any hassle. Keep reading, and you’ll be watering your plants faster than ever before.
Choose The Right Adapter
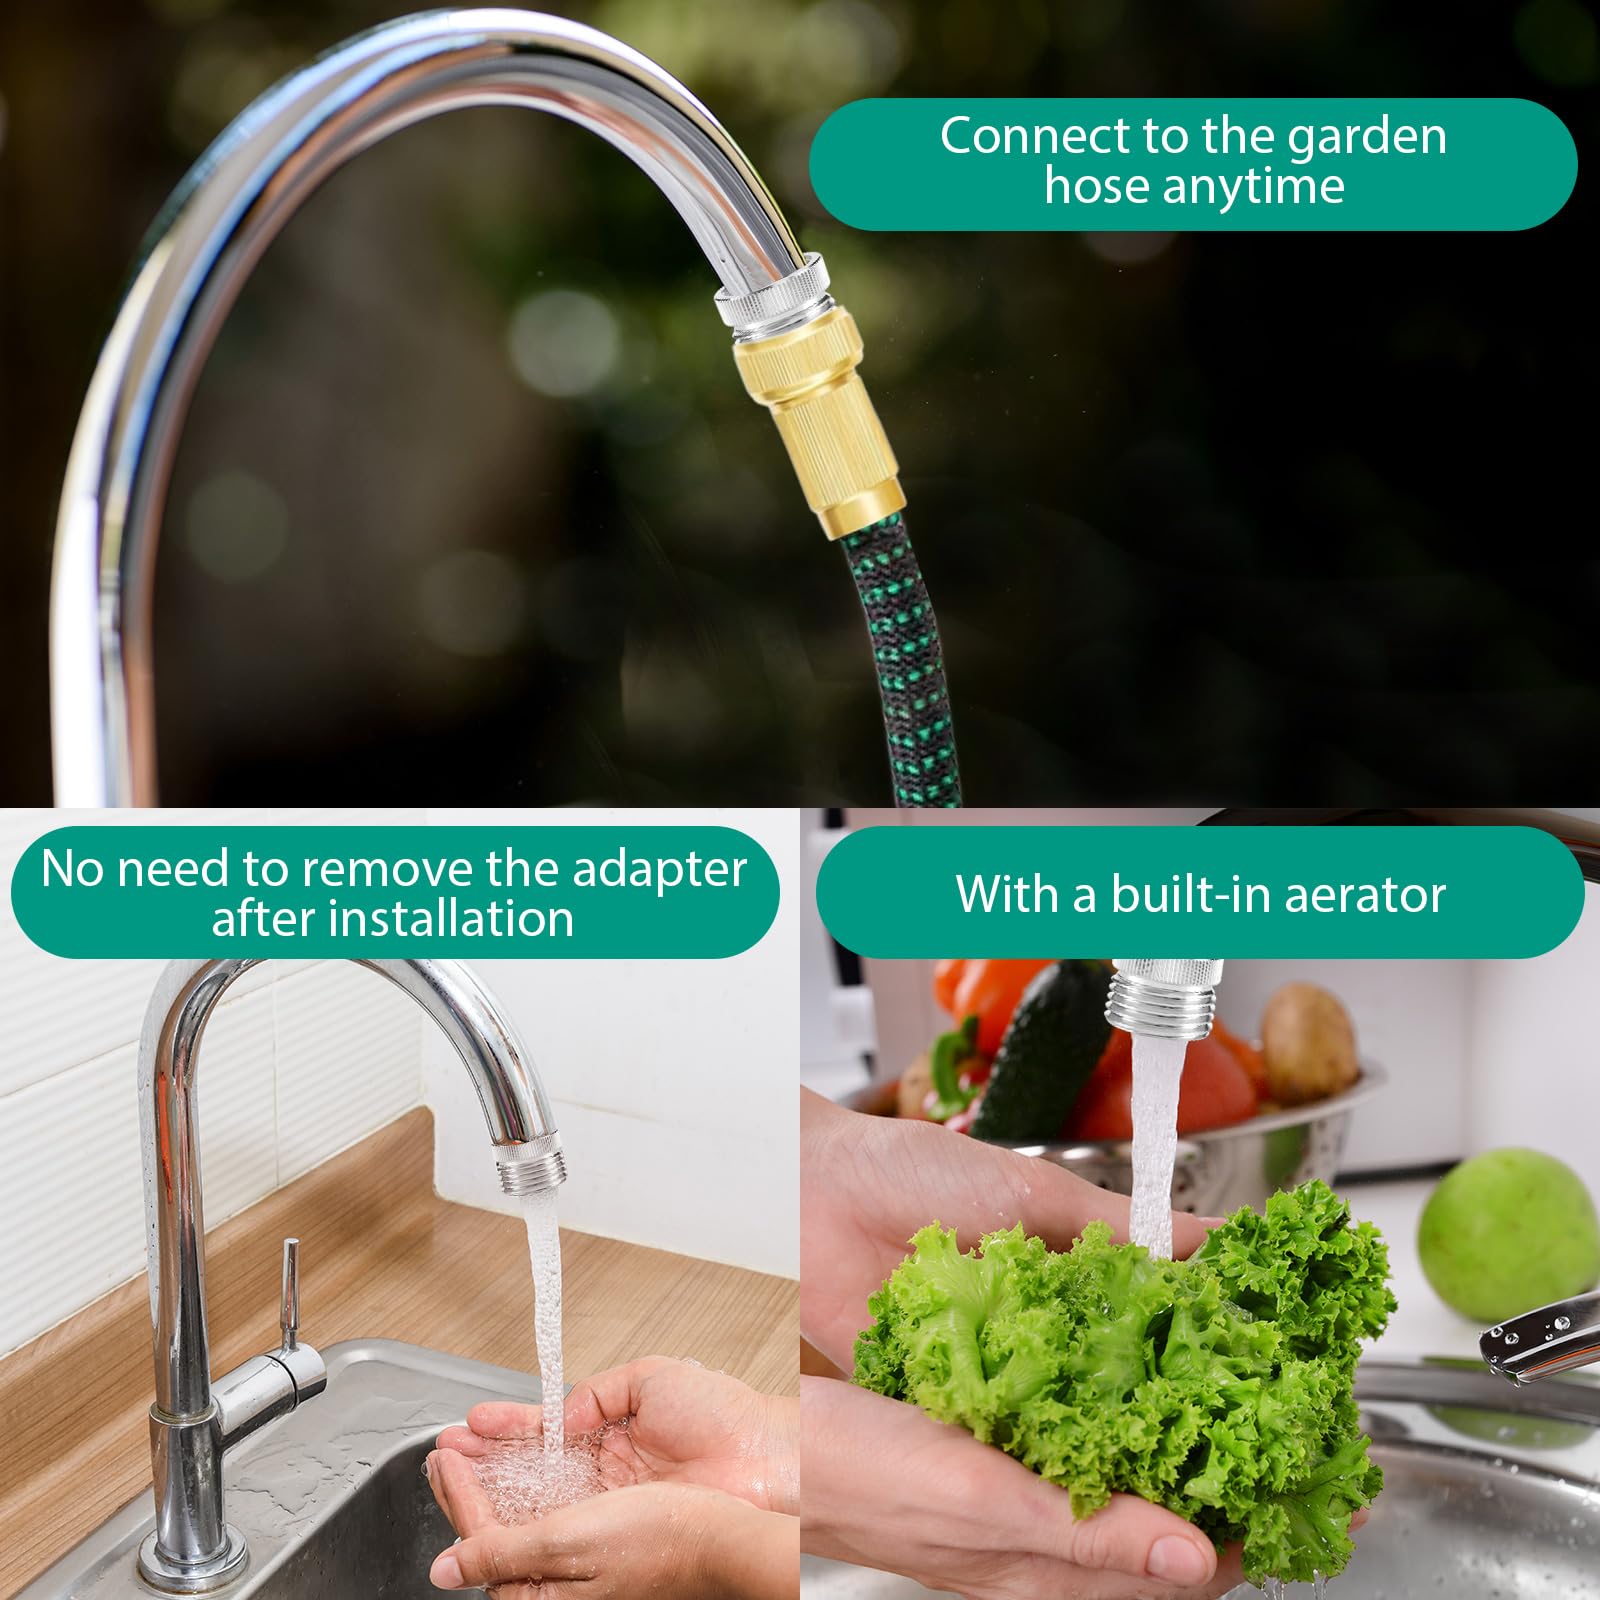
Attaching a garden hose to your kitchen faucet needs the right adapter. This makes sure the hose fits well and water flows smoothly.
Different faucets need different adapters. It is important to pick one that works with your faucet type and hose size.
Identify Faucet Type
Look at your kitchen faucet to find its type. Common types include threaded, non-threaded, and pull-out faucets.
- Threaded faucet:Has visible screw threads on the spout.
- Non-threaded faucet:No threads, smooth spout end.
- Pull-out faucet:Has a detachable spray head.
Knowing your faucet type helps you find an adapter that fits securely and prevents leaks.
Select Compatible Adapter
| Faucet Type | Adapter Needed | Notes |
| Threaded | Male or female threaded adapter | Match thread size (usually 15/16″ or 55/64″) |
| Non-threaded | Clamp-on or compression adapter | Fits over spout with rubber seal |
| Pull-out | Specialized adapter for spray head | May need to remove spray head first |
Check the adapter package for size and faucet type compatibility. Use adapters made of durable materials for long use.
Gather Necessary Tools
Attaching a garden hose to your kitchen faucet is simple. You need the right tools to make the job easy and safe.
Before you start, gather all the tools. This helps you work faster and avoid mistakes.
List Of Tools Needed
You will need a few basic tools to connect your garden hose to the kitchen faucet. These tools help secure the hose and prevent leaks.
- Adjustable wrench to tighten connections
- Threaded faucet adapter to fit the hose
- Rubber washer to prevent water leaks
- Teflon tape to seal threads
- Bucket or towel to catch water drips
Safety Precautions
Safety is important when working with water and tools. Take simple steps to avoid accidents and damage.
Turn off the water supply before starting. Use gloves if needed to protect your hands.
- Turn off faucet water to stop leaks
- Wear gloves to protect hands from sharp edges
- Keep tools dry to avoid slipping
- Work in a well-lit area
- Check for any cracks or damage on the hose
Prepare The Faucet
Attaching a garden hose to your kitchen faucet can be handy. First, you need to prepare the faucet properly. This ensures a good connection and prevents leaks.
Follow these steps to get your faucet ready. It will help you attach the hose securely and easily.
Clean Faucet Threads
Check the threads on your kitchen faucet. Dirt and grime can cause problems. Clean them carefully before attaching the hose.
Use a small brush or cloth to wipe the threads. Make sure they are free of any debris or rust.
- Inspect the threads for damage
- Use vinegar for stubborn grime
- Rinse with warm water
Remove Existing Attachments
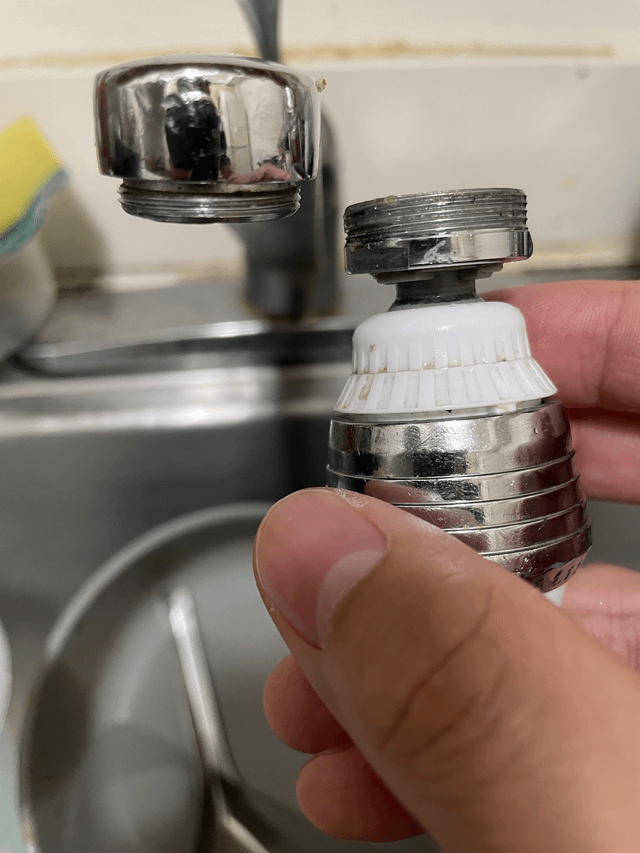
Your faucet might have a screen or aerator. These need to be removed. This allows the hose adapter to fit properly.
Gently unscrew the aerator by hand. Use pliers if needed, but be careful not to damage the threads.
- Check for washers or seals
- Keep removed parts safe for later
- Ensure the faucet end is clear

Credit: www.reddit.com
Attach The Adapter
Attaching a garden hose to a kitchen faucet is easy with the right adapter. This guide shows you how to attach the adapter securely. A proper fit prevents leaks and water waste.
The adapter connects your hose to the faucet. Make sure you have the correct size before starting.
Screw Adapter Onto Faucet
First, align the adapter with the faucet threads. Turn the adapter clockwise to screw it onto the faucet. Do not force it to avoid damage.
- Hold the faucet firmly.
- Place the adapter on the faucet opening.
- Twist the adapter clockwise until it is hand-tight.
- Stop when you feel resistance; avoid overtightening.
Ensure A Tight Seal
Check the connection to make sure no water leaks. Use a rubber washer inside the adapter for a better seal. If leaks appear, tighten the adapter slightly.
| Common Issue | Solution |
| Water dripping at connection | Check washer and tighten adapter |
| Adapter feels loose | Remove and re-screw carefully |
| Faucet threads damaged | Replace adapter or faucet part |
Connect The Garden Hose
Attaching a garden hose to your kitchen faucet lets you water plants easily. You will need the right adapter to connect them securely.
Follow simple steps to join the hose to the faucet and keep it tight. This helps prevent leaks and keeps water flowing well.
Attach Hose To Adapter
First, take the garden hose and slide the end over the adapter’s fitting. Make sure it fits all the way on.
The adapter connects the hose to the kitchen faucet. It has threads or a slip end to hold the hose firmly.
- Push hose onto adapter until it stops
- Check for a snug fit without gaps
- Twist slightly to help it fit better if needed
Secure With Hose Clamp If Needed
If the hose feels loose on the adapter, use a hose clamp to hold it tight. This stops water from leaking out.
Place the metal clamp over the hose end. Then tighten it with a screwdriver until it grips firmly.
- Slide clamp onto hose end
- Position clamp over adapter fitting
- Tighten clamp with screwdriver
- Check that hose is secure and won’t slip off

Credit: www.amazon.ca
Test The Connection
After attaching the garden hose to your kitchen faucet, it is important to test the connection. This step helps ensure water flows properly and prevents damage.
Check the connection carefully by turning on the water and looking for any issues. Proper testing keeps your setup safe and reliable.
Turn On Water Slowly
Open the kitchen faucet slowly to let water flow into the garden hose. This reduces pressure and avoids sudden bursts that might damage the hose or faucet.
- Turn the faucet handle just a little at first.
- Wait a few seconds to see how the water flows.
- Increase the flow gradually until fully open.
Check For Leaks
Look carefully at the connection points for any water leaks. Leaks can waste water and damage your faucet or hose.
| Location | What to Look For |
| Where hose meets faucet | Drips or moisture around the connector |
| Along the hose | Wet spots or cracks |
| Hose end | Water escaping near the nozzle |
Troubleshoot Common Issues
Attaching a garden hose to your kitchen faucet can sometimes cause problems. Knowing how to fix these issues saves time and water.
Two common problems are leaks and low water pressure. Below are simple ways to handle them.
Fixing Leaks
Leaks often happen where the hose connects to the faucet. Check the washer inside the connector for damage.
Replace worn washers to stop water from dripping. Also, make sure the connector is tight but not too tight.
- Turn off water before disconnecting the hose
- Inspect the rubber washer inside the connector
- Replace the washer if it looks cracked or flat
- Hand-tighten the connector to avoid stripping threads
Dealing With Low Water Pressure
Low water pressure can make watering plants slow and frustrating. It can be caused by blockages or loose fittings.
Clean the faucet aerator and check the hose for kinks. Tighten all connections to improve flow.
- Remove and clean faucet aerator screen
- Straighten any bends or kinks in the hose
- Check for clogs inside the hose or faucet
- Tighten all hose and faucet connections
Credit: www.amazon.com
Maintain Your Setup
Keeping your garden hose attached to your kitchen faucet in good shape helps it last longer. Regular care prevents leaks and damages.
Simple maintenance steps make sure your setup works well all year. Check it often and prepare for seasonal changes.
Regular Inspection
Look at the hose and faucet connection every week. Check for cracks, leaks, or loose fittings. Tighten or replace parts if needed.
Cleaning the faucet area keeps dirt from clogging the hose. Wipe it with a damp cloth to remove dust and grime.
- Inspect hose for cracks or holes
- Check faucet threads for rust or damage
- Tighten connectors to stop leaks
- Clean faucet and hose ends regularly
Seasonal Care Tips
Before cold weather, remove the hose from the faucet. Drain water to stop freezing and cracking. Store the hose indoors during winter.
In warm seasons, reconnect the hose carefully. Check for damage caused by winter cold. Replace washers if they feel hard or cracked.
- Detach and drain hose before winter
- Store hose in a dry, warm place
- Check washers and connectors in spring
- Replace any worn parts before use
Frequently Asked Questions
How Do I Connect A Garden Hose To A Kitchen Faucet?
To connect, first check your faucet’s aerator size. Remove the aerator and attach a faucet adapter. Screw the garden hose onto the adapter tightly to avoid leaks. This setup allows easy water access for outdoor tasks from your kitchen faucet.
What Tools Are Needed To Attach A Hose To Faucet?
You generally need a wrench, pliers, and a faucet adapter. The wrench helps remove the aerator, while pliers secure connections. The adapter fits your faucet and hose sizes. These tools ensure a snug, leak-free fit for your garden hose.
Can I Use A Kitchen Faucet For Outdoor Watering?
Yes, using a kitchen faucet for outdoor watering is possible. With the proper adapter, your hose can connect securely. This method is convenient for watering plants or washing outdoors without a dedicated outdoor spigot.
How To Prevent Leaks When Attaching Garden Hose Indoors?
Ensure the adapter fits your faucet snugly. Use plumber’s tape on threads for a tight seal. Tighten connections firmly but avoid over-tightening. These steps help prevent leaks and protect your kitchen faucet from water damage.
Conclusion
Attaching a garden hose to your kitchen faucet is easy and quick. You only need a few simple tools and parts. Make sure the connection is tight to avoid leaks. Always turn off the water when not in use. This setup saves time and water for small garden tasks.
Now, you can water plants or clean outdoor areas with ease. Try it today and enjoy the convenience at home. Simple steps, useful results.