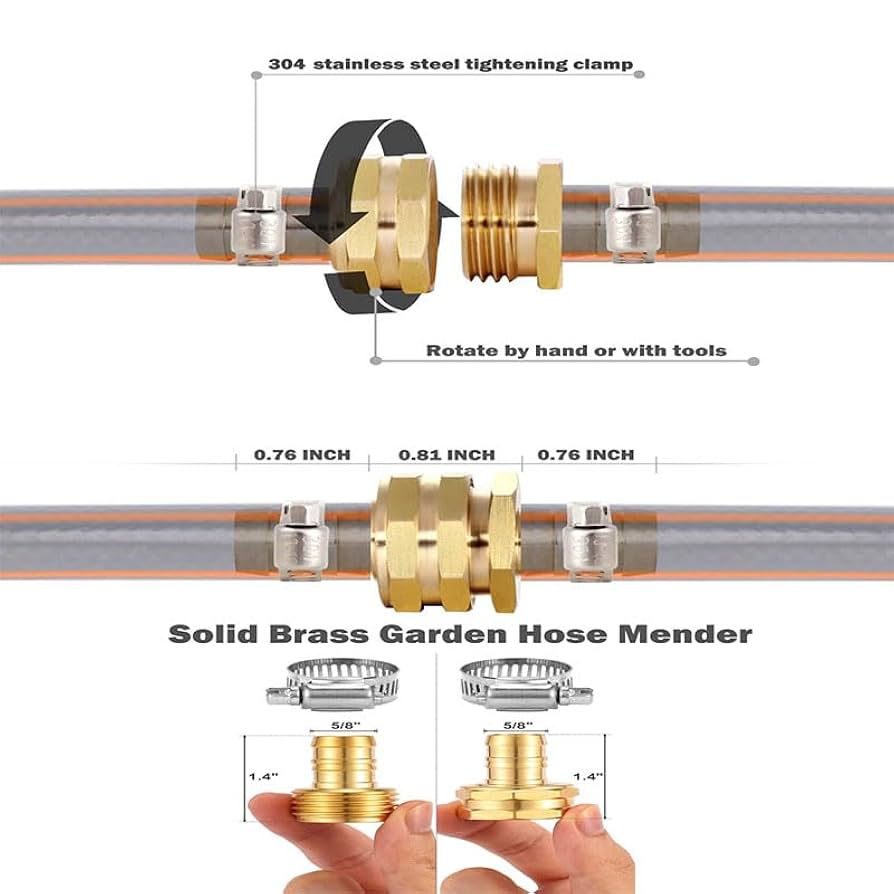
Is your garden hose leaking or the end cracked? Don’t let a small problem stop your watering routine.
You can fix it quickly and save money by replacing the garden hose end yourself. In this guide, you’ll learn simple steps to get the job done right, even if you’re not a DIY expert. Keep reading to find out how easy it is to restore your hose and keep your garden thriving.

Credit: diy.stackexchange.com
Tools And Materials Needed
Replacing a garden hose end is a simple task. It saves you money and keeps your hose working well.
Before starting, gather the right tools and materials. This helps the job go smoothly.
Types Of Hose Ends
Garden hose ends come in different types. Knowing them helps you pick the right one for replacement.
- Threaded Ends: Most common, screw onto the faucet or nozzle.
- Quick Connect Ends: Snap on and off easily for fast changes.
- Crimped Ends: Permanently attached with a metal ring for a tight seal.
- Clamp Ends: Use a clamp to secure the end to the hose.
Essential Tools
You need a few simple tools to replace the hose end. These tools make the work easier and faster.
- Utility Knife or Hose Cutter: To cut the hose cleanly.
- Adjustable Wrench or Pliers: To tighten or loosen fittings.
- Screwdriver: Needed if your hose end uses clamps.
- Replacement Hose End: The new fitting you will attach.
- Teflon Tape: Helps create a leak-proof seal on threaded ends.
Choosing The Right Replacement
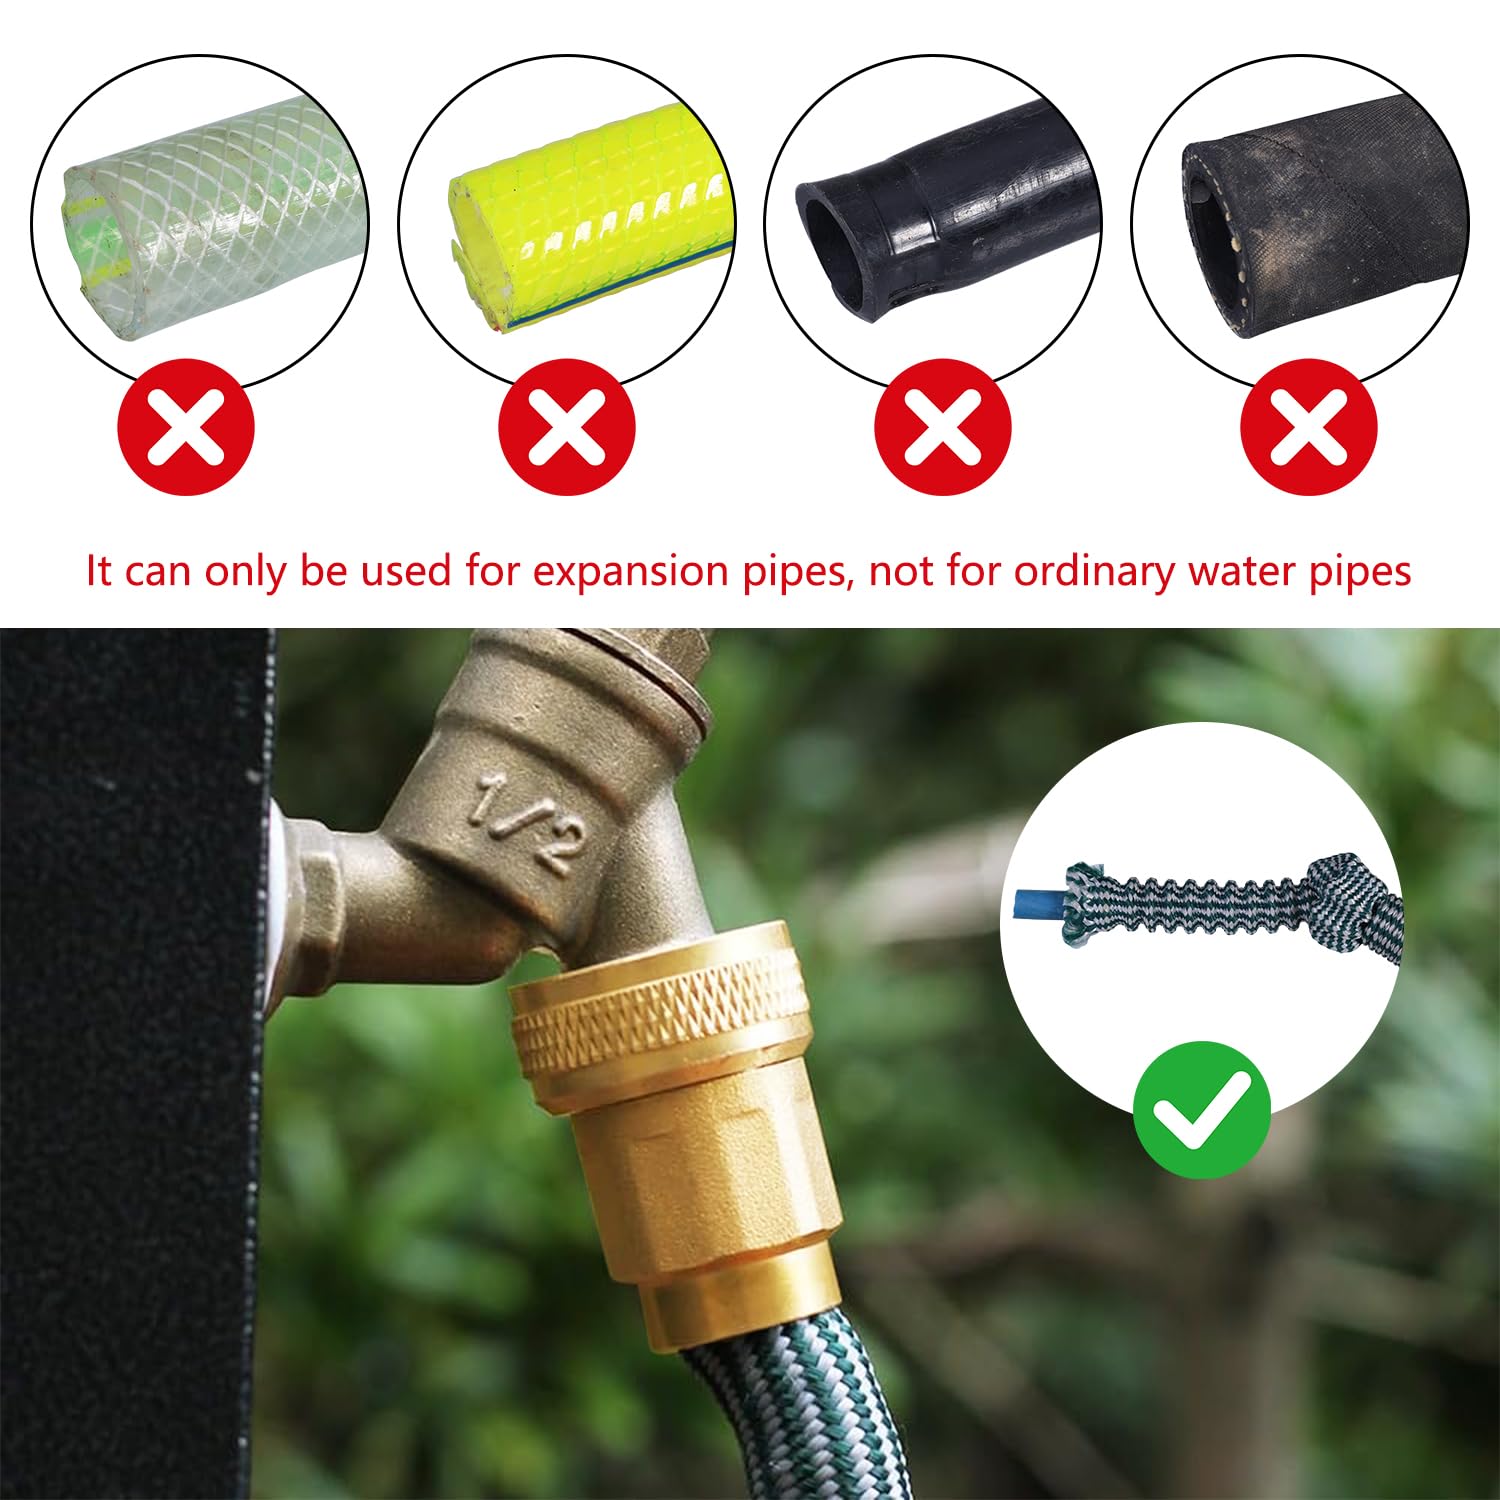
Pick a hose end that fits your hose size and type. Check the diameter and connection style.
Using the wrong size or type can cause leaks or damage. Match the new end to your hose carefully.
- Measure the hose diameter before buying.
- Choose a metal end for durability or plastic for light use.
- Select threaded or quick connect based on your needs.
- Buy a hose end with a clamp if your hose is thick or stiff.
Preparing The Hose
Replacing a garden hose end starts with preparing the hose properly. This helps ensure a good seal and stops leaks.
Follow these steps to get your hose ready before attaching a new end.
Draining The Water
First, drain all water from the hose. Water left inside can cause problems when cutting or attaching a new end.
Lift one end of the hose and let water flow out until no more comes out.
Cutting The Damaged End
Use a sharp knife or garden shears to cut off the damaged part of the hose. Make a straight cut across the hose.
A clean cut helps the new hose end fit tightly and prevents leaks.
Cleaning The Hose Edge
After cutting, clean the hose edge to remove dirt and loose pieces. This ensures a good seal with the new end.
- Wipe the hose edge with a damp cloth
- Remove any small bits of hose material
- Check that the edge is smooth and even
Attaching The New Hose End
Replacing a garden hose end is easy with the right steps. Follow this guide to attach the new hose end securely.
Ensure you have the necessary tools like a clamp and screwdriver. This will make the process smoother.
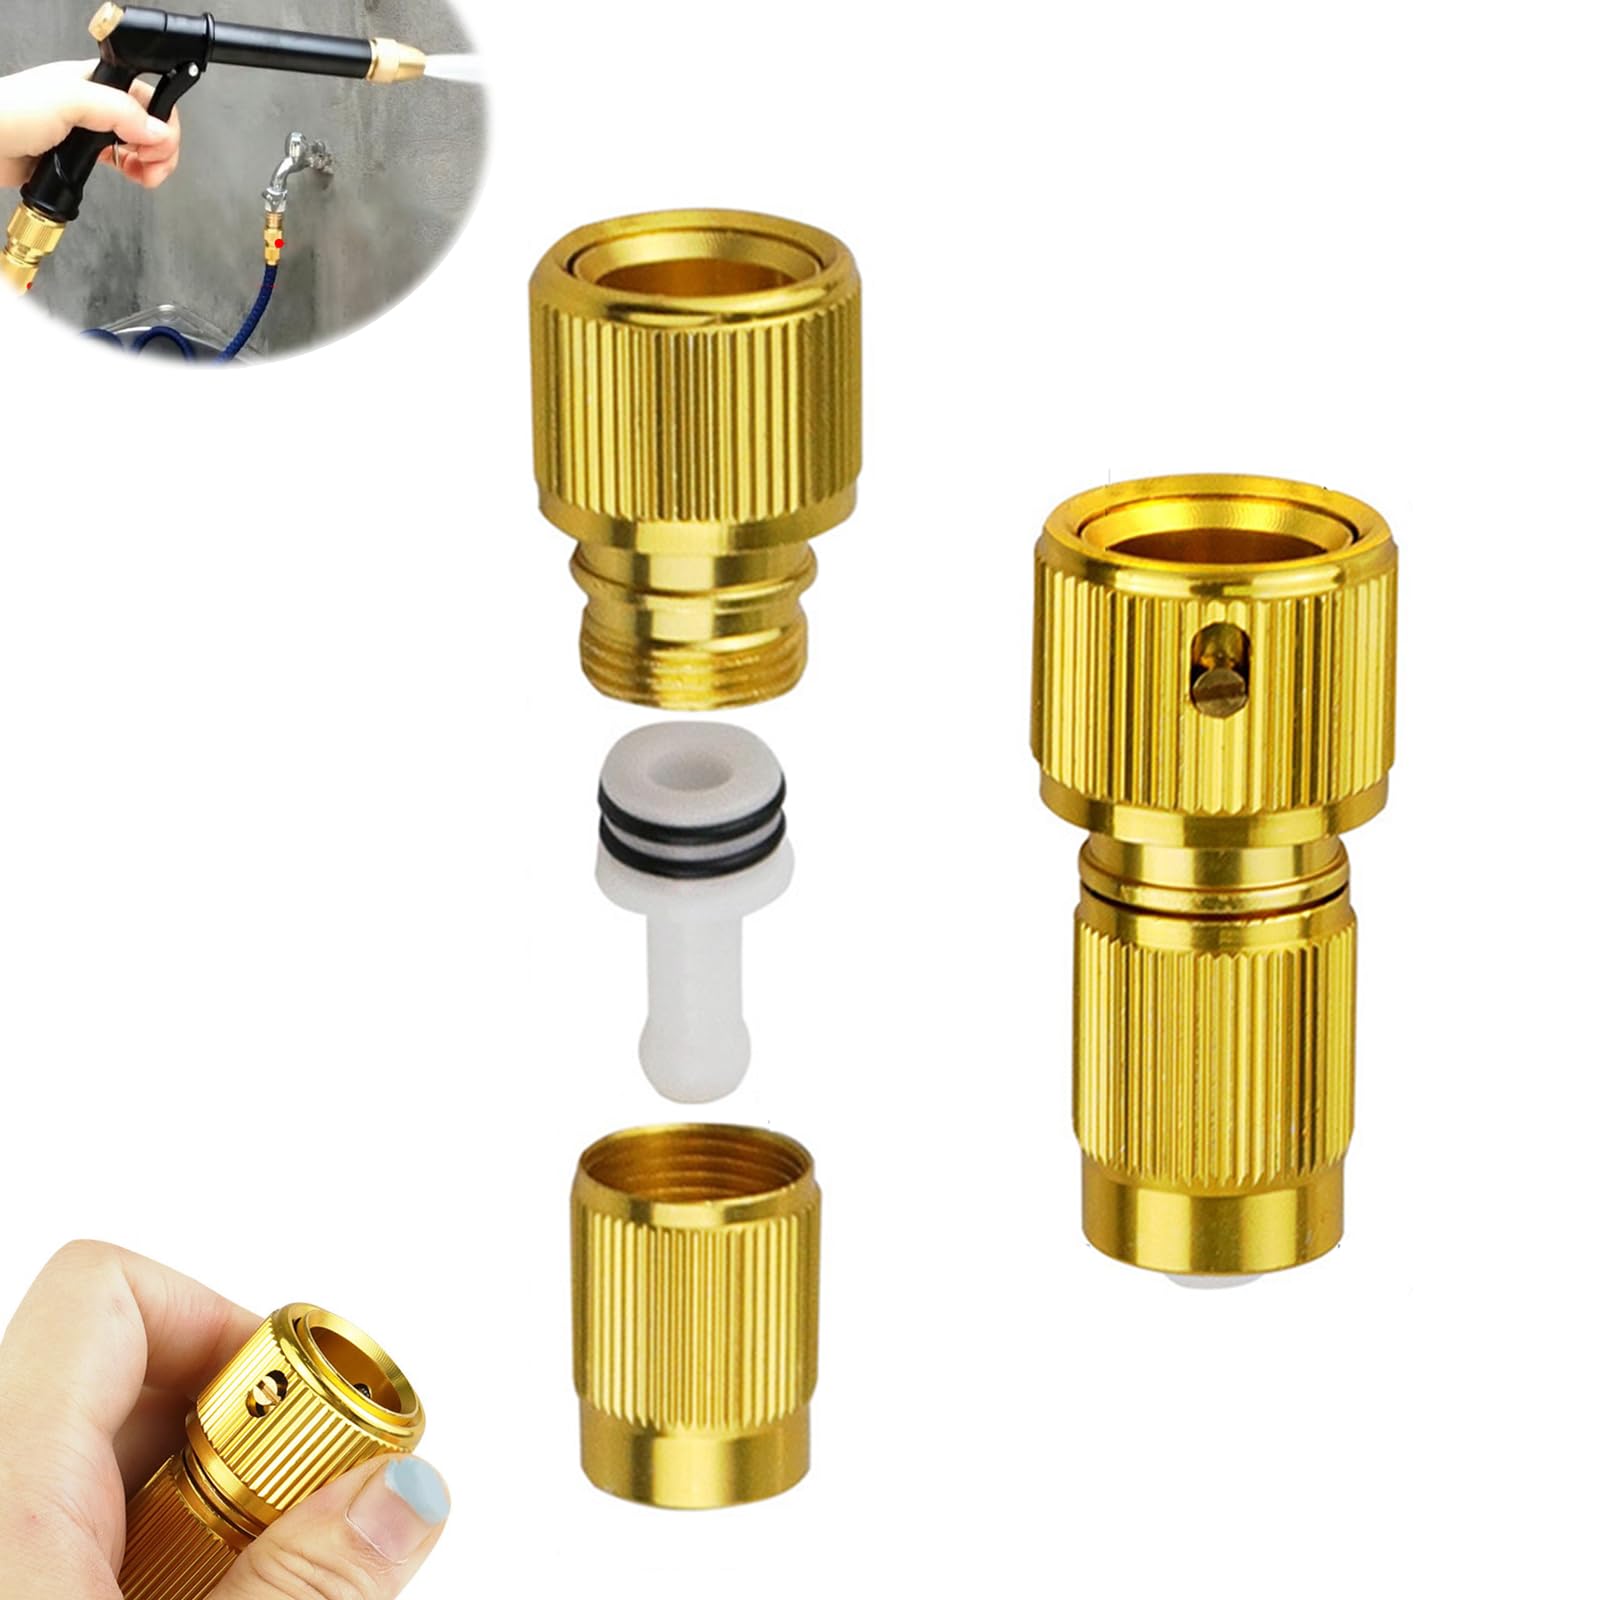
Inserting The Hose Barb
Insert the hose barb into the hose opening. Make sure it fits snugly to avoid leaks.
If the hose is too tight, soak the end in warm water. This softens the material for easier insertion.
Securing With A Clamp
Slide the clamp over the hose end before placing the barb. Position it near the end of the hose.
Tighten the clamp using a screwdriver. This keeps the hose barb securely in place.
- Use a stainless steel clamp for durability
- Ensure the clamp is not too tight to prevent hose damage
- Check for any leaks after securing
Tightening Techniques
Tighten the hose end by turning the clamp screw clockwise. A firm grip ensures no water escapes.
Avoid over-tightening as it can damage the hose. Stop when the hose feels secure.
| Clamp Type | Best Use |
| Worm Gear Clamp | General garden hoses |
| Spring Clamp | Temporary fixes |
Credit: www.amazon.ca
Testing The Connection
After replacing the garden hose end, it is important to test the connection. This step ensures the hose works correctly without wasting water.
Follow simple checks to confirm the hose end fits well and does not leak. Proper testing saves time and prevents damage.
Checking For Leaks
Turn on the water slowly and watch the connection point. Look for any water drops or wet areas that show a leak.
- Check around the hose end for drips.
- Feel for moisture on the hose surface.
- Listen for hissing sounds indicating escaping water.
Adjusting The Fit
If you find leaks, tighten the hose end by hand. Avoid over-tightening to prevent damage to the threads.
Use this table to decide how to adjust the fit:
| Problem | Fix |
|---|---|
| Loose connection | Turn hose end clockwise to tighten |
| Still leaking after tightening | Check if washer is damaged or missing |
| Cracked hose end | Replace hose end with new part |
Final Inspection
After adjustments, turn on the water fully. Watch the hose for a few minutes to confirm no leaks appear.
- Ensure water flows freely through the hose.
- Check that the hose end stays firmly attached.
- Look for any new signs of wear or damage.
Tips For Longer Hose Life
Replacing a garden hose end can save your hose and keep it working well. Taking care of your hose helps it last longer. Simple habits can prevent damage and leaks.
These tips focus on storage, maintenance, and avoiding common problems. Follow them to get the most from your garden hose.
Proper Storage
Store your hose correctly to stop cracks and kinks. Keep it out of the sun and cold weather. Roll it up gently without tight bends.
- Use a hose reel or hanger to keep it off the ground
- Drain all water before storing
- Keep it in a shaded or covered area
- Do not leave it under heavy objects
Regular Maintenance
Check your hose often for leaks and weak spots. Clean the ends and fittings to avoid rust and dirt buildup. Tighten loose connections to prevent water loss.
| Maintenance Task | Frequency | Tip |
| Inspect hose for leaks | Once a month | Look for cracks or holes |
| Clean hose ends | Every use | Remove dirt and debris |
| Tighten fittings | Every 3 months | Use pliers carefully |
| Flush hose | Every 6 months | Run water to clear blockages |
Avoiding Common Damage
Prevent damage by handling your hose gently. Do not drag it over sharp edges or step on it. Avoid leaving it under hot sun for long periods.
- Keep hose away from animals that may chew it
- Do not use hose to pull heavy objects
- Replace worn-out ends before leaks start
- Use protective covers on fittings if possible
Credit: www.amazon.com
Frequently Asked Questions
How Do I Remove A Damaged Garden Hose End?
To remove a damaged hose end, cut the hose straight with a sharp knife. Then, unscrew or pull off the old fitting carefully. If stuck, use pliers for a better grip. Always ensure the hose is empty and dry before starting.
What Tools Are Needed To Replace A Garden Hose End?
You need a sharp utility knife, adjustable pliers, and a new hose end fitting. Optionally, use plumber’s tape for a tighter seal. These tools help cut, remove, and securely attach the new hose end without leaks.
Can I Replace A Garden Hose End Without Special Skills?
Yes, replacing a garden hose end is simple and requires no special skills. Follow clear steps: cut the hose, remove the old end, and attach the new fitting tightly. Basic tools and a little patience are all you need.
How Do I Prevent Leaks After Replacing A Hose End?
Ensure the hose is cut evenly and the fitting is pushed in fully. Use plumber’s tape around threads for extra sealing. Tighten the connection firmly but avoid over-tightening, which can damage the hose or fitting.
Conclusion
Replacing a garden hose end is simple and saves money. You only need basic tools and a few minutes. Take your time to avoid leaks and ensure a tight fit. A well-fixed hose end keeps your watering tasks smooth. Try it yourself and enjoy a hassle-free garden.
Small repairs like this make a big difference. Keep your hose ready for any outdoor work. You can do it!