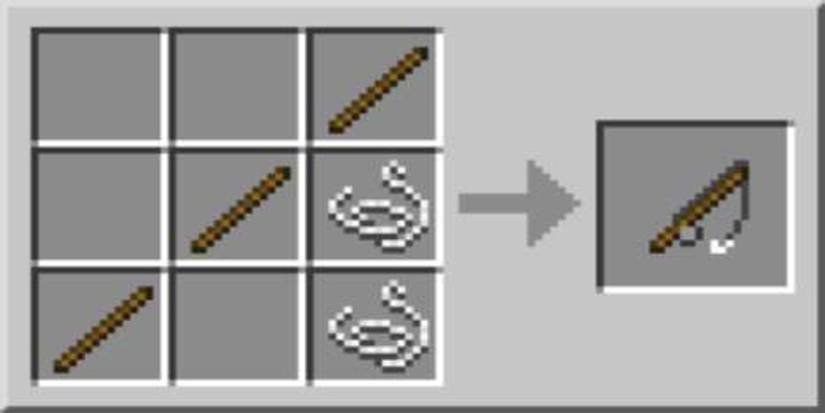
Have you ever dreamed of catching fish with a rod you built yourself? Making your own fishing rod can be a fun and rewarding experience.
It lets you customize every part to fit your style and needs. Plus, knowing you crafted it with your own hands makes every catch feel even better. In this guide, you’ll discover simple steps to create a fishing rod that works just right for you.
Ready to turn your fishing trips into something truly special? Let’s get started!

Credit: anglersresource.net
Choosing The Right Materials
Making a fishing rod starts with selecting the best materials. The right choices ensure strength and comfort.
This guide covers key parts like rod blanks, guides, reel seats, and grips to help you pick well.
Selecting Rod Blanks
Rod blanks form the core of your fishing rod. They affect how the rod bends and performs.
- Graphite blanks are light and sensitive.
- Fiberglass blanks offer durability and flexibility.
- Composite blanks combine graphite and fiberglass features.
- Choose blank length based on fishing type and location.
Picking Suitable Guides
Guides direct the fishing line along the rod. They reduce friction and improve casting.
| Guide Material | Strength | Weight | Cost |
| Stainless Steel | High | Heavy | Low |
| Titanium | Very High | Light | High |
| Aluminum Oxide | Moderate | Light | Medium |
Choosing Reel Seats
Reel seats hold the reel firmly to the rod. Comfort and durability matter here.
Look for reel seats made from strong materials like graphite or aluminum. Check thread quality for tight fitting.
Handling Grip Options
Grips give you control and comfort. They affect how long you can fish without pain.
- Cork grips are light and feel natural.
- EVA foam grips resist water and are easy to clean.
- Combining cork and foam can give comfort and durability.
- Choose grip size that fits your hand well.

Credit: anglersresource.net
Essential Tools For Rod Building
Building a fishing rod needs the right tools. These tools help you shape and assemble the rod parts. Using proper tools makes the process easier and safer.
This guide covers the basic tools, special rod building tools, and safety equipment you need. Each group plays an important role in making a strong fishing rod.
Basic Toolkit Requirements
You need a basic toolkit for general tasks. This toolkit helps you cut, measure, and shape rod materials. These are common tools found in most toolboxes.
- Measuring tape or ruler for accurate measurements
- Sharp scissors or a utility knife for cutting thread and tape
- Pliers for gripping and bending parts
- Screwdrivers for tightening reel seats
- Sandpaper for smoothing rod blanks and handles
- Small hammer for light tapping tasks
Specialized Rod Building Tools
Specialized tools help you work on rod-specific parts. These tools make your work precise and neat. They improve the quality of the finished rod.
- Rod drying motor to spin the rod while applying finish
- Thread tensioner to keep wraps tight and even
- Guide wrapping jig for placing and wrapping guides accurately
- Epoxy mixer and brushes for applying coatings
- Rod blank holder to secure the rod during work
- Heat source like a heat gun for curing epoxy
Safety Equipment
Safety equipment protects you from injuries. It also keeps your workspace clean and safe. Always use safety gear while building rods.
- Protective gloves to avoid cuts and burns
- Safety glasses to protect your eyes from dust and debris
- Respirator mask to avoid inhaling fumes from epoxy and dust
- Apron or old clothes to protect your skin and clothing
- Well-ventilated workspace to reduce harmful fume exposure
Step-by-step Rod Assembly
Building your own fishing rod is rewarding and fun. This guide helps you assemble a fishing rod step by step.
Follow these simple instructions to create a rod that suits your fishing style.
Preparing The Rod Blank
The rod blank is the main part of your fishing rod. You need to prepare it before adding other parts.
Check for any cracks or damage. Sand the blank lightly to make it smooth.
Attaching The Guides
Guides help the fishing line move smoothly. You need to attach them to the rod.
Align the guides on the rod blank. Use tape to hold them in place temporarily.
- Start with the largest guide
- Evenly space the guides along the blank
- Check alignment with a string
Installing The Reel Seat
The reel seat holds the fishing reel in place. It is important to install it securely.
Slide the reel seat onto the rod blank. Make sure it fits snugly and aligns with the guides.
Securing The Handle
The handle is where you hold the rod while fishing. Secure it properly for comfort and control.
Attach the handle to the bottom of the rod blank. Use glue to ensure it stays in place.
- Choose a comfortable grip material
- Ensure the handle is balanced
- Let the glue dry completely
Techniques For Wrapping Guides
Wrapping guides is a key step in making fishing rods. It holds the guides firmly in place. Good wrapping helps the rod last longer and work better.
This guide covers how to choose threads, wrap guides, and apply finishes. These steps will help you create strong, neat wraps.
Choosing Thread Types
Select thread that matches your rod’s use and style. Threads come in different thicknesses and colors. Strong thread prevents breaks during fishing.
Nylon and polyester threads are common. Nylon is soft and stretches a bit. Polyester is tough and holds shape well.
- Use thin thread for small guides
- Pick thicker thread for heavy rods
- Match thread color to rod blank or guides
- Choose smooth thread for easy wrapping
Wrapping Methods
Keep thread tight and even when wrapping. Start with a base wrap to secure the guide foot. Wrap forward with close turns to cover the foot.
Cross wraps add strength by crossing the thread at angles. Finish with tight wraps to lock the guide in place. Cut thread close after wrapping.
- Hold tension steady while wrapping
- Make wraps tight and close together
- Use cross wraps for extra durability
- Secure thread end with a half hitch knot
Applying Finishes
Finishes protect the thread and add shine. Use epoxy or varnish to cover wraps. Apply thin coats to avoid bubbles or runs.
Let each coat dry fully before adding more. Smooth finishes keep wraps strong and water-resistant. Use a brush or dip for even coverage.
- Choose clear epoxy for strong, glossy finish
- Apply multiple thin coats for best results
- Dry wraps in a rod dryer or rotating jig
- Handle rod carefully until finish cures fully
Customizing Your Rod
Making a fishing rod lets you build a tool that fits your needs. Customizing your rod makes fishing more fun and personal.
You can change many parts of the rod to match your style. This guide covers adding personal touches, balancing, testing, and fixing issues.
Adding Personal Touches
Personal touches make your rod unique and easy to spot. You can use colors, wraps, and grips to show your style.
Adding decorations also helps you feel connected to your rod. Choose designs that make you happy and proud.
- Use colored thread for wrapping guides
- Pick a comfortable grip material
- Add decals or stickers for style
- Use custom reel seats
Balancing And Testing
Balance your rod so it feels good in your hands. A well-balanced rod helps you cast better and reduces fatigue.
Test your rod by casting with different weights. Adjust parts if it feels heavy or awkward.
- Hold the rod near the handle to check balance
- Add or remove weight from the tip if needed
- Try casting with light and heavy lures
- Make sure the rod flexes smoothly
Troubleshooting Common Issues
Sometimes rods have problems like weak spots or loose guides. Find and fix these issues early for better use.
Fixing problems keeps your rod safe and working well. Check it before every fishing trip.
- Check guides for cracks or bends
- Tighten loose wraps with glue
- Replace damaged grips or handles
- Look for cracks in the rod blank
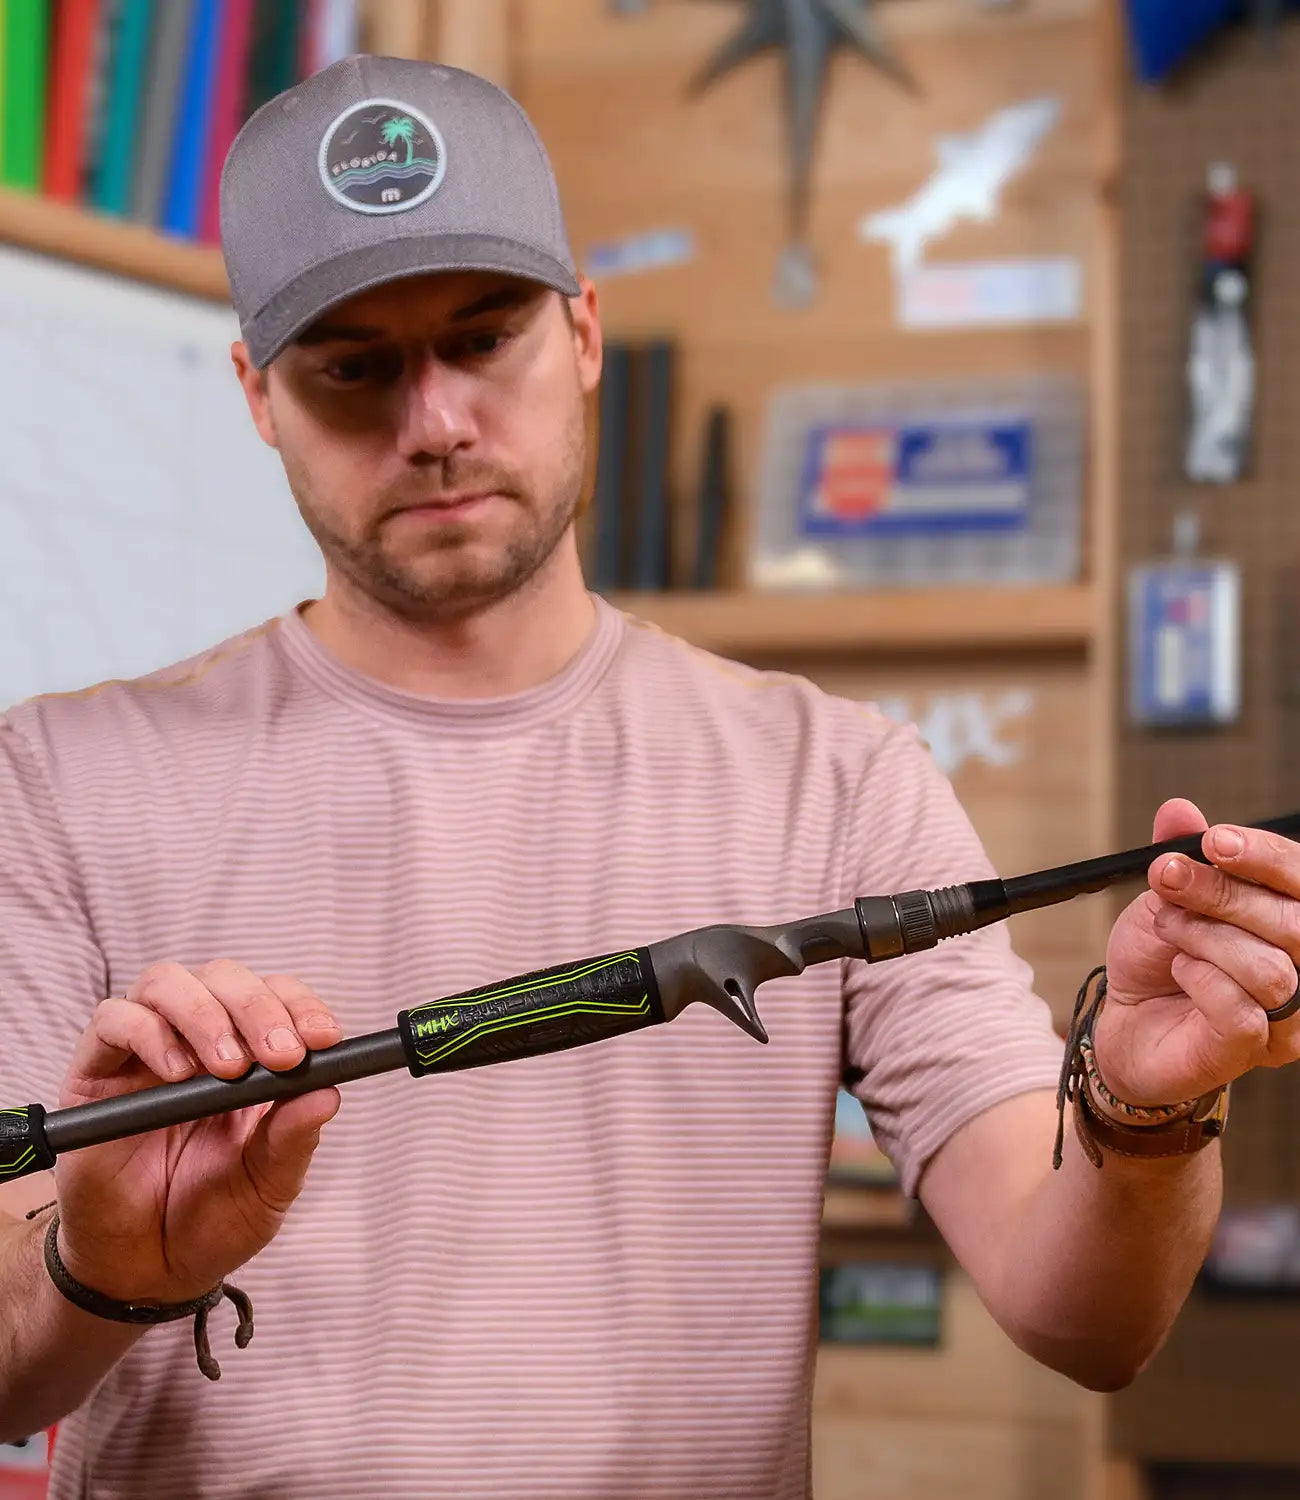
Credit: mudhole.com
Care And Maintenance Tips
Taking care of your fishing rod helps it last longer. Proper maintenance keeps it working well every time.
Simple care steps can prevent damage and improve your fishing experience. Learn how to clean, store, and fix your rod.
Cleaning Your Rod
Clean your rod after each use to remove dirt and salt. Use fresh water and a soft cloth for the best results.
Check guides and reel seats for buildup. Gently wipe these parts to keep them smooth and free from damage.
- Rinse rod with fresh water
- Use mild soap if needed
- Wipe with a soft cloth
- Dry completely before storage
Storage Recommendations
Store your fishing rod in a dry place away from sunlight. Avoid leaning it against walls, which can bend the rod.
Use a rod holder or rack to keep it straight. Cover the rod to protect it from dust and pests.
- Keep rod in a cool, dry area
- Use rod holders or racks
- Cover rod with a cloth or sleeve
- Keep away from heavy objects
Repairing Minor Damages
Fix small cracks or loose guides quickly to avoid bigger problems. Use rod repair glue for cracks and replace worn guides.
Check the handle for wear. Wrap new grip tape if the old one is damaged or slippery.
- Use repair glue for small cracks
- Replace damaged guides carefully
- Rewrap or replace worn grips
- Inspect rod regularly for damage
Frequently Asked Questions
What Materials Are Needed To Make Fishing Rods?
You need fiberglass or graphite for the rod, cork for the handle, guides, reel seat, and strong fishing line. Quality materials ensure durability and good performance.
How Do You Assemble A Fishing Rod Properly?
Start by attaching the guides evenly along the rod blank. Secure the reel seat and handle firmly. Ensure all parts align straight for balance and strength.
What Is The Best Fishing Rod Length For Beginners?
A rod between 6 to 7 feet is ideal for beginners. It offers good control, casting distance, and versatility for various fishing types.
How Can I Customize My Fishing Rod?
You can customize by choosing handle grip type, color, guide style, and rod action. Personalizing improves comfort and fishing experience.
Conclusion
Making your own fishing rod takes patience and care. Each step builds a stronger, more personal tool. You learn how materials work together for the best results. This process also makes fishing more rewarding and fun. Keep practicing, and your skills will grow with every rod.
Enjoy the quiet moments by the water with your handmade gear. Simple tools and clear steps help you succeed. Give it a try, and feel proud of your creation.