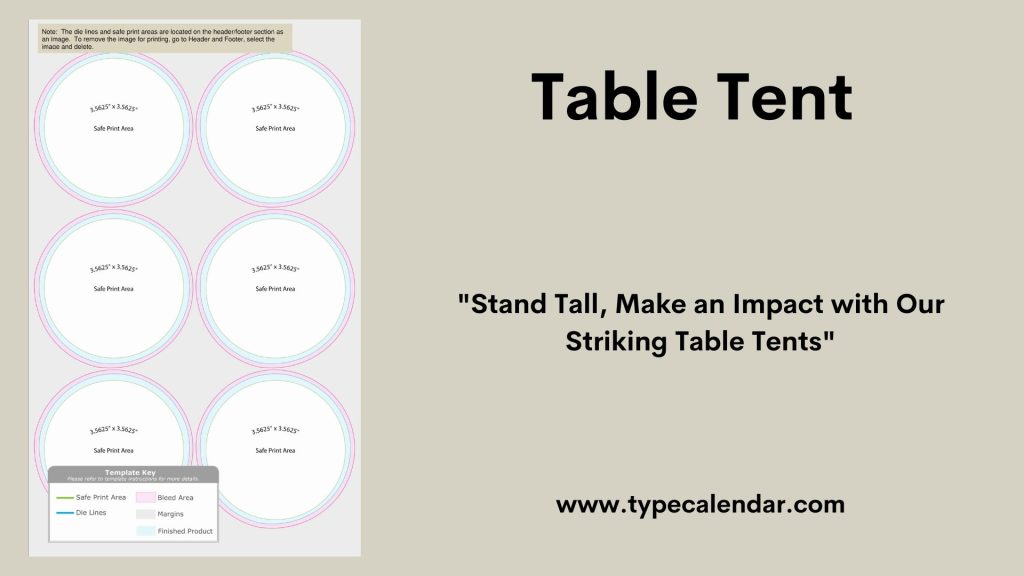
Are you looking for a simple way to grab your customers’ attention and boost your business? Table tents are a powerful tool that can help you do just that.
They sit right on your tables, making your message impossible to miss. Whether you want to promote a special offer, highlight a new product, or share important information, creating eye-catching table tents can make a big difference. You’ll discover easy steps to design and create table tents that stand out and get results.
Ready to turn your tables into marketing magnets? Let’s dive in!
Materials Needed
Creating table tents requires some basic materials. These items help you make sturdy and attractive tents.
Knowing what materials to use will make the process easier and the final product better.
Paper Types
Choose the right paper for durability and appearance. Cardstock is a popular choice because it is thick and holds its shape well.
- Matte cardstock for a smooth, non-glossy finish
- Glossy cardstock for a shiny, vibrant look
- Recycled paper for an eco-friendly option
- Water-resistant paper for outdoor use
Cutting Tools
Precise cutting tools help you create clean edges and professional shapes. Choose tools that fit your skills and project size.
| Tool | Description | Best For |
|---|---|---|
| Utility Knife | Sharp blade with replaceable edges | Straight cuts on thick paper |
| Scissors | Easy to use and widely available | Simple shapes and small cuts |
| Paper Trimmer | Guide rail for precise straight cuts | Cutting multiple sheets evenly |
| Cutting Mat | Protects surfaces and blades | Used with knives for safe cutting |
Design Software
Use design software to create your table tent layout. These tools help you add text, images, and shapes easily.
- Canva: Simple and web-based for beginners
- Adobe Illustrator: Advanced vector design tool
- Microsoft Word: Basic design with templates
- Inkscape: Free and open-source vector graphics
Choosing The Right Size
Table tents come in many sizes. Picking the right one helps your message stand out. Size affects visibility and space on the table.
Think about where you will place the table tents. Consider the table size and how much text you want to include.
Standard Dimensions
Standard table tents have common sizes that work well in many settings. These sizes balance visibility with space efficiency.
| Size | Height | Width | Description |
|---|---|---|---|
| 4 x 6 inches | 4 inches | 6 inches | Most popular size for menus and promotions |
| 5 x 7 inches | 5 inches | 7 inches | Great for detailed information or images |
| 3.5 x 8.5 inches | 3.5 inches | 8.5 inches | Good for narrow spaces and long text |
Custom Sizes
Custom sizes allow you to fit specific needs or unique table shapes. You can design a table tent that matches your brand or space.
- Measure the space on your tables carefully
- Decide how much text or images you want to include
- Choose a size that keeps your message clear and readable
- Consider folding style to ensure stability
Design Tips
Table tents catch attention on tables and counters. Good design helps them stand out and share your message.
Focus on clear colors, easy-to-read fonts, and striking images. These elements work together to make your table tents effective.
Color Schemes
Choose colors that match your brand and attract the eye. Use contrast so text is easy to read on any background.
- Pick two to three main colors for consistency
- Use light backgrounds with dark text for clarity
- Add accent colors to highlight important details
- Avoid too many bright colors that clash
Typography Choices
Font style and size make your message clear or confusing. Choose fonts that are simple and easy to read from a distance.
| Font Type | Best Use | Example |
| Sans-serif | Headings and titles | Arial, Helvetica |
| Serif | Body text for a classic look | Times New Roman, Georgia |
| Script | Special accents or invitations | Brush Script, Pacifico |
| Display | Bold titles or logos | Impact, Bebas Neue |
Image Selection
Images add interest and support your message. Use high-quality pictures that fit your theme and space.
Keep these tips for images:
- Choose clear, sharp photos with good lighting
- Use images that relate to your product or event
- Avoid cluttered or busy pictures
- Make sure images fit well within your table tent size
Layout Setup
Creating table tents is a great way to grab attention. The layout setup is crucial for a professional look.
A proper layout ensures your message is clear. Follow these guidelines for a perfect table tent.
Folding Lines
Folding lines show where the paper should be folded. They help in achieving neat folds.
Make sure folding lines are clear. Use dotted lines for easy visibility.
- Mark folding lines in light gray
- Ensure lines are evenly spaced
- Use a ruler for precision
Margins And Bleeds
Margins and bleeds are important for printing. They prevent important content from being cut off.
Set margins at least 0.25 inches from the edge. Bleeds allow colors to extend beyond the trim line.
- Use 0.125-inch bleeds for full-color designs
- Keep text within safe margins
- Check design software for margin settings
Printing Options
Table tents are small but effective marketing tools. Choosing the right printing method helps you get the best results. You can print table tents at home or use professional services.
This guide explains two main printing options. You will learn about home printing and professional printing services for table tents.
Home Printing
Printing table tents at home saves time and money. You can print small batches quickly. Use good quality cardstock for best results.
- Choose thick paper (at least 80lb or 200gsm)
- Use a color laser or inkjet printer
- Set your printer to the highest quality print
- Cut the printed sheets carefully with a paper cutter
- Fold the tents along the lines for a clean finish
Professional Printing Services
Professional printers offer many options for table tents. They print on heavy card stock and use precise cutting tools. You get a polished look that stands out.
| Service | Paper Options | Finish Types | Price Range |
| Digital Printing | Matte, Glossy, Satin | UV Coating, Lamination | $0.50 – $2.00 per piece |
| Offset Printing | Heavy Cardstock, Recycled Paper | Matte, Glossy, Spot UV | $0.30 – $1.50 per piece |
| Custom Shapes & Sizes | Varies by printer | Die-cut, Embossing | Varies |
Cutting And Folding
Creating table tents requires careful cutting and folding. These steps help the table tents stand well and look neat.
Good cutting and folding improve the overall look and durability of your table tents.
Precise Cutting Techniques
Use a sharp blade or scissors for clean cuts. Dull tools can cause rough edges and tear the paper.
Measure twice before cutting to avoid mistakes. Use a ruler or cutting mat to guide your cuts.
- Choose thick paper or cardstock for sturdiness
- Mark cutting lines lightly with pencil
- Cut slowly and steadily along the lines
- Use a metal ruler for straight edges
- Cut on a protected surface to avoid damage
Folding Methods
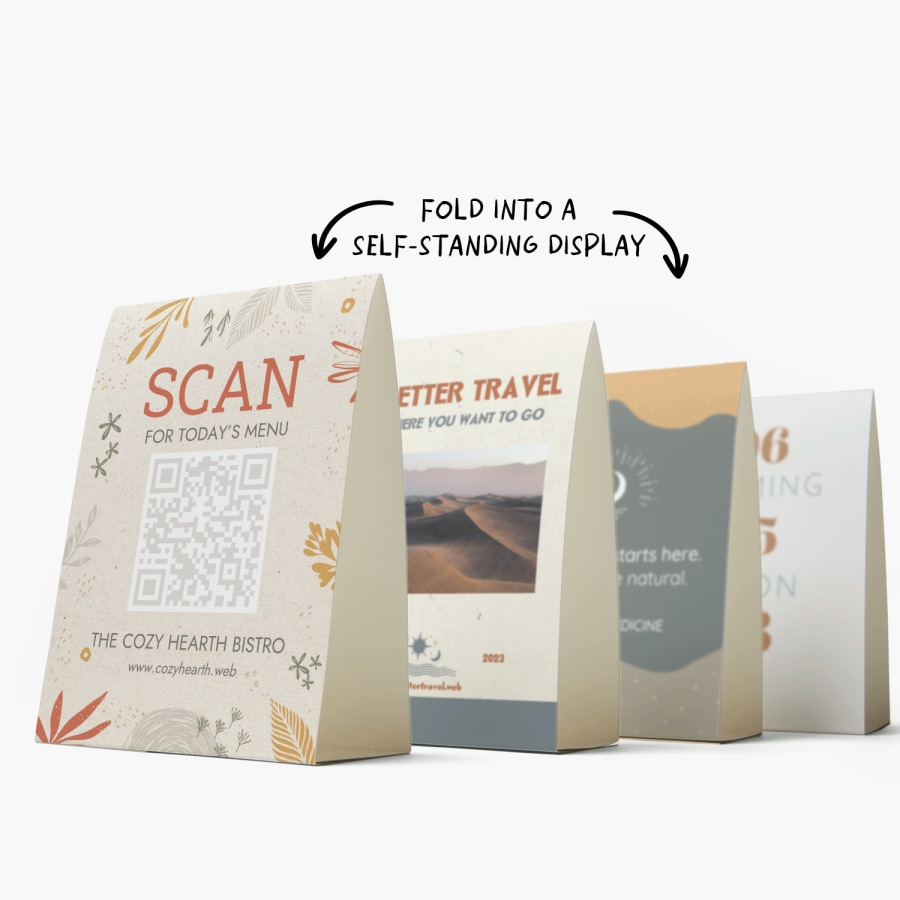
Fold table tents carefully along the scored lines. This makes folding easier and cleaner.
Use a bone folder or the edge of a ruler to press folds flat. Crisp folds help the tent stand well.
- Score fold lines lightly before folding
- Fold inward or outward depending on design
- Press folds firmly for sharp edges
- Check that the tent stands evenly after folding
- Adjust folds slightly if the tent wobbles
Adding Finishing Touches
Adding finishing touches makes your table tents look complete and professional. These details help protect and decorate your creation.
Two common finishing touches are laminating and adding embellishments. Both improve durability and style.
Laminating
Laminating covers your table tents with a thin plastic layer. This layer protects the paper from spills and tears.
You can use a laminating machine or self-adhesive sheets. Laminated tents last longer and look shiny.
- Choose a matte or glossy finish
- Trim edges after laminating for a clean look
- Use thicker lamination for more strength
Embellishments
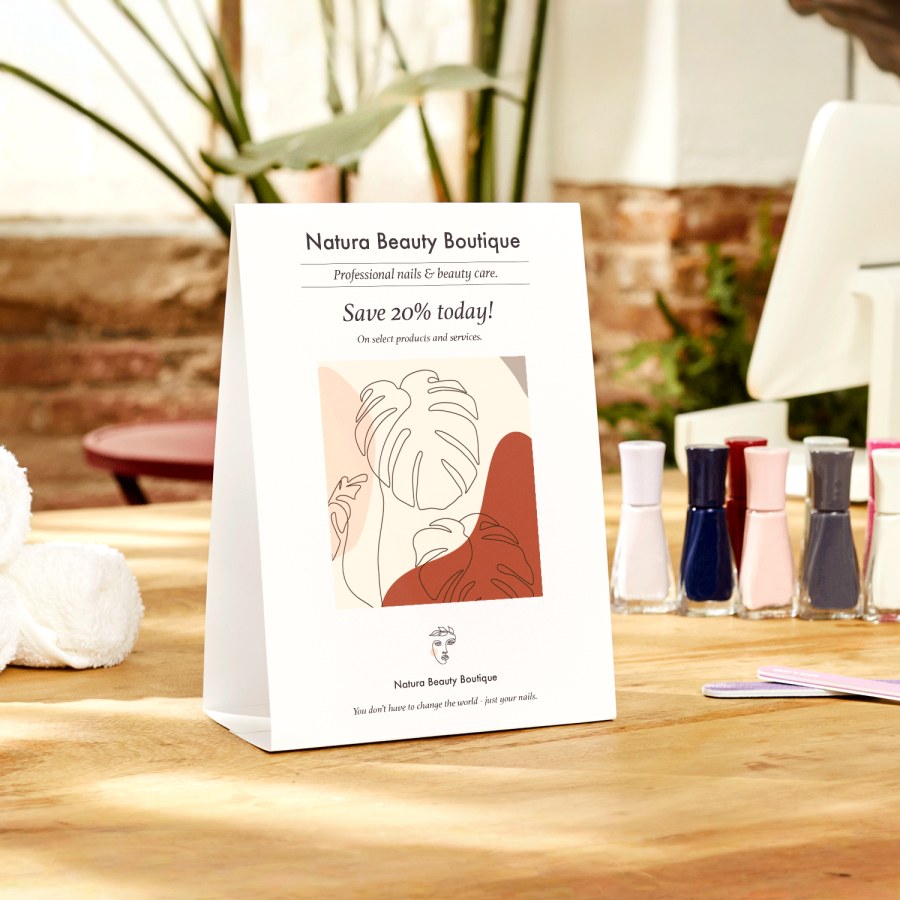
Embellishments add style and catch attention. You can use stickers, ribbons, or stamps to decorate your table tents.
Keep embellishments simple so they do not hide important information. They should enhance the design, not clutter it.
- Add small stickers to corners
- Use ribbons to tie tents for a festive look
- Stamp logos or patterns lightly on the edges
Credit: www.vistaprint.ca
Common Mistakes To Avoid
Table tents help share information clearly. Avoid mistakes that confuse readers or waste space.
Focus on design and content to make table tents effective. Simple errors can reduce their impact.
Overloading With Text
Too much text makes a table tent hard to read. People see it quickly and need clear points.
- Use short sentences and bullet points.
- Highlight key information only.
- Avoid long paragraphs or complex words.
Poor Font Choice And Size
Fonts that are too small or fancy reduce readability. Choose simple fonts with good size.
| Common Font Mistakes | Better Choices |
| Using script or decorative fonts | Sans-serif fonts like Arial or Helvetica |
| Font size below 12 points | Font size between 14 to 18 points |
| Poor contrast with background | Dark text on light background or vice versa |
Ignoring Brand Consistency
Table tents that don’t match your brand look unprofessional. Use your brand colors and logo.
Brand consistency tips:
- Use your brand’s color palette
- Include your logo clearly
- Keep font styles consistent with other materials
Neglecting The Call To Action
Every table tent should guide readers to act. Missing calls to action lose chances to engage customers.
- Use clear, simple phrases like “Order now” or “Ask for details.”
- Place the call to action where it is easy to see.
- Make the action sound helpful and relevant.
Creative Uses
Table tents are small display signs that stand on tables. They catch attention in many places. You can use them in creative ways to share information or promote ideas.
Here are some ideas to use table tents for events, promotions, menus, and announcements. These uses add style and clarity to your space.
Events And Promotions
Table tents help highlight special events or promotions. They fit well on reception desks, party tables, or trade show booths. Use them to share key details or encourage participation.
- Show event dates and times clearly.
- Promote limited-time offers or discounts.
- Provide directions or schedules for attendees.
- Feature guest speakers or performers.
- Encourage social media sharing with hashtags.
Menus And Announcements
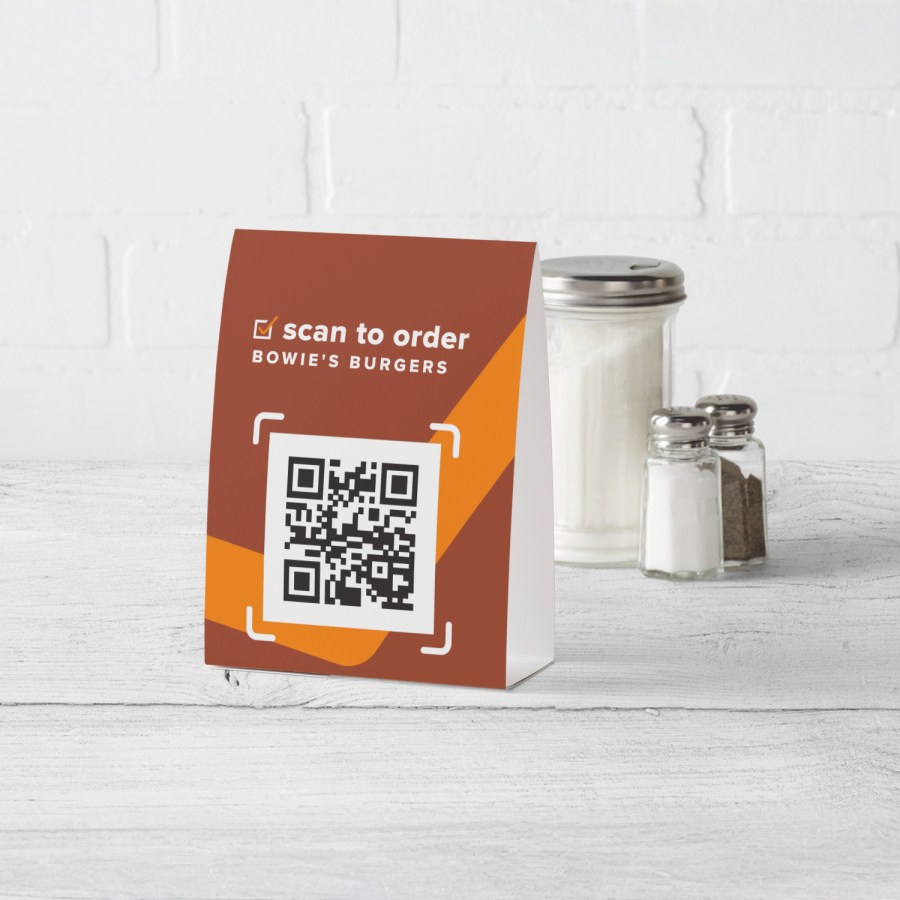
Table tents work well for menus and announcements in restaurants or cafes. They can display daily specials, new dishes, or important notices to customers.
| Use | Details |
|---|---|
| Daily Specials | Highlight fresh or seasonal dishes |
| New Items | Draw attention to recently added menu options |
| Allergy Notices | Inform customers about allergens or dietary info |
| Event Announcements | Share upcoming live music or theme nights |
Credit: www.vistaprint.ca
Credit: www.vistaprint.ca
Frequently Asked Questions
What Materials Are Needed To Create Table Tents?
To create table tents, you need sturdy cardstock, a printer, scissors, and a ruler. Optional items include markers and laminating sheets for durability and design customization.
How Do I Design An Effective Table Tent?
Design an effective table tent by keeping text clear, using bold headings, and including eye-catching images. Ensure the message is concise and relevant to grab attention quickly.
What Are The Common Sizes For Table Tents?
Common table tent sizes include 4×6 inches and 5×7 inches. These sizes fit well on tables and offer enough space for clear messaging without being bulky.
Can I Use Digital Tools To Create Table Tents?
Yes, digital tools like Canva, Adobe Illustrator, and Microsoft Word help create professional table tent designs easily. They offer templates and customization options for unique looks.
Conclusion
Creating table tents is simple and effective for any setting. Choose clear designs and strong materials. Keep messages short and easy to read. Use colors that catch attention but stay neat. Place table tents where people can easily see them.
Regularly update your content to stay fresh. These small steps help your table tents stand out. Try making your own and see the difference. It’s a smart way to share information quietly but clearly. Give it a try and enjoy the results.