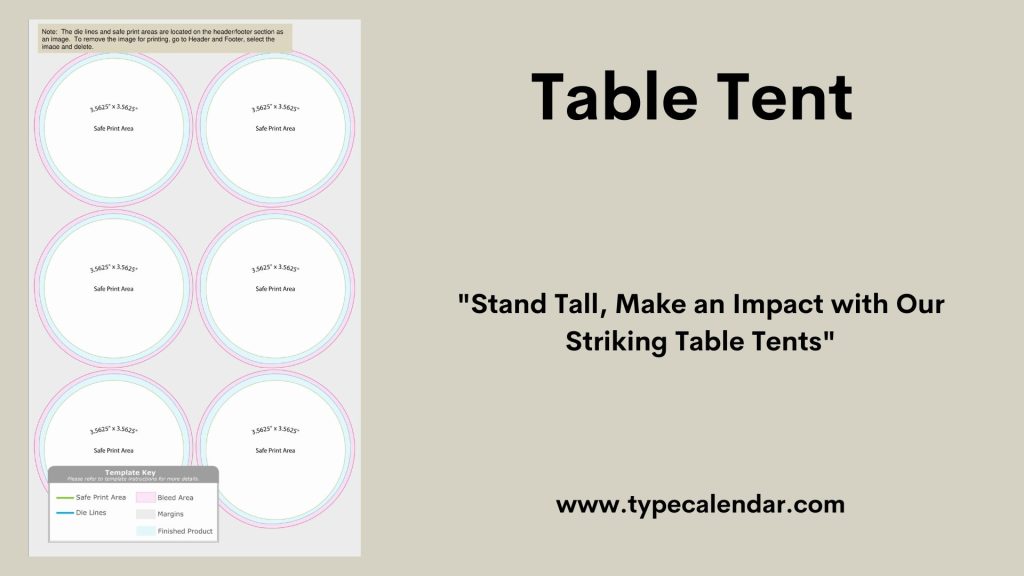
Looking to make your events, meetings, or promotions stand out? Creating table tents in Word is easier than you think—and it can give your space a professional, eye-catching touch.
Whether you want to showcase a menu, highlight special offers, or share important information, table tents are the perfect solution. In this guide, you’ll learn simple steps to design and print your own table tents quickly, even if you’re not a design expert.
Ready to impress your guests and get noticed? Keep reading to discover how you can create stunning table tents using Word.
Setting Up Your Document
Before you start creating table tents in Word, set up your document correctly. This ensures the table tents print well and look neat.
Two key settings to adjust are page size with orientation, and margins. These steps help you make perfect table tents.
Choosing Page Size And Orientation
Pick the right page size and orientation for your table tents. Standard sizes work best to save paper and fit your design.
- Go to the Layout or Page Setup menu in Word.
- Select the page size, like Letter (8.5″ x 11″) or A4.
- Choose orientation: Landscape is common for table tents.
- Confirm settings before adding content.
Adjusting Margins For Table Tents
Set margins to control space around your table tents. Smaller margins give more room, but keep content safe from cutting.
| Margin | Recommended Size | Purpose |
|---|---|---|
| Top | 0.5 inches | Space above content |
| Bottom | 0.5 inches | Space below content |
| Left | 0.5 inches | Space left of content |
| Right | 0.5 inches | Space right of content |
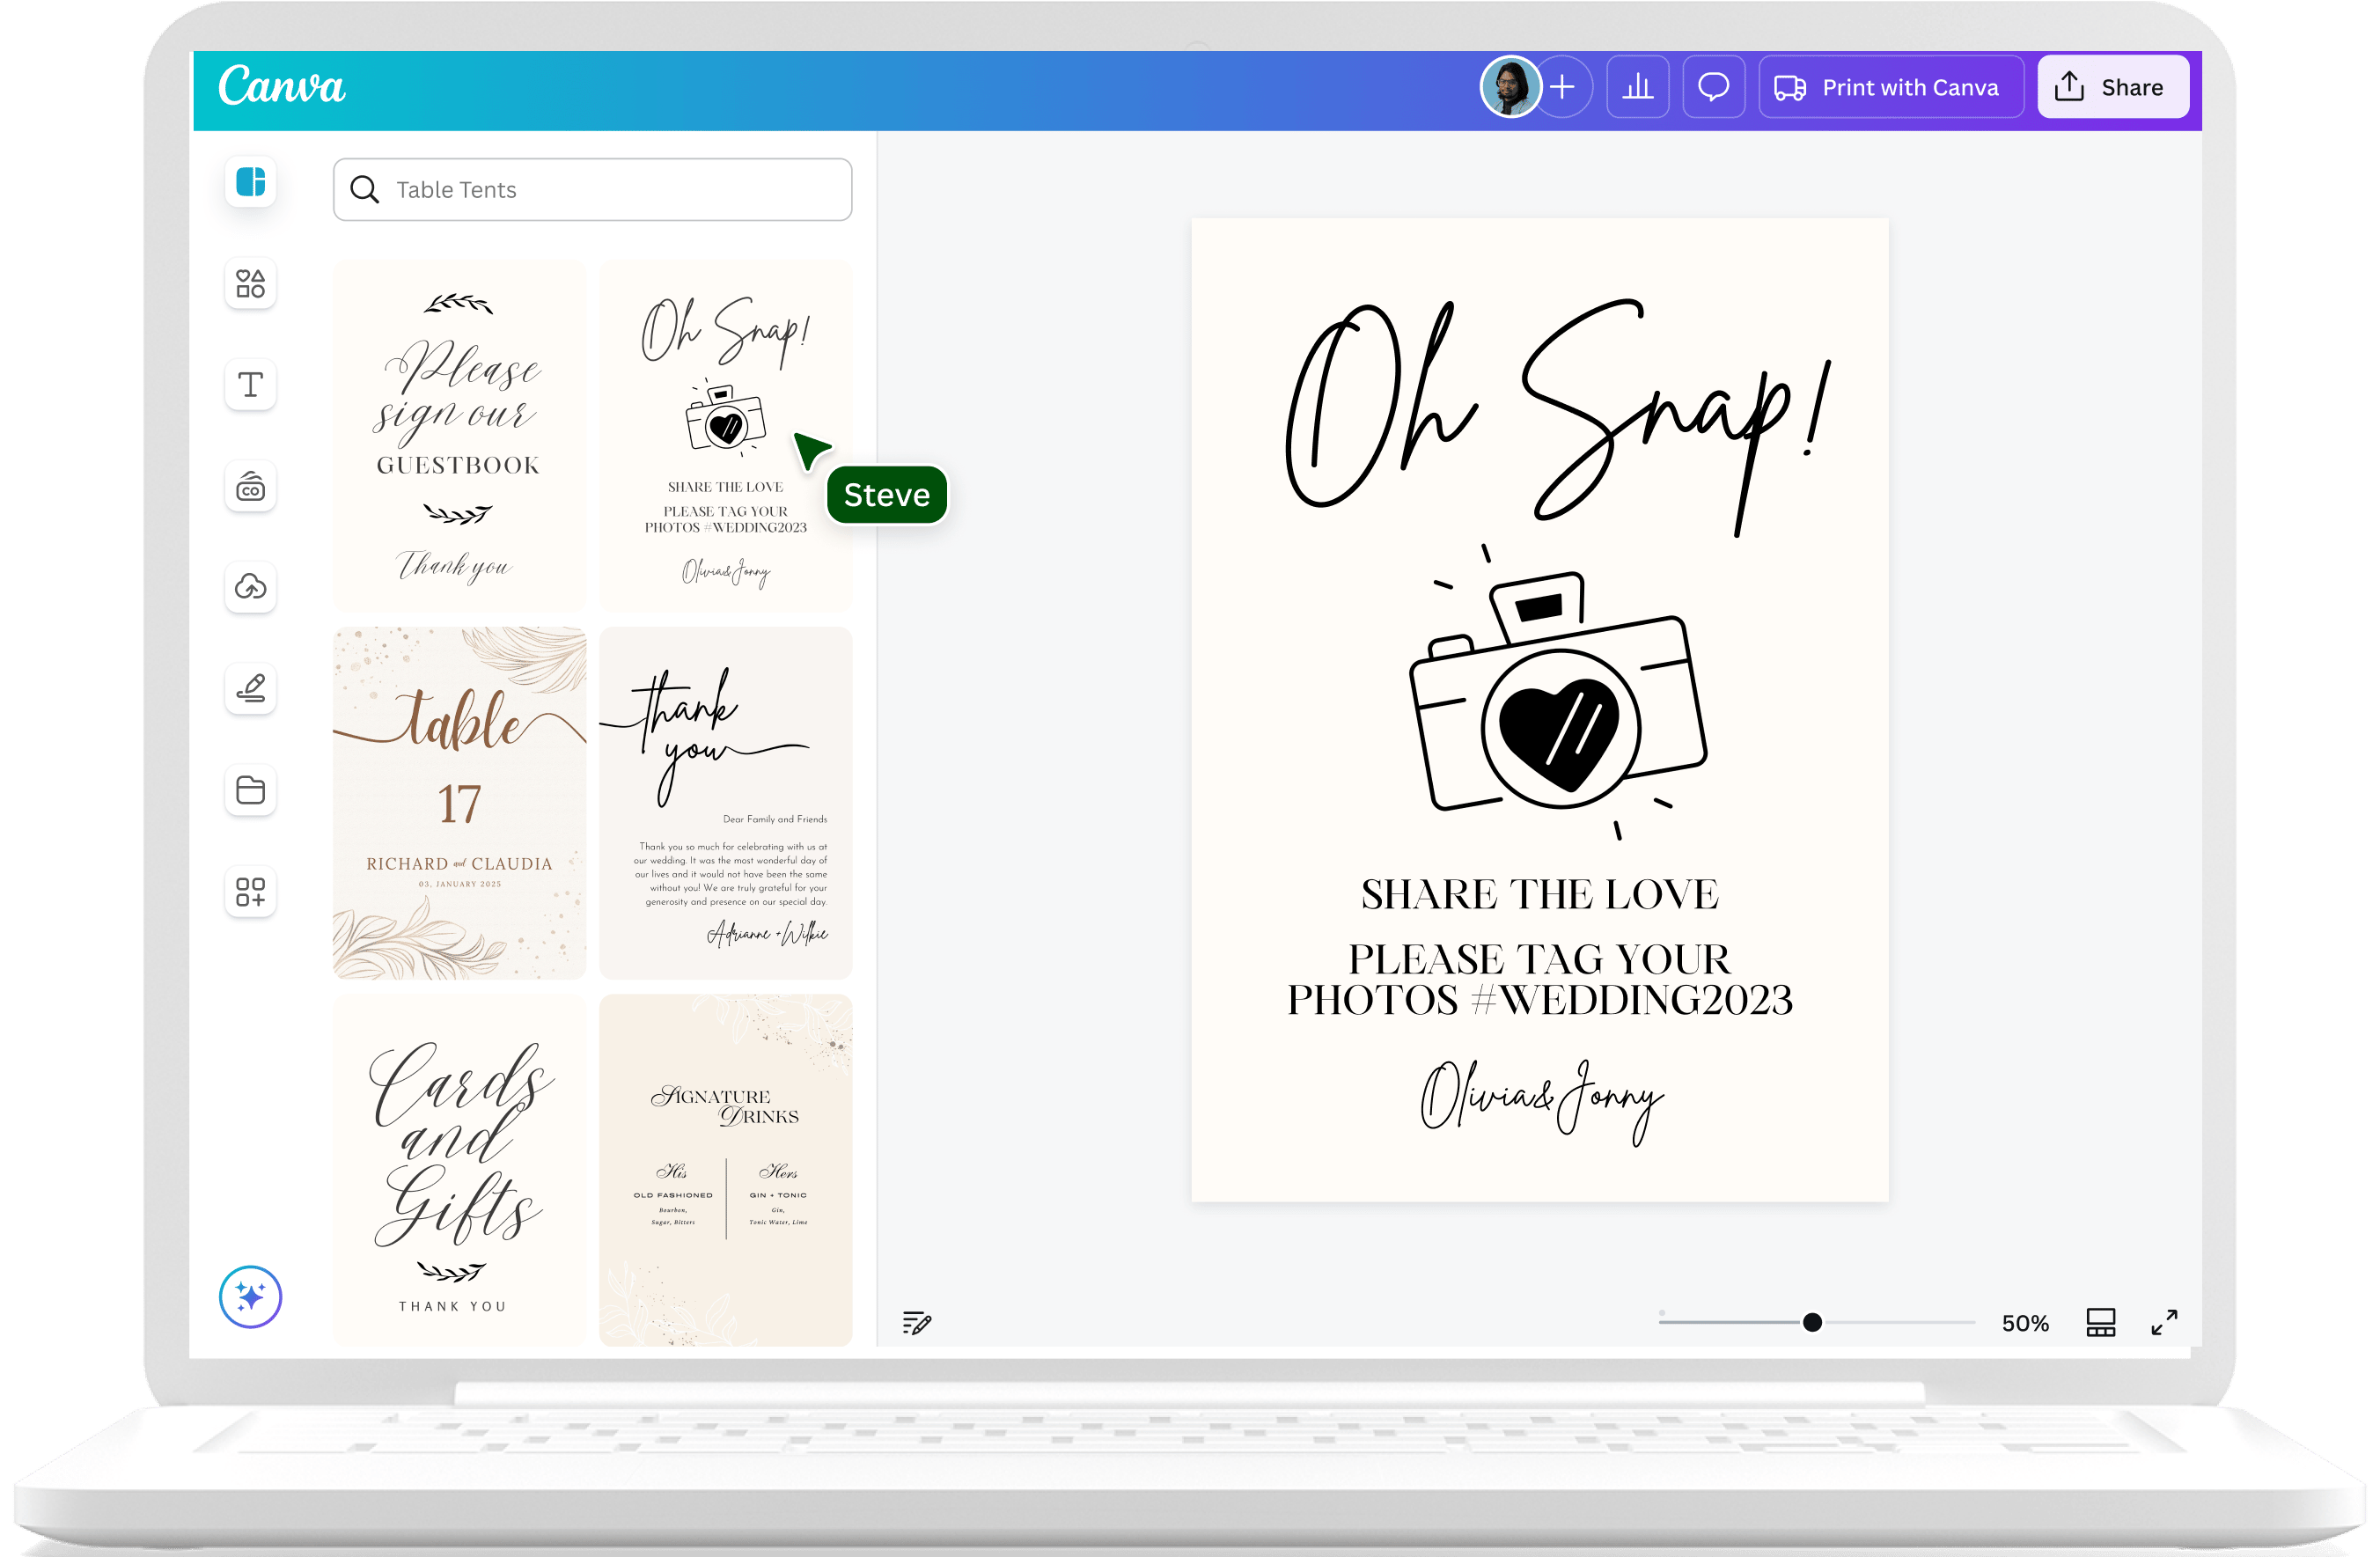
Credit: www.canva.com
Designing The Table Tent Layout
Creating a table tent in Word starts with a clear layout. This layout shows how your tent will fold and stand.
Good design helps your message look neat and easy to read. You need shapes and lines to build the layout.
Inserting And Formatting Shapes
Shapes form the base of your table tent. Use rectangles for the main panels and triangles for the sides.
Format shapes by changing their size, color, and border. This helps your tent look clear and attractive.
- Go to the Insert tab and select Shapes
- Choose a rectangle for the front panel
- Use triangles or smaller rectangles for side panels
- Right-click a shape to access formatting options
- Adjust fill color, outline, and size
Creating Fold Lines And Panels
Fold lines show where to bend the paper. Use dashed lines to mark these folds clearly.
Divide your layout into panels for each side of the table tent. Make sure panels are equal in size.
- Insert straight lines where the tent folds
- Format lines as dashed or dotted for fold marks
- Label each panel if needed for easy folding
- Check sizes so panels fit well when folded
Adding Text And Images
Creating table tents in Word is simple with text and images. These elements make your table tents clear and attractive.
You can add text and pictures to share information or promote an event. Use Word’s tools to place them correctly.
Using Text Boxes Effectively
Text boxes help you add and move text anywhere on your table tent. They keep your words neat and easy to read.
Change the size and shape of text boxes to fit your message. Use bold or larger fonts for titles to catch attention.
- Insert a text box from the Insert tab
- Type your message inside the box
- Resize and drag the box to the right place
- Use font styles for clear headings and body text
Inserting And Positioning Images
Add pictures to make your table tent more appealing. Images show your message faster than words alone.
After inserting an image, use layout options to place it well. You can wrap text around the image or fix it in one spot.
- Go to the Insert tab and choose Pictures
- Select an image from your computer or online
- Click on the image to see layout options
- Pick “Square” or “Tight” text wrap to move text around the image
- Drag the image to position it on your table tent

Credit: formsofaddress.info
Enhancing The Design
Table tents in Word are simple to make and look great on any table. Enhancing their design makes them stand out more. You can use different tools in Word to improve their appearance easily.
Adding colors, styles, and creative fonts helps catch attention. These changes also make your message clear and easy to read. Let’s explore how to make your table tents more attractive.
Applying Colors And Styles
Start by choosing colors that fit your event or brand. Use Word’s color fill options to change the background of your table tent. You can also add borders or shading to separate sections.
Use styles like bold or italics to highlight important information. Keep the colors simple and matching for a clean look. Avoid too many colors to prevent confusion.
- Pick a background color that matches your theme
- Use borders to define the edges of the tent
- Highlight headings with bold or different colors
- Keep text colors readable on the background
Using Wordart And Fonts Creatively
WordArt lets you create eye-catching text with effects like shadows and curves. Use it for titles or main messages on your table tents. This adds style and draws attention.
Choose fonts that fit the mood of your event. Use simple fonts for easy reading and decorative fonts for fun. Mix fonts carefully to keep your design neat.
- Use WordArt for main titles or special words
- Select clear fonts for body text
- Combine one decorative and one simple font
- Adjust font size to balance the layout
Finalizing And Printing
Creating table tents in Word is fun and easy. The final steps involve previewing and printing your design. This ensures your table tents look great.
Let’s explore how to preview your table tent and set the best print options. These steps will make your table tents look professional.
Previewing The Table Tent
Preview your table tent before printing to catch any mistakes. This helps you see how the design looks on paper.
Use the print preview feature in Word. It shows the layout and colors as they will appear in print.
- Open the File menu and select Print.
- Look at the preview to check alignment.
- Make sure all text and images fit correctly.
Setting Print Options For Best Results
Choose the right print settings for the best quality. Proper settings ensure your table tents are clear and vibrant.
Select the correct paper size and type in the print options. Use high-quality paper for a better finish.
- Select the correct printer from the list.
- Choose the right paper size, like A4 or Letter.
- Set the print quality to High for clear images.

Credit: www.goldimageprinting.com
Frequently Asked Questions
What Is A Table Tent In Word?
A table tent in Word is a folded paper display. It stands on tables to share information or promotions. Creating one helps in professional presentations or events.
How Do I Create A Table Tent Template In Word?
Open Word and choose a blank document. Set page orientation to landscape. Divide the page into two columns. Design each half as one side of the tent.
Can I Customize Table Tents With Images In Word?
Yes, Word allows easy image insertion. Use the Insert tab to add pictures. Resize and position images for a polished look.
What Paper Size Is Best For Table Tents?
Standard letter size (8. 5×11 inches) works well. It folds neatly into a tent shape. Heavier paper or cardstock ensures durability and stability.
Conclusion
Creating table tents in Word is simple and useful. You can make clear, neat designs with basic tools. Just follow the steps carefully and take your time. These table tents help share information in meetings or events. Practice a few times to feel confident.
Keep your text short and easy to read. This way, your table tents will look great and work well. Try making your own today and see the difference it makes!