
Have you ever found your garden hose leaking or damaged right when you need it most? Instead of throwing it away or buying a new one, you can save time and money by learning how to splice a garden hose yourself.
This simple skill can bring your hose back to life quickly, so you can get back to watering your plants without hassle. Keep reading, and you’ll discover easy steps that anyone can follow to fix your hose like a pro.

Credit: www.amazon.ca
Tools And Materials Needed
Splicing a garden hose requires the right tools and materials. Using proper items ensures a tight, leak-free connection.
This guide covers the essential tools and how to pick a suitable hose splice kit for your project.
Essential Tools
Gather these tools before starting to splice your garden hose. They make the job easier and more precise.
- Sharp utility knife or hose cutter
- Adjustable wrench or pliers
- Measuring tape
- Marker for marking cut points
- Cleaning cloth or rag
Choosing The Right Hose Splice Kit
Pick a hose splice kit that matches your hose size and type. Different kits fit different hoses.
| Hose Type | Recommended Splice Kit | Notes |
| Standard Rubber | Brass Compression Fitting | Durable and tight seal |
| Vinyl or Plastic | Plastic Barbed Connector | Lightweight and easy to use |
| Reinforced Hose | Metal Hose Clamp Kit | Strong grip for tough hoses |
| Expandable Hose | Special Expandable Hose Connector | Flexible and leak-proof |

Credit: www.amazon.com
Preparing The Hose
Splicing a garden hose needs careful preparation. Getting the hose ready helps the splice hold well.
Start by checking the hose for damage. Prepare it by cutting and cleaning the ends properly.
Cutting The Damaged Section
Find the damaged part of the hose. Use sharp scissors or a knife to cut it out cleanly.
Make sure your cut is straight across. Avoid jagged or angled cuts to ensure a good fit later.
Cleaning The Cut Ends
After cutting, remove dirt and debris from the hose ends. Clean ends help the connectors fit tightly.
- Use a damp cloth to wipe inside and outside of the hose ends.
- Remove any rough edges or loose pieces.
- Let the hose dry before attaching connectors.
Connecting The Hose Pieces
Splicing a garden hose can save you from buying a new one. It’s an easy task if you have the right tools and materials.
In this guide, learn how to connect hose pieces properly. This will ensure a leak-free connection.
Inserting The Hose Splice
To splice a garden hose, you need to insert a hose splice. The splice connects the two ends securely.
- Cut the damaged section of the hose.
- Insert one end of the hose onto the splice until it fits snugly.
- Repeat with the other hose end.
Securing With Clamps Or Connectors
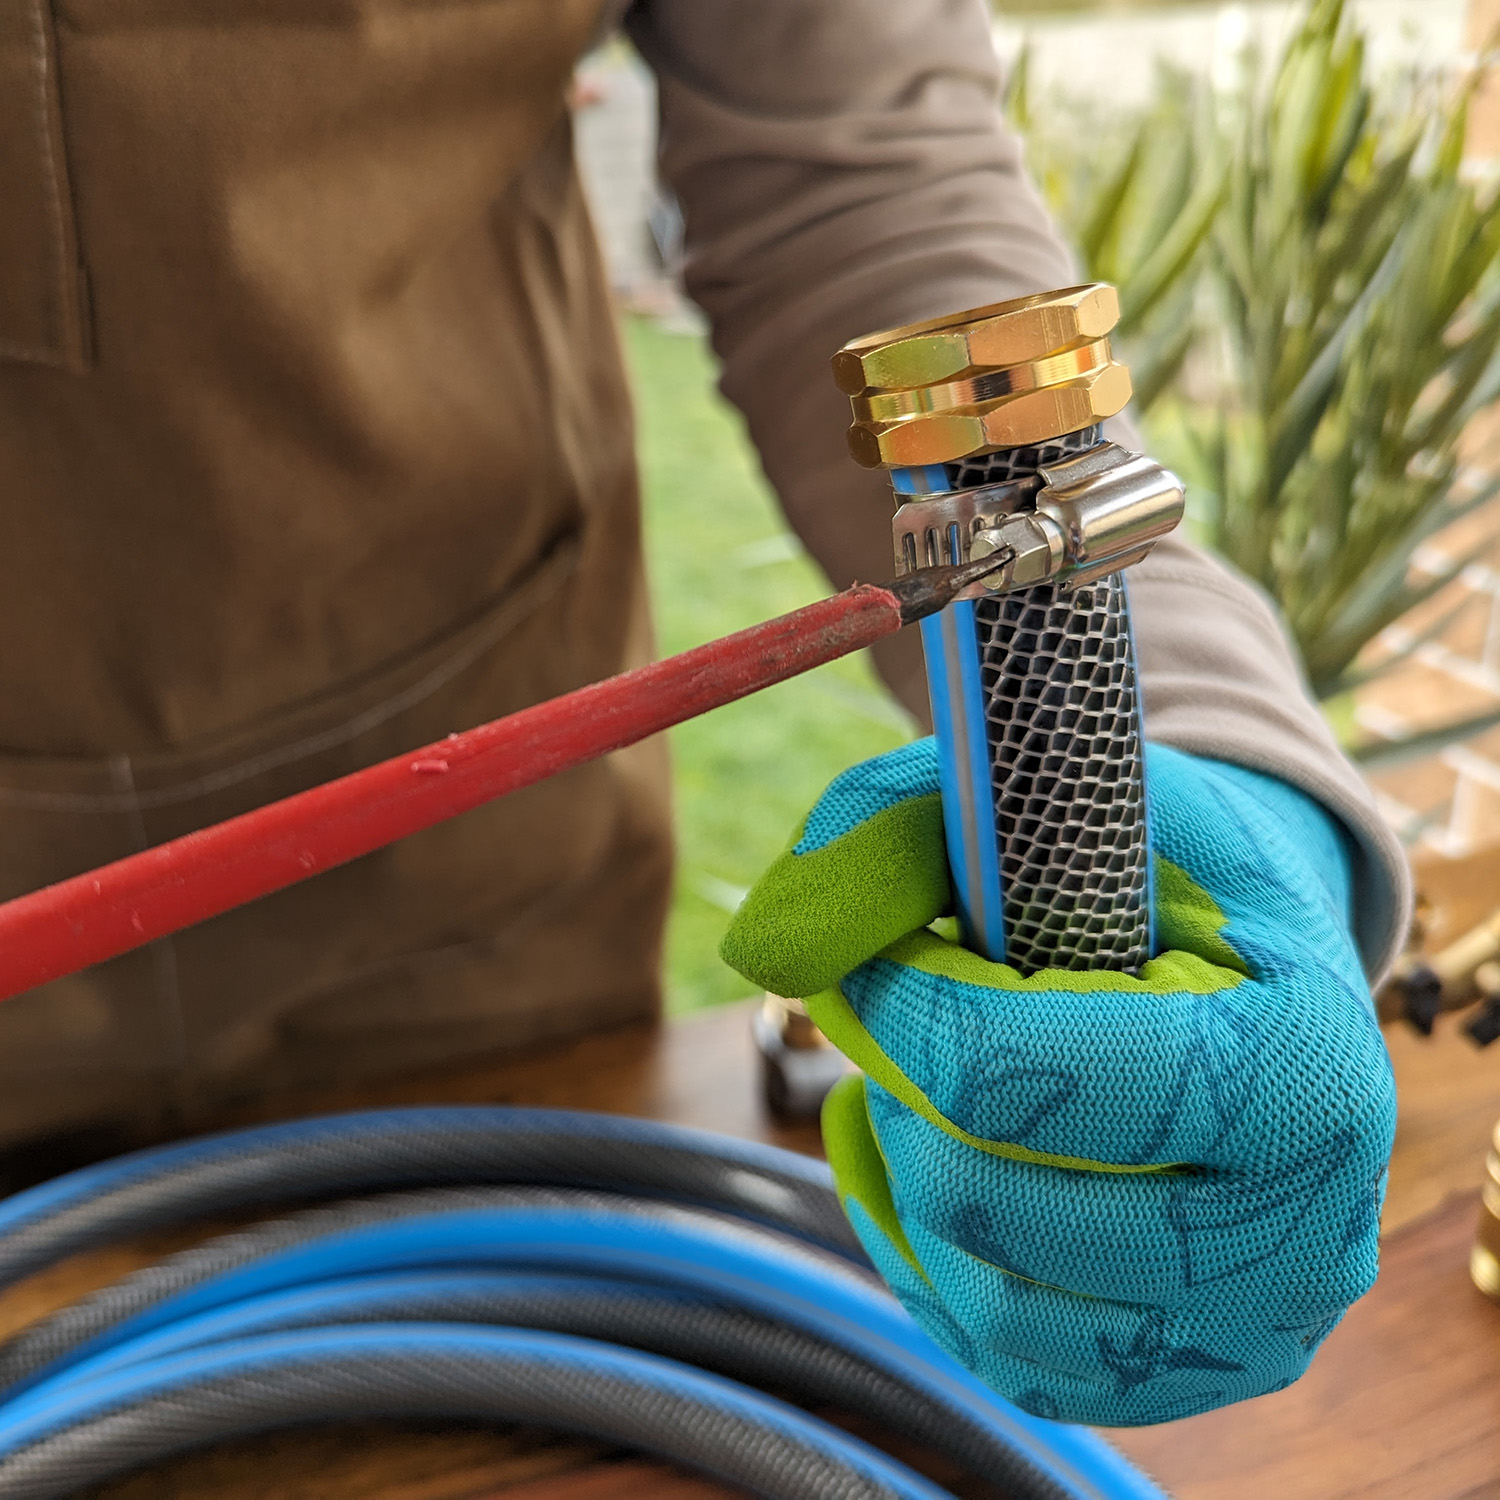
Once the splice is in place, secure it using clamps or connectors. This prevents leaks and ensures durability.
Here is a quick comparison between clamps and connectors:
| Method | Advantages |
|---|---|
| Clamps | Easy to install, widely available |
| Connectors | Strong hold, reusable |
Testing For Leaks
After splicing your garden hose, testing for leaks is important. This ensures your repair holds tight under water pressure.
Follow simple steps to check the splice area and catch any leaks early. Fixing leaks now saves water and prevents damage.
Turning On The Water
Slowly turn on the water at the faucet to apply pressure to the hose. Watch the splice area closely as the water flows.
- Open the faucet slowly to avoid sudden pressure.
- Observe the splice for any dripping or wet spots.
- Keep the water running for a few minutes to be sure.
- Turn off the water and check if the splice holds.
Inspecting The Splice Area
Look carefully at the splice. Check for water droplets, wetness, or bulges that show leaks. Use a dry cloth to help spot moisture.
| Signs to Check | What It Means |
|---|---|
| Water droplets | Small leak that needs tightening or resealing |
| Wet spots | Possible leak or weak splice connection |
| Bulging or soft area | Hose damage; may require a new splice |
| Dry and firm splice | Good seal; no leaks detected |
Tips For A Durable Splice
Splicing a garden hose correctly can save you money and extend its life. A strong splice stops leaks and keeps water flowing well.
Use the right tools and materials to make your splice last longer. Small details matter for a tight, durable connection.
Using Waterproof Tape
Waterproof tape helps seal the splice from water damage and dirt. It keeps the hose flexible and prevents leaks around the joint.
- Clean the hose ends before taping.
- Wrap the tape tightly around the splice.
- Overlap each wrap by half the tape’s width.
- Cover the entire splice area with several layers.
- Press the tape firmly to remove air bubbles.
Avoiding Common Mistakes
Many splices fail due to simple errors. Avoid these mistakes to keep your hose working well.
| Common Mistake | How to Avoid It |
| Using old or cracked hose ends | Cut fresh ends before splicing |
| Not cleaning dirt or moisture | Dry and wipe hose before joining |
| Wrapping tape loosely | Wrap tape tightly and evenly |
| Skipping additional sealing steps | Use clamps or sealant for extra strength |
Credit: www.amazon.ca
Frequently Asked Questions
How Do You Splice A Garden Hose Effectively?
To splice a garden hose, cut the damaged section cleanly. Use a hose repair kit with connectors. Insert hose ends into connectors and tighten clamps securely. This prevents leaks and restores water flow efficiently.
What Tools Are Needed To Splice A Garden Hose?
You need a sharp utility knife, hose repair connectors, and hose clamps. Optionally, use pliers to tighten clamps. These tools ensure a clean cut and secure splicing for a durable repair.
Can I Splice Any Type Of Garden Hose?
Most standard garden hoses, including rubber and vinyl, can be spliced. However, specialized hoses may require specific connectors. Always check compatibility before splicing to ensure a leak-free connection.
How Long Does It Take To Splice A Garden Hose?
Splicing a garden hose typically takes 10 to 15 minutes. Preparation and securing connectors are quick. This makes it a simple DIY fix without needing professional help.
Conclusion
Splicing a garden hose saves money and extends its life. The process is simple and requires just a few tools. You can fix leaks quickly without buying a new hose. Take your time to cut and connect carefully. A well-done splice keeps water flowing smoothly.
Keep your garden hose ready for any watering task. Practice these steps, and you will feel confident. Small repairs make a big difference in your garden care. Try splicing next time your hose breaks. You will be glad you did.