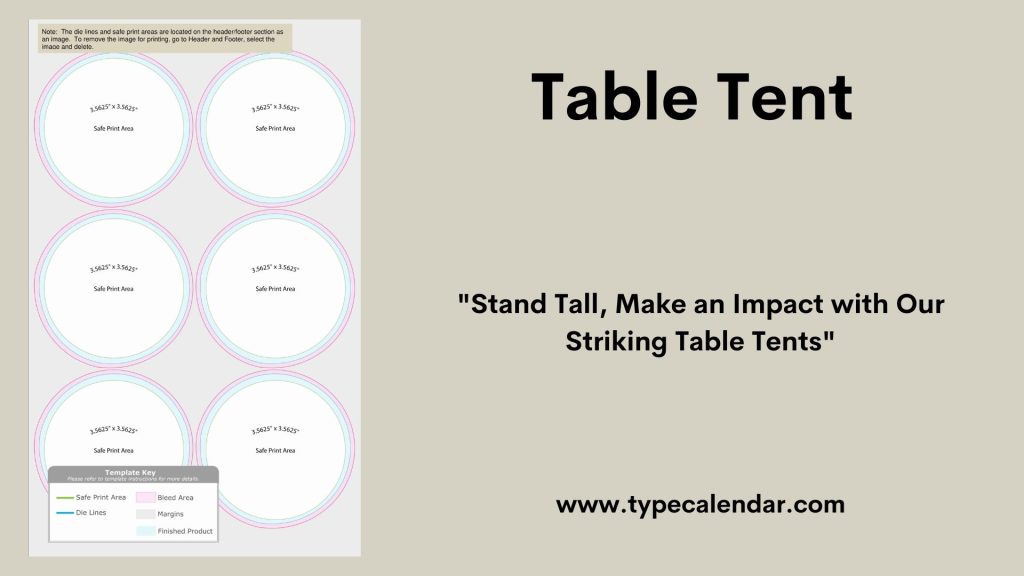
Are you looking for a simple way to create name tents for your meetings, classrooms, or events? Making name tents in Word is easier than you think.
With just a few quick steps, you can have professional-looking name tents ready to impress everyone. In this guide, you’ll discover easy tips and tricks to design, customize, and print your own name tents without any hassle. Keep reading, and you’ll be ready to make your next event more organized and personal in no time!

Credit: formsofaddress.info
Choosing The Right Template
Picking the right template makes creating name tents in Word easier. A good template saves time and looks neat.
Many templates fit different styles and needs. You can find them inside Word or download free ones online.
Exploring Built-in Options
Word has several built-in templates for name tents. These templates have preset designs and sizes.
- Look under the “New” section when you open Word.
- Search for “name tent” or “place card” templates.
- Choose a design that fits your event style.
- Templates often have space for names and decorations.
Downloading Free Templates
Free templates from websites offer more variety and unique styles. Download and open them in Word to start editing.
| Website | Template Features | File Type |
| Template.net | Simple and colorful name tents | DOCX |
| Office Templates | Professional and formal designs | DOTX |
| Vertex42 | Customizable size and style | DOCX |
Setting Up Page Layout
Making name tents in Word is easy with the right page setup. Proper layout helps fit the tents perfectly on the paper.
This guide shows how to adjust margins and orientation. It also explains how to create multiple tents on one page.
Adjusting Margins And Orientation
Margins control the space around the edges of the page. Setting small margins gives more room for name tents.
Orientation changes the page from portrait to landscape. Landscape often works better for name tents.
- Go to the Layout or Page Setup menu in Word
- Set margins to narrow or custom small sizes
- Choose Landscape orientation for wider tents
- Check the layout before printing
Creating Multiple Tents Per Page
You can fit more than one name tent on a single page. This saves paper and prints faster.
Use columns or tables to arrange several tents evenly across the page.
- Insert a table with two or three columns
- Set equal column widths for balanced tents
- Type each name inside a table cell
- Adjust cell size to match tent dimensions
- Print a test page to check spacing
Designing Name Tents
Name tents are a great way to help people learn names at events. You can easily create them in Word with a few steps.
This guide will show you how to design name tents using text boxes, fonts, colors, borders, and shapes.
Inserting Text Boxes
Text boxes are essential for placing names on the tents. They allow you to position text wherever you want.
- Go to the “Insert” tab in Word.
- Select “Text Box” and choose a style.
- Drag the box to the desired spot on the page.
- Type the name inside the text box.
Customizing Fonts And Colors
Changing the fonts and colors makes your name tents more readable and appealing. You can match them with your event theme.
Use the “Home” tab to select different fonts and colors. Choose a font that is clear and easy to read. Try using colors that stand out from the background for better visibility.
Adding Borders And Shapes
Borders and shapes add a decorative touch to your name tents. They help define the space around the names.
| Shape | Use |
| Rectangle | Basic border |
| Circle | Highlight a name |
| Arrow | Point to a section |
To add borders, click on the “Format” tab, select “Shape Outline”, and choose your preferred style. Adjust the line weight for the desired effect.
Duplicating And Editing
Making name tents in Word is easy when you know how to duplicate and edit them. This saves time and keeps your design consistent.
In this guide, you will learn how to copy name tents for many names and edit the text quickly.
Copying Name Tents For Multiple Names
Start by creating one name tent. Then copy it to make more for other names. This keeps the style the same.
- Click on the name tent to select it.
- Press Ctrl + C (Cmd + C on Mac) to copy.
- Press Ctrl + V (Cmd + V on Mac) to paste a copy.
- Move the copy to a new spot on the page.
- Repeat for as many name tents as you need.
Editing Text Efficiently
After copying, you can quickly change the names on each tent. This is faster than making new ones.
| Tip | How to do it |
| Use Find and Replace | Press Ctrl + H to open Find and Replace. Enter old name and new name to update fast. |
| Edit Directly | Click the text box and type the new name. |
| Adjust Font Size | Select text, then change font size in the toolbar if needed. |
Printing Tips
Printing name tents in Word needs careful preparation. Using the right paper and print settings makes a big difference.
This guide helps you print name tents that look neat and fold easily for any event.
Choosing The Right Paper
Select thick paper for durability and a professional look. Avoid very thin paper that wrinkles or tears.
- Cardstock between 80-110 lb is ideal
- Matte finish helps reduce glare
- Bright white color makes names easy to read
- Use paper that fits your printer type (inkjet or laser)
Setting Print Options
Adjust your printer settings to get clear prints and avoid wasting paper. Choose the correct layout and size for name tents.
| Setting | Recommended Option |
| Paper Size | Letter (8.5 x 11 inches) or A4 |
| Orientation | Landscape for wider tents |
| Print Quality | Standard or High |
| Pages Per Sheet | 1 or 2 depending on tent size |
| Duplex Printing | Manual flip for double-sided tents |
Folding Name Tents Perfectly
Fold name tents carefully for a clean look. Make crisp folds to help tents stand well on tables.
- Use a ruler or bone folder to score the fold line
- Fold paper in half so the printed sides face out
- Press firmly along the fold for a sharp edge
- Check that the tent stands stable without wobbling

Credit: www.seaofknowledge.org
Troubleshooting Common Issues
Creating name tents in Word is simple, but some issues may appear. Fixing these problems helps your name tents look neat and clear.
This guide covers common problems like alignment and font errors. Follow these tips to fix your name tents quickly.
Fixing Alignment Problems
Alignment issues make your name tents look messy. Text or tables may not center or line up correctly. Check these points to fix alignment:
- Use the table layout to keep name tents aligned.
- Set cell margins to zero for better text positioning.
- Center text inside each cell using the paragraph alignment tools.
- Adjust column widths evenly to balance the tent shape.
- Use gridlines to help place elements precisely.
Handling Font And Size Errors
Font problems can cause text to look too big, small, or uneven. Fix font and size errors by using this table as a guide:
| Problem | Cause | Solution |
| Text too large | Font size set too high | Select smaller font size (10-12 pt) |
| Text too small | Font size set too low | Increase font size to improve readability |
| Font style inconsistent | Mixed fonts used | Use one font style for all name tents |
| Text cut off | Font size too big for cell | Reduce font size or widen cell |
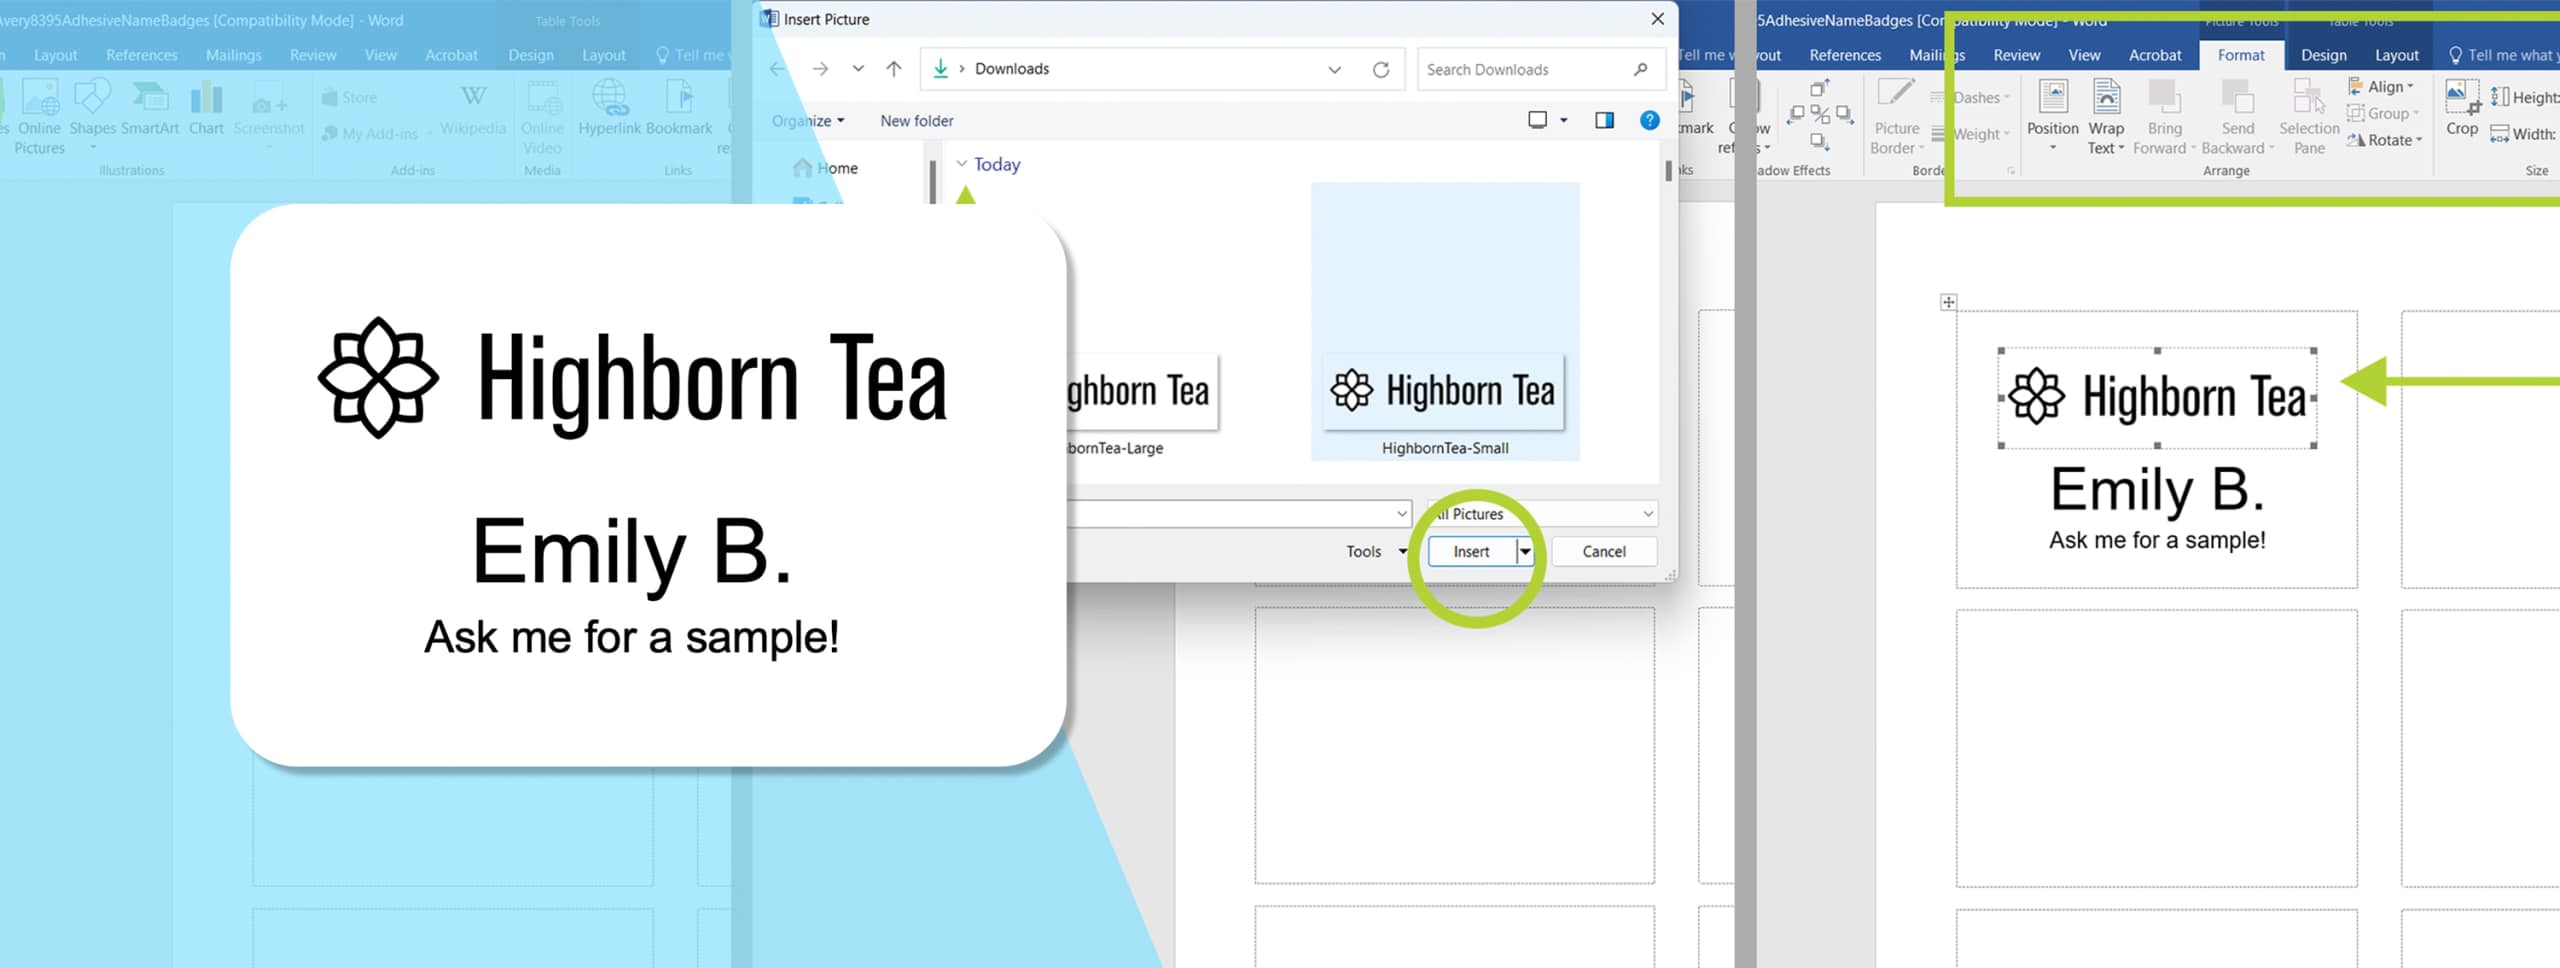
Credit: www.avery.com
Frequently Asked Questions
How Do I Create Name Tents In Word Quickly?
Open Word and choose a blank document. Use the table or text box feature to design name tents. Customize fonts, colors, and fold lines. Print on cardstock, then fold to stand.
Can I Use Templates For Name Tents In Word?
Yes, Word offers built-in templates for name tents. Search “name tent” in the template section. Customize the template with names and design elements. Templates save time and ensure a professional look.
What Paper Type Is Best For Name Tents?
Cardstock or heavy paper is ideal for name tents. It provides durability and stability for standing tents. Avoid thin paper as it may flop or tear easily.
How Do I Fold Name Tents Properly?
Fold the paper in half along the center line. Make a crisp crease for stability. Ensure the names face outward on both sides for visibility.
Conclusion
Creating name tents in Word is simple and quick. You can design them to fit any event or meeting. Just follow the steps carefully and use your creativity. This skill helps you stay organized and professional. Practice a few times to get comfortable with the tools.
Soon, making name tents will feel easy and natural. Keep your designs clear and readable for best results. Try different fonts and layouts to find what works best. Making name tents in Word saves time and effort every time.