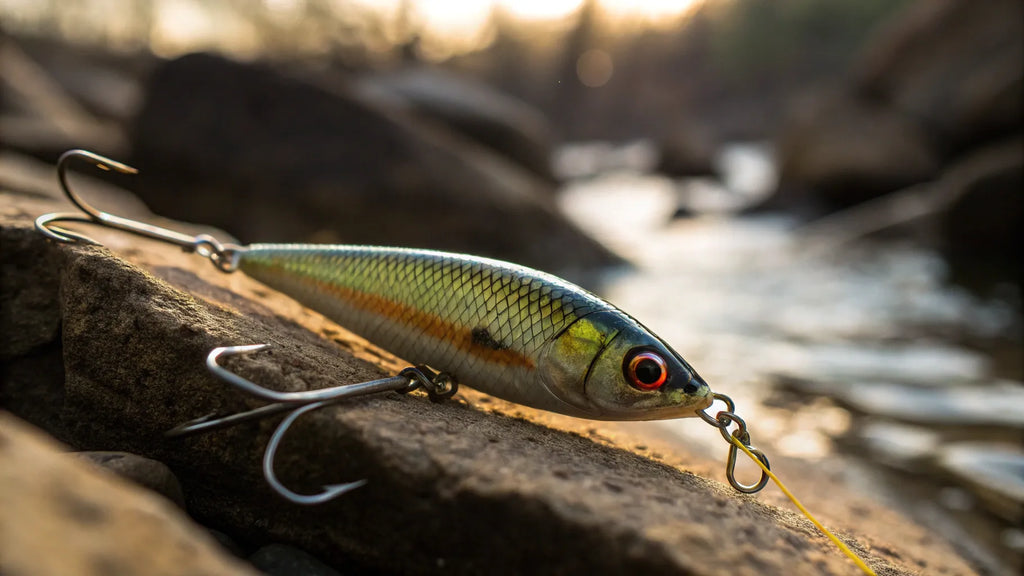
Have you ever wanted to catch more fish by using lures you made yourself? Making your own fishing lures can give you a big advantage on the water.
When you create lures tailored to your favorite spots and the fish you want to catch, you’re more likely to reel in a big catch. Plus, it’s a fun and rewarding way to spend your time. You’ll discover simple steps and tips to make effective fishing lures that work.
Get ready to boost your fishing game and impress your friends with your new skills!

Credit: learnhowtomakefishinglures.blogspot.com
Choosing Materials
Making fishing lures starts with picking the right materials. The materials affect how the lure moves and lasts in water.
Good choices make the lure more attractive to fish and easier for you to build.
Types Of Wood And Plastic
Wood and plastic are common base materials for lures. Each has its own benefits for shaping and weight.
- Balsa Wood:Light and easy to carve. Sinks slowly and floats well.
- Cedar:Harder than balsa. Adds weight and durability.
- Plastic:Can be molded into many shapes. Durable and water-resistant.
- Foam:Very light and floats easily. Good for topwater lures.
Selecting Hooks And Eyes
Hooks and eyes attach to the lure and help catch fish. Choosing the right size and type is key.
| Component | Material | Purpose |
| Hooks | Steel or Stainless Steel | Catch and hold fish |
| Split Rings | Steel | Connect hooks to lure |
| Eyes | Plastic or Glass | Add realism and attract fish |
Paints And Finishes
Paints and finishes protect the lure and make it look real. They must resist water and scratches.
Common paint types include:
- Acrylic paints that dry fast and stick well
- Enamel paints for a shiny, hard finish
- Clear coats to protect colors and add gloss
Essential Tools
Making fishing lures requires the right tools. These tools help shape, paint, and assemble your lures correctly.
Using proper tools ensures your lures look good and work well in the water.
Cutting And Shaping Tools
You need sharp and precise tools to cut and shape lure materials. Common tools include knives, files, and sandpaper.
- Utility knife for rough cuts
- Needle files for fine shaping
- Sandpaper with different grits for smoothing
- Small saws for cutting wood or plastic
Painting Supplies
Painting makes your lure attractive to fish. You will need paints, brushes, and sealers.
| Supply | Purpose |
| Acrylic Paints | Color and patterns |
| Fine Brushes | Detail work |
| Airbrush | Even coat and blending |
| Clear Sealer | Protect paint from water |
Assembly Equipment
Assembly tools help put the lure parts together. You need pliers, drill, and glue.
- Needle-nose pliers to hold small parts
- Pin vise or small drill for holes
- Super glue or epoxy for strong bonds
- Split ring pliers for attaching hooks
Basic Lure Designs
Fishing lures come in various designs. Each has a specific purpose. Understanding these designs helps you catch more fish.
We will explore three popular types: crankbaits, spinnerbaits, and soft plastics. These are great for both beginners and experienced anglers.
Crankbaits
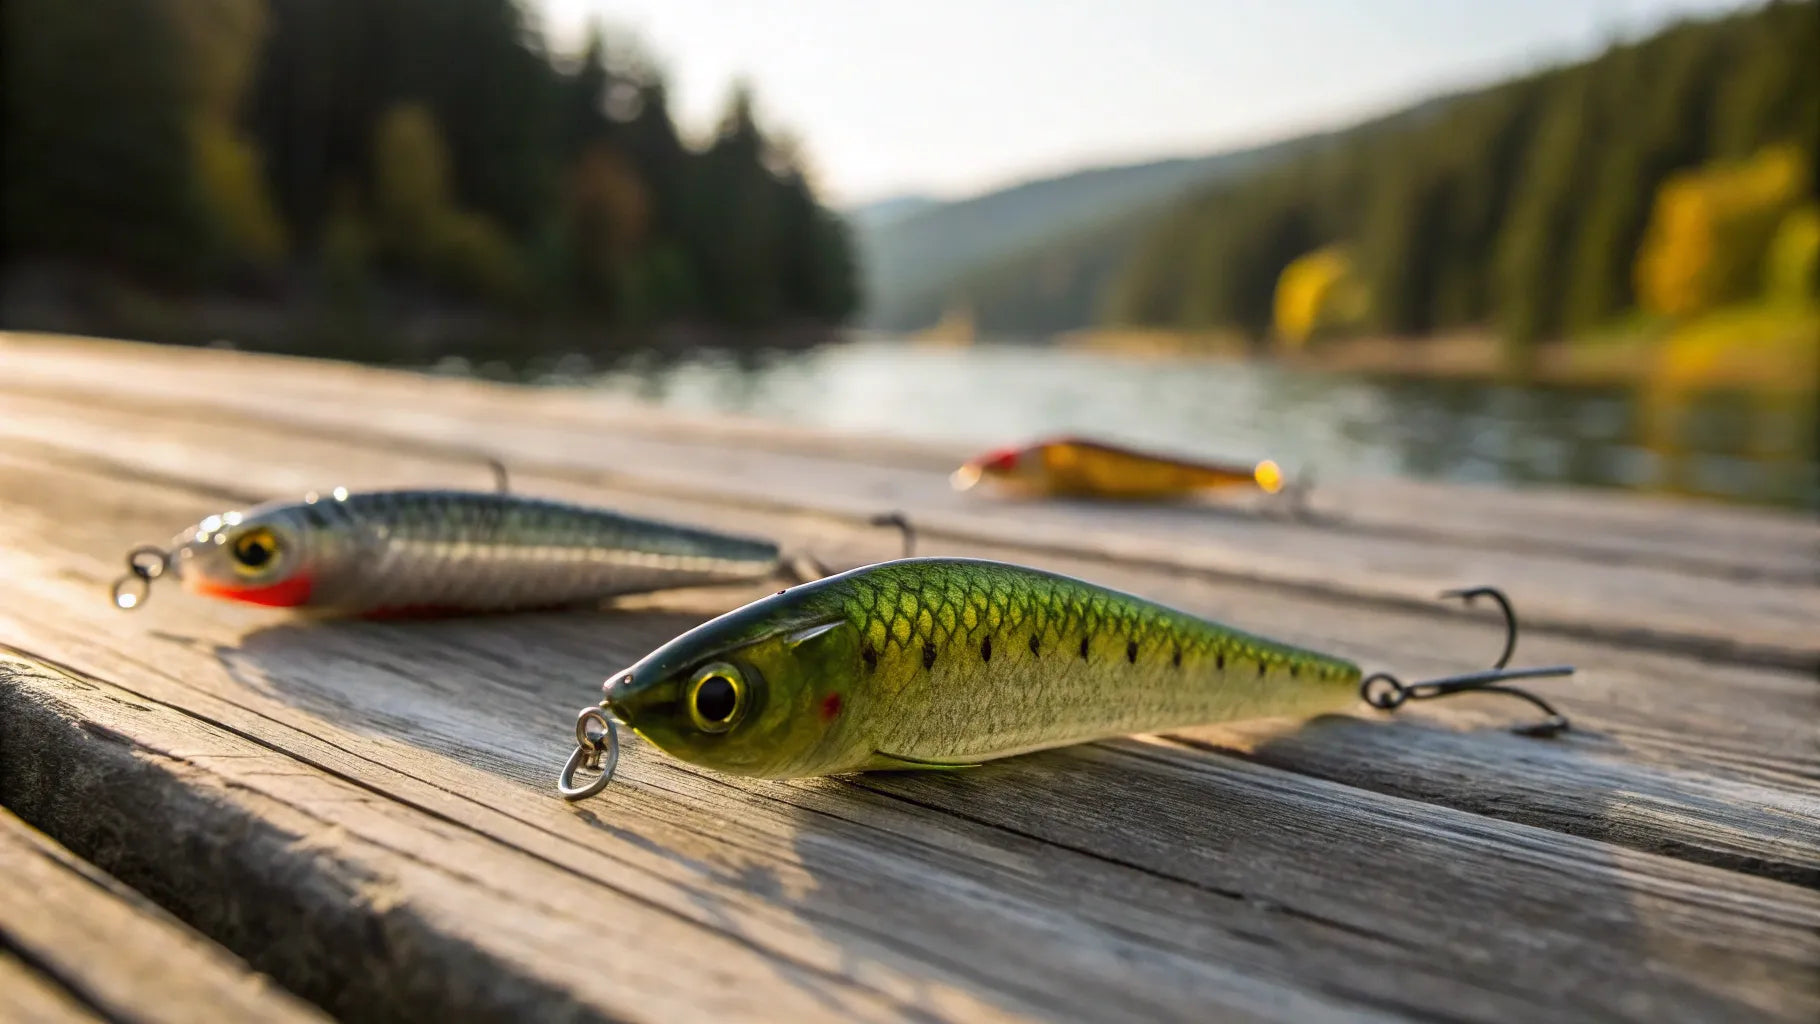
Crankbaits are hard-bodied lures. They mimic the movement of baitfish. These lures are perfect for attracting predatory fish.
They come in different shapes and sizes. Some dive deep, while others stay near the surface.
- Round body for shallow water
- Flat body for deep diving
- Lip design affects diving depth
Spinnerbaits
Spinnerbaits use blades to create flash and vibration. This attracts fish from a distance. They are effective in murky waters.
The blades come in different shapes. Willow blades spin fast, while Colorado blades provide more vibration.
- Willow blades for fast retrieval
- Colorado blades for slow, steady movement
- Use bright colors in cloudy conditions
Soft Plastics
Soft plastics are flexible lures. They mimic worms, lizards, or small fish. These are versatile and can be used in many settings.
They can be rigged in different ways. This allows them to perform in various water conditions.
- Texas rig for weed-heavy areas
- Wacky rig for open water
- Choose natural colors in clear water

Credit: www.amazon.com
Shaping The Lure
Shaping the lure is a key part of making fishing lures. It affects how the lure moves in the water and attracts fish.
You will use cutting, sanding, and adding details to form the lure’s shape and style.
Cutting Techniques
Start by cutting the lure shape from wood or plastic. Use sharp tools like knives or saws for smooth cuts.
- Draw the lure outline on the material.
- Use a coping saw or craft knife to cut along the outline.
- Cut slowly to avoid rough edges.
- Remove extra material to form the basic shape.
- Check the shape often to keep it symmetrical.
Sanding And Smoothing
After cutting, sand the lure to remove rough spots and sharp edges. Smoother lures move better in water.
| Sandpaper Grit | Purpose |
| 80-100 | Shape rough edges |
| 150-220 | Smooth surface |
| 320-400 | Prepare for painting |
Sand in small circles and check the surface often. Use finer grit paper for a smooth finish.
Adding Details
Details help make the lure look real and catch fish attention. You can add eyes, scales, and paint designs.
- Glue plastic or glass eyes on the lure’s head.
- Use a fine brush to paint scales or color patterns.
- Attach small metal parts like hooks and split rings.
- Add a glossy finish to protect the paint.
Painting And Finishing
Painting and finishing are key steps in making fishing lures. These steps give your lure a lifelike look. They also protect the lure from water damage.
Good painting and finishing help your lure catch more fish. This guide covers base coats, sealing, and adding shine.
Base Coats And Patterns
Start with a smooth base coat on your lure. Use spray paint or brush-on paint. The base coat helps other colors stick well.
Choose patterns that look like real fish. Try stripes, spots, or scales. Use thin brushes or sponges to add details.
- Apply one or two thin base coats
- Let each coat dry before adding the next
- Use light colors first, then add darker patterns
- Practice patterns on paper before painting the lure
Sealing And Waterproofing
After painting, seal your lure to protect the colors. Use clear varnish or epoxy resin for sealing. This makes the lure waterproof and durable.
Apply several thin layers of sealant. Let each layer dry fully. This prevents paint from chipping or peeling in water.
- Use non-yellowing clear coats for long-lasting finish
- Apply sealant evenly to avoid bubbles or drips
- Allow 24 hours to cure before using the lure
- Sand lightly between coats for a smooth surface
Adding Reflective Elements
Reflective parts help fish see the lure better. Add shiny tape, glitter, or reflective paint. Place these elements where light hits the lure.
These reflections mimic fish scales and attract attention. Use small pieces so the lure stays balanced and natural.
- Use thin reflective tape on sides or belly
- Apply glitter over wet paint for sparkle
- Try metallic or pearlescent paints for shine
- Seal reflective elements with clear coat to protect
Credit: www.battlbox.com
Assembling Components
Making fishing lures requires putting parts together carefully. The right assembly helps the lure work well in water.
This guide explains how to attach hooks and eyes, install weights, and balance the lure for best performance.
Attaching Hooks And Eyes
Hooks catch the fish, so attach them firmly to the lure. Eyes help connect the fishing line and allow the lure to move naturally.
Use strong split rings or wire loops to join hooks and eyes. Make sure they do not hang loosely or block the lure’s movement.
- Choose sharp hooks to improve catch rate
- Attach eyes at the front for better control
- Check all connections for tightness
Installing Weights
Weights help the lure sink or float at the right depth. Place weights inside the body or attach them underneath the lure.
Use lead, tungsten, or steel weights. Secure them well to avoid loss during casting or fish strikes.
- Put weights near the front for diving lures
- Spread weights evenly for balanced sinking
- Test weight placement to match fishing conditions
Balancing The Lure
Balance affects how the lure moves in water. A balanced lure swims smoothly and looks real to fish.
Check the lure’s tilt by holding it in water or on a flat surface. Adjust weights or hook positions to fix any lean.
- Keep the lure level from front to back
- Shift weight slightly to correct side tilts
- Test lure action with slow pulls in water
Testing Your Lures
Testing your fishing lures is important to see how they work in real water. This helps you find out if the lure moves correctly and attracts fish.
Try your lure in different water conditions to check its action and balance. You can fix problems before using it for fishing.
Water Trials
Test your lure in a small pond or calm lake area. Watch how it swims and moves in the water.
Check if the lure dives to the right depth and if it stays stable. Notice if it wobbles or spins strangely.
- Cast the lure and reel it in slowly
- Try different speeds to see how it behaves
- Observe if it sinks, floats, or dives as planned
Adjusting Action And Buoyancy
Change the lure’s shape or weight if it does not move well. Adjust hooks or add small weights to balance it.
Buoyancy affects if the lure floats or sinks. Use foam or heavy materials to fix this. Make small changes and test again.
- Add weight near the head for diving lures
- Use foam inserts to help floating lures
- Bend metal parts to improve wobbling action
Troubleshooting Common Issues
If your lure spins or flips, check its balance and weight distribution. Uneven weight causes poor movement.
Hooks can affect action. Make sure they do not catch water or drag too much. Replace or reposition hooks if needed.
- Lure spins: shift weight or add stabilizers
- Lure sinks too fast: reduce weight or add buoyant material
- Lure floats too much: add small weights
- Hooks drag: use smaller or lighter hooks
Tips For Customization
Making your own fishing lures lets you add personal touches. Customization helps attract different fish types. Small changes can make a big difference in the water.
Use simple ideas to change color, scent, or add unique features. These tips will guide you to make effective lures that stand out.
Color Variations
Color can attract fish by matching the water or prey. Try mixing colors or using bright shades for clear water. Dark colors work well in murky water.
- Use paint designed for water resistance
- Mix two or three colors for a natural look
- Test colors in different light conditions
- Apply a clear coat to protect the paint
Adding Scent
Scent helps fish find your lure. You can add scent with oils or special attractants. Make sure the scent lasts in water and is safe for fish.
| Scent Type | Use | Duration |
| Fish Oil | Natural attraction | Short |
| Garlic Scent | Strong attractant | Medium |
| Commercial Attractants | Varied formulas | Long |
Unique Features
Adding special parts makes your lure different. Think about adding rattles, feathers, or reflective tape. These features can catch fish attention quickly.
- Attach small bells or beads inside for sound
- Use feathers to imitate fins or tails
- Apply reflective tape to mimic fish scales
- Shape the lure to create splash or vibration
Safety And Maintenance
Making fishing lures is fun and creative. It is important to stay safe and keep your lures in good shape. Safety helps prevent injuries. Proper maintenance makes lures last longer.
Focus on handling tools carefully and storing lures correctly. Also, learn how to fix any damage. These tips keep your fishing gear ready for action.
Handling Sharp Tools
Sharp tools like knives and hooks can cut skin easily. Always use tools with care to avoid accidents. Keep your fingers away from blades and sharp edges.
Use a cutting board or a safe surface when working. Wear gloves if needed for extra protection. Store sharp tools in cases or holders after use.
- Keep tools clean and dry to avoid rust
- Cut away from your body
- Keep sharp tools out of reach of children
- Check tools before use for any damage
Storing Lures Properly
Proper storage stops lures from getting damaged or tangled. Use tackle boxes with compartments to keep each lure separate. This prevents hooks from catching on other items.
Keep lures in a cool, dry place to avoid rust and fading. Avoid direct sunlight as it can weaken the lure’s paint and material. Clean lures before storing them to remove dirt and water.
- Use plastic or foam inserts to hold lures
- Label compartments for easy finding
- Check stored lures regularly for rust or damage
- Dry lures completely before storage
Repairing Damaged Lures
Fix damaged lures to save money and keep fishing. Small cracks or chips can be repaired with glue or paint. Replace hooks if they become bent or rusty.
Test repaired lures in water to make sure they work well. If a lure is beyond repair, recycle parts like hooks and split rings for future use.
- Use waterproof glue for cracks
- Touch up paint with matching colors
- Replace broken or dull hooks
- Check lure balance after repairs
Frequently Asked Questions
What Materials Are Needed To Make Fishing Lures?
To make fishing lures, you need wood, hooks, paint, and glue. Additional materials include wire, feathers, and plastic. These items help create durable, attractive lures that mimic real bait, improving your fishing success.
How Do You Shape A Fishing Lure Properly?
Shape a fishing lure by carving or molding wood or plastic. Use sandpaper to smooth edges and create a realistic form. Proper shaping ensures the lure moves naturally in water, attracting more fish.
What Types Of Fishing Lures Can I Make At Home?
You can make crankbaits, spinnerbaits, jigs, and soft plastic lures at home. Each lure type targets different fish species and fishing conditions. Experimenting helps find the most effective lures for your fishing style.
How Do I Paint Fishing Lures For Best Results?
Use waterproof paints and apply thin, even coats when painting lures. Allow each layer to dry before adding the next. Proper painting enhances lure appearance and durability in water.
Conclusion
Making your own fishing lures can be fun and rewarding. You control the size, shape, and color. This helps attract different fish types. Using simple tools and materials keeps costs low. Practice will improve your skills over time. Experiment with designs to find what works best.
Fishing with lures you made feels special. Keep learning and enjoy every catch. Your next fishing trip could be your best yet. Give it a try and see the difference.