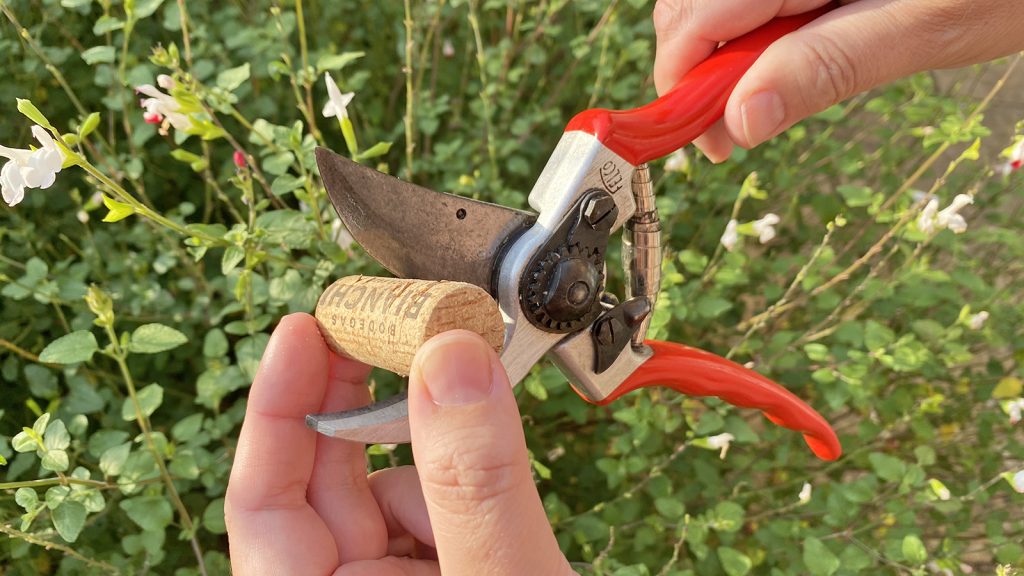
Are your Fiskars pruning shears not cutting as smoothly as they used to? Dull blades can make your gardening tasks frustrating and slow.
But don’t worry—you can easily bring back that sharp edge with the right sharpening technique. In this guide, you’ll learn simple, step-by-step tips to sharpen your Fiskars pruning shears quickly and safely. Keep reading, and you’ll save time, effort, and get your garden looking its best in no time.
Tools Needed
Sharpening Fiskars pruning shears requires a few key tools. These tools help you maintain the blades and keep them working well.
Using the right tools makes the sharpening process easier and safer. Prepare all items before starting.
Essential Sharpening Tools
You need these basic tools to sharpen your pruning shears:
- Flat sharpening stone or diamond file
- Lubricating oil to protect blades
- Cleaning cloth or rag
- Small brush for removing debris
- Wrench or screwdriver to take apart shears if needed
Safety Gear
Wear safety gear to protect yourself during sharpening:
| Gear | Purpose |
|---|---|
| Safety glasses | Protect eyes from metal shards |
| Work gloves | Prevent cuts and improve grip |
| Dust mask | Keep dust and particles out of lungs |
Preparing The Shears
Before sharpening Fiskars pruning shears, you need to prepare them carefully. Proper preparation helps you sharpen the blades safely and effectively.
Cleaning and disassembling the shears makes the sharpening process easier. It also helps keep the shears in good condition for a long time.
Cleaning The Blades
Remove dirt and sap from the blades before sharpening. Clean blades sharpen better and last longer.
Use warm soapy water and a soft brush to clean the blades. Dry them well to stop rust from forming.
- Wear gloves to protect your hands
- Use a cloth or brush to remove debris
- Dry blades completely after washing
- Apply a little oil to stop rust
Disassembling If Necessary
Some Fiskars pruning shears can be taken apart for better sharpening. Disassembling helps you reach all blade edges.
Check your shears for screws or bolts. Use the right tools to remove them carefully without damaging parts.
- Find the main pivot screw or bolt
- Use a screwdriver or wrench to remove it
- Keep parts in a safe place
- Note how parts fit together for reassembly
Sharpening Techniques
Keeping your Fiskars pruning shears sharp helps you cut plants cleanly. Sharp blades reduce damage to plants and make pruning easier.
There are several ways to sharpen your shears. Choose a method that fits your tools and skill level for best results.
Using A Sharpening Stone
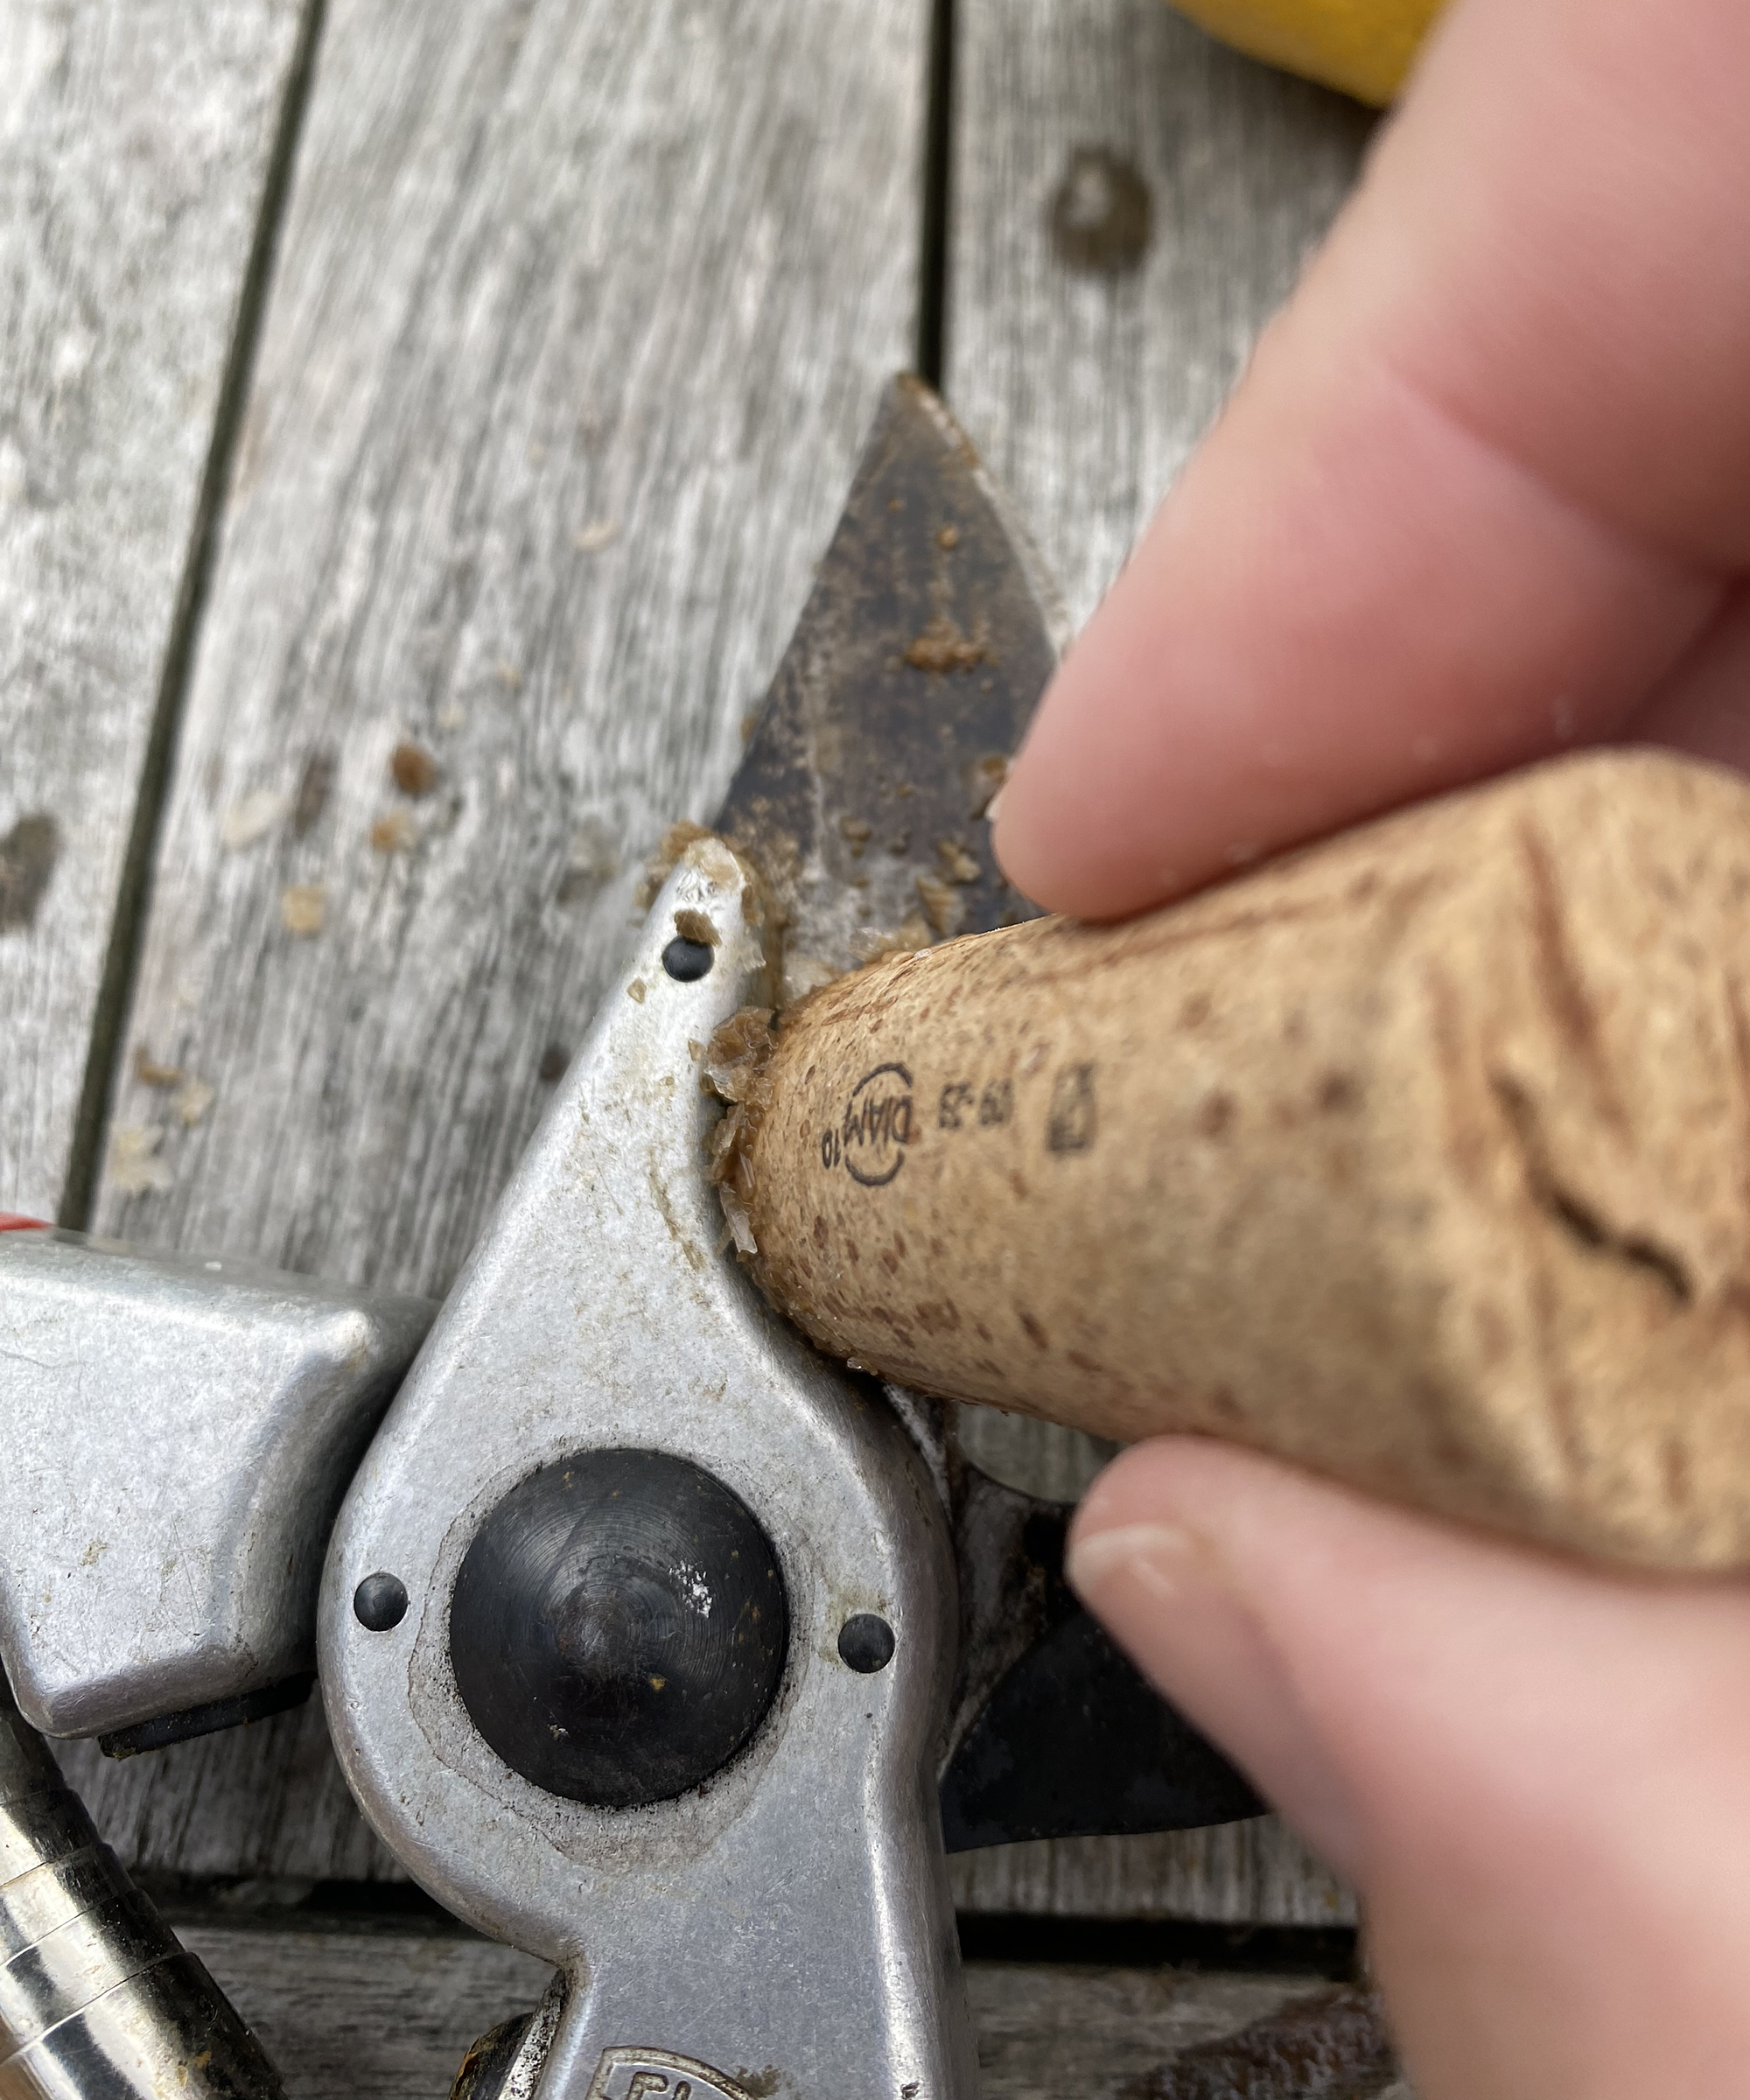
A sharpening stone is a simple tool to restore a sharp edge. You can use a whetstone or a fine grit stone for Fiskars shears.
- Clean the blades with a damp cloth to remove dirt.
- Hold the blade at a 20-degree angle to the stone.
- Move the blade across the stone in one smooth direction.
- Repeat the motion 5 to 10 times on each side of the blade.
- Wipe the blade clean and test the sharpness carefully.
Using A Diamond File
A diamond file works well for small nicks or quick touch-ups. It is easy to control and lasts a long time.
- Hold the pruning shears firmly on a stable surface.
- Place the diamond file against the blade edge at a 20-degree angle.
- Draw the file along the blade edge in one direction only.
- Make several passes until the blade feels sharper.
- Clean the blade with a cloth after filing.
Using A Sharpening Tool
Sharpening tools designed for pruning shears make the job easier and safer. They guide the blade angle for a precise edge.
| Tool Type | Pros | Cons |
|---|---|---|
| Handheld Sharpener | Easy to use, portable | May wear unevenly |
| Clamp-on Sharpener | Consistent angle, stable | Less portable |
| Electric Sharpener | Fast sharpening | Can remove too much metal |
Credit: www.gardeningknowhow.com
Sharpening Steps
Pruning shears need to be sharp for clean cuts. Fiskars shears are popular and easy to sharpen at home. Follow these steps to keep your shears in top condition.
Properly sharpened shears ensure healthy plant growth. Dull blades can damage plants, making sharpening important.
Positioning The Blade
Start by opening the shears fully. This makes the blade easy to access. Hold the shears steady on a flat surface.
Ensure the blade you want to sharpen is facing up. This position helps you see the edge clearly.
Maintaining The Angle
Keep the sharpening tool at the same angle as the blade edge. Consistent angles make sharpening effective.
Use a small file or sharpening stone. A 20-degree angle works well for most pruning shears.
- Check the original angle before starting
- Maintain the angle throughout the process
- Adjust if you see uneven sharpening
Applying Consistent Strokes
Move the sharpening tool along the blade with even pressure. Start from the base and move to the tip.
Repeat the strokes several times. This ensures the entire blade is sharpened evenly.
- Use smooth and consistent strokes
- Count strokes for even sharpening
- Check the blade for a sharp edge
Reassembling And Testing
After sharpening your Fiskars pruning shears, it is important to put them back together carefully. This keeps them working well and safe to use.
Once reassembled, test the shears to make sure they cut cleanly. Adjusting the tension can help the blades work smoothly.
Putting The Shears Back Together
Start by aligning the blades in their original positions. Make sure the sharpened edges face each other correctly for clean cuts.
Replace the bolt or screw that holds the blades together. Tighten it just enough to keep the blades secure but still able to move.
- Align blades carefully
- Insert the central bolt or screw
- Tighten to allow smooth movement
- Check that handles fit properly
Checking The Sharpness
Test the sharpness by cutting a small branch or stem. The cut should be clean without crushing the plant.
If the shears do not cut smoothly, check the blade edges again. You may need to sharpen them more or clean any debris.
- Cut a small green branch
- Look for a smooth, clean cut
- Check for any tearing or crushing
- Resharpen if needed
Adjusting The Tension
The tension controls how tightly the blades press together. Too tight makes cutting hard; too loose makes the blades slip.
Use the tension knob or bolt to adjust the pressure. Turn it slowly and test the shears after each change.
- Locate the tension knob or bolt
- Turn clockwise to increase tension
- Turn counterclockwise to decrease tension
- Test cutting after each adjustment

Credit: gardeningproductsreview.com
Maintenance Tips
Keeping your Fiskars pruning shears sharp and in good condition helps them last longer. Regular care makes cutting easier and safer.
This guide covers simple ways to clean, store, and lubricate your pruning shears for best results.
Regular Cleaning
Clean your pruning shears after every use. Dirt and sap can build up and damage the blades.
- Wipe blades with a damp cloth to remove dirt
- Use soapy water to clean stubborn sap
- Dry blades completely to prevent rust
- Use a soft brush to clean hard-to-reach areas
- Apply rubbing alcohol to disinfect blades
Proper Storage
Store your shears in a dry place to avoid rust and damage. Keep them away from moisture and dirt.
| Storage Tip | Reason |
| Keep in a dry toolbox | Prevents rust and corrosion |
| Use blade covers | Protects sharp edges |
| Hang on a wall hook | Keeps shears off damp surfaces |
| Store away from children | Ensures safety |
Lubricating Moving Parts
Lubricate the pivot and moving parts to keep shears working smoothly. This reduces wear and prevents rust.
Follow this lubrication routine:
- Apply a drop of light machine oil to the pivot bolt.
- Open and close the shears several times to spread the oil.
- Wipe off any extra oil with a clean cloth.
- Lubricate blade joints and springs regularly.

Credit: www.gardeningknowhow.com
Frequently Asked Questions
How Often Should I Sharpen Fiskars Pruning Shears?
Sharpen Fiskars pruning shears after every 10-15 uses. Frequent sharpening keeps blades clean, sharp, and efficient. Regular maintenance extends tool life and improves cutting performance. Always inspect blades for dullness before each use.
What Tools Are Best For Sharpening Fiskars Shears?
Use a sharpening stone or diamond file for Fiskars shears. These tools create a precise, smooth edge. Avoid electric sharpeners to prevent blade damage. Always follow the original blade angle while sharpening.
Can I Sharpen Pruning Shears Without Removing The Blade?
Yes, you can sharpen Fiskars shears without removing the blade. Secure the shears and carefully sharpen the cutting edge. Use steady, even strokes for best results. Removing the blade is optional but may ease access.
How Do I Maintain Fiskars Pruning Shears After Sharpening?
Clean blades with a cloth and apply lubricant after sharpening. Lubrication prevents rust and keeps blades moving smoothly. Store shears in a dry place to avoid moisture damage. Regular cleaning improves tool longevity.
Conclusion
Sharpening Fiskars pruning shears keeps them cutting clean and easy. Regular sharpening saves time and effort in your garden. A sharp blade helps prevent damage to plants. Use simple tools and follow steps carefully for best results. Keep your shears in good shape for many seasons.
Your garden work will feel smoother and more enjoyable. Try sharpening often to keep your tools ready to use. Simple care makes a big difference in pruning success.