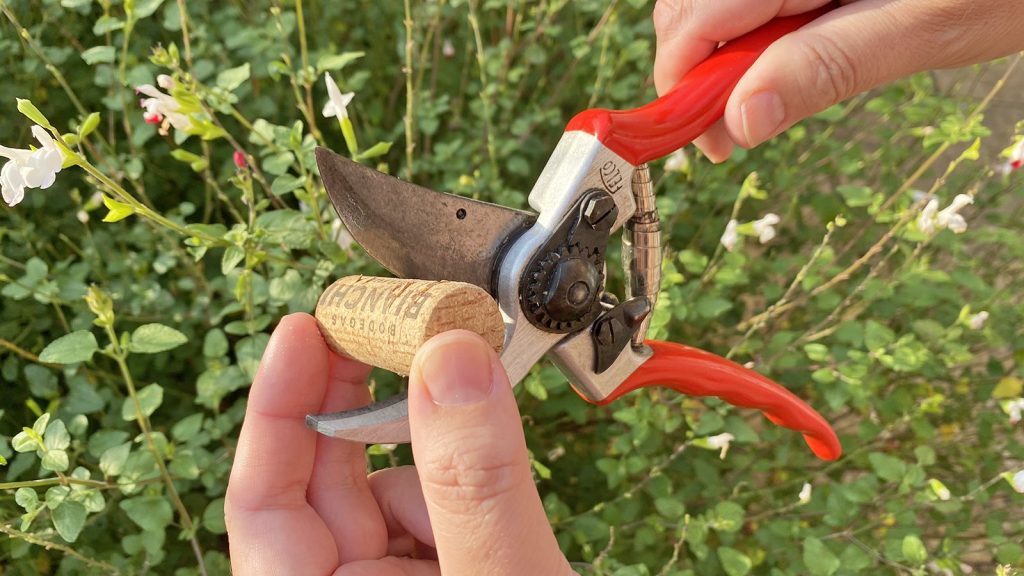
Are your Felco pruners not cutting as smoothly as they used to? Dull blades can make pruning frustrating and damage your plants.
But don’t worry—you can easily bring back that sharp edge with the right technique. In this guide, you’ll learn simple, effective steps to sharpen your Felco pruners and keep them working like new. By the end, you’ll save time, effort, and keep your garden healthy.
Ready to make your pruning tools sharp and reliable again? Let’s get started!

Credit: www.youtube.com
Tools Needed
Sharpening your Felco pruners helps keep them working well. Using the right tools makes the job easier and safer.
This guide shows the tools you need to sharpen Felco pruners properly.
Essential Sharpening Supplies
You need some basic supplies to sharpen your Felco pruners. These tools help you get a clean and sharp edge.
- Flat sharpening file or diamond sharpening stone
- Small round file (for sharpening inside curves)
- Lubricating oil to protect the blade after sharpening
- Clean cloth to wipe the blade
- Water or honing oil (if using a sharpening stone)
Choose a sharpening file or stone that fits the blade size. The round file is good for detailed edges.
Safety Gear
Safety gear protects you during sharpening. It keeps your hands and eyes safe from accidents.
- Protective gloves to avoid cuts
- Safety glasses to shield your eyes
- Work apron or old clothes to keep yourself clean
Wear gloves to hold the pruners firmly and avoid slipping. Safety glasses prevent small metal pieces from hitting your eyes.
Preparing The Pruners
Before sharpening Felco pruners, preparation is important. Clean and take apart the tool to work safely and effectively.
This guide covers cleaning the blades and disassembling for sharpening. Follow these steps to get your pruners ready.
Cleaning The Blades
Remove dirt and sap from the blades before sharpening. Clean blades sharpen better and last longer.
- Use a stiff brush to remove loose dirt and debris.
- Wipe blades with a cloth soaked in soapy water.
- For sticky sap, apply rubbing alcohol or a sap remover.
- Dry the blades completely with a clean cloth.
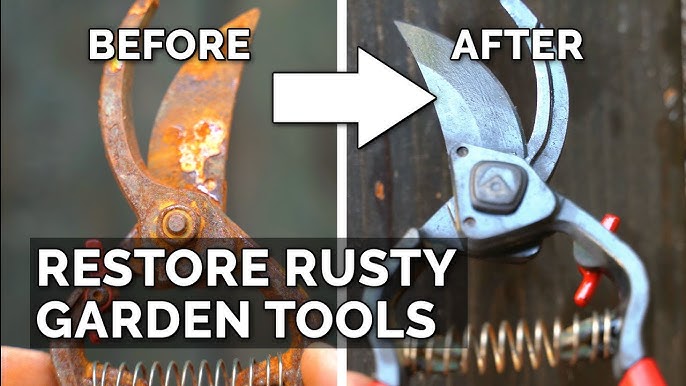
- Check for any rust spots and gently rub them with fine steel wool.
Disassembling For Sharpening
Taking apart the pruners makes sharpening easier and safer. Follow these simple steps to disassemble the tool.
| Part | Action | Tip |
|---|---|---|
| Central Bolt | Use a wrench to loosen and remove it. | Keep the bolt in a safe place. |
| Blades | Carefully separate the cutting blade and counter blade. | Handle blades carefully to avoid cuts. |
| Springs | Remove the springs from the handles. | Note their position for reassembly. |
Sharpening Techniques
Felco pruners are a gardener’s essential tool. Keeping them sharp is important for clean cuts. Regular sharpening helps them last longer and work better.
There are different methods to sharpen your pruners. You can use a sharpening stone or a diamond file. It’s also important to focus on the correct angle and stroke.
Using A Sharpening Stone
A sharpening stone is a common tool for sharpening pruners. It helps to maintain a sharp edge on the blades. First, clean the pruners to remove any dirt.
Hold the stone at the correct angle to the blade. Move the stone along the blade’s edge. Repeat until the edge is sharp and smooth.
- Clean the pruner blades
- Hold the stone at the right angle
- Move stone along the blade
- Repeat for a sharp edge
Employing A Diamond File
A diamond file is another option for sharpening pruners. It is useful for hard blades. Start by holding the file at the correct angle.
File along the blade in one direction. Do not move back and forth. Continue until the blade is sharp. This method is quick and effective.
- Hold the file at the right angle
- File in one direction
- Check blade sharpness
- Repeat if necessary
Angle And Stroke Tips
The angle of the sharpening tool is very important. A common angle is 20 to 25 degrees. This angle helps create a sharp edge.
Use long, smooth strokes. This prevents damage to the blade. Consistent strokes ensure even sharpening.
- Maintain a 20-25 degree angle
- Use smooth strokes
- Keep strokes consistent
- Check the blade frequently
Credit: www.youtube.com
Reassembling And Testing
After sharpening your Felco pruners, you need to put them back together carefully. This ensures they work smoothly and safely. Testing the cut quality confirms the sharpening was successful.
Follow the right steps to avoid damage or injury. Proper reassembly keeps the pruners in good shape for long use.
Putting The Pruners Back Together
Start by aligning all the parts in their correct positions. Make sure the blade and anvil fit well. Tighten the bolt or screw that holds the pruners together. Do not overtighten, or the movement will be stiff.
- Place the sharpened blade back onto the pruner handle.
- Align the anvil or counter blade properly.
- Insert the pivot bolt through the holes.
- Tighten the bolt until the blade moves smoothly without wobble.
- Check the spring and locking mechanism for proper function.
- Apply a drop of oil to the pivot for smooth action.
Checking The Cut Quality
Test the sharpness by cutting small branches or stems. The cut should be clean and smooth. If the pruners crush or tear the stem, sharpening may be needed again.
| Cut Result | Meaning | Action |
|---|---|---|
| Clean, smooth cut | Blade is sharp and aligned | Ready to use |
| Crushed or torn stem | Blade dull or misaligned | Sharpen again and realign |
| Blade sticks or hard to close | Too tight or dirty pivot | Loosen bolt and clean pivot |
Maintenance Tips
Keeping your Felco pruners sharp helps them cut better and last longer. Regular care prevents damage and makes pruning easier.
Follow simple maintenance steps to keep your tools in top shape. This guide covers cleaning, lubrication, and storage.
Regular Cleaning Routine
Clean your Felco pruners after each use. Remove dirt, sap, and plant residue to avoid rust and sticky blades.
Use a brush or cloth with warm soapy water. Dry the pruners well before storing them.
- Wipe blades with a damp cloth
- Use a brush for stuck debris
- Dry completely to prevent rust
- Sharpen blades if needed
Lubrication And Storage Advice
Lubricate your pruners to keep them moving smoothly. Use light oil on the pivot and blades after cleaning.
Store pruners in a dry place. Keep them closed or in a sheath to protect the blades and avoid accidents.
- Apply oil to pivot points and blades
- Wipe off extra oil to prevent dirt buildup
- Store in a dry, cool area
- Keep blades closed or covered

Credit: www.gardeningknowhow.com
Frequently Asked Questions
How Often Should I Sharpen Felco Pruners?
Sharpen Felco pruners every 10 to 15 hours of use. Regular sharpening ensures clean cuts and extends tool life. Check blades for dullness before each use to maintain optimal performance and avoid plant damage.
What Tools Are Needed To Sharpen Felco Pruners?
Use a sharpening stone, diamond file, or Felco sharpening kit. These tools help maintain the blade’s beveled edge efficiently. Always clean the blades before sharpening to remove sap and debris for best results.
Can I Sharpen Felco Pruners At Home Safely?
Yes, you can safely sharpen Felco pruners at home. Follow manufacturer instructions carefully and use proper tools. Wear gloves to protect your hands and work in a well-lit area for precision and safety.
How Do I Maintain Felco Pruners After Sharpening?
After sharpening, clean blades with a cloth and apply oil to prevent rust. Tighten screws and check alignment for smooth operation. Proper maintenance prolongs sharpness and ensures the pruners work efficiently.
Conclusion
Sharpening Felco pruners keeps them cutting clean and smooth. Regular sharpening saves time and effort during gardening. A sharp blade helps prevent damage to plants. Follow simple steps and use the right tools for best results. Keep your pruners in good shape for years of use.
Taking care of your tools is easy and worth it. Ready to trim with confidence and ease? Your garden will thank you.