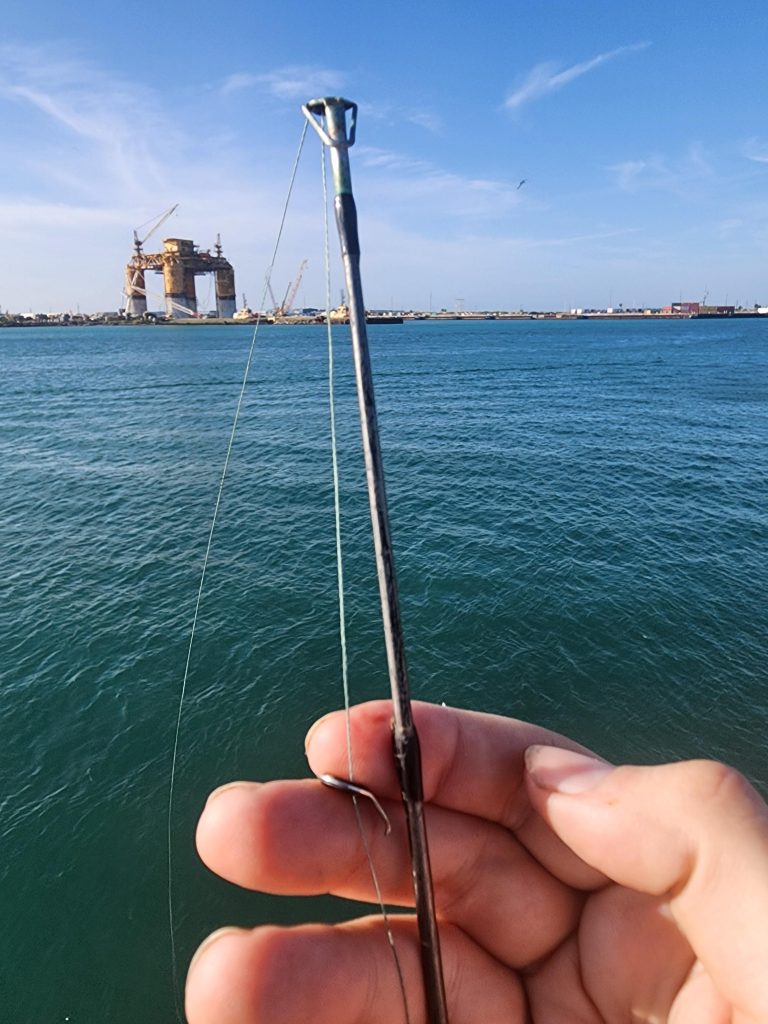
Have you noticed your fishing line snagging or your casts losing their smooth glide? The problem might be your fishing rod guides.
These small rings play a big role in how well your rod performs. When they wear out or break, it’s not just frustrating—it can ruin your entire fishing experience. But don’t worry, replacing your fishing rod guides is easier than you think.
In this guide, you’ll discover simple steps to fix your rod yourself, saving time and money while getting back to the water faster. Ready to bring your fishing rod back to life? Let’s dive in.
Credit: yourrightscount.com
Tools And Materials Needed
Replacing fishing rod guides is a useful skill to keep your rod in good shape. You need the right tools and materials to do the job well.
This guide helps you learn about the essential tools and how to pick the right replacement parts.
Essential Tools
You need some specific tools to remove old guides and install new ones. These tools make the process easier and neat.
- Heat source like a lighter or heat gun to loosen glue
- Sharp knife or razor blade to cut thread and epoxy
- Small pliers to pull off old guides
- Thread bobbin holder for winding thread
- Brush for applying epoxy
- Rod dryer or slow spinner to dry epoxy evenly
- Sandpaper for smoothing the rod surface
Choosing Replacement Guides
Replacement guides should fit your rod size and fishing style. Using the wrong size can affect your cast and line flow.
Look at the old guides for size and type. Match the guide ring size and frame style for best results.
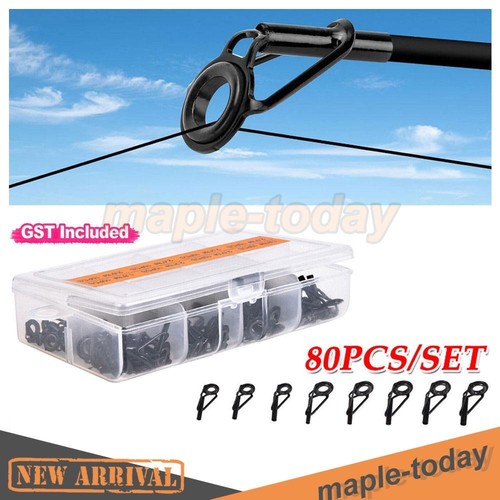
- Match guide ring diameter to your rod’s original guides
- Choose frames made from corrosion-resistant materials
- Consider the number of guides needed for your rod
- Pick guide types like single-foot or double-foot based on rod design
Selecting Thread And Epoxy
Thread holds the guides to the rod, and epoxy seals and protects the wraps. Choose strong and durable materials.
Use nylon or polyester thread that resists water and sun damage. Clear two-part epoxy works best for sealing.
- Pick thread size that fits your rod and guide foot size
- Use UV-resistant thread for longer life
- Choose clear, slow-curing epoxy for smooth finish
- Use thin epoxy to avoid heavy wraps
Removing Old Guides
Removing old guides from a fishing rod is key before adding new ones. This process helps keep your rod in good shape and ready to use.
Focus on heating the thread wraps and removing the guides carefully to avoid damage to the rod.
Heating The Thread Wraps
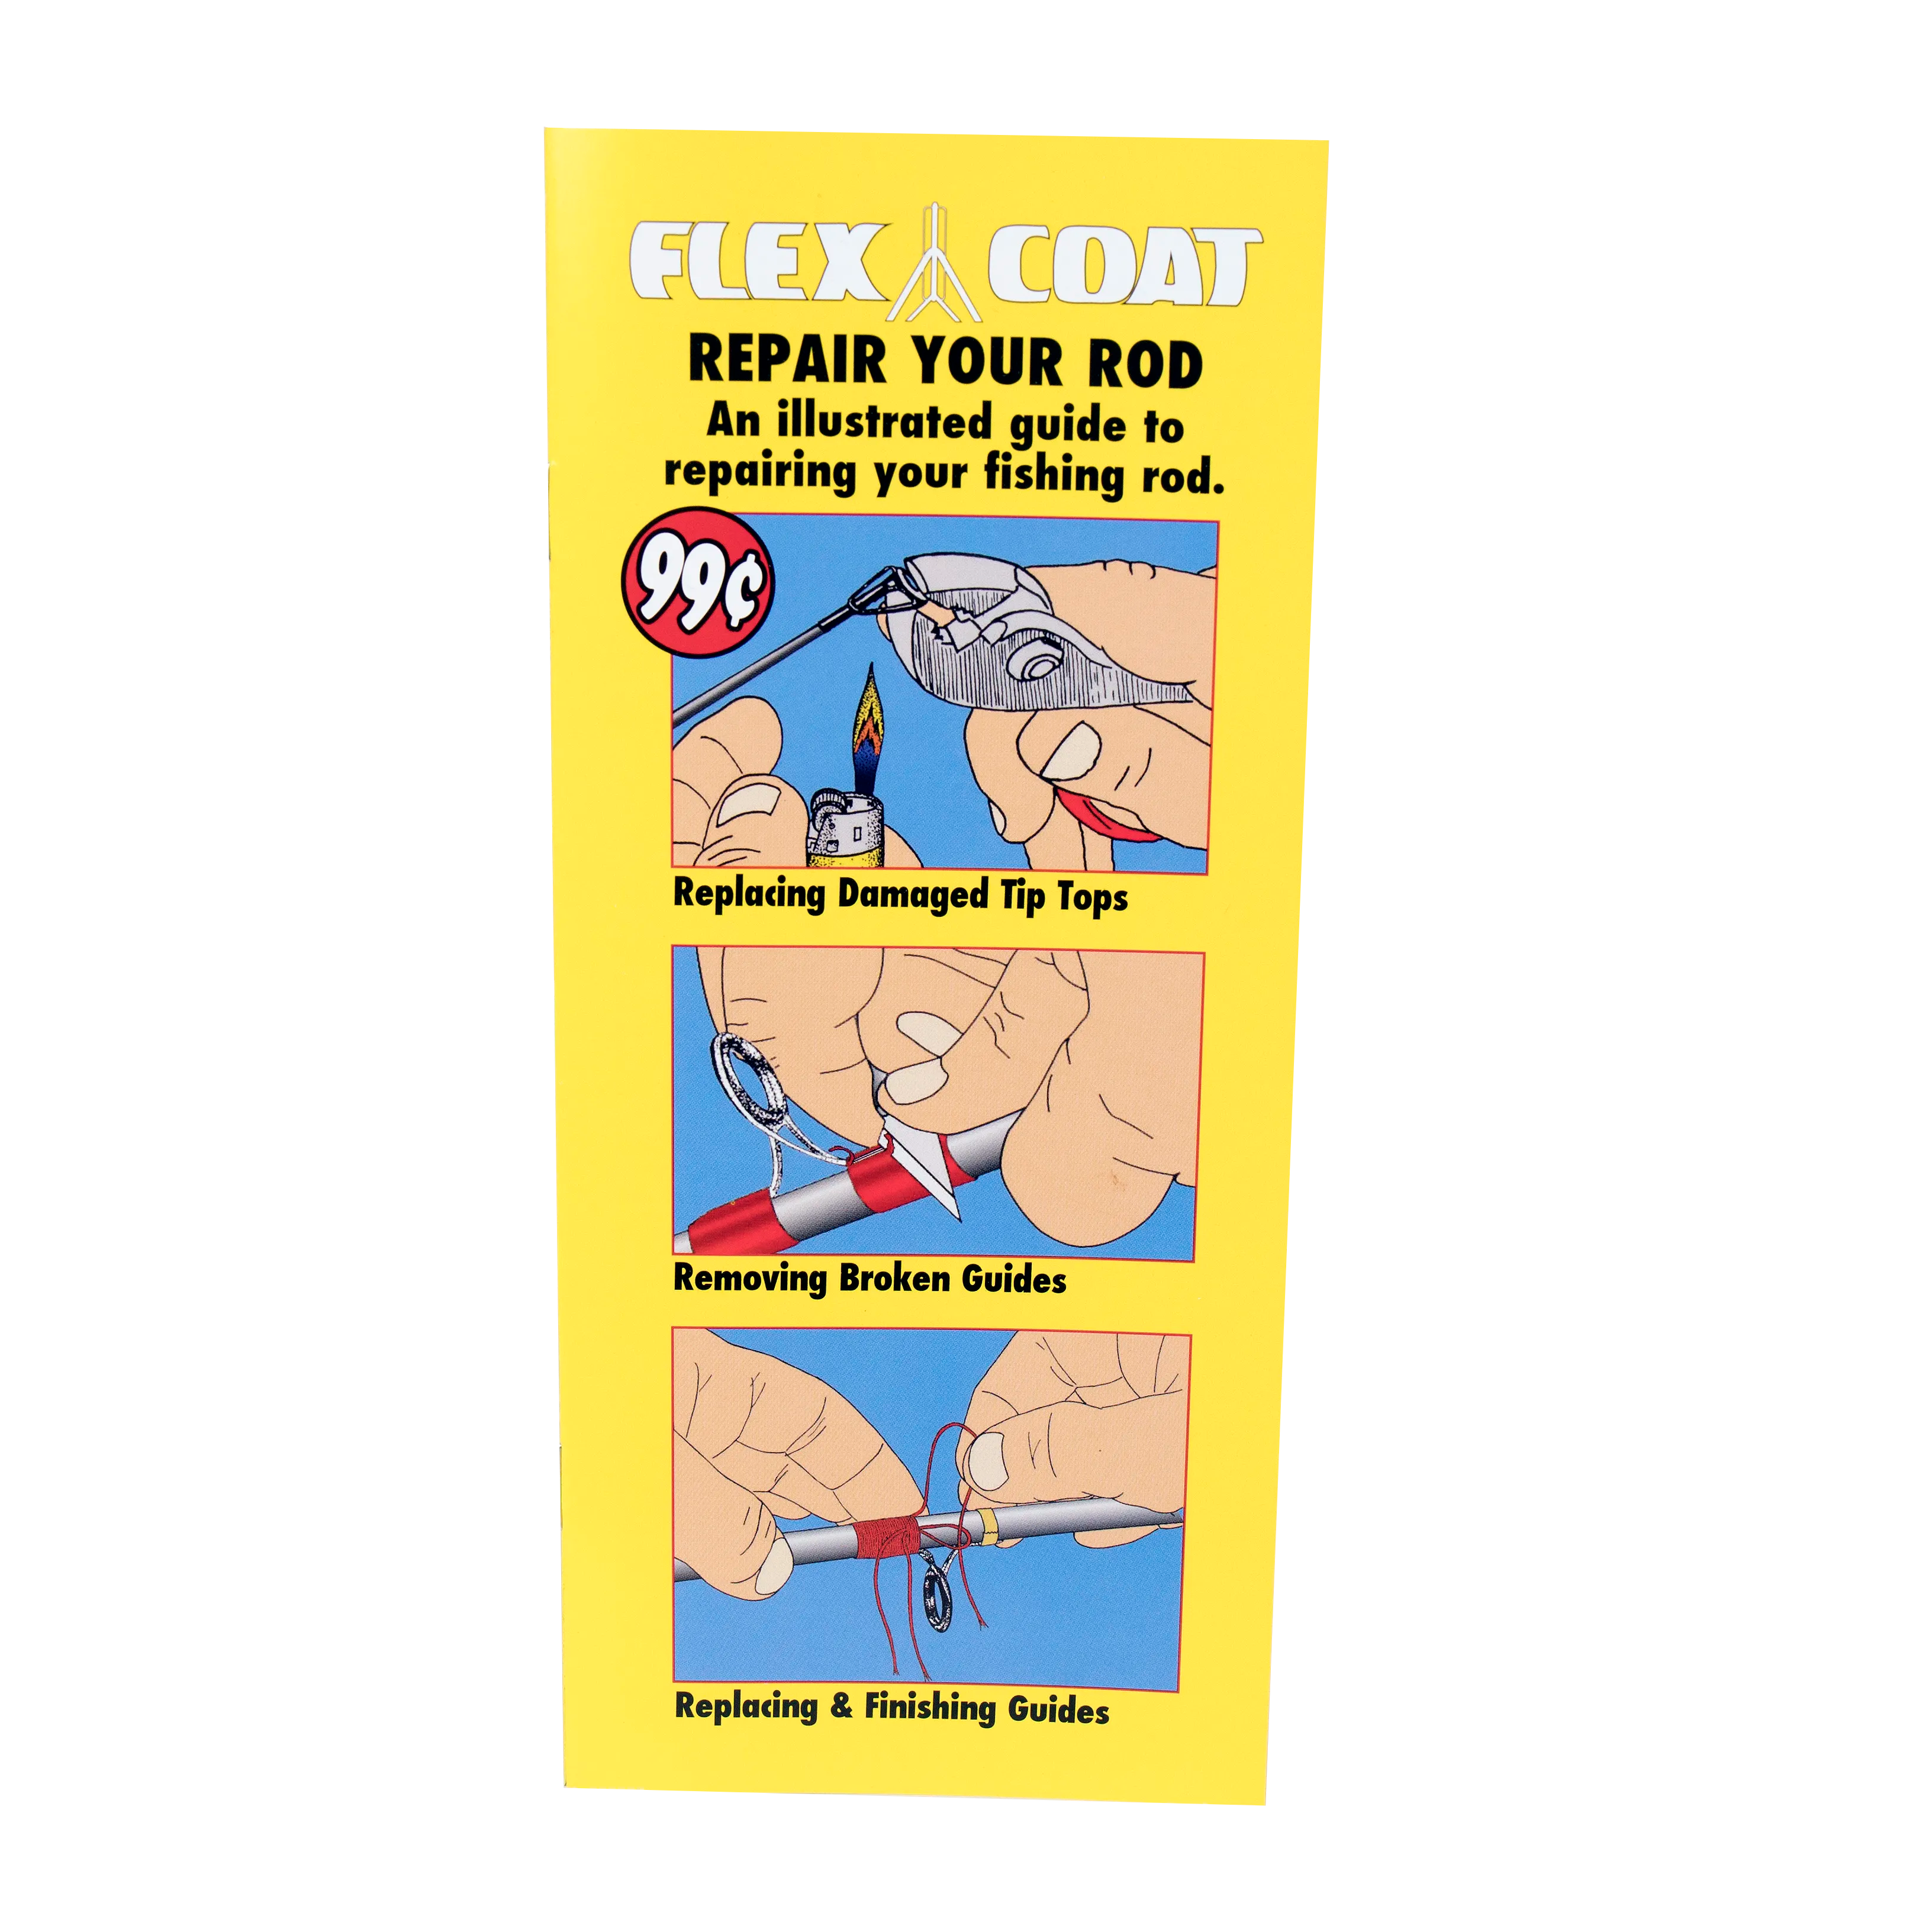
Heat softens the thread wraps that hold the guides. Use a heat source like a lighter or heat gun to warm the wraps gently.
- Hold the heat source about 2 inches away from the thread wraps.
- Move the heat source slowly around the wrap to warm it evenly.
- Do not overheat, as it can burn the thread or damage the rod.
- Heat for 15 to 30 seconds until the glue softens.
- Check if the thread feels soft before trying to remove the guide.
Careful Guide Removal
Once the thread wraps are heated and soft, remove the guides with care. Use the right tools and avoid damage to the rod blank.
| Tool | Use |
|---|---|
| Small flathead screwdriver | Lift and loosen the guide foot |
| Tweezers | Grip and pull the guide gently |
| Razor blade | Cut any remaining thread or glue |
| Soft cloth | Clean the rod surface after guide removal |
Preparing The Rod Blank
Replacing fishing rod guides starts with preparing the rod blank. This is crucial to ensure your new guides align properly and stay secure.
The process involves cleaning the surface and aligning the new guides. Following these steps will help maintain the rod’s performance and longevity.
Cleaning The Surface
Before attaching new guides, clean the rod blank surface thoroughly. This ensures that no dirt or debris will interfere with the guide’s placement.
Use the following materials for cleaning:
- Soft cloth
- Rubbing alcohol
- Water
Gently wipe the rod with a cloth dipped in rubbing alcohol. This will remove oils and residues, providing a clean surface for the guides.
Aligning New Guides
Once the surface is clean, align the new guides carefully. Proper alignment ensures smooth casting and prevents line friction.
| Guide Type | Position |
| Tip guide | At the rod’s end |
| Intermediate guides | Evenly spaced along the rod |
| Butt guide | Close to the handle |
Place the guides based on the table above. Make sure they are straight and in line with the rod blank’s length.
Attaching New Guides
Replacing fishing rod guides is an important repair task. Attaching new guides correctly helps your rod perform well.
This guide explains how to attach new guides step by step. Follow these instructions for a strong and neat finish.
Positioning The First Guide
Start by placing the first guide near the rod handle. This guide sets the line’s path and balance.
Make sure the guide is straight and centered on the rod. Use a marker to mark its exact spot before wrapping.
Wrapping Techniques
Use thin thread to wrap the guide foot onto the rod. Keep wraps tight and close together to hold it firmly.
Start with a few loose loops to anchor the thread. Then, pull the thread tight as you wrap down the rod.
- Keep the thread flat and smooth
- Avoid overlapping or gaps
- Wrap evenly around the guide foot
- Use a bobbin holder for better control
Securing The Wraps
Finish by tying off the thread securely. Use a whip finish knot to lock the wraps in place.
Apply a thin coat of epoxy over the wraps. This protects the thread and keeps the guide stable during use.
Applying Epoxy Finish
After replacing fishing rod guides, applying an epoxy finish protects the wraps. The epoxy makes the wraps strong and smooth. It also keeps moisture out.
Using epoxy correctly helps your fishing rod last longer. It also gives a clean, shiny look to the rod.
Mixing Epoxy Correctly
Mixing epoxy well is important for a good finish. Use equal parts of resin and hardener. Stir slowly to avoid bubbles.
Mix only what you can use in 30 minutes. Too much mixed at once will harden before you apply it.
- Use a clean cup and stick for mixing
- Stir slowly and evenly for 2-3 minutes
- Check the consistency; it should be smooth
- Avoid whipping air into the mix
- Mix small batches if needed
Coating The Wraps
Apply epoxy with a fine brush or a small foam brush. Cover the wraps evenly. Avoid thick layers to prevent drips.
Spin the rod slowly while applying epoxy. This helps spread the epoxy evenly on all sides of the wraps.
- Use light, even strokes
- Cover all thread wraps completely
- Remove excess epoxy before it hardens
- Keep the rod level while coating
- Spin the rod gently for smooth coverage
Curing Time Tips
Let the epoxy cure in a dust-free place. Keep the rod at room temperature. Avoid touching the epoxy during curing.
Curing time can vary. Most epoxies take 12 to 24 hours to harden fully. Wait longer if the air is cold or humid.
- Place the rod horizontally on supports
- Keep the area clean and free of dust
- Do not move or touch the rod during curing
- Follow the epoxy product’s recommended curing time
- Check the finish for stickiness before use

Credit: www.amazon.ca
Testing The Repaired Rod
After replacing fishing rod guides, testing the rod is important. This ensures the repair works well and the rod performs safely.
Proper testing helps spot any problems before you use the rod on the water. Focus on guide alignment and durability to check your work.
Checking Guide Alignment
Guide alignment affects how the line flows during casting and retrieval. Misaligned guides can cause line wear or poor casting accuracy.
- Place the rod on a flat surface and look along the length from the handle to the tip.
- Check if all guides form a straight line without bending to one side.
- Rotate the rod slowly to see if the guides stay aligned in all positions.
- Look for gaps or uneven spacing between guides.
- Adjust the guides if they are not perfectly aligned before the glue sets.
Ensuring Durability
Durability means the guides stay secure during use. Test the strength of your repair with simple checks and practical use.
| Test Method | What to Check | Expected Result |
| Gentle tug on each guide | Check if guides move or loosen | Guides remain firmly attached |
| Bend the rod gently | Observe guide stability under flex | Guides do not shift or detach |
| Cast a few practice lines | Check for smooth line flow and noise | Line runs smoothly without snagging |
Credit: flexcoat.com
Frequently Asked Questions
How Do I Know When To Replace Fishing Rod Guides?
Replace guides if they show cracks, grooves, or rust. Damaged guides can fray your fishing line and reduce casting efficiency. Regularly inspect guides after fishing trips to ensure optimal rod performance.
What Tools Are Needed To Replace Fishing Rod Guides?
You need a heat source, thread, epoxy resin, and a small brush. A razor blade helps remove old guides. These tools ensure proper removal and secure attachment of new guides.
Can I Replace Fishing Rod Guides Myself At Home?
Yes, you can replace guides at home with patience and proper tools. Follow step-by-step instructions carefully. DIY replacement saves money and extends your rod’s life.
How To Remove Old Guides Without Damaging The Rod?
Use a heat source to soften the epoxy carefully. Gently cut through the thread without scratching the rod blank. Take your time to avoid damage during removal.
Conclusion
Replacing fishing rod guides can save your favorite rod from damage. It takes patience but is worth the effort. Follow the steps carefully and use the right tools. Check each guide for cracks or wear before starting. Take your time to align the new guides properly.
A well-repaired rod improves casting and fishing enjoyment. Small fixes keep your gear ready for every trip. Try this simple repair and enjoy fishing longer.