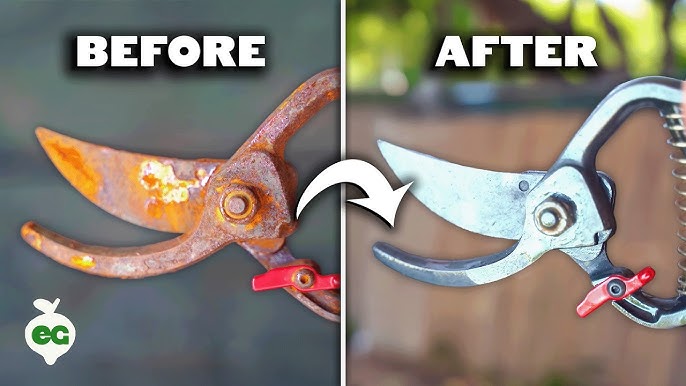
Are your garden shears feeling sticky or rusty? Keeping them clean is easier than you think—and it makes a huge difference in how well they work.
When your shears are sharp and spotless, you cut through branches smoothly and protect your plants from disease. In this guide, you’ll discover simple, step-by-step ways to clean your garden shears quickly. By the end, you’ll have tools that look and perform like new, saving you time and effort in your gardening.
Ready to get started? Let’s dive in!
Tools Needed
Cleaning your garden shears keeps them sharp and rust-free. You’ll need a few tools to do this properly.
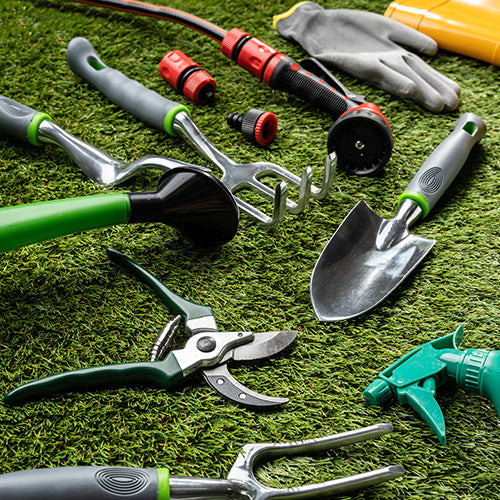
Below is a list of tools and materials you’ll need for cleaning garden shears effectively.
Gather Your Tools
Before you start cleaning, gather all necessary tools and materials. This saves time and ensures a smooth process.
- Bucket of warm water
- Dish soap
- Steel wool or wire brush
- Clean cloth or towel
- WD-40 or another lubricant
- Sharpening stone
Set Up Your Workspace
A clean and organized workspace helps you clean your shears efficiently. Use a table or a workbench.
Make sure your workspace is well-lit. Good lighting helps you see any rust or dirt on the shears.
Prepare The Cleaning Solution
Mix warm water with a few drops of dish soap in a bucket. This solution helps remove dirt and grime.
| Component | Amount |
| Warm Water | 1 Bucket |
| Dish Soap | A Few Drops |
Preparing The Shears
Cleaning garden shears keeps them sharp and rust-free. Proper preparation makes cleaning easier and safer.
Before cleaning, gather all needed tools and clear your workspace. This helps you work efficiently.
Gather Necessary Supplies
Collect the right supplies to clean your shears well. You will need cleaning agents, cloths, and safety gear.
- Warm water
- Dish soap
- Rubbing alcohol or white vinegar
- Steel wool or a soft brush
- Clean rags or paper towels
- Protective gloves
Disassemble The Shears
Take apart your shears if possible. This lets you clean hard-to-reach spots and prevents damage.
Use a screwdriver or wrench to remove the pivot bolt. Keep all small parts in a safe place.
Remove Dirt And Plant Residue
Clear off soil and plant bits before washing. This reduces grime and stops rust from forming.
Use a stiff brush or an old toothbrush to scrub dirt. Rinse with water to remove loose debris.
Dry the shears with a clean cloth to avoid water spots.
Removing Dirt And Sap
Garden shears get dirty with soil and sticky sap after use. Cleaning them helps keep the blades sharp and working well.
Removing dirt and sap prevents rust and damage. It also makes cutting easier and safer.
Soaking The Blades
Fill a container with warm, soapy water. Soak the blades for 10 to 15 minutes to soften stuck dirt and sap.
Use mild dish soap to avoid damaging the metal. After soaking, the dirt will be easier to remove.
- Use a plastic or glass container
- Warm water helps loosen sap
- Soak blades, not handles
- Do not soak longer than 15 minutes
Scrubbing Techniques
Use a soft brush or cloth to scrub the blades gently. Remove dirt and sap carefully to avoid dulling the edge.
For tough sap, use rubbing alcohol on a cloth. Wipe the blades clean and dry them well to stop rust.
- Use a soft brush or old toothbrush
- Apply rubbing alcohol for sticky sap
- Wipe blades with a dry cloth
- Check for any remaining dirt or sap
Disinfecting The Blades
Cleaning garden shears is important to keep plants healthy. Disinfecting the blades stops the spread of diseases. It also helps your tools last longer.
Use the right method and solution to disinfect the blades safely. This guide will help you choose and apply the disinfectant correctly.
Choosing The Right Solution
Select a disinfectant that kills bacteria and fungi. Common options include rubbing alcohol, bleach, and vinegar. Each works differently and has safety tips.
| Disinfectant | Effectiveness | Safety Tips |
| Rubbing Alcohol (70%) | Kills most germs quickly | Use in a well-ventilated area |
| Bleach Solution (1 part bleach to 9 parts water) | Kills viruses and fungi well | Wear gloves and avoid skin contact |
| White Vinegar | Good for mild cleaning | May not kill all pathogens |
Applying The Disinfectant
- First, clean the blades with water and soap to remove dirt.
- Dry the blades with a clean cloth.
- Apply the chosen disinfectant using a spray bottle or cloth.
- Let the disinfectant sit on the blades for at least 5 minutes.
- Rinse the blades if required by the disinfectant instructions.
- Dry the blades completely to prevent rust.
Regular disinfection helps prevent plant diseases. Always follow safety guidelines for each disinfectant.
Sharpening The Blades
Keeping garden shears sharp makes cutting plants easier. Sharp blades cut cleanly and prevent damage to plants.
Regular sharpening keeps your shears working well and lasting longer. This guide helps you sharpen the blades safely.
Selecting A Sharpening Tool
Choose the right tool for sharpening your garden shears. The tool affects how sharp and smooth the blade will be.
Common tools include sharpening stones, files, and diamond sharpeners. Each tool fits different blade types and user skills.
- Sharpening stone:Good for fine, smooth edges.
- Metal file:Best for rough or very dull blades.
- Diamond sharpener:Works fast and lasts long.
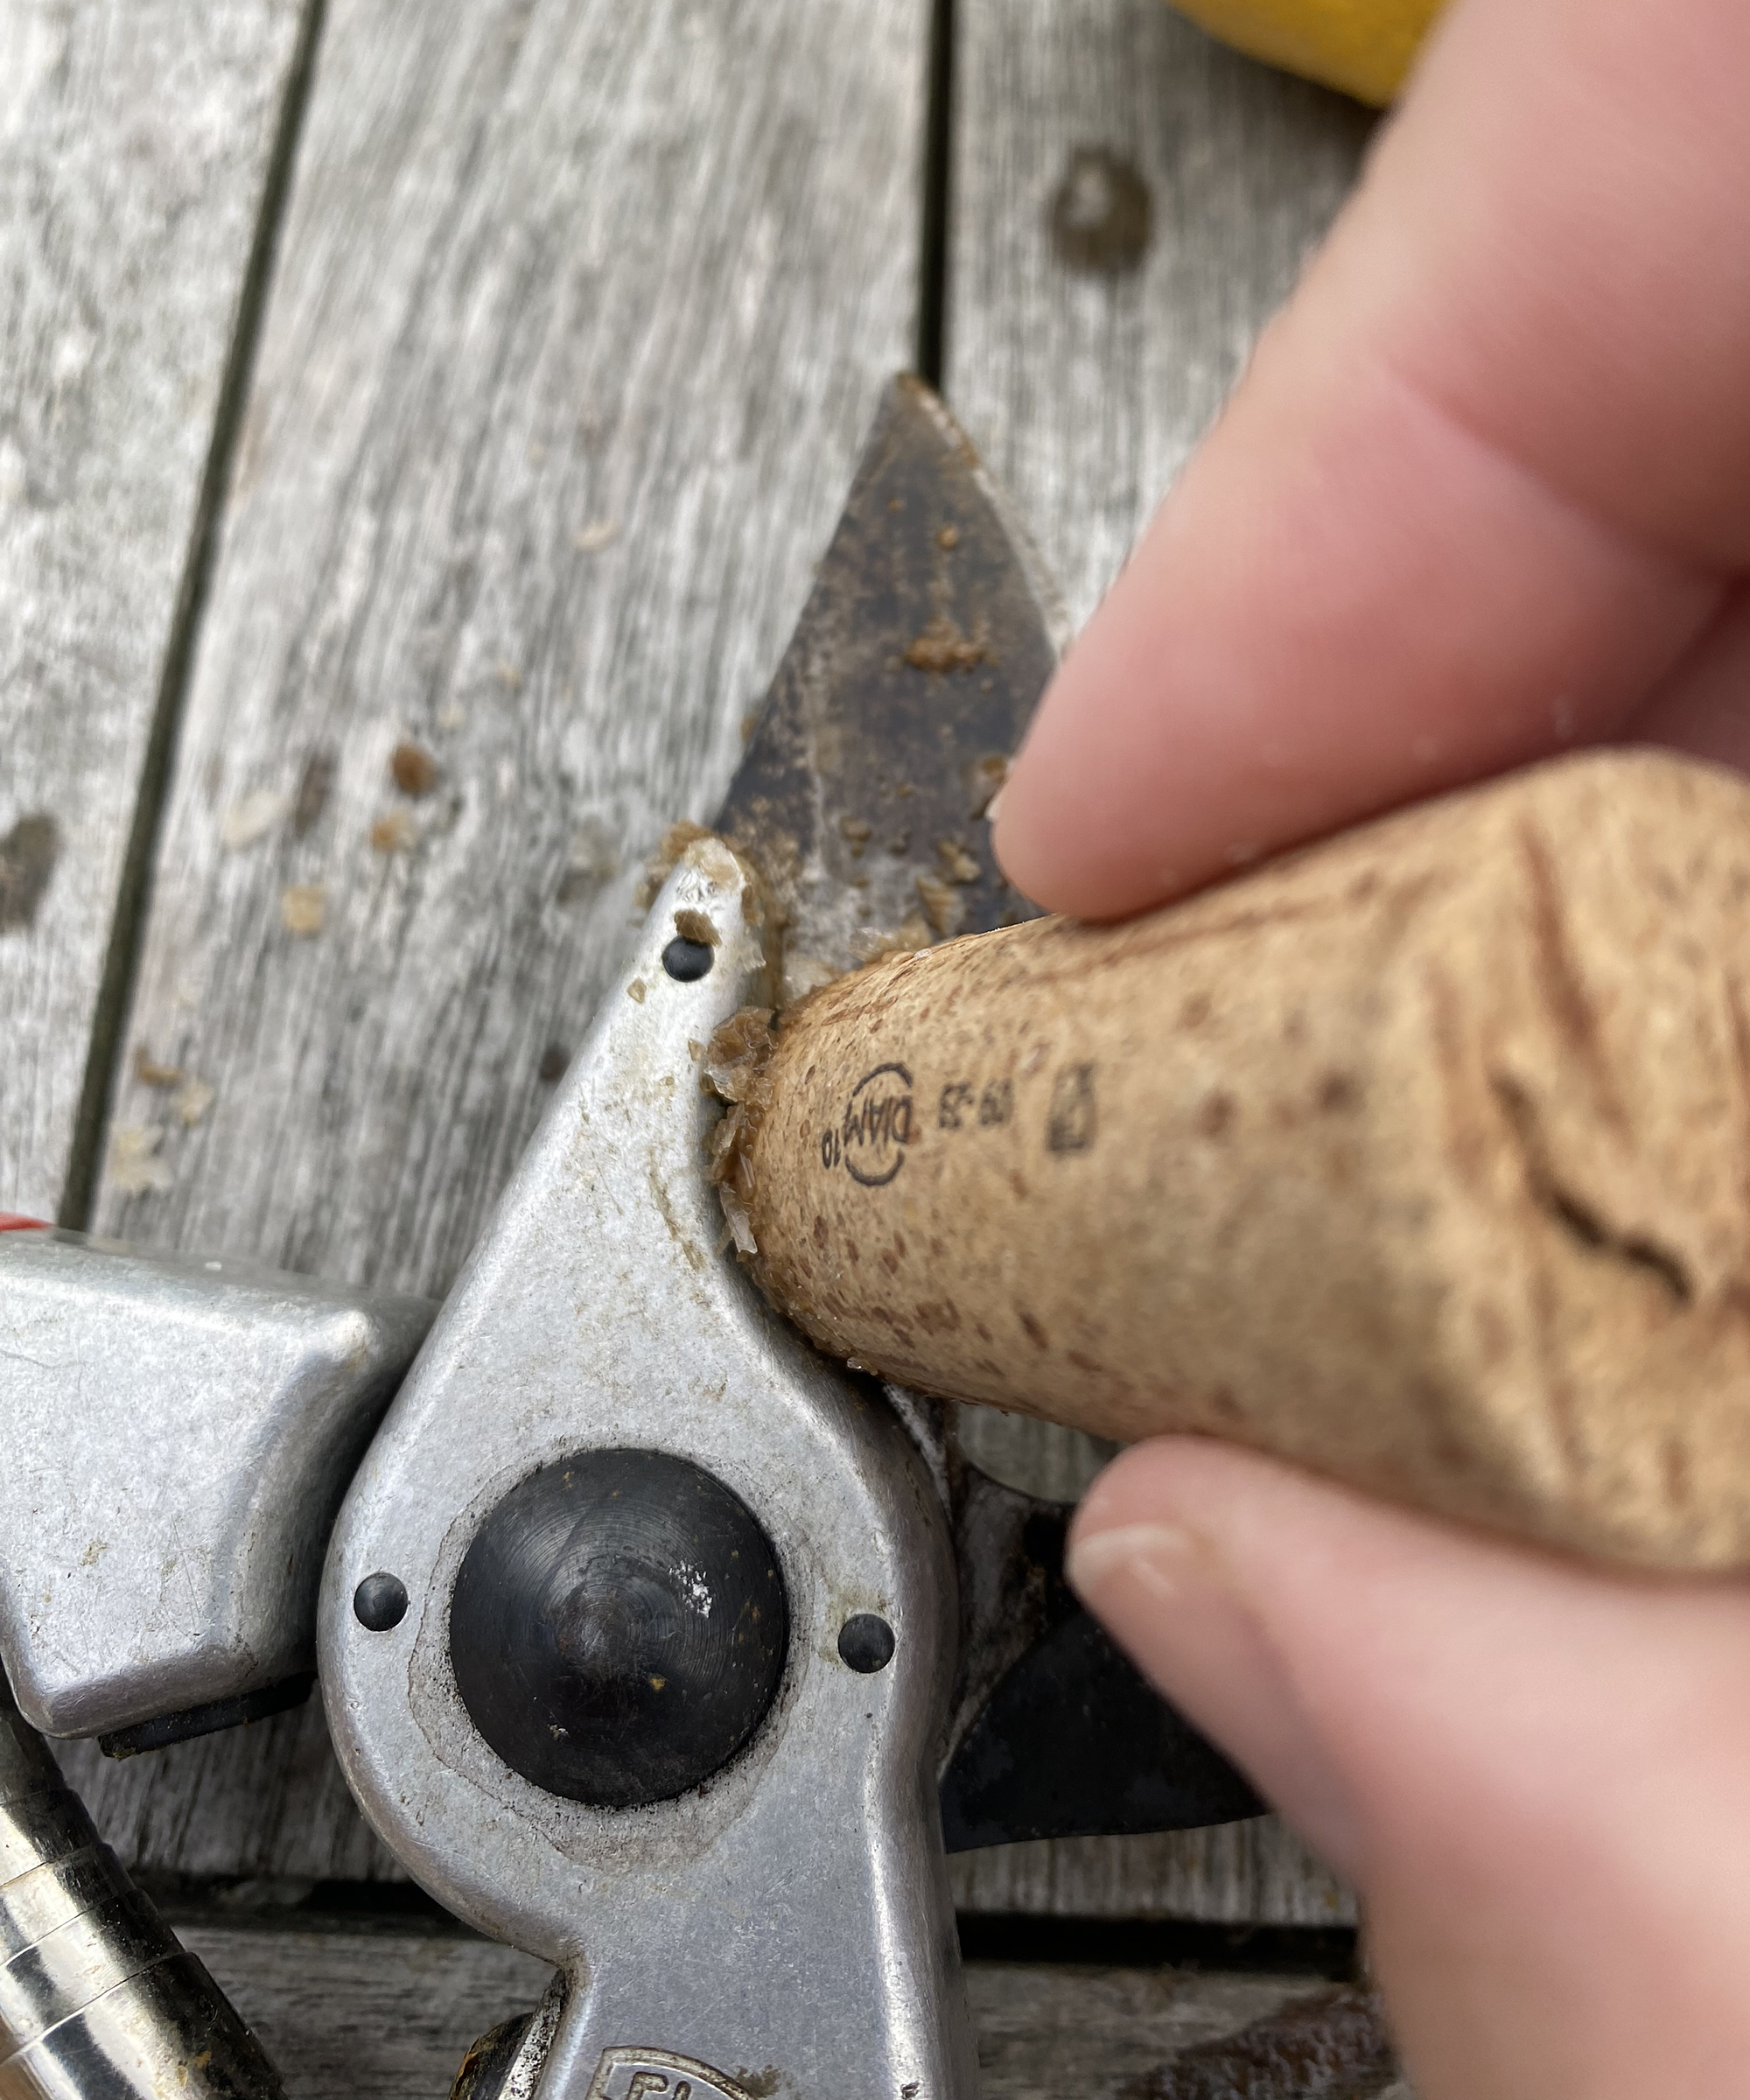
Step-by-step Sharpening
Start by cleaning the blades to remove dirt and sap. This helps the sharpening tool work better.
Follow these steps to sharpen the blades carefully and safely.
- Open the shears and hold one blade steady.
- Match the sharpening tool angle to the blade edge, usually 10-20 degrees.
- Slide the tool along the blade from base to tip in one smooth motion.
- Repeat this motion 5 to 10 times or until the edge feels sharp.
- Turn the shears and sharpen the other blade if it has a sharp edge.
- Wipe the blades clean and apply light oil to prevent rust.
Credit: www.gardeningknowhow.com
Oiling And Lubricating
Keeping your garden shears oiled and lubricated helps them work smoothly. It also stops rust and wear. Regular oiling extends the life of your tools.
In this guide, you will learn about the best oils for garden shears and how to apply oil correctly for the best results.
Best Oils For Garden Shears
Choosing the right oil is important for protecting metal parts and keeping blades sharp. Some oils work better than others for garden tools.
- Mineral oil: Safe and effective for metal surfaces.
- WD-40: Good for cleaning and light lubrication.
- Vegetable oil: Natural option but can gum up over time.
- 3-in-1 oil: Multipurpose and easy to find.
- Silicone spray: Prevents rust and repels water.
How To Apply Oil
Applying oil to your garden shears is simple. Follow these steps to keep your tools in top shape.
- Clean the blades with a dry cloth to remove dirt and sap.
- Apply a few drops of oil to the pivot point and blade edges.
- Use a cloth to spread the oil evenly on all metal parts.
- Open and close the shears several times to work the oil into the joints.
- Wipe off any extra oil to avoid attracting dirt.
Storage Tips
Storing garden shears properly keeps them sharp and rust-free. Good storage also helps protect the blades and handles.
Clean and dry shears before storing to prevent damage. Use the right place and tools for storage.
Keep Shears Dry
Moisture causes rust on metal parts. Wipe shears with a dry cloth before storing. Store them in a dry area away from water.
Use Protective Covers
Protective covers keep blades safe from dust and damage. Use blade guards or wrap blades in cloth or paper.
- Blade guards prevent accidental cuts
- Cloth wraps stop dust buildup
- Paper wrapping keeps blades dry
Store Shears In A Safe Place
Place shears in a spot where they won’t fall or get damaged. Hang them on hooks or keep them in a tool box.
- Use wall hooks for easy access
- Keep shears out of children’s reach
- A toolbox protects shears from dirt
Oil The Blades Before Storage
Apply a light oil coat on blades to stop rust. Use machine oil or vegetable oil for protection.
- Use a soft cloth to apply oil
- Cover all metal parts lightly
- Wipe off extra oil before storage
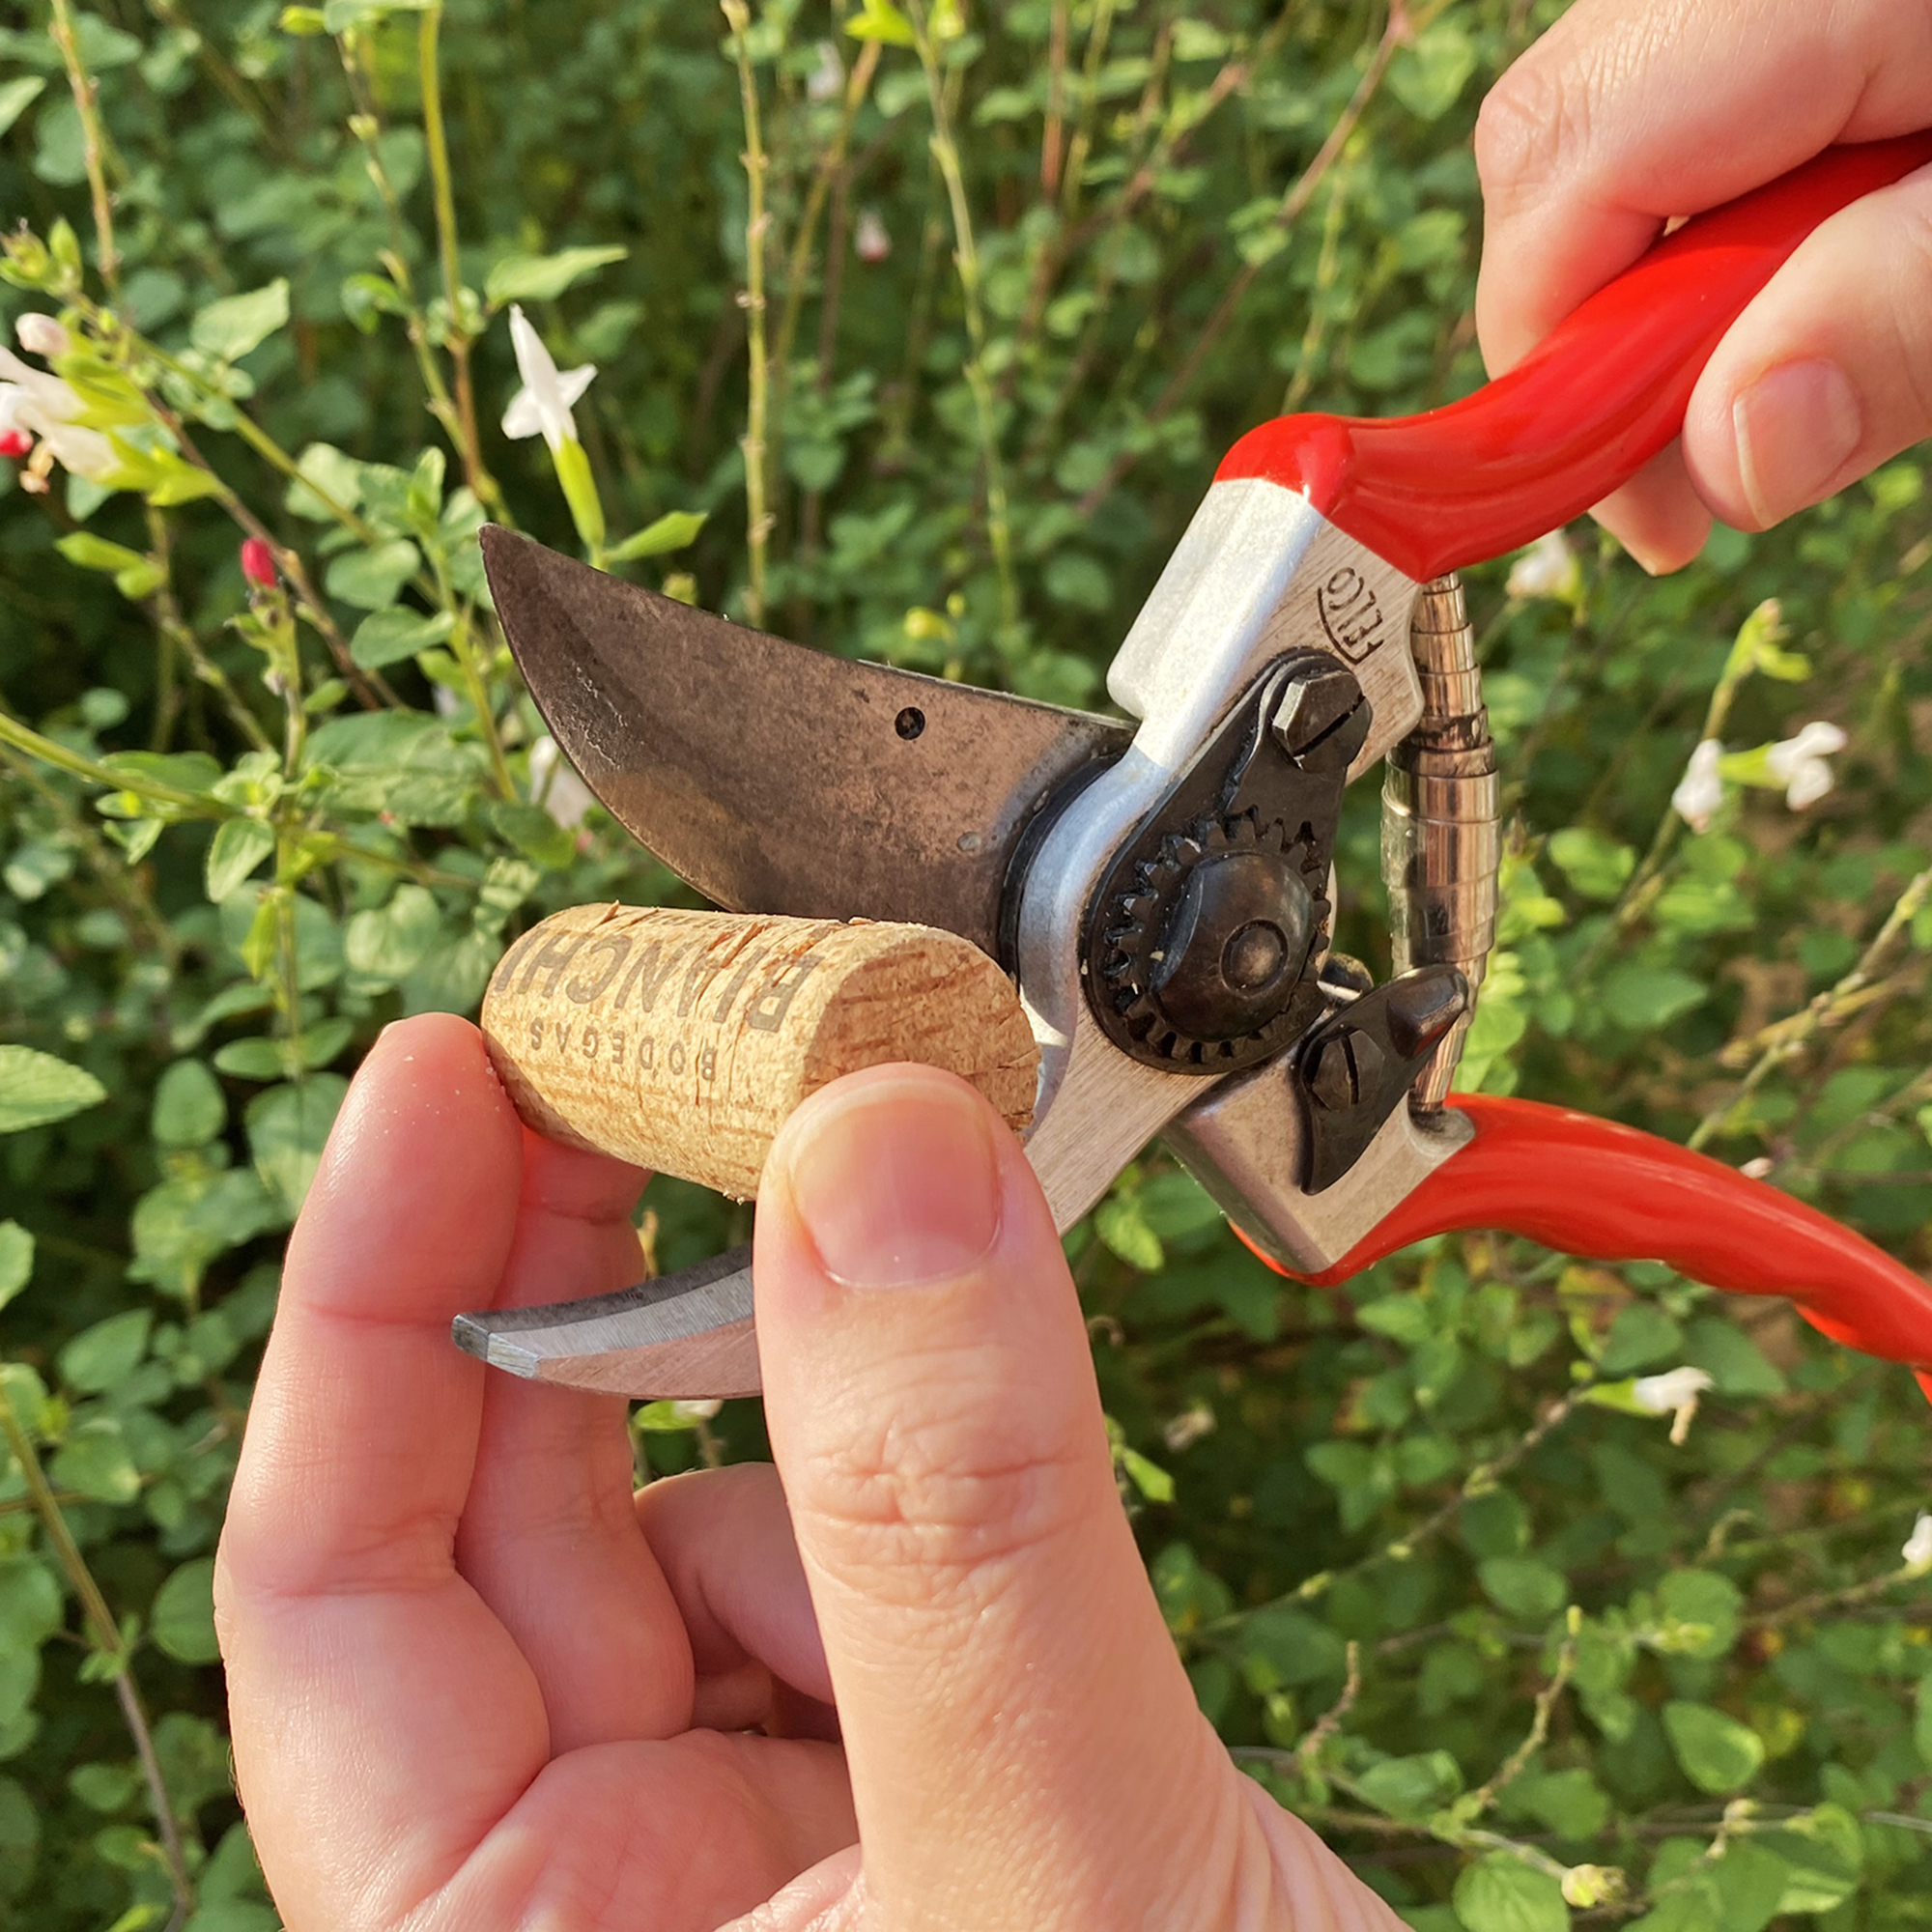
Check Shears Regularly
Look at your shears often to find rust or damage early. Clean and oil them again if needed.
- Inspect blades for rust or dirt
- Check handles for cracks
- Tighten screws or bolts if loose
Credit: mr-fothergills.co.uk
Credit: www.gardeningknowhow.com
Frequently Asked Questions
How Often Should I Clean Garden Shears?
Clean your garden shears after every use to prevent rust and sap buildup. Regular cleaning keeps blades sharp and extends tool life.
What Household Items Can Clean Garden Shears Effectively?
Use rubbing alcohol, soapy water, or vinegar to clean shears. These items remove dirt, sap, and kill bacteria efficiently without damaging blades.
How Do I Remove Rust From Garden Shears?
Scrub rusty blades with steel wool or sandpaper gently. Apply oil afterward to protect the metal and prevent future rusting.
Should I Lubricate Garden Shears After Cleaning?
Yes, lubricate shears with oil after cleaning to ensure smooth operation. It also prevents rust and prolongs the tool’s lifespan.
Conclusion
Cleaning garden shears keeps them sharp and rust-free. Regular care helps your tools last longer. Wipe blades after each use to remove dirt and sap. Use oil to protect metal parts. Sharpen blades often for smooth cutting. Clean shears make gardening easier and safer.
Take a few minutes to care for your shears today. Your garden will thank you!