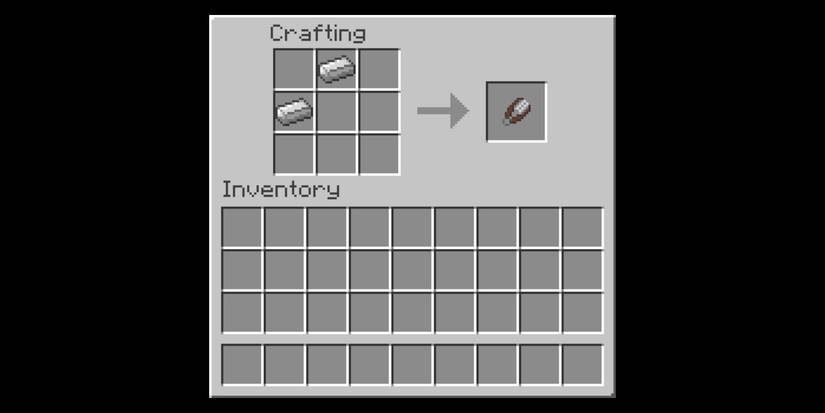
Have you ever wondered how to make shears by yourself? Whether you need a reliable pair for gardening, crafting, or everyday use, knowing how to create your own shears can save you money and give you a tool made just for you.
In this guide, you’ll discover simple steps and tips that anyone can follow, even if you’ve never tried making tools before. Keep reading, and you’ll soon have the skills to craft shears that work perfectly for your needs.
Materials Needed
Making shears requires the right materials and tools. It’s important to start with quality steel and have the necessary supplies.
This guide will help you gather everything you need to make your own shears.
Choosing The Right Steel
The steel used for shears should be strong and durable. Stainless steel is a popular choice because it resists rust.
- Carbon steel: Known for its sharpness and durability
- Stainless steel: Resistant to rust and easy to maintain
- Tool steel: High strength, ideal for heavy-duty cutting
Essential Tools And Supplies
Having the right tools is crucial for making shears. Here is a list of essential items you will need.
| Tool | Purpose |
| Hammer | Shaping the steel |
| Anvil | Support for forging |
| Grinder | Sharpening the blades |
| Measuring tape | Ensuring accuracy |
| Protective gloves | Safety during work |
With these materials and tools, you’re set to start making your own shears. Remember to prioritize safety while working with these items.

Credit: m.youtube.com
Preparing The Steel
Making shears starts with preparing the steel. Good steel makes strong blades.
You must handle the steel carefully to get the best results for your shears.
Cutting The Steel To Size
First, cut the steel into the right size for the shears. Use a saw made for metal.
Cut slowly and keep the steel steady to get a clean edge.
- Wear safety gloves and goggles
- Mark the steel with a ruler and marker
- Use a metal cutting saw or angle grinder
- Cut along the marked lines carefully
- Smooth rough edges with a file after cutting
Shaping The Blades
Next, shape the steel pieces into blades. This gives the blades their cutting edge.
Use a grinder or file to form the blade shape and bevel the edges.
- Hold the steel firmly while shaping
- Grind the edges to a sharp angle
- Keep the blade symmetrical on both sides
- Check the blade shape often for accuracy
- Finish by smoothing all rough parts
Forming The Handles
Making shears starts with shaping the handles. Handles must be strong and easy to hold.
Good handles help you cut with less effort and keep your hands safe.
Designing Comfortable Grips
Comfortable grips fit the shape of your hand. They prevent slipping and reduce tiredness.
Use smooth wood or plastic for the handle material. Round the edges to avoid sharp spots.
- Shape the grip to match your fingers
- Add soft padding for extra comfort
- Make sure the handle is not too thick or thin
- Test the grip by holding it before fixing it
Attaching Handles To Blades
Securely attaching the handles to the blades is important for safety and strength.
Use strong rivets or screws to join the handle to the blade. Check that the joint does not wobble.
- Align the handle holes with blade holes
- Insert rivets or screws tightly
- Test the movement of the shears after assembly
- Sand any rough areas near the joint
Credit: gamerant.com
Sharpening The Blades
Keeping the blades sharp is key for good shears. Sharp blades cut smoothly and safely.
This guide explains how to sharpen blades and keep their edges aligned well.
Techniques For A Sharp Edge
Use a sharpening stone or file to sharpen the blades. Always clean the blades first.
- Hold the blade at a 20-degree angle to the stone.
- Move the blade in one direction, away from you.
- Repeat 10 to 15 times for a sharp edge.
- Flip the blade and sharpen the other side if needed.
- Wipe the blade clean and dry after sharpening.
Maintaining Blade Alignment
Blade alignment keeps shears cutting correctly. Misaligned blades cause rough cuts.
| Check Point | How to Inspect | Correction Method |
| Blade Overlap | Look for even overlap along the cutting edge | Tighten or loosen the pivot screw |
| Blade Gap | Check the gap is small and even | Adjust the pivot screw or bend gently |
| Cut Test | Cut paper or fabric to check smoothness | Resharpen or realign blades if needed |
Assembling The Shears
Making shears requires careful assembly to ensure they work well. Proper assembly helps the blades cut smoothly.
This guide will focus on how to assemble the shears correctly. Follow the steps to secure the pivot and test movement.
Securing The Pivot
The pivot holds the two blades together and lets them open and close. It must be tight but still allow smooth movement.
Use a screw or bolt to join the blades at the pivot point. Tighten it enough to keep the blades aligned.
- Place the blades overlapping at the pivot hole
- Insert the pivot screw or bolt
- Use a washer if needed for smooth rotation
- Tighten the screw firmly but not too tight
Testing The Movement
After securing the pivot, check how the blades move. They should open and close easily without wobbling.
If the blades feel stiff or loose, adjust the pivot screw. Proper movement means the shears will cut well.
- Open and close the shears several times
- Look for smooth, even motion
- Check if blades meet evenly when closed
- Adjust pivot tightness as needed
Credit: gamerant.com
Finishing Touches
After shaping and assembling the shears, the final steps make them ready to use. These finishing touches improve look, function, and safety.
Taking time on polishing, coating, and safety helps your shears last longer and work better.
Polishing And Coating
Polishing removes rough edges and makes the blades smooth. It also helps the shears cut cleanly without snagging.
Coating the shears protects them from rust and wear. You can use oil or special paint for this purpose.
- Use fine sandpaper or a polishing wheel for smooth blades
- Apply a thin layer of oil to metal parts to stop rust
- Choose a rust-resistant paint for the handles if desired
- Let the coating dry completely before using the shears
Adding Safety Features
Safety features keep users from getting hurt while using the shears. Adding these is very important.
Simple safety tools can make a big difference and prevent accidents.
- Attach a locking mechanism to keep blades closed when not in use
- Add rubber or plastic grips on handles for a better hold
- Check for sharp points and smooth them to avoid cuts
- Test the shears to ensure they open and close smoothly
Maintenance Tips
Proper care helps your shears last longer. Regular maintenance keeps them sharp and safe.
Simple steps like cleaning and sharpening improve performance every time you use shears.
Cleaning After Use
Clean your shears right after using them. Remove dirt and plant sap to stop rust.
Use a soft cloth or brush to wipe the blades. Avoid water if possible to prevent corrosion.
- Wipe blades with a dry cloth
- Use rubbing alcohol to remove sticky sap
- Dry blades thoroughly before storing
- Store shears in a dry place
Regular Sharpening And Lubrication
Keep blades sharp for clean cuts. Dull blades damage plants and tire your hands.
Lubricate moving parts to reduce friction. This helps your shears open and close smoothly.
- Sharpen blades with a sharpening stone or file
- Check blade edges often for dull spots
- Apply light oil on the pivot and blades
- Wipe off excess oil before use
Frequently Asked Questions
How Do I Make Shears At Home?
To make shears at home, gather metal blades, a pivot screw, and handles. Cut and shape the blades, then assemble with the screw. Attach comfortable handles for grip. This DIY process requires basic tools and metalworking skills.
What Materials Are Needed To Make Shears?
You need high-quality steel for blades, a sturdy pivot screw, and strong handle material. Steel ensures sharpness and durability. Handles can be wood, plastic, or metal for comfort and control.
How Long Does It Take To Make Shears?
Making shears typically takes 2 to 4 hours. Time varies by skill level and tools available. Precision in shaping and assembling blades affects overall time.
Can I Sharpen Homemade Shears?
Yes, homemade shears can be sharpened using a sharpening stone or file. Regular sharpening keeps blades efficient and safe to use. Proper technique ensures a clean edge without damage.
Conclusion
Making shears can be a fun and useful project. You need basic tools and patience. Follow each step carefully to ensure good results. Practice will help you improve your skills. Using your own shears brings satisfaction and saves money. Keep your blades sharp and handle them safely.
Enjoy crafting tools with your own hands. Shears made by you will last long and work well. Try making different styles as you learn more. This simple project builds confidence and creativity.