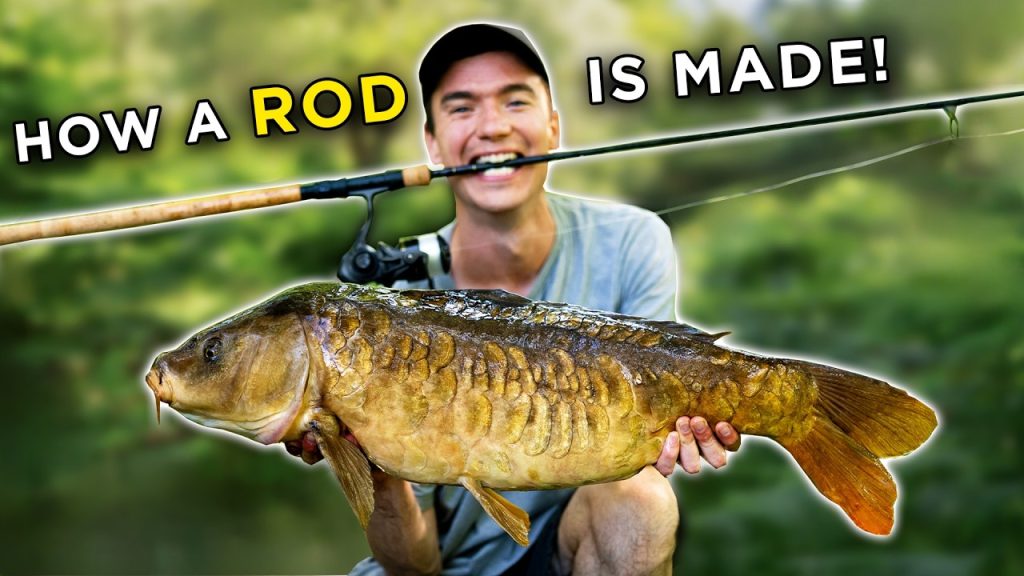
Have you ever wondered how to make a fishing rod that feels just right in your hands? Imagine catching your next big fish with a rod you built yourself.
Making your own fishing rod isn’t as hard as you might think. With the right steps and a little patience, you can create a custom rod that matches your style and needs perfectly. Keep reading, and you’ll discover simple tips and tricks to build a fishing rod that will make every fishing trip more exciting.
Your next great catch is waiting—let’s get started!
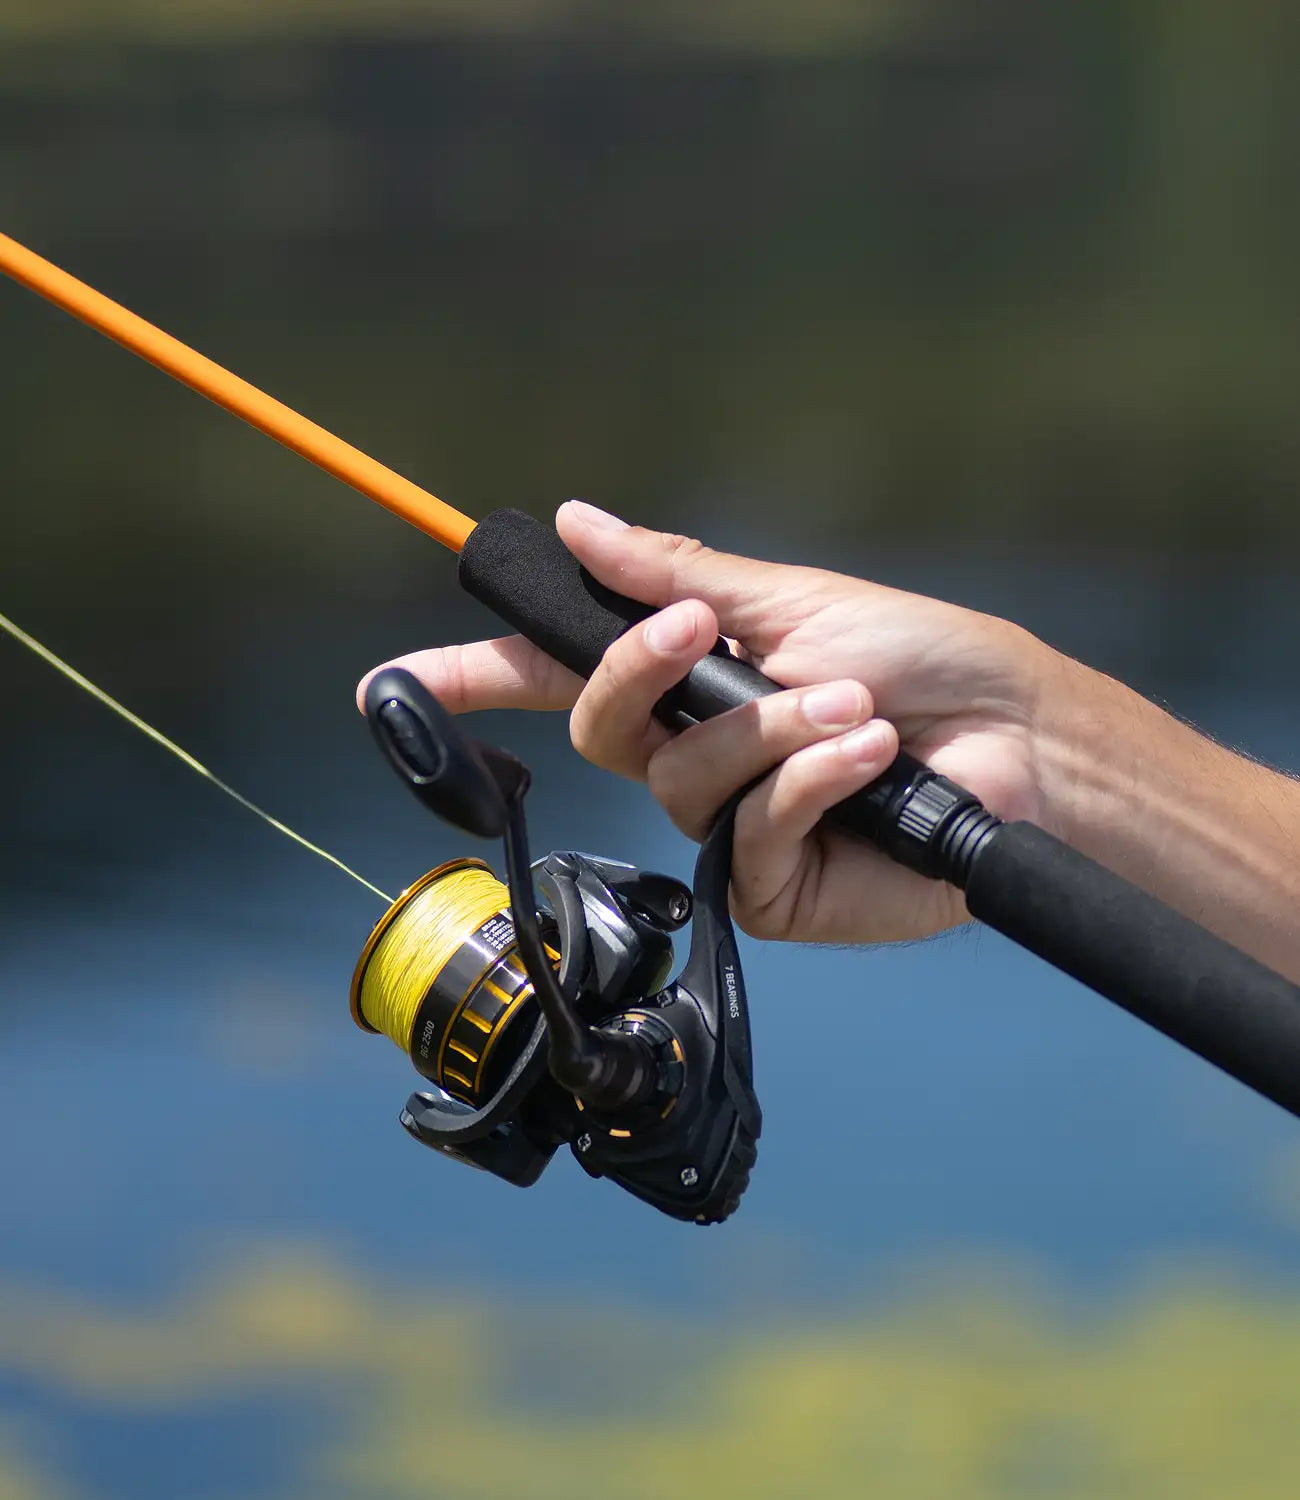
Credit: mudhole.com
Choosing Materials
Making a fishing rod starts with choosing the right materials. This ensures your rod performs well and lasts long.
Select materials based on your fishing needs and preferences. This guide helps you choose the best components.
Selecting The Rod Blank
The rod blank is the core of your fishing rod. It affects strength and flexibility. Choose a blank that suits your fishing style.
- Fiberglass: Durable and flexible, great for beginners.
- Graphite: Lightweight and sensitive, ideal for experienced anglers.
- Composite: Mix of materials, offering a balance of strength and flexibility.
Picking The Reel Seat
The reel seat holds the reel in place. It’s important for the comfort and control of your fishing rod.
Choosing Guides And Tips
Guides and tips direct the fishing line along the rod. They reduce friction and improve casting distance.
| Guide Material | Benefits |
| Ceramic | Smooth, reduces line wear |
| Stainless Steel | Strong, resists corrosion |
| Titanium | Lightweight, highly durable |
Selecting Handle Materials
The handle is where you grip the rod. Choose a material that feels comfortable and provides a good grip.
- Cork: Lightweight and provides excellent grip, even when wet.
- EVA Foam: Durable and easy to clean, offers a soft touch.
- Wood: Classic look, offers a unique feel and aesthetic.

Credit: anglersresource.net
Tools Needed
Making a fishing rod requires some tools. These tools help shape and assemble the rod parts.
Tools vary from simple hand tools to special fishing rod tools. Each plays a key role in the process.
Basic Hand Tools
Basic hand tools are easy to find. They help with cutting, measuring, and shaping materials.
You will use these tools for most of the work on the rod blank and handle.
- Utility knife – for cutting rod blanks and thread
- Sandpaper – to smooth rough edges
- Measuring tape – to measure rod length and guide placement
- Pliers – to hold small parts and bend wires
- Scissors – to cut thread and wraps neatly
- Ruler – to mark exact points on the rod
- Small file – to shape wood or metal parts
Specialized Fishing Rod Tools
Specialized tools make rod building easier and more precise. They fit parts perfectly and secure them well.
These tools help with wrapping guides, shaping handles, and finishing details.
- Rod dryer – spins the rod to dry epoxy evenly
- Guide wrapping jig – holds the rod steady while wrapping thread guides
- Epoxy mixing cups and sticks – for mixing glue and coatings
- Handle shaping tools – to carve cork or wood handles
- Thread tensioner – keeps thread tight during wrapping
- Burnishing tool – smooths thread wraps for a neat finish
- Rod blank taper tool – measures and shapes rod taper
Preparing The Rod Blank
Preparing the rod blank is the first key step in making a fishing rod. It sets the base for the rod’s shape and strength.
Careful preparation helps you build a rod that feels right in your hands and performs well on the water.
Measuring And Marking
Start by measuring the blank to fit your desired rod length. Use a tape measure for accuracy.
Mark points where you will place guides, reel seats, and handles. Precise marks make assembly easier.
- Measure total rod length carefully
- Mark guide positions evenly along the blank
- Mark the spot for the reel seat
- Mark handle placement based on comfort
Sanding And Smoothing
After marking, sand the blank to remove rough spots. Smooth surfaces help glue and thread grip better.
| Tool | Use | Tip |
|---|---|---|
| Fine sandpaper (400-600 grit) | Remove minor scratches | Sand gently along the blank |
| Medium sandpaper (200-300 grit) | Shape rough areas | Use light pressure to avoid damage |
| Soft cloth | Clean dust after sanding | Wipe blank before applying glue |
Credit: www.littlegeniusworkshop.com
Attaching The Reel Seat
Attaching the reel seat is an important step in making a fishing rod. The reel seat holds the fishing reel firmly in place. Proper attachment ensures stability and comfort while fishing.
This section explains how to position the reel seat and secure it using epoxy.
Positioning The Seat
Place the reel seat where your hand will rest comfortably. The seat should be easy to reach and hold during fishing. Position it so the reel aligns well with the rod guides.
- Test the balance by holding the rod with the reel seat in place.
- Ensure the reel foot fits snugly into the seat.
- Mark the exact position on the rod blank with a pencil.
- Check that the seat does not block the guides or handle grip.
Securing With Epoxy
Use a strong epoxy to attach the reel seat to the rod blank. Epoxy creates a durable bond that holds the seat firmly during use.
| Material | Purpose | Application Tips |
| Two-part epoxy | Bonds reel seat to rod blank | Mix thoroughly before use |
| Mixing stick | Stirs epoxy | Use disposable stick for easy cleanup |
| Cloth or paper towel | Wipes excess epoxy | Clean quickly before curing |
| Masking tape | Protects rod areas | Apply to areas near the seat |
Apply epoxy evenly inside the reel seat and on the rod blank. Slide the seat onto the marked position. Rotate slightly to spread epoxy. Wipe off extra epoxy before it hardens. Use masking tape to protect nearby areas from drips. Let epoxy cure fully before using the rod.
Installing Guides
Installing guides is an important part of making a fishing rod. Guides help control the fishing line and improve casting.
Place the guides carefully to make sure the rod works well and lasts a long time.
Aligning The Guides
Start by placing the guides along the rod. Make sure they line up straight with the rod tip.
Check the spacing. The guides should be closer near the tip and farther apart near the handle.
- Place the tip-top guide first
- Align each guide in a straight line
- Space guides evenly along the rod
- Use a marker to mark guide spots
Wrapping The Guides
Wrap thread tightly around the guide foot and rod to hold the guide in place. Use smooth, even wraps.
Start wrapping below the guide foot, then wrap over it. Make sure no gaps appear in the thread.
- Use thin nylon or silk thread
- Keep tension steady while wrapping
- Cover the guide foot completely
- End wraps with a secure knot
Applying Finish
Apply a clear finish over the wrapped guides to protect the thread. The finish also adds strength.
Use a brush to apply thin coats. Let each coat dry before adding the next one.
- Choose a flexible epoxy or rod finish
- Apply several thin coats
- Avoid bubbles in the finish
- Let the rod dry fully before use
Adding The Handle
The handle is an important part of a fishing rod. It gives you comfort and control. Making the handle right helps you enjoy fishing more.
This section explains how to cut, shape, fit, and glue the handle to the rod.
Cutting And Shaping
Start with a blank handle material like cork or foam. Cut it to the length you want. Shape the handle with sandpaper or a knife to fit your hand well.
- Measure the handle length, usually 8 to 12 inches.
- Cut the material using a saw or sharp knife.
- Sand the edges smooth for comfort.
- Shape the handle to fit your grip style.
Fitting And Gluing
Fit the shaped handle onto the rod’s blank. Make sure it slides on snugly. Prepare glue to hold the handle firmly in place. Use epoxy or strong wood glue.
| Step | Action | Tip |
|---|---|---|
| 1 | Apply glue inside the handle tube | Use a brush to spread glue evenly |
| 2 | Slide handle onto the rod blank | Turn gently to spread glue |
| 3 | Wipe off extra glue | Use a damp cloth before it dries |
| 4 | Let glue dry for 24 hours | Keep rod in a stable position |
Final Assembly
Final assembly is the last part of making a fishing rod. It brings all the parts together for use.
This step needs care to ensure the rod works well and lasts a long time.
Checking Alignment
Check that all guides line up straight along the rod. This helps the line move smoothly.
Look down the rod from the handle to the tip to see if guides are in a straight line.
- Adjust any guide that is off-center
- Make sure the tip guide points straight
- Test the rod by running a line through the guides
Curing And Drying
After assembly, the rod needs time to cure and dry. This makes the glue and finish strong.
Place the rod in a dry place away from direct sunlight. Let it sit for several hours or days.
- Use a rod rack or holder to keep it straight
- Avoid touching the rod while drying
- Check for any sticky spots after drying
Testing Your Rod
After making your fishing rod, you need to test it well. Testing helps you see if the rod works right and is safe to use.
Two important tests are the flexibility test and casting practice. These checks show how the rod bends and how well you can cast with it.
Flexibility Test
Check the rod’s bend by applying pressure. The rod should bend smoothly without cracking or feeling weak.
- Hold the rod firmly with both hands.
- Apply gentle pressure to the tip.
- Watch how the rod bends along its length.
- Make sure it returns to a straight position after bending.
- Look for any cracks or damage while bending.
Casting Practice
Practice casting to check how the rod handles the weight of the lure and line. Good casting feels smooth and balanced.
| Test Aspect | What to Check |
| Cast Distance | How far the lure goes with normal effort |
| Balance | Rod feels even and easy to control |
| Line Flow | Line moves smoothly without snags |
| Rod Response | Rod reacts well to your movements |
Frequently Asked Questions
What Materials Do I Need To Make A Fishing Rod?
To make a fishing rod, you need a rod blank, guides, reel seat, handle, epoxy glue, and thread. These materials are essential for assembling a durable and functional fishing rod.
How Do I Attach Guides To The Fishing Rod Blank?
Attach guides using thread wraps and epoxy. Start by positioning guides evenly along the rod blank. Wrap thread tightly around the guide feet, then coat with epoxy for durability and smoothness.
What Is The Best Type Of Handle For A Fishing Rod?
Cork and EVA foam are popular handle materials. Cork offers lightweight comfort, while EVA foam provides durability and good grip. Choose based on your comfort and fishing style.
How Long Does It Take To Make A Fishing Rod?
Making a fishing rod typically takes 4 to 6 hours. This includes assembling parts, wrapping guides, drying epoxy, and final adjustments for optimal performance.
Conclusion
Making a fishing rod takes some patience and care. Choose the right materials to fit your needs. Follow each step carefully to build a strong rod. Test your rod before heading out to fish. Enjoy the satisfaction of catching fish with your own rod.
Keep practicing to improve your skills over time. Fishing becomes more fun when you use your handmade gear. Try making rods for friends or family next time. Simple tools and a little effort can create something great.