Are your sewing shears not cutting as smoothly as they used to? Dull blades can make your sewing projects frustrating and slow.
But sharpening your sewing shears is easier than you think—and it can bring your tools back to life in no time. You’ll learn simple, effective ways to sharpen your shears, so every cut feels effortless and precise. Keep reading to discover how to make your sewing experience smoother and more enjoyable.
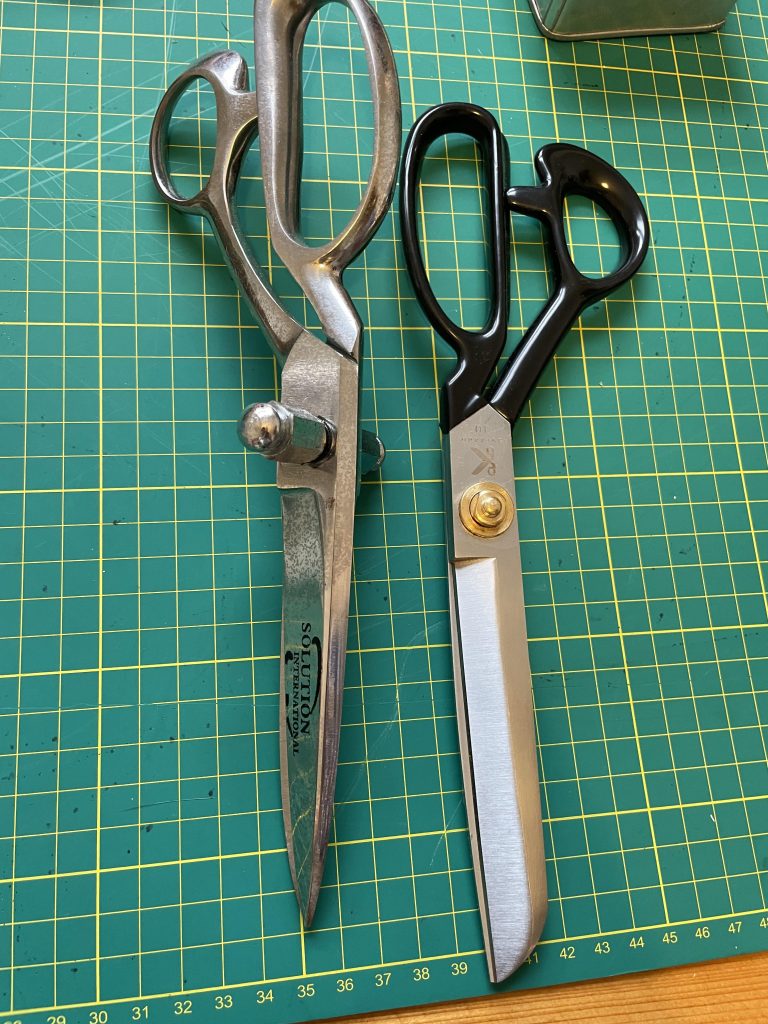
Choosing The Right Tools
Sharpening sewing shears keeps them efficient. The right tools make this task easier.
You need to know the types of sharpeners and essential accessories. This helps in keeping your scissors sharp.
Types Of Sharpeners
Different sharpeners suit various needs. Knowing them helps you choose the best one.
Some sharpeners are manual, while others are electric. Each has its own benefits.
- Manual sharpeners are portable and easy to use
- Electric sharpeners provide quick and consistent results
- Diamond stones offer precise sharpening
Essential Accessories
Using the right accessories enhances sharpening. It ensures your shears stay in great shape.
Accessories help in maintaining the sharpness and longevity of your scissors.
- Sharpening oil reduces friction
- Cloth for cleaning removes metal filings
- Protective gloves keep hands safe

Credit: www.reddit.com
Preparing Your Shears
Sharpening sewing shears starts with good preparation. Taking care before sharpening helps protect the blades.
Clean and disassemble your shears carefully. This makes the sharpening process easier and safer.
Cleaning The Blades
Remove dirt and fabric residue from the blades. Clean blades sharpen better and last longer.
- Use a soft cloth to wipe the blades.
- Apply rubbing alcohol to remove sticky residue.
- Dry the blades with a clean cloth.
- Check for rust spots and clean them gently.
Disassembling The Shears
Take apart your shears if possible. This gives full access to each blade for sharpening.
| Part | Action |
| Pivot screw | Loosen with a screwdriver |
| Blades | Separate carefully |
| Spring or washers | Keep track to avoid loss |
Sharpening Techniques
Sewing shears need sharp blades for clean cuts. Dull blades can ruin fabric and slow work.
Sharpening keeps your shears working well. Use the right tools and methods to sharpen safely.
Using A Sharpening Stone
Sharpening stones are good for fixing dull blades. They grind and smooth the edges carefully.
First, clean the shears. Then, wet the stone with water. Hold the blade at a 20-degree angle.
- Slide the blade across the stone from base to tip
- Use gentle, even pressure
- Repeat 5 to 10 times on each side
- Clean and dry the shears after sharpening
Employing A Honing Rod
A honing rod keeps blades aligned. It does not remove metal but smooths the edge.
Hold the rod vertically. Draw the shears along the rod at a 20-degree angle. Do this evenly.
- Use light strokes
- Sharpen each blade separately
- Repeat about 10 times per side
- Check the sharpness after honing
Alternative Methods
You can use other tools to sharpen shears. Some options include sandpaper and specialized sharpeners.
Sandpaper works like a stone but is easier to find. Sharpen slowly and carefully to avoid damage.
- Use fine-grit sandpaper (around 600 grit)
- Rub the blade gently at a 20-degree angle
- Check the blade often for sharpness
- Clean and oil the shears after sharpening

Credit: www.youtube.com
Testing Sharpness
After sharpening your sewing shears, it is important to check how sharp they are. Testing sharpness helps you know if the blades cut well.
Two easy ways to test your shears are the paper cutting test and the fabric snip test. These tests show if the blades are ready for sewing tasks.
Paper Cutting Test
Use a plain sheet of paper to test your shears. Hold the paper firmly and try to cut it in one smooth motion.
If the shears cut through the paper cleanly without tearing or dragging, they are sharp. If the cut is rough or jagged, the blades need more sharpening.
- Hold paper steady and cut with one smooth motion.
- Look for a clean, straight cut without pulling.
- Repeat test on different parts of the blade.
Fabric Snip Test
Test sharpness by cutting a small piece of fabric. Use the shears to snip the fabric quickly and cleanly.
Sharp shears will cut fabric without pulling or fraying the edges. Dull blades will cause uneven cuts and may snag the fabric.
- Choose a scrap piece of your sewing fabric.
- Make quick snips to see if the fabric cuts smoothly.
- Check edges for clean, neat cuts without fraying.
Maintaining Sharp Shears
Sharp sewing shears cut fabric cleanly and make sewing easier. Keeping shears sharp saves time and effort.
Regular care helps your shears stay sharp longer. Proper use and storage prevent damage.
Proper Storage Tips
Store your sewing shears in a safe, dry place to keep the blades sharp. Avoid tossing them in a drawer with other tools.
Use a sheath or cover to protect the blades from nicks and moisture. Keep shears away from children and pets.
- Use a blade cover or case
- Keep shears in a dry spot
- Store shears separately from other tools
- Avoid dropping or banging shears
Routine Care
Clean your shears after each use to remove lint and fabric bits. Use a soft cloth or brush for cleaning.
Oil the pivot screw with a drop of sewing machine oil to keep blades moving smoothly. Check blade alignment regularly.
- Wipe blades clean after use
- Oil pivot screw weekly
- Check blade sharpness often
- Sharpen blades as needed
Common Mistakes To Avoid
Sharpening sewing shears is important to keep them working well. Many people make mistakes that can damage the blades.
Learning what to avoid helps keep your shears sharp and lasting longer. Read on to find common errors and how to prevent them.
Using The Wrong Sharpening Tool
Many try to sharpen sewing shears with regular knife sharpeners. These tools do not fit the blade shape well.
Use a sharpening stone or a tool made for scissors. This keeps the blade edge even and sharp.
Sharpening Without Cleaning The Shears
Dirt and fabric fibers can block the sharpening process. Sharpening dirty shears can make the edge uneven.
Always clean your sewing shears before sharpening. Use a soft cloth and mild cleaner to remove dust and grime.
Applying Too Much Pressure
Pressing hard on the sharpening stone can damage the blades. It may create deep scratches or bend the edge.
Use gentle, even strokes to sharpen. Let the tool do the work and avoid pushing too hard.
Ignoring The Blade Angle
Sewing shears have a specific blade angle. Sharpening at the wrong angle dulls the blades faster.
Follow the original bevel angle when sharpening. Usually, this is about 45 degrees for sewing shears.
Skipping Regular Maintenance
Waiting too long between sharpenings makes the blades harder to fix. Dull shears need more work to restore.
Sharpen your shears regularly. This keeps the edges sharp and prevents damage from heavy sharpening sessions.

Credit: www.youtube.com
Frequently Asked Questions
How Often Should I Sharpen Sewing Shears?
You should sharpen sewing shears every 6 to 12 months. Frequent use dulls blades faster. Regular sharpening keeps cuts clean and precise.
What Tools Are Best For Sharpening Sewing Shears?
A whetstone, sharpening stone, or diamond file works best. These tools provide smooth, even sharpening without damaging the blade edges.
Can I Sharpen Sewing Shears At Home Safely?
Yes, you can safely sharpen sewing shears at home. Use proper tools, follow step-by-step instructions, and handle blades carefully to avoid injury.
How Do I Know If My Sewing Shears Need Sharpening?
If your shears struggle to cut fabric cleanly or snag, they need sharpening. Dull blades reduce cutting efficiency and damage material.
Conclusion
Sharpening sewing shears keeps your cuts clean and easy. Regular care helps your tools last longer. Use the right methods and tools for best results. A sharp pair saves time and effort while sewing. Try these steps to bring back your shears’ edge.
Practice a little, and you will see the difference. Keep your sewing smooth and enjoyable with sharp blades. Simple care makes a big difference in your sewing work.