Are you wondering if adding worms to your compost bin is a good idea? You’re not alone.
Many people want to speed up composting and create richer soil, but aren’t sure if worms belong in their bin. What if the worms could transform your kitchen scraps faster and make your compost healthier? Keep reading to discover how worms can change your compost game, what you need to know before adding them, and simple tips to get the best results.
By the end, you’ll know exactly whether worms should be part of your composting process.
Benefits Of Adding Worms
Adding worms to your compost bin can help make compost faster and richer. Worms break down food scraps and garden waste efficiently.
They improve the quality of the compost and help your soil stay healthy. Let’s look at some benefits of adding worms.
Faster Decomposition
Worms eat organic waste and break it down quickly. Their movement mixes the compost and helps air reach all parts.
This speeds up the composting process so you get usable compost sooner than without worms.
Nutrient-rich Compost
Worms digest waste and produce castings, which are rich in nutrients. These castings contain nitrogen, phosphorus, and potassium.
These nutrients help plants grow strong and healthy when you add the compost to your garden.
- High in nitrogen for leaf growth
- Phosphorus supports root development
- Potassium boosts flower and fruit production
Improved Soil Health
Worms make the soil soft and crumbly. This helps water and air reach plant roots easily.
They also help keep harmful bacteria low, which supports healthy plants over time.
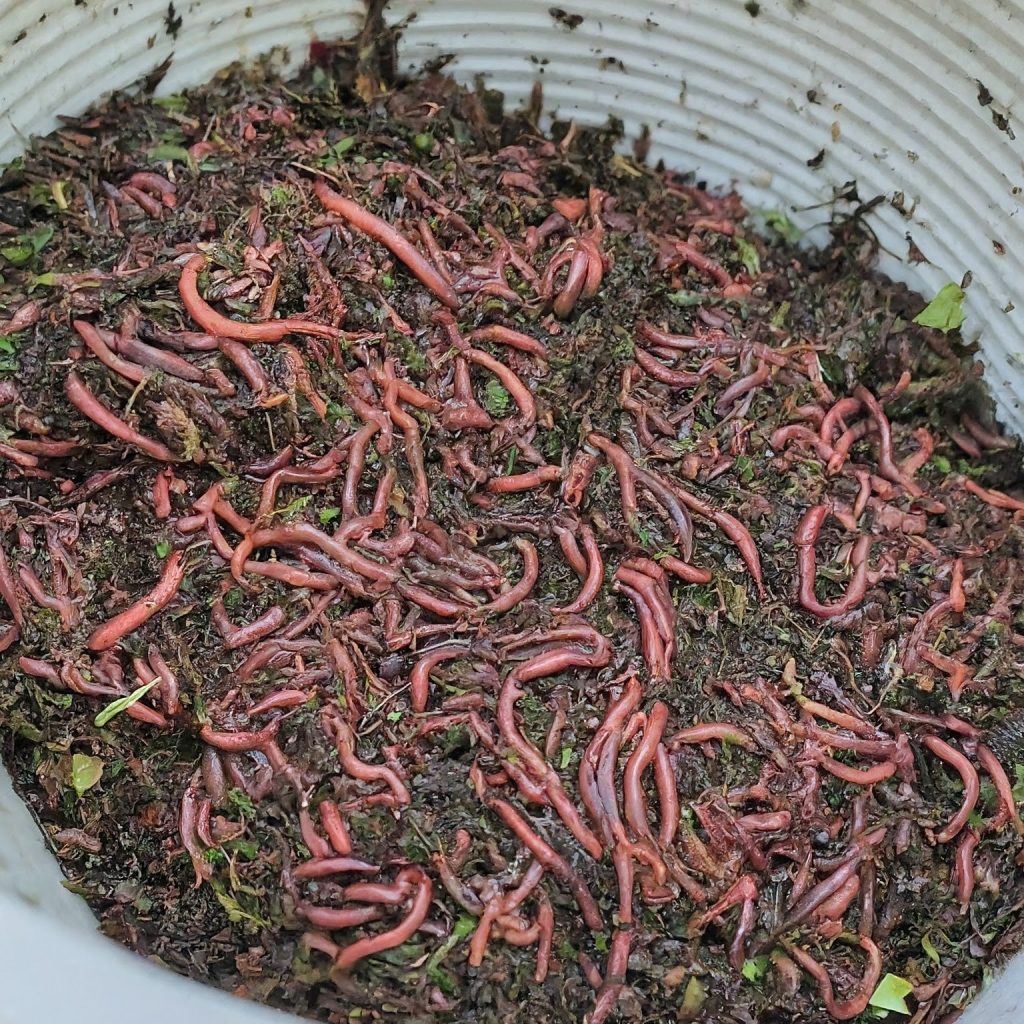
Types Of Worms To Use
Adding worms to a compost bin helps break down organic waste. Not all worms are suitable for composting. Here, we look at the best types to use.
Red Wigglers and European Nightcrawlers are popular choices. Avoid using regular earthworms in your compost bin.
Red Wigglers
Red Wigglers are small but very efficient composters. They thrive in shallow compost bins and consume a lot of organic matter.
These worms multiply quickly and can handle a wide range of temperatures. This makes them ideal for home composting systems.
- Small size, big appetite
- Adaptable to temperature changes
- Fast reproduction rate
European Nightcrawlers
European Nightcrawlers are larger than Red Wigglers. They are good for both composting and fishing bait.
These worms are hardy and can survive in various conditions. They are effective in breaking down tougher materials.
- Larger size, versatile use
- Hardy and resilient
- Effective at processing tough waste
Avoiding Earthworms
Earthworms are not suited for compost bins. They prefer to live deeper in the soil and do not process organic waste quickly.
Adding earthworms can disrupt the composting process. Stick to using Red Wigglers or European Nightcrawlers for best results.
- Live deep in soil
- Slow waste processors
- Not ideal for compost bins
Preparing Your Compost Bin
Adding worms to your compost bin can speed up the breakdown of food scraps. Before putting worms in, you must prepare the bin well.
Good preparation helps worms survive and keep your compost healthy. Let’s look at the best ways to get your bin ready.
Ideal Bin Conditions
Your compost bin should have the right environment for worms to live. Worms like cool, dark, and moist places. Avoid bins that get too hot or too dry.
Make sure your bin has good airflow. This keeps the compost from smelling bad and helps worms breathe. A bin with holes or a breathable lid works well.
- Keep temperature between 55°F and 77°F (13°C to 25°C)
- Place bin in a shaded or indoor area
- Use a bin with small air holes for ventilation
Proper Bedding Materials
Bedding gives worms a place to live and eat. Use soft, dry materials like shredded newspaper or cardboard. Avoid glossy or colored paper.
Add some damp leaves or coconut coir to keep bedding comfortable. The bedding should feel like a wrung-out sponge—moist but not wet.
- Shredded newspaper or cardboard
- Damp leaves or straw
- Coconut coir or peat moss
Maintaining Moisture Levels
Worms need moisture to breathe through their skin. Check your compost moisture often. It should feel like a damp sponge.
If the bin is too dry, spray water lightly. If too wet, add dry bedding to soak up extra water. Keep the balance right for healthy worms.
- Check moisture weekly
- Spray water if dry
- Add dry bedding if too wet

Credit: www.reddit.com
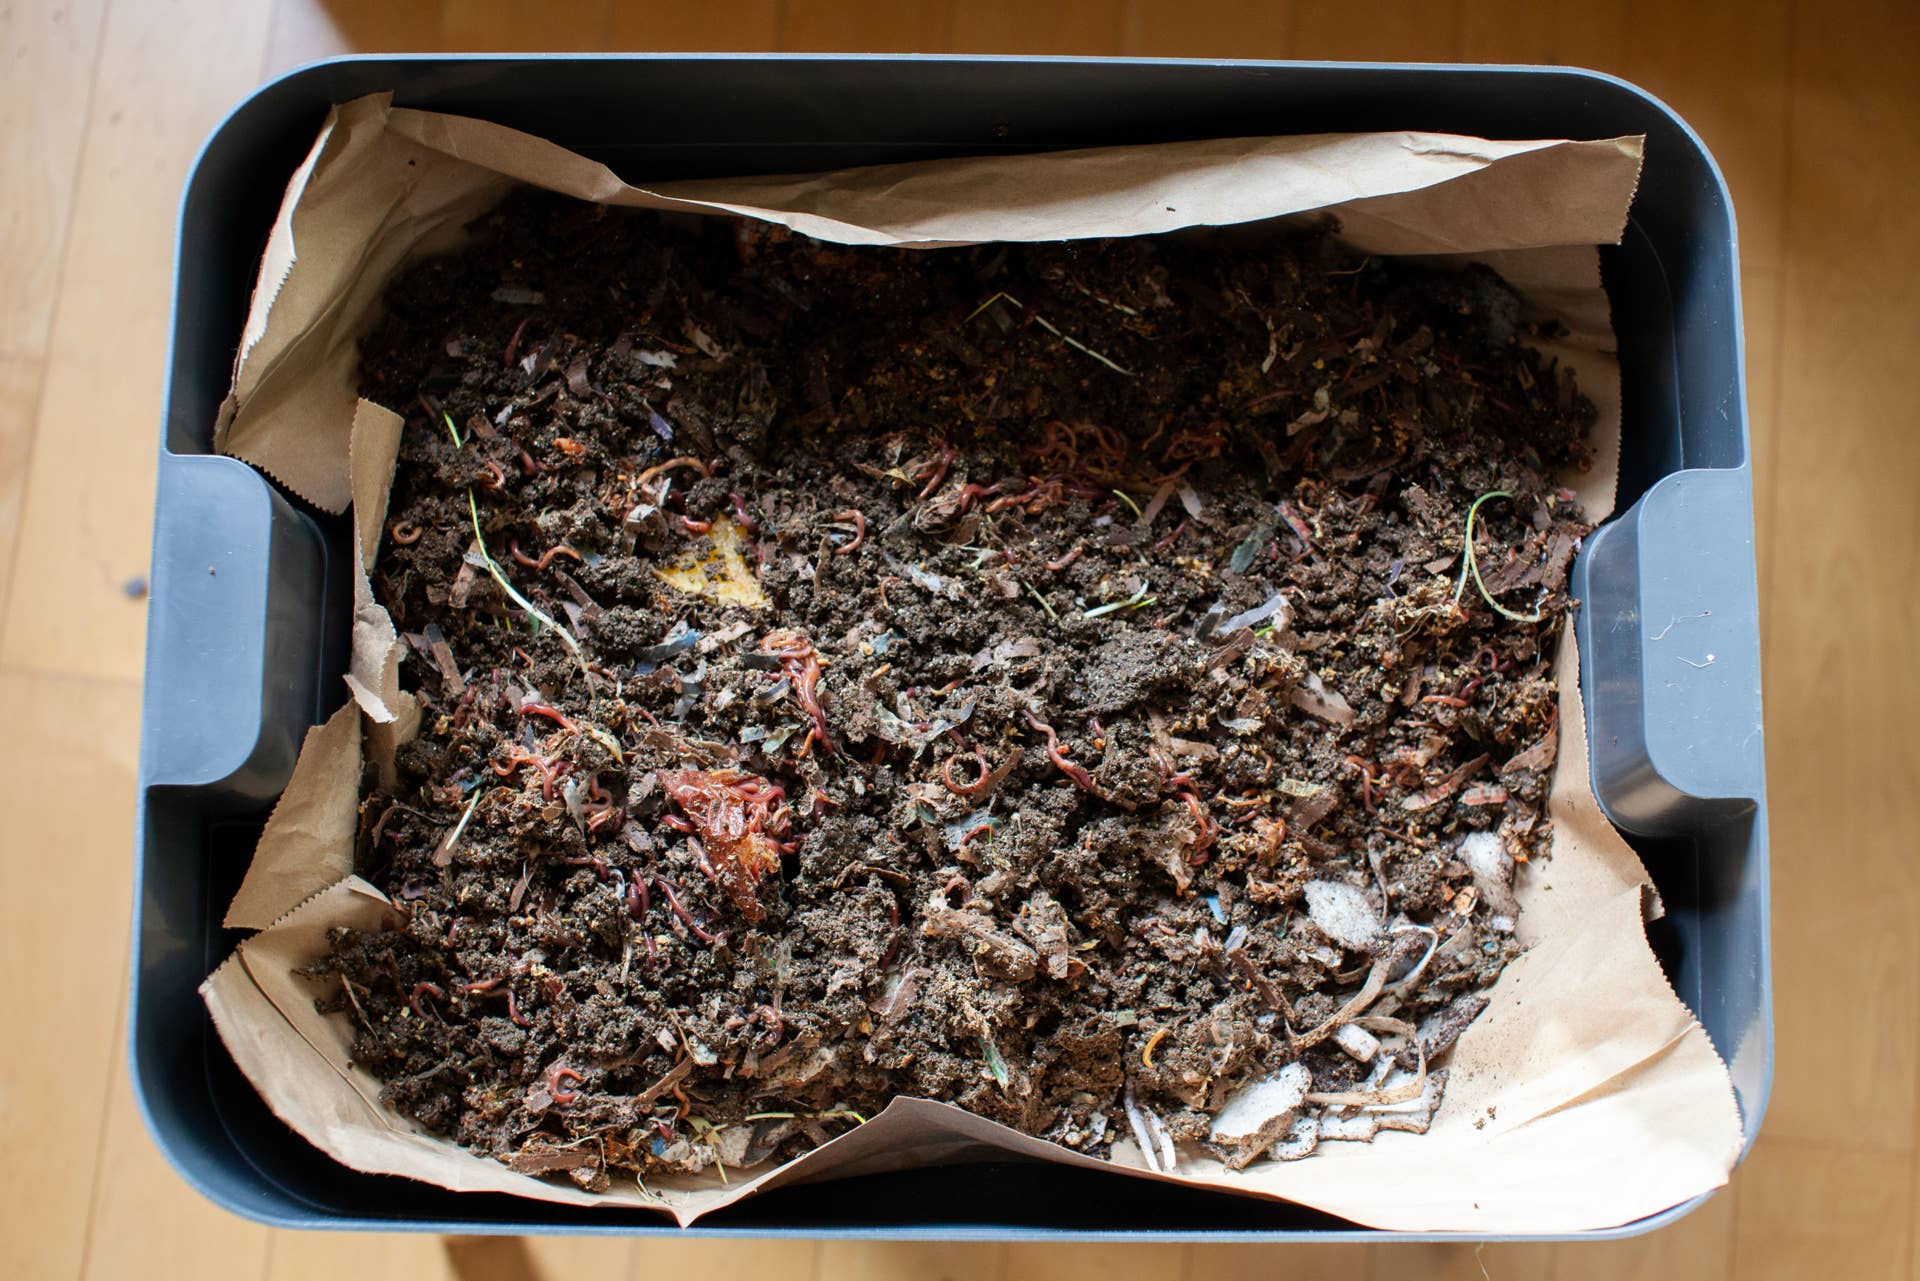
How To Introduce Worms
Adding worms to your compost bin helps break down food waste faster. Worms eat organic matter and turn it into rich compost.
It is important to add worms carefully for the best results. Learn when and how to add them to your bin.
When To Add Worms
Wait until your compost bin has started to decompose some material. The environment should be moist but not wet.
Add worms when the temperature is between 55°F and 77°F (13°C to 25°C). Avoid adding worms if the pile is too hot or too cold.
How Many Worms To Start With
Start with enough worms to handle the amount of food waste you produce. Too few worms will slow down composting.
| Amount of Food Waste per Day | Number of Worms Needed |
| 1 pound (0.45 kg) | 1,000 worms |
| 2 pounds (0.9 kg) | 2,000 worms |
| 5 pounds (2.3 kg) | 5,000 worms |
Feeding Worms Properly
Feed worms small amounts of food at a time. Avoid overfeeding to keep the bin healthy.
- Use fruit and vegetable scraps
- Add crushed eggshells for calcium
- Avoid meat, dairy, and oily foods
- Chop food into small pieces
- Cover food with dry leaves or paper
Common Challenges And Solutions
Adding worms to your compost bin can speed up the process. Worms break down food and garden waste quickly. But some problems can happen when you keep worms in a bin.
Here are some common challenges with worms in compost. You will also find ways to solve these problems.
Dealing With Odors
Compost bins can sometimes smell bad. This happens if the bin is too wet or has too much food waste. Worms need air to live and work well. Without air, the bin smells like rotten food.
To stop bad smells, keep the compost moist but not wet. Add dry leaves or paper to absorb extra moisture. Turn the compost often to add air. Avoid putting too much meat or dairy in the bin.
- Keep compost moist but not soggy
- Add dry materials like leaves or shredded paper
- Turn compost regularly for air flow
- Do not add meat or dairy products
Preventing Worm Escape
Worms may try to leave the bin if conditions are bad. Too much heat, dryness, or food can cause them to escape. Worms prefer dark, cool, and moist places.
To keep worms inside, keep the bin in shade and keep it moist. Avoid adding too much fresh food at once. Cover the bin with a lid or cloth to stop worms from crawling out.
- Place bin in a cool, shaded spot
- Keep compost moist but not wet
- Add food in small amounts
- Cover bin with lid or breathable cloth
Handling Pests
Pests like fruit flies, ants, or rodents may visit the compost bin. These pests can bother the worms and slow down composting. They come because of exposed food or too much moisture.
To reduce pests, bury food scraps under the compost surface. Use a tight lid to block pests. Remove any pests you see quickly. Avoid adding oily or sugary foods that attract bugs.
- Bury food scraps under compost layers
- Use a secure lid to keep pests out
- Remove pests when found
- Do not add oily or sugary foods
Credit: dengarden.com
Harvesting Worm Castings
Worm castings are rich, natural fertilizer made by composting worms. They improve soil health and help plants grow strong.
Knowing when and how to harvest castings ensures you get the best quality for your garden.
Signs Compost Is Ready
Good worm castings look dark and crumbly. They smell earthy, not rotten. You might see fewer food scraps because worms have eaten them.
- The compost has a fine, soil-like texture.
- There are no large pieces of food or paper left.
- Worms are mostly on the edges, not in the middle.
- The pile feels cool and moist, not hot or wet.
Safe Harvesting Techniques
Harvest castings carefully to avoid harming worms and keep compost healthy. Use clean tools and gentle methods.
- Stop adding food for a few days before harvesting.
- Move the compost to one side of the bin.
- Place fresh bedding and food on the empty side.
- Wait for worms to move to the new side.
- Remove castings from the old side once worms leave.
Using Castings In Your Garden
Worm castings boost plant growth and soil quality. Use them in many ways to help your garden thrive.
| Use | How to Apply |
| Potting Mix | Mix castings with soil before planting. |
| Top Dressing | Sprinkle on soil surface around plants. |
| Compost Tea | Steep castings in water and spray on leaves. |
| Seed Starting | Add small amounts to seed trays for nutrients. |
Tips For Long-term Success
Adding worms to your compost bin can speed up the breakdown of organic waste. Caring for these worms properly helps keep your compost healthy and rich.
Follow simple tips to maintain a good environment for your worms. This keeps your compost bin working well for a long time.
Regular Maintenance
Check your compost bin often to keep it clean and balanced. Remove any large or dry pieces of food that worms cannot eat quickly.
Turn the compost gently every few weeks. This gives air to the worms and helps them work better.
- Keep the compost moist but not wet
- Remove unfinished food scraps after two weeks
- Turn the compost every 2 to 3 weeks
- Clear out any bad smells or mold spots
Avoiding Harmful Materials
Do not add meat, dairy, or oily foods to the compost. These materials can harm worms and cause bad smells.
Avoid using chemicals or pesticides near your compost bin. These substances can kill the worms and stop composting.
- No meat or fish scraps
- No dairy products
- No oily or greasy foods
- Keep chemicals and pesticides away
- Avoid adding pet waste
Monitoring Worm Health
Watch your worms to make sure they are active and healthy. Healthy worms are usually reddish and move around the compost.
Look for signs of stress like worms leaving the bin or dying. Adjust moisture, temperature, or food if you see problems.
- Check for worm activity weekly
- Keep the temperature between 55°F and 77°F (13°C – 25°C)
- Maintain damp but not soaked bedding
- Feed worms small amounts regularly
- Remove dead worms promptly

Credit: homesteadbrooklyn.com
Frequently Asked Questions
Can I Add Worms To Any Compost Bin?
Yes, you can add worms to most compost bins. Red wigglers are best for composting. Avoid adding worms to hot or tumbling bins as they prefer cool, moist environments.
What Type Of Worms Are Best For Composting?
Red wiggler worms (Eisenia fetida) are ideal for composting. They thrive in decomposing organic matter and speed up the composting process effectively.
Will Worms Survive In A Regular Compost Bin?
Worms can survive in a regular compost bin if conditions are right. Keep the bin moist, cool, and rich in organic waste to support their survival.
How Do Worms Improve Composting?
Worms break down organic waste faster by eating it and producing nutrient-rich castings. This process enriches the compost with beneficial microbes and nutrients.
Conclusion
Adding worms to your compost bin helps speed up the breakdown process. They eat organic waste and turn it into rich soil. Worms keep the compost healthy and reduce bad smells. Make sure the bin stays moist and not too hot.
This creates a good home for the worms. You can enjoy better compost for your garden. Worms make composting easier and more natural. Try adding worms to see the difference yourself.