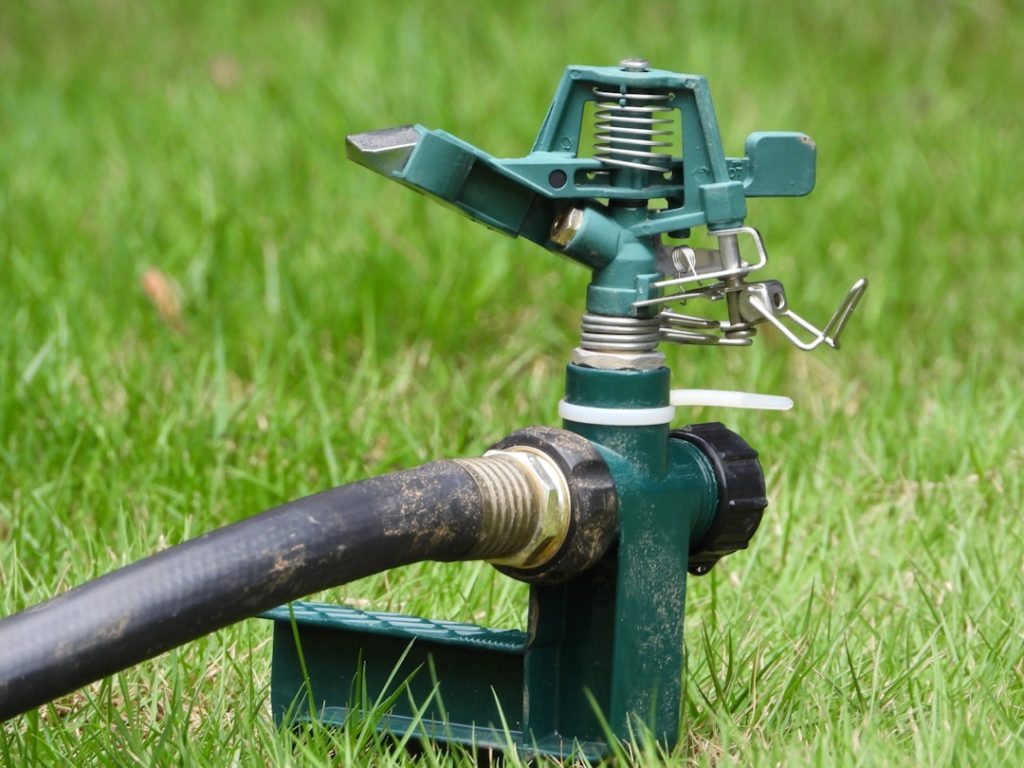
Is your garden hose end leaking or damaged? It can be frustrating when your hose won’t connect properly or sprays water everywhere.
But don’t worry—you don’t need to buy a new hose or call a plumber. Fixing your garden hose end is easier than you think. You’ll discover simple, step-by-step solutions to get your hose working like new again. Keep reading, and you’ll save time, money, and avoid the hassle of a broken hose ruining your outdoor tasks.
Common Hose End Issues
Garden hose ends can wear out after regular use. Fixing them quickly saves water and keeps your garden healthy.
Many problems happen with hose ends. Knowing common issues helps you fix them easily at home.
Leaks And Drips
Leaks and drips waste water and reduce pressure. They often happen where the hose connects to the end.
To fix leaks, check the rubber washer inside the hose end. Replace it if worn or missing.
- Turn off the water before fixing
- Remove the hose end carefully
- Inspect and replace the washer
- Reattach the hose end tightly
- Test the hose for leaks
Cracks And Breaks
Cracks or breaks in the hose end cause water to spray out. Sunlight and cold weather can cause damage.
Small cracks can be sealed with waterproof tape. Bigger breaks may need a new hose end or connector.
- Look for visible cracks or holes
- Use waterproof tape for small cracks
- Replace the hose end if broken
- Use proper tools for installation
Loose Connections
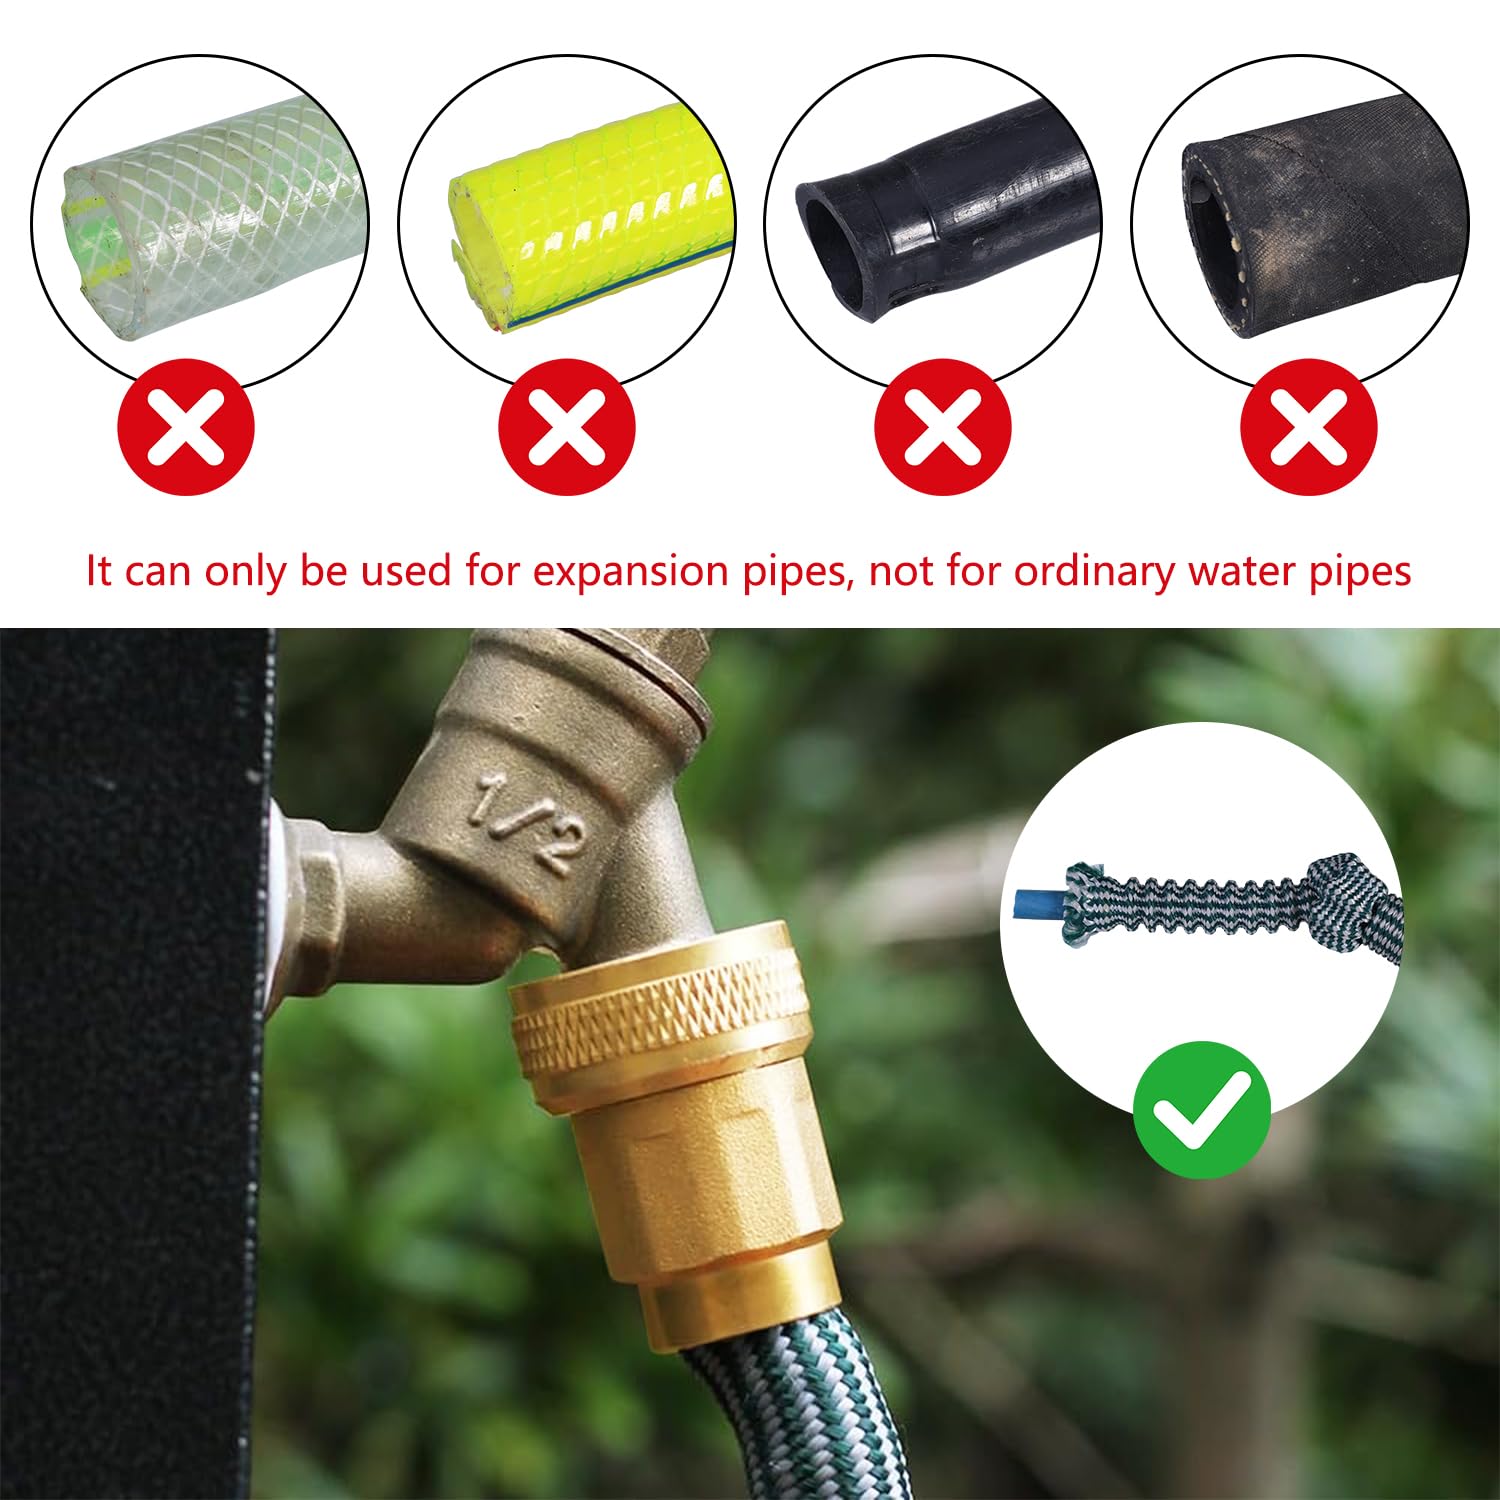
Loose connections cause water to leak or the hose end to fall off. Over time, threads can wear out.
Tighten the hose end by hand or with a wrench. Use plumber’s tape on threads to improve the seal.
- Turn off water supply first
- Check if the hose end fits snugly
- Apply plumber’s tape on threads
- Tighten connection without overdoing it
- Test for leaks by turning water back on
Credit: www.amazon.com
Tools And Materials Needed
Fixing a garden hose end requires a few essential tools and materials. Knowing what you need beforehand makes the process quick and easy.
Gather these items to ensure your garden hose is repaired properly and efficiently.
Replacement Hose Ends
Replacement hose ends are crucial for fixing a damaged hose. They come in different sizes to fit various hose diameters.
- Metal hose ends for durability
- Plastic hose ends for lightweight needs
- Ensure the right size to prevent leaks
Hose Clamps
Hose clamps secure the replacement end to the hose. They prevent water from escaping and maintain a tight seal.
| Type | Use |
| Worm gear clamps | Adjustable and easy to use |
| Spring clamps | Quick to apply and remove |
| Wire clamps | Perfect for tight spaces |
Cutting Tools
Cutting tools are essential for removing the damaged part of the hose. Use them carefully to ensure a clean cut.
- Utility knife for precise cuts
- Garden shears for thicker hoses
- Ensure blades are sharp for safety
Removing The Damaged Hose End
Fixing a garden hose often starts with removing the broken end. This part can get worn or cracked from use.
Removing the old end carefully helps prepare the hose for a new fitting. Follow simple steps to do it right.
Cutting Off The Old End
Use a sharp utility knife or garden scissors to cut the damaged end off. Cut straight across to keep the hose tip even.
Make sure to cut enough to remove all cracks and worn parts. A clean cut helps the new end fit tightly.
- Place the hose on a flat surface.
- Mark where the damage ends.
- Cut straight across at the mark.
- Remove the old end piece completely.
Cleaning The Hose Tip
After cutting, check the hose tip for dirt and debris. Clean it well to ensure a good seal with the new end.
Use water and a cloth to wipe inside and outside the hose tip. Remove any leftover dirt or plant material.
- Rinse the hose tip with water.
- Use a cloth or brush to clean inside.
- Check for smooth edges after cleaning.
- Dry the hose tip before adding the new end.

Credit: www.reddit.com
Attaching A New Hose End
Fixing a garden hose end helps keep your watering system working well. A new hose end improves the connection to your spigot or nozzle.
This guide shows how to attach a new hose end safely and correctly.
Inserting The Hose End
Start by cutting the hose end straight and clean. Push the new hose end firmly into the hose until it fits tightly.
Make sure the hose end goes in all the way for a good seal and strong hold.
Securing With Clamps
Place a metal clamp over the hose where it meets the new end. Tighten the clamp with a screwdriver until the hose is secure.
- Use a clamp that fits your hose size.
- Do not overtighten to avoid damaging the hose.
- Check the clamp is evenly tightened around the hose.
Testing For Leaks
Turn on the water slowly to check for leaks at the connection point. Watch closely for any dripping or wet spots.
If you see leaks, tighten the clamp more or push the hose end deeper into the hose.
Alternative Repair Methods
Fixing a garden hose end does not always mean replacing the entire hose. There are simple repair methods you can try at home.
This guide covers two popular alternatives: using hose repair kits and temporary fixes with tape. Both methods save money and time.
Using Hose Repair Kits
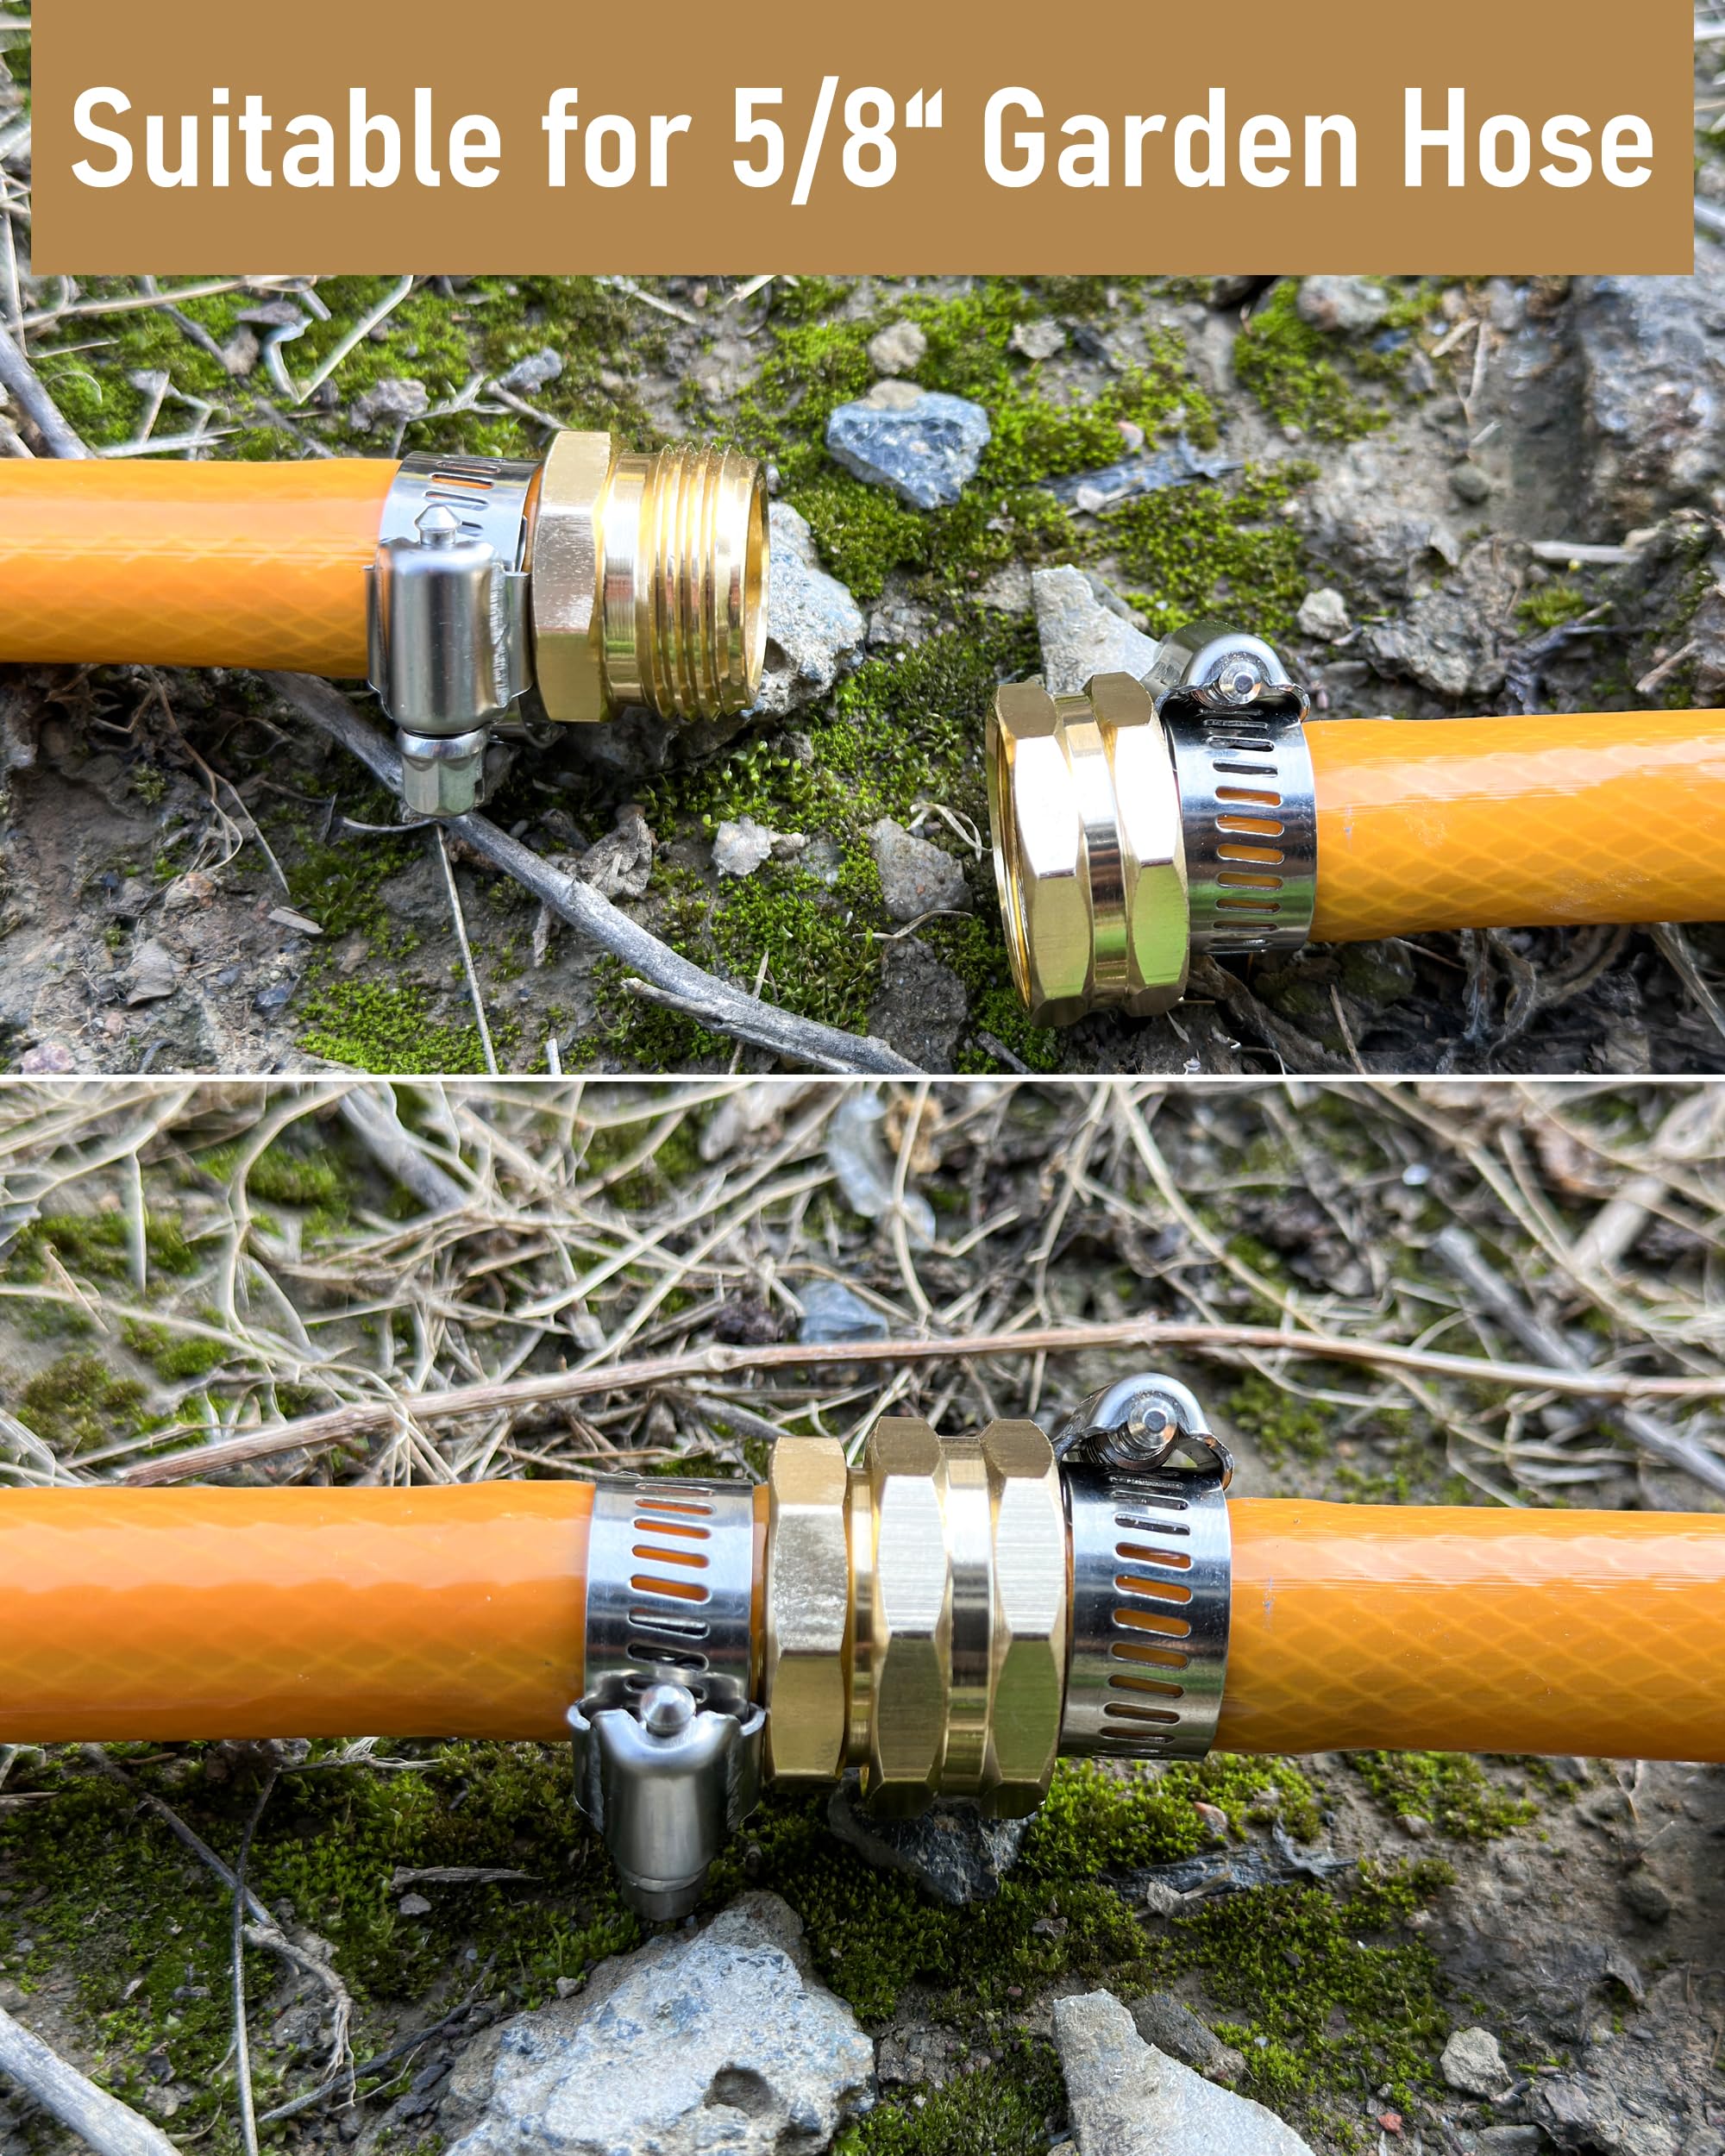
Hose repair kits include parts like couplings, clamps, and connectors. They help you replace the broken end quickly and securely.
- Cut the damaged hose end cleanly with a sharp knife.
- Slide the connector into the hose opening.
- Tighten the clamp around the hose and connector.
- Attach the hose end fitting to the connector.
- Test the hose for leaks by turning on the water.
Temporary Fixes With Tape
Tape can stop small leaks until you can repair the hose properly. Use strong, waterproof tape for best results.
| Type of Tape | Use | Duration |
| Electrical Tape | Wrap around small cracks | Short-term |
| Duct Tape | Cover larger holes | Short to medium-term |
| Silicone Repair Tape | Seal leaks tightly | Medium-term |
Credit: www.amazon.ca
Maintenance Tips To Prevent Damage
Garden hoses need care to last longer. Simple maintenance stops damage and leaks. Follow easy tips to keep hose ends strong.
Preventing damage saves money and keeps your garden healthy. Let’s look at key ways to protect hose ends.
Proper Storage
Store your garden hose correctly to avoid cracks and breaks. Keep it away from sharp objects and direct sunlight.
- Drain water before storing to stop freezing damage.
- Coil the hose loosely to prevent kinks.
- Use a hose reel or hanger to keep it off the ground.
- Store indoors or in a shaded spot during winter.
Avoiding Excessive Pressure
High water pressure can break hose ends and connectors. Use pressure regulators to keep water flow safe.
| Pressure Level | Effect on Hose |
| Below 60 PSI | Safe for most hoses |
| 60-80 PSI | May cause wear over time |
| Above 80 PSI | Risk of bursting and leaks |
Regular Inspections
Check your hose ends often to catch problems early. Look for cracks, leaks, or loose fittings.
Tips for regular inspection:
- Examine hose ends before and after use.
- Tighten any loose connectors gently.
- Replace washers if they look worn.
- Fix small leaks with waterproof tape or sealant.
Frequently Asked Questions
How Do I Fix A Leaking Garden Hose End?
To fix a leaking garden hose end, first turn off the water supply. Remove the damaged end, replace the washer or O-ring, then reattach the hose end tightly. Ensure all connections are secure to prevent leaks.
What Tools Do I Need To Repair A Hose End?
You typically need pliers, a screwdriver, a replacement washer or O-ring, and possibly a hose clamp. These tools help remove the damaged parts and secure the new hose end properly.
Can I Replace A Garden Hose End Myself?
Yes, replacing a garden hose end is a simple DIY task. With basic tools and a replacement end, you can fix leaks and restore proper function quickly at home.
How Do I Prevent Garden Hose End Damage?
To prevent damage, avoid dragging the hose over rough surfaces. Store it properly, keep it out of direct sunlight, and disconnect the hose when not in use to reduce wear and tear.
Conclusion
Fixing a garden hose end is simple and saves money. A few tools and steps bring your hose back to life. Avoid leaks and enjoy a steady water flow again. Regular checks help spot problems early on. Stay patient and follow the steps carefully.
Your garden will thank you for the effort. Keep your hose ready for watering anytime. Small repairs keep your tools working longer. A little care goes a long way in gardening.