Have you ever wanted to catch fish using a fishing rod you made yourself? Imagine the pride and satisfaction of holding a rod crafted by your own hands, designed just the way you like it.
Making your own fishing rod isn’t as hard as you might think, and it can save you money while giving you a unique tool for your fishing adventures. In this guide, you’ll discover simple steps to create a fishing rod that fits your style and needs perfectly.
Ready to turn your fishing dreams into reality? Let’s dive in and get started!
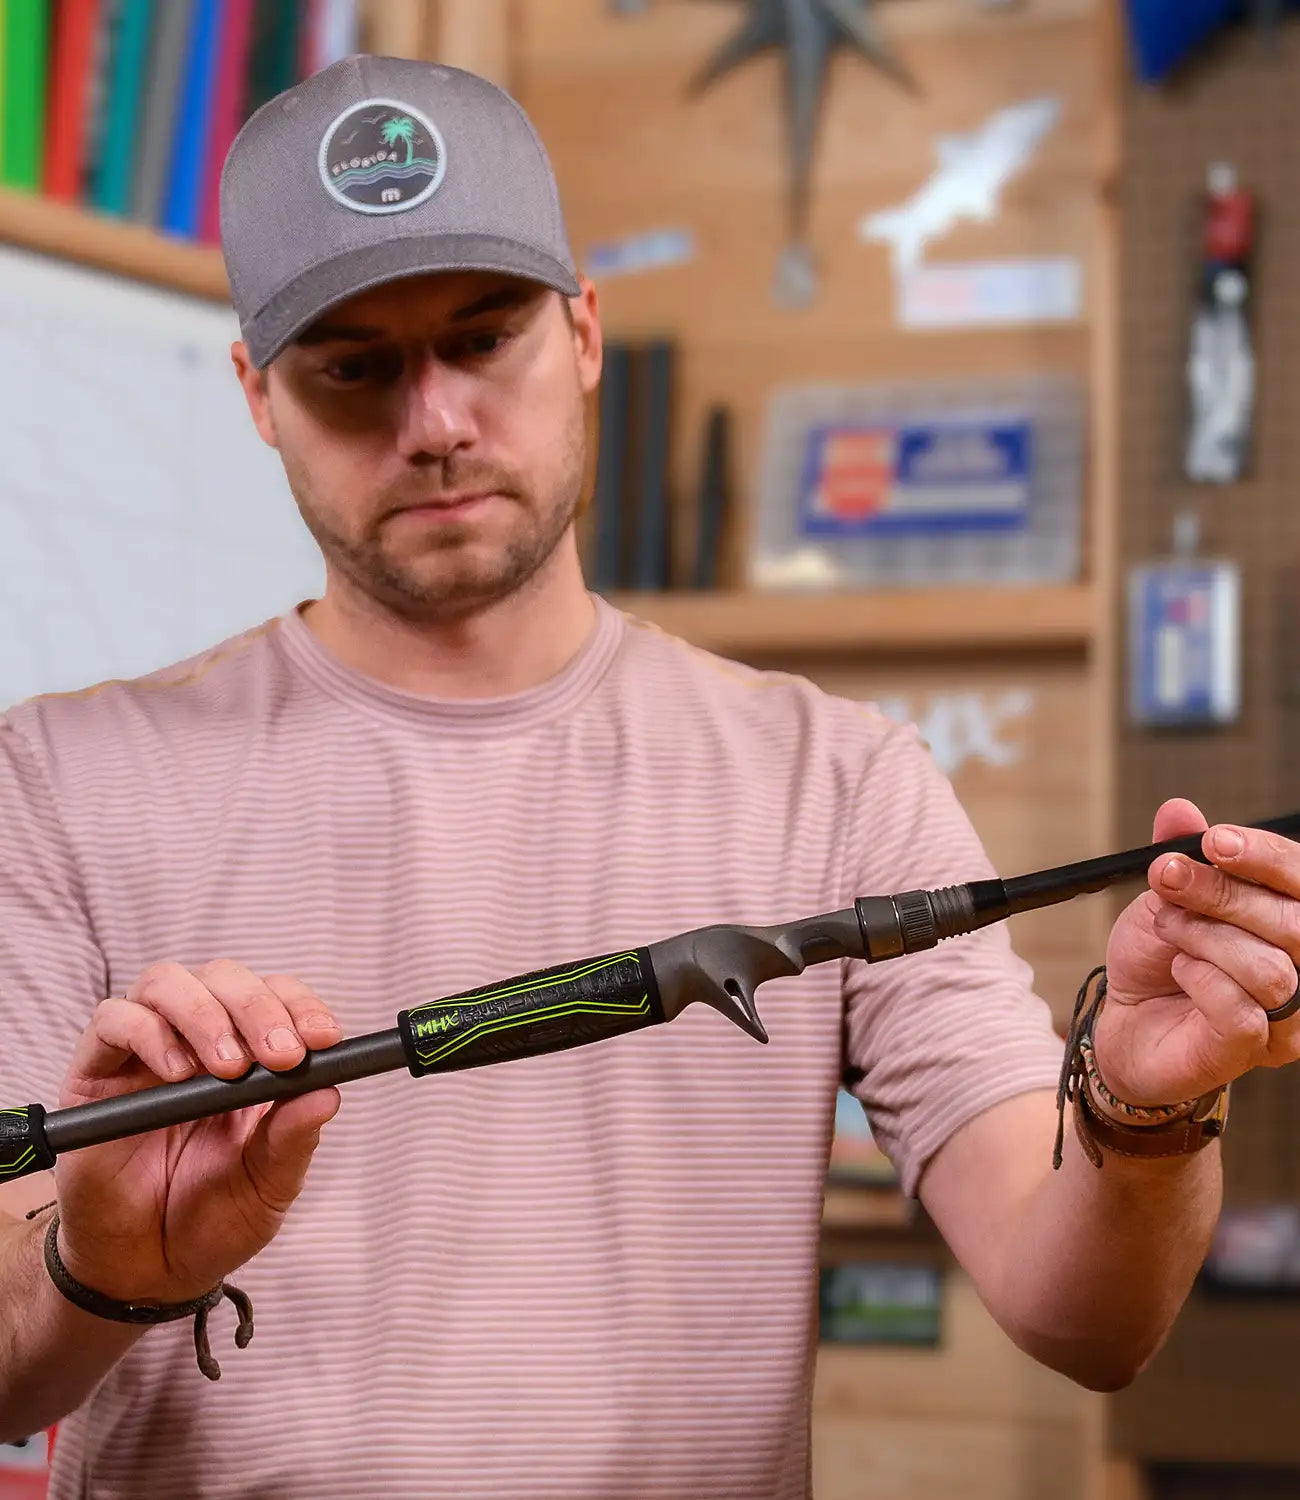
Credit: mudhole.com
Choosing The Right Materials
Making your own fishing rod starts with picking good materials. The right parts help you catch more fish and enjoy fishing.
This guide will help you choose the rod blank, handle, guides, and reel seat for your fishing rod.
Selecting The Rod Blank
The rod blank is the main part of the fishing rod. It should be strong and flexible. Different blanks suit different types of fishing.
Choose a blank based on the fish you want to catch and the fishing style you like.
- Graphite blanks are light and sensitive
- Fiberglass blanks are durable and flexible
- Composite blanks combine both for balance
- Length affects casting distance and control
Picking The Handle Material
The handle helps you hold the rod comfortably. It also affects how long you can fish without pain.
Pick a handle material that feels good in your hand and works for your fishing needs.
- Cork handles are light and warm
- EVA foam handles are soft and durable
- Wood handles look classic but need care
- Choose handle length based on rod size
Choosing Guides And Reel Seat
Guides direct the fishing line along the rod. The reel seat holds your reel tightly in place.
Good guides and reel seats improve casting and make fishing easier.
- Choose guides with smooth rings to reduce line wear
- Stainless steel guides resist rust and last longer
- Reel seats come in different sizes to fit your reel
- Look for reel seats with secure locking mechanisms
Gathering Essential Tools
Making your own fishing rod is a fun and rewarding activity. To get started, you’ll need to gather some essential tools and materials. Each tool has a specific purpose, so it’s important to have everything ready before you begin.
Here, we’ll explore the necessary hand tools, adhesives and finishes, and safety equipment required for building your fishing rod.
Required Hand Tools
Hand tools are crucial for shaping and assembling your fishing rod. These tools will help you cut, sand, and assemble the rod components.
- Utility knife for cutting materials
- Sandpaper for smoothing surfaces
- Hand drill for making precise holes
- Measuring tape for accurate measurements
Adhesives And Finishes
Adhesives and finishes are essential for holding components together and protecting the rod. They provide a strong bond and a smooth finish.
| Material | Purpose |
| Epoxy glue | Bonding parts |
| Varnish | Protecting the rod |
| Thread sealant | Securing guides |
Safety Equipment
Safety should always come first when working on any project. Having the right safety equipment will protect you from potential hazards.
- Safety goggles to protect your eyes
- Work gloves to safeguard your hands
- Dust mask for respiratory safety
- First aid kit for emergencies
Preparing The Rod Blank
Preparing the rod blank is an important part of making your own fishing rod. This step makes sure your rod is the right size and smooth to use.
You will measure, cut, and smooth the blank before adding other parts. Take your time to get it right.
Measuring And Cutting
Start by measuring the length you want for your fishing rod. Use a tape measure for accuracy. Mark the spot clearly on the rod blank.
Use a fine saw or rod cutter to cut the blank at the marked spot. Cut slowly to avoid splintering the rod.
- Measure twice to avoid mistakes
- Mark the cut line with a pencil
- Cut with steady, slow strokes
- Wear safety glasses during cutting
Sanding And Smoothing
After cutting, the edges of the rod may be rough. Use sandpaper to smooth the surface carefully. This helps prevent splinters and makes the rod safer to use.
Start with coarse sandpaper to remove big rough spots. Then use finer sandpaper for a smooth finish. Wipe the blank with a cloth to remove dust.
- Use 120-grit sandpaper first
- Finish with 220-grit or finer
- Sand evenly around the rod
- Clean dust before the next step
Attaching The Handle
Attaching the handle is a key step in making your fishing rod. The handle gives you control and comfort. It must fit well and stay secure during use.
In this section, you will learn how to shape the handle and how to secure it to the rod blank. Take your time for best results.
Shaping The Handle
Start shaping the handle by selecting the right material. Cork and foam are popular choices. Use sandpaper to smooth the surface and fit your hand.
- Cut the handle blank to your desired length.
- Use a file or sandpaper to shape the handle’s contours.
- Make sure the handle fits comfortably in your hand.
- Check that the handle matches the rod blank diameter.
- Finish by sanding with fine-grit sandpaper for a smooth feel.
Securing The Handle To The Blank
Attach the handle firmly to the rod blank. Use strong adhesive and clamps for a tight bond. Let the glue dry fully before use.
| Material | Glue Type | Drying Time |
| Cork | Epoxy Resin | 24 hours |
| Foam | Polyurethane Adhesive | 12 hours |
| Wood | Wood Glue | 6 hours |
Installing Guides
Installing guides on your fishing rod is a key step. These guides help control the fishing line and improve casting.
Placing and securing the guides correctly ensures better performance and durability of your rod.
Marking Guide Positions
First, decide where each guide will go on the rod blank. Proper spacing keeps the line smooth during casting.
Start by placing the tip-top guide at the rod’s tip. Then space the other guides evenly along the blank.
- Place the tip-top guide at the very end of the rod.
- Mark the position of the first guide about an inch below the tip.
- Space the rest evenly, about 6 to 12 inches apart.
- Make sure guides line up straight along the rod’s spine.
Wrapping And Gluing Guides
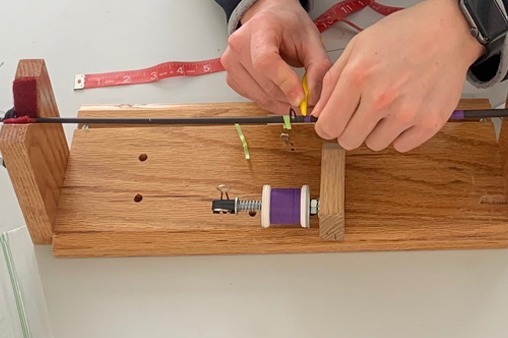
After marking, attach each guide with thread wraps. Wrap tightly to hold the guide firmly in place.
Once wrapped, apply glue to secure the thread and protect it from wear and water damage.
- Start wrapping the guide foot with thread from one side.
- Wrap around the rod and guide foot tightly and evenly.
- Stop wrapping when the guide is secure and the thread covers the foot.
- Brush a thin layer of rod-building glue or epoxy on the thread wraps.
- Let the glue dry completely before using the rod.
Credit: lakeladyrods.com
Finishing Touches
The final steps make your fishing rod ready to use. These touches help protect the rod and check its strength.
Paying attention to details ensures your rod lasts long and works well on your fishing trips.
Applying Protective Coatings
Protective coatings stop water damage and wear. They keep your rod looking new and strong.
Use clear varnish or resin to cover the rod’s surface. Apply thin, even layers and let each dry completely.
- Choose water-resistant coatings like epoxy or polyurethane.
- Apply at least two coats for good protection.
- Sand lightly between coats for smooth finish.
- Let the rod dry in a dust-free place.
Final Inspection And Testing
Check your rod closely before use. Look for cracks, loose parts, or rough spots.
Test the rod’s strength by gently bending it. Make sure it returns to shape without damage.
- Check all guides and reel seat for tightness.
- Ensure the handle is secure and smooth.
- Test casting with a light line first.
- Fix any issues before your first fishing trip.
Tips For First-time Builders
Building your own fishing rod can be fun and rewarding. It helps you learn how rods work and saves money.
Start with simple designs and easy-to-find materials. Take your time and follow each step carefully.
Common Mistakes To Avoid
Many beginners rush and skip important steps. This can cause problems with rod strength and balance.
Avoid using weak or cheap materials. Choose quality parts to make your rod last longer.
- Do not glue guides too early; wait for the rod blank to dry.
- Make sure guides are aligned straight along the rod.
- Use the right amount of epoxy; too much adds weight, too little weakens bonds.
- Do not forget to sand the handle smoothly for comfort.
- Check all parts fit well before final assembly.
Maintenance And Care
Keep your fishing rod clean and dry after every trip. Salt and dirt can damage rod parts over time.
Store your rod in a safe place where it will not bend or get crushed. Use a rod tube or rack.
- Rinse your rod with fresh water after fishing in saltwater.
- Check guides for cracks or damage regularly.
- Reapply epoxy if you see any loose parts.
- Oil reel seats to prevent rust and keep smooth operation.
- Handle your rod gently to avoid bending or breaking.
Credit: www.youtube.com
Frequently Asked Questions
What Materials Do I Need To Make A Fishing Rod?
You need a rod blank, guides, reel seat, handle, epoxy, and thread. Choose materials based on fishing style and budget. Quality materials improve durability and performance. Gather all tools before starting the assembly process.
How Long Does It Take To Build A Fishing Rod?
Building a fishing rod typically takes 4 to 6 hours. Time varies based on experience and complexity of the rod. Proper drying time for epoxy is crucial to ensure strength. Patience during the process improves overall quality.
Can Beginners Make Their Own Fishing Rods?
Yes, beginners can make fishing rods with basic tools and instructions. Start with simple designs and affordable materials. Follow step-by-step guides or video tutorials for best results. Practice improves skill and confidence over time.
How Do I Choose The Right Rod Blank?
Select a rod blank based on fishing type and target species. Consider rod length, power, and action to match your needs. Lightweight blanks suit finesse fishing, while heavier ones handle big catches. Quality blanks enhance sensitivity and strength.
Conclusion
Making your own fishing rod can be a fun and rewarding project. It helps you learn about fishing gear and saves money. You get a rod that fits your style and needs. Plus, it feels great to catch fish with something you built yourself.
Start with simple steps and enjoy the process. Keep practicing, and your skills will improve. Happy fishing!