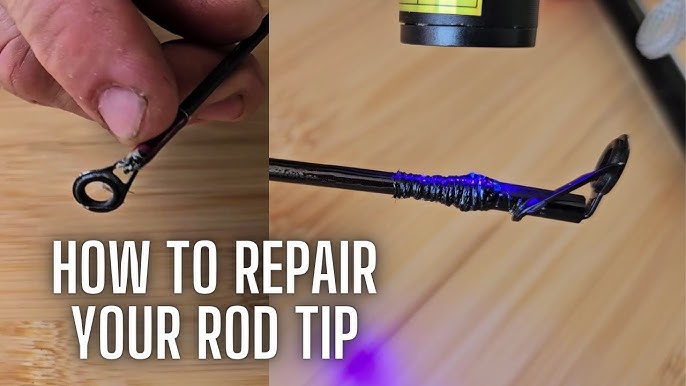
Is your fishing rod showing signs of wear or damage? Don’t let a broken rod ruin your next fishing trip.
You might think fixing it is complicated or expensive, but the truth is, you can repair many common issues yourself with just a few simple tools. Imagine saving money and getting back on the water faster, feeling confident that your rod is as good as new.
In this guide, you’ll discover easy, step-by-step methods to repair your fishing rod and keep it ready for every catch. Keep reading—your next great fishing experience starts here.

Credit: www.youtube.com
Assessing Rod Damage
Fishing rods need regular checks to stay in good shape. Spotting damage early helps fix problems fast.
This guide shows how to check for common issues and inspect key parts of your rod.
Identifying Common Issues
Look closely at the rod for cracks, bends, or broken sections. These signs show where the rod may need repair.
- Check the rod blank for any cracks or deep scratches
- Look for bent sections that affect casting
- Notice any loose or missing parts
- Feel for soft spots on the rod that may weaken it
Checking Rod Guides And Tip
Guides and the tip take a lot of wear. Inspect them to avoid line damage and poor performance.
| Part | What to Check | Signs of Damage |
|---|---|---|
| Rod Guides | Look for cracks, chips, or missing inserts | Frayed line, rough spots |
| Rod Tip | Check for bends or breaks | Uneven casting, rod feels off-balance |
Evaluating Handle And Reel Seat
The handle and reel seat must hold well. Inspect them for damage that affects grip and reel stability.
- Check the handle for cracks or worn areas
- Ensure the reel seat is tight and not cracked
- Look for corrosion or rust on metal parts
- Test the reel seat by attaching the reel and checking for movement

Credit: www.reddit.com
Gathering Repair Tools
Fixing a fishing rod needs the right tools. Gather everything before you start.
Having the correct tools makes repair easy. It saves time and frustration.
Essential Tools For Rod Repair
Some basic tools are needed to fix a fishing rod. These tools help make repairs simple.
- Utility knife for cutting old parts
- Sandpaper to smooth rough edges
- Epoxy glue for strong bonds
- Small pliers to hold parts
- Heat gun for shrinking wraps
Choosing Replacement Parts
Pick the right replacement parts for your rod. This keeps it working well.
Replacement parts should match the original. They need to fit and work properly.
| Part | Considerations |
| Guides | Choose the same size and material |
| Tip top | Match the diameter of the rod tip |
| Handle | Select the same length and style |
Fixing Broken Rod Sections
Fishing rods can break during use or transport. Fixing broken sections helps save money and keeps your rod useful. Some repairs are simple and can be done at home.
This guide covers how to splint small cracks, replace broken tips, and join rod sections. Each method uses easy tools and clear steps.
Splinting Small Cracks
Small cracks weaken the rod but can be fixed with a splint. Use a thin piece of fiberglass or bamboo as the splint. Attach it over the crack with strong glue and tape.
- Clean the cracked area with rubbing alcohol
- Cut a splint about 2 inches longer than the crack
- Apply epoxy or super glue on the splint and crack
- Press the splint over the crack firmly
- Wrap the area tightly with strong tape
- Let the glue dry for 24 hours before use
Replacing Broken Tips
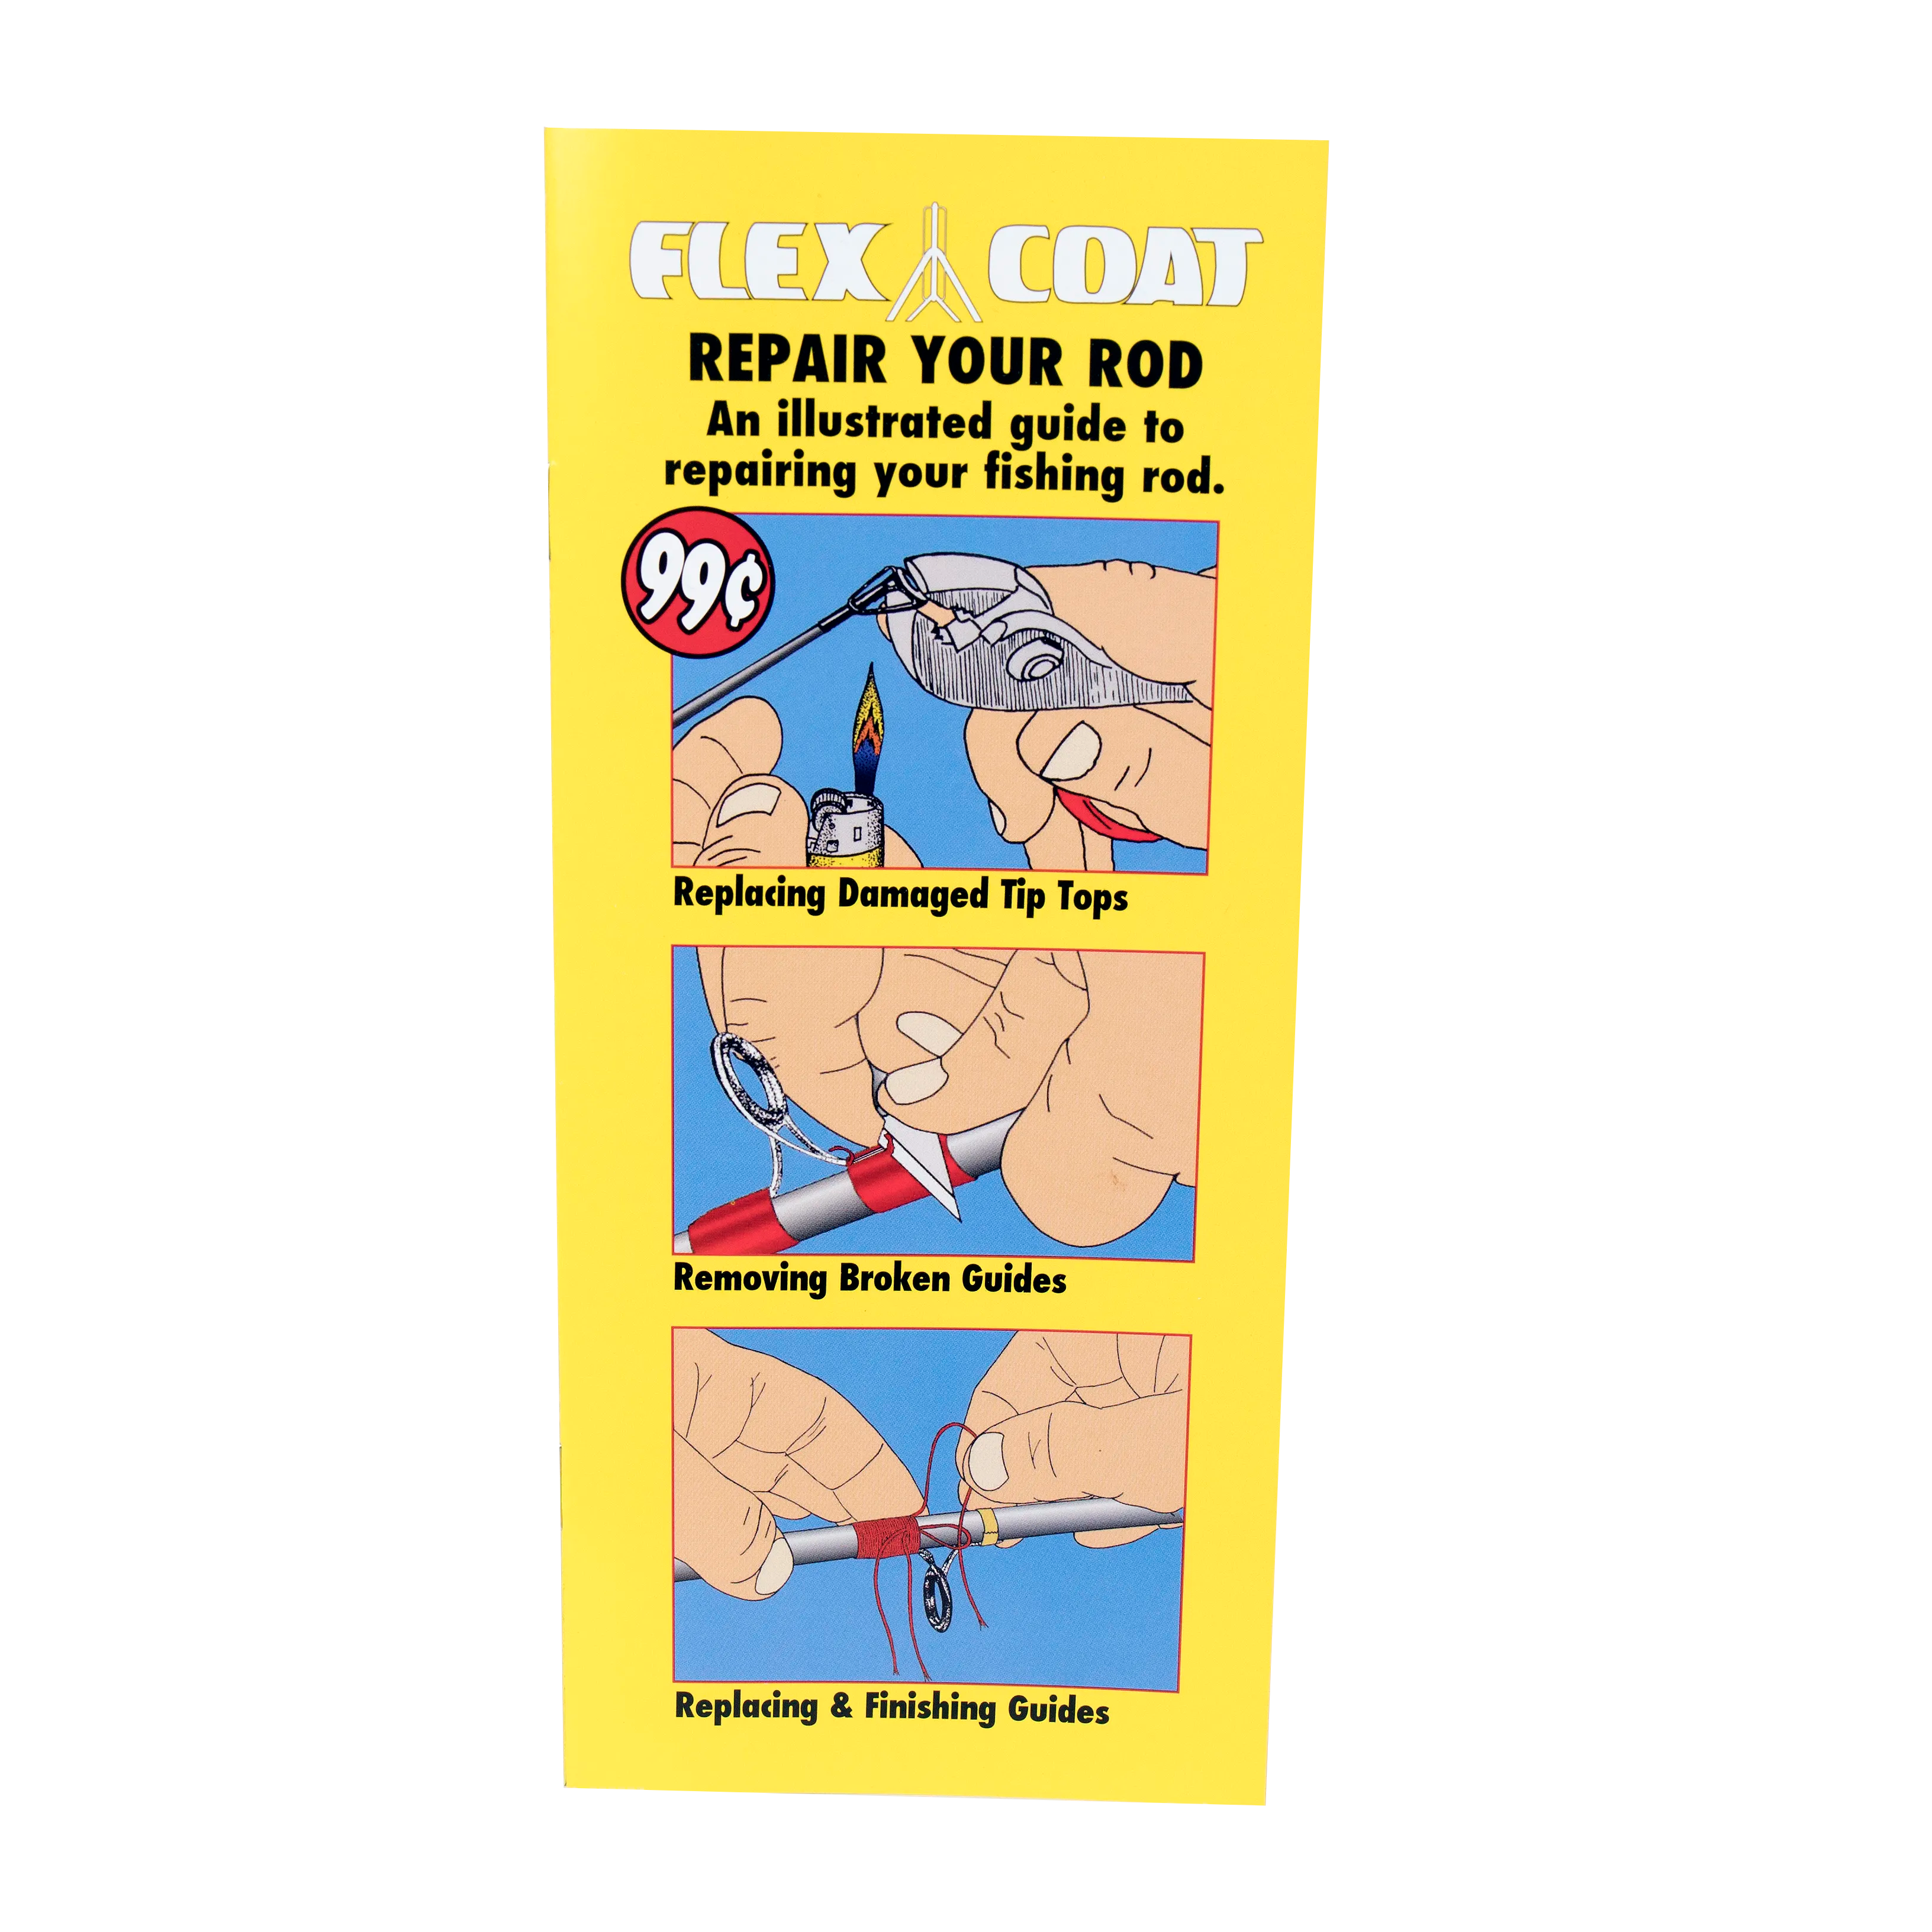
Broken rod tips affect casting and line control. You can replace the tip by removing the damaged section and fitting a new tip top guide. Use heat to loosen the old tip and glue to fix the new one.
- Heat the broken tip with a lighter or heat gun until soft
- Carefully pull off the old tip with pliers
- Clean the rod end of old glue and debris
- Test fit the new tip top guide on the rod
- Apply waterproof epoxy or super glue inside the new tip
- Slide the new tip onto the rod end and align it
- Let the glue dry for several hours before fishing
Joining Rod Sections
Sometimes rod sections break completely. You can join sections by using a ferrule or wrapping with fiberglass tape and epoxy. This restores strength and keeps the rod usable.
| Method | Materials | Steps |
|---|---|---|
| Ferrule Join | Metal ferrule, epoxy | Clean ends, insert ferrule, glue, let dry |
| Fiberglass Wrap | Fiberglass tape, epoxy, sandpaper | Sand ends, apply tape, coat with epoxy, dry |
Repairing Rod Guides
Fishing rod guides help control the fishing line and improve casting. Damaged guides can cause line breaks or poor casting. Fixing guides keeps your rod working well.
This guide shows how to remove old guides, install new ones, and secure them properly. Follow these simple steps to repair your fishing rod guides.
Removing Damaged Guides
Start by carefully cutting the thread that holds the damaged guide in place. Use a sharp blade to avoid damaging the rod blank. Remove all the thread and old epoxy before adding new guides.
Installing New Guides
Place the new guide on the rod and align it with the other guides. Make sure the guide’s feet sit flat against the rod blank. This alignment helps the line flow smoothly during casting.
- Start wrapping the thread tightly around one foot of the guide.
- Continue wrapping along the length of the foot, keeping the thread even.
- Wrap the second foot of the guide in the same way.
- Make sure the guide stays aligned during wrapping.
- Secure the thread end with a knot or glue.
Securing And Wrapping Guides
After wrapping the guides, apply epoxy to protect the thread and hold the guide firmly. Use a thin layer and rotate the rod to spread the epoxy evenly. Let it dry fully before using the rod.
| Material | Purpose |
| Thread | Hold the guide tightly in place |
| Epoxy | Protect the thread and secure the guide |
| Blade | Remove old thread carefully |
| New Guides | Replace damaged or broken guides |
Restoring Handles And Reel Seats
Fishing rods often need repair to keep them working well. Handles and reel seats can wear out or become loose over time.
This guide explains how to fix these parts so your rod stays strong and comfortable to use.
Fixing Loose Reel Seats
A loose reel seat can affect your fishing experience. Tightening or resetting it helps keep the reel steady.
- Remove the reel from the seat.
- Check for dirt or debris and clean the area.
- Apply epoxy or strong adhesive inside the seat.
- Slide the reel seat back and hold it firmly.
- Let the adhesive dry for 24 hours before use.
Replacing Worn Handles
Handles made from cork or foam can wear down or crack. Replacing them improves comfort and grip.
| Material | Replacement Tip |
| Cork | Use cork rings glued with wood glue for best fit. |
| Foam | Choose closed-cell foam for water resistance. |
| Wood | Sand old finish and apply new varnish after replacement. |
Maintaining Grip Materials
Proper care extends the life of grip materials on your rod. Cleaning and sealing protect against damage.
- Clean grips with mild soap and water regularly.
- Avoid harsh chemicals that can degrade materials.
- Apply a sealant or cork conditioner to cork handles.
- Store rods in dry places to prevent mold and mildew.
Credit: flexcoat.com
Finishing Touches
After fixing your fishing rod, the final steps make it strong and smooth. These steps protect your repair and help the rod work well again.
Pay close attention to these finishing touches to make your rod last longer and perform better on your next fishing trip.
Applying Epoxy Coating
Epoxy coating protects the repaired area from water and damage. It also helps the rod stay strong and flexible.
Use a small brush to apply a thin, even layer of epoxy. Cover the repair completely and avoid thick spots.
- Mix epoxy well before use
- Apply in a dust-free area
- Let it dry for at least 24 hours
- Avoid touching the coated surface while drying
Sanding And Polishing
Once the epoxy is dry, sand the area to make it smooth. Use fine-grit sandpaper to avoid scratches.
Polish the sanded spot to restore the rod’s shine. This also helps the rod look new and feel comfortable to hold.
- Start with 400-grit sandpaper
- Finish with 800 or 1000-grit for smoothness
- Use a soft cloth to polish
- Apply polish gently in circular motions
Testing The Rod
Test your repaired rod carefully to check its strength. Bend it slowly and look for any weak spots.
Try casting a few times with light weight. This helps confirm the repair is solid before you fish for real.
- Bend the rod gently to check flexibility
- Cast with a light lure or weight
- Watch for cracks or damage signs
- If needed, repeat repair steps before heavy use
Preventing Future Damage
Fixing a fishing rod is important, but stopping damage is better. Taking care of your rod helps it last longer.
Simple actions can protect your rod from breaking or wearing out. Learn good habits to keep it strong.
Proper Storage Tips
Store your fishing rod where it stays dry and safe. Avoid places with heat or moisture that can harm it.
Keep rods standing upright or hanging to stop bending or warping. Use rod holders or racks if possible.
- Use a rod case for travel and storage
- Keep rods away from direct sunlight
- Store in a cool, dry place
- Do not lean rods against walls on the floor
- Separate rods to avoid tangling or scratching
Regular Maintenance Practices
Check your rod often for cracks, rust, or loose parts. Fix small problems before they grow.
Clean your rod after each use. Remove dirt, salt, and water to stop damage and rust.
- Wipe the rod with a soft cloth
- Use mild soap and water for deeper cleaning
- Dry the rod completely before storing
- Apply reel oil to moving parts
- Inspect guides and wraps for damage
Frequently Asked Questions
How Do I Fix A Broken Fishing Rod Tip?
To fix a broken rod tip, first remove the damaged tip. Then, measure and purchase a replacement tip. Slide it onto the rod and secure with epoxy or super glue. Let it dry completely before use. This restores the rod’s functionality efficiently.
What Materials Are Needed To Repair A Fishing Rod?
Common materials include replacement tips, epoxy glue, sandpaper, thread wraps, and rod finish. These help fix breaks, cracks, or guide damage. Having the right tools ensures a durable and professional repair for your fishing rod.
Can I Repair A Cracked Fishing Rod Blank?
Yes, small cracks can be repaired with epoxy resin. Clean the crack area, apply epoxy carefully, and let it cure fully. For large cracks, professional repair or replacement may be necessary to maintain rod strength and performance.
How Do I Replace A Fishing Rod Guide?
Remove the damaged guide by cutting thread wraps carefully. Clean the area, slide the new guide in place, and wrap it tightly with thread. Apply rod finish or epoxy to secure the wrap and protect the guide from damage.
Conclusion
Repairing a fishing rod can save money and extend its life. Small fixes often solve common problems quickly. Keep tools and replacement parts handy before starting repairs. Take your time and work carefully for best results. Regular checks help catch issues early and keep your rod strong.
Enjoy your fishing trips with a rod in good shape. Practice these simple steps to feel more confident fixing your gear. A little effort goes a long way in rod repair.