
Are you looking for a simple way to make professional-looking tent cards using Word? Whether you need them for events, meetings, or personal gatherings, creating tent cards can be quick and easy.
In this guide, you’ll discover step-by-step instructions that anyone can follow, even if you’re not tech-savvy. By the end, you’ll have attractive tent cards ready to impress your guests or clients. Ready to make your own? Let’s get started!
Choosing Tent Card Dimensions
Picking the right size for your tent cards is important. The dimensions affect how much information fits on the card and how it looks on a table.
This guide covers standard sizes and how to change them to fit your needs.
Standard Sizes To Consider
Many tent cards come in popular sizes that work well for most uses. Choosing one of these can save time and effort.
| Size | Dimensions (inches) | Common Use |
| Small | 3.5 x 2.5 | Place cards, name tags |
| Medium | 4 x 6 | Menu cards, event info |
| Large | 5 x 7 | Promotional signs |
| Square | 4 x 4 | Special announcements |
Customizing Dimensions For Your Needs
You can change the size if standard options do not fit your project. Custom sizes help the card stand out or match your space.
- Measure the area where you will place the tent card.
- Think about how much text or images you want to include.
- Keep the card easy to read from a short distance.
- Make sure the card folds properly if it is a tent shape.
- Test print a sample before finalizing the size.
Setting Up The Document
Creating tent cards in Word is simple. Start by setting up your document properly. This ensures the cards print correctly.
Follow these steps to adjust your document settings. You’ll learn about page orientation, margins, and layout adjustments.
Selecting Page Orientation
Page orientation affects how your tent card appears. Choose landscape to give more space for text and images.
Adjusting Margins And Layout
Adjusting margins ensures your content fits well. Set equal margins for balanced appearance.
- Open the “Layout” tab in Word.
- Click “Margins” to set your preferred margins.
- Choose “Custom Margins” for more control.
- Enter the same values for top, bottom, left, and right margins.
| Margin | Recommended Size (in inches) |
| Top | 0.5 |
| Bottom | 0.5 |
| Left | 0.5 |
| Right | 0.5 |
Designing The Tent Card
Designing a tent card in Word requires attention to detail. It helps to create a clear and attractive layout. You can customize text, images, and shapes to fit your style.
Using Word’s tools lets you make a professional tent card. This guide covers adding text, inserting images, and using shapes and borders.
Adding Text And Fonts
Start by typing your message clearly. Choose fonts that are easy to read from a distance. Use bold or italics to highlight important words.
- Select a font size between 18 and 36 points for visibility.
- Use sans-serif fonts like Arial or Calibri for clean text.
- Limit the number of different fonts to two per card.
- Align text in the center or left for balance.
- Keep text short and to the point.
Inserting Images And Logos
Images and logos add a professional touch. Insert them by using the Insert tab in Word. Make sure they do not overpower the text.
| Image Type | Best Use | Tips |
| Logos | Brand identity | Use PNG for transparency |
| Photos | Visual interest | Keep high resolution |
| Icons | Simple decoration | Use small size |
Using Shapes And Borders
Shapes and borders frame your content nicely. Use rectangles or lines to separate sections. Borders can highlight the edges of the tent card.

Credit: www.avery.com
Creating The Folding Line
Creating a folding line is important for making tent cards in Word. This line shows where to fold the card.
You can use tools like guides, rulers, and fold marks to create a clear folding line.
Using Guides And Rulers
Guides and rulers help you place the folding line exactly where it should be. Turn on rulers to see measurements.
Drag a guide from the ruler to the middle of your page. This mark shows where to fold the tent card.
- Go to the View menu and select Ruler to show rulers.
- Click on the ruler and drag a guide to the center.
- Use the ruler to check the exact position of the guide.
- Adjust the guide if needed to keep the fold straight.
Adding Fold Marks
Fold marks are small lines near the folding line. They show where to fold the paper precisely.
You can add fold marks using the drawing tools in Word. Place them on both sides of the folding line.
- Go to the Insert tab and select Shapes.
- Choose a small line shape to use as a fold mark.
- Place the lines near the folding guide on top and bottom edges.
- Copy and paste to make fold marks on both sides of the card.
Duplicating And Arranging Cards
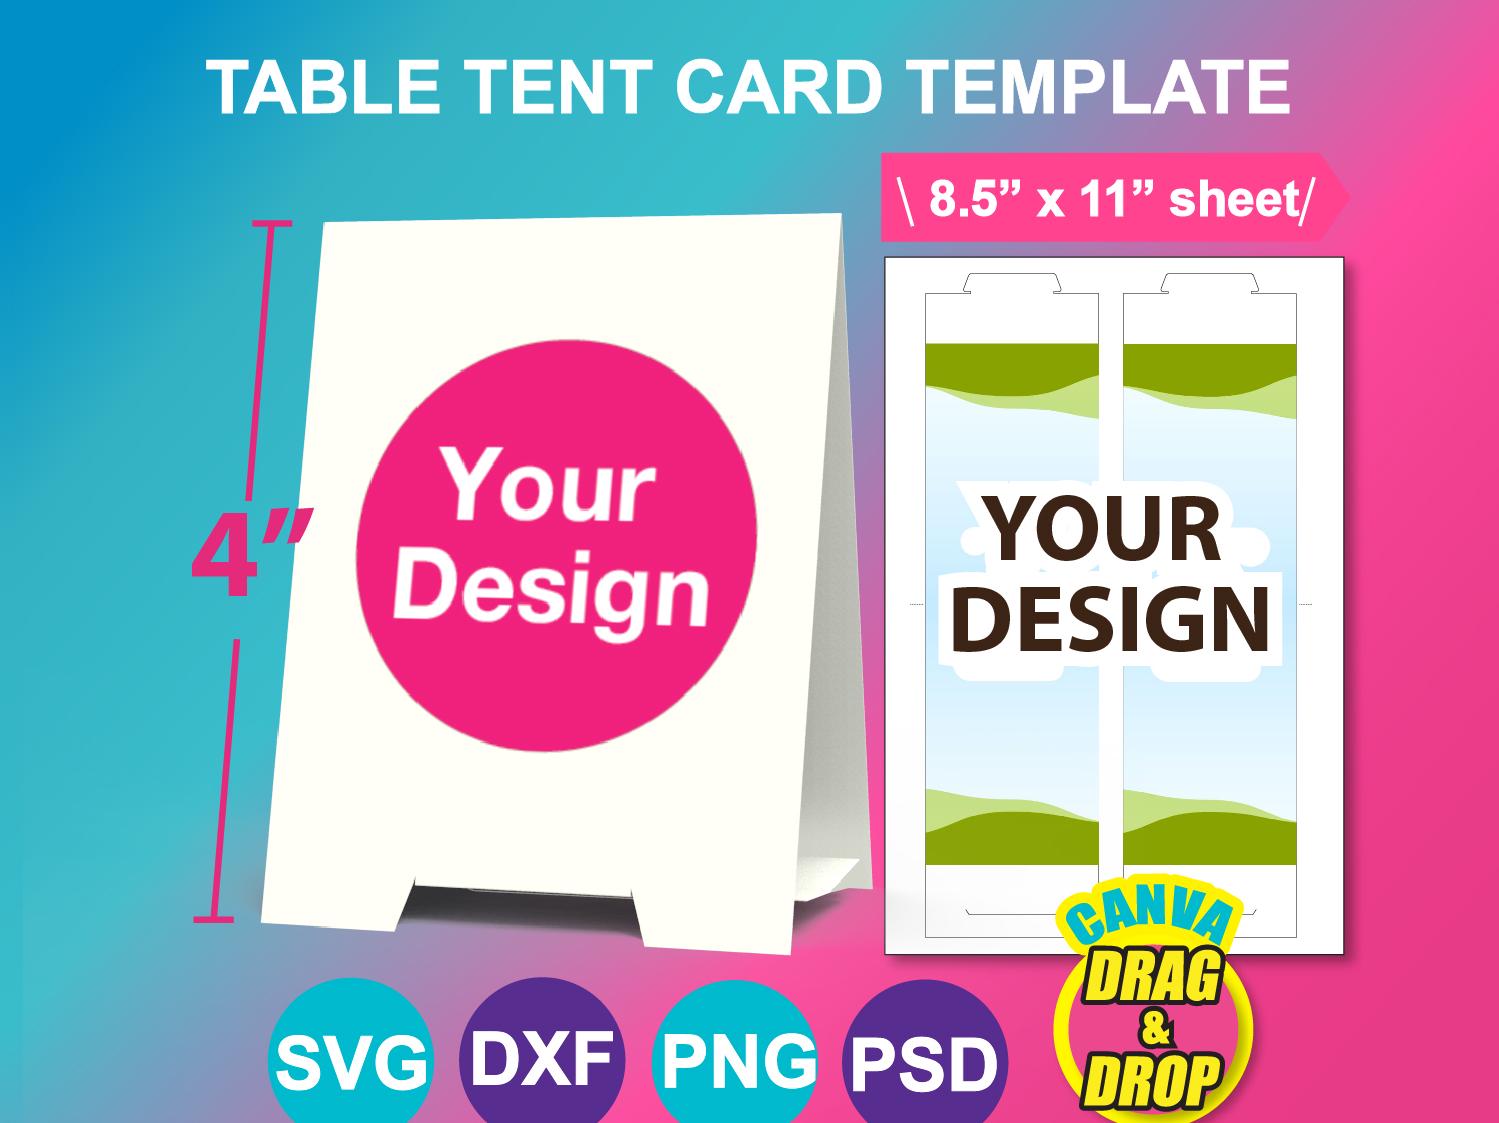
Creating tent cards in Word is easier when you duplicate your designs. Copying and arranging cards saves time and keeps the layout neat.
This guide explains how to copy your card design and align multiple tent cards on the page.
Copying Designs Across The Page
After you create one tent card, you can copy it to fill the page quickly. Use these tips to duplicate your cards evenly.
- Select your tent card design by clicking on it.
- Press
Ctrl + C(Windows) orCmd + C(Mac) to copy. - Click where you want the new card to appear.
- Press
Ctrl + V(Windows) orCmd + V(Mac) to paste. - Repeat to add more cards across the page.
Aligning Multiple Tent Cards
Keeping your tent cards aligned makes the final print look professional. Use Word’s alignment tools for this task.
| Action | How to Do It |
| Select all cards | Hold Shiftand click each card |
| Align left edges | Go to the Layouttab, click Align, then choose Align Left |
| Distribute horizontally | Use Distribute Horizontallyunder Alignto space cards evenly |
| Group cards | Right-click and select Groupto move cards as one unit |
Credit: www.etsy.com
Finalizing And Printing
After designing your tent cards in Word, you need to prepare them for printing. This step ensures your cards look perfect and fit the intended space.
We will cover how to preview the layout, choose the right paper, and print with the best results.
Previewing The Layout
Look at your tent card layout carefully before printing. Use Word’s print preview feature to check all details.
Check that the text and images are centered and sized correctly. Make sure the fold lines are clear if you added them.
- Use the “Print Preview” option in Word
- Ensure margins match your paper size
- Verify that all text is visible and not cut off
- Confirm the card folds correctly along the center
Choosing The Right Paper
Use thick paper or cardstock for tent cards. This helps the cards stand up and look professional.
Pick a paper weight between 200 to 300 gsm for good firmness. Glossy or matte finishes both work well.
- Cardstock is best for durability
- Glossy finish makes colors pop
- Matte finish reduces glare
- Check printer compatibility with paper type
Printing Tips For Best Results
Use a high-quality printer for clear text and images. Adjust print settings to match your paper and layout.
Print one test card first to check colors and alignment. Cut and fold the test card to see the final look.
- Select “Best” print quality in printer settings
- Use the correct paper size and type settings
- Allow ink to dry before folding
- Trim edges carefully with a sharp blade
Alternative Tools And Templates
Tent cards are useful for events and presentations. You can create them easily using different tools.
Besides Word, many templates and online tools help you design tent cards quickly.
Using Word Templates
Microsoft Word has built-in templates for tent cards. These templates save time and effort.
You just open a template, add your text and images, then print it on thick paper.
- Open Word and search for “tent card” in templates
- Choose a design that fits your needs
- Edit text, fonts, and colors easily
- Print and fold the card to stand up
Exploring Online Design Tools
Online tools offer easy drag-and-drop features for tent card designs. No software installation is needed.
Many websites provide free or paid templates you can customize in your browser.
- Choose from many shapes and styles
- Add images, logos, and text with simple controls
- Download the design as a PDF or image
- Print at home or at a print shop

Credit: www.youtube.com
Frequently Asked Questions
How Do I Start Creating Tent Cards In Word?
Open Microsoft Word and choose a blank document. Set page orientation to landscape. Use table or text boxes to design your tent card layout.
What Are The Best Dimensions For Tent Cards?
Common tent card sizes are 4×6 inches or 5×7 inches. Choose size based on your display needs and printing options.
Can I Add Images To My Word Tent Cards?
Yes, insert images via the “Insert” tab. Resize and position images to enhance your tent card design effectively.
How Do I Print Tent Cards Correctly In Word?
Print on cardstock for durability. Use the double-sided printing option and fold the card along the center line for a clean finish.
Conclusion
Creating tent cards in Word is simple and quick. Use the built-in tools to add text and design. Adjust sizes and fonts to fit your needs. Print your cards on sturdy paper for best results. Tent cards work well for events and meetings.
Practice a few times to get comfortable with the process. Now, you can make personalized tent cards anytime. Try different styles and colors to make them stand out. Keep your designs clear and easy to read. Enjoy creating your own tent cards with Word!