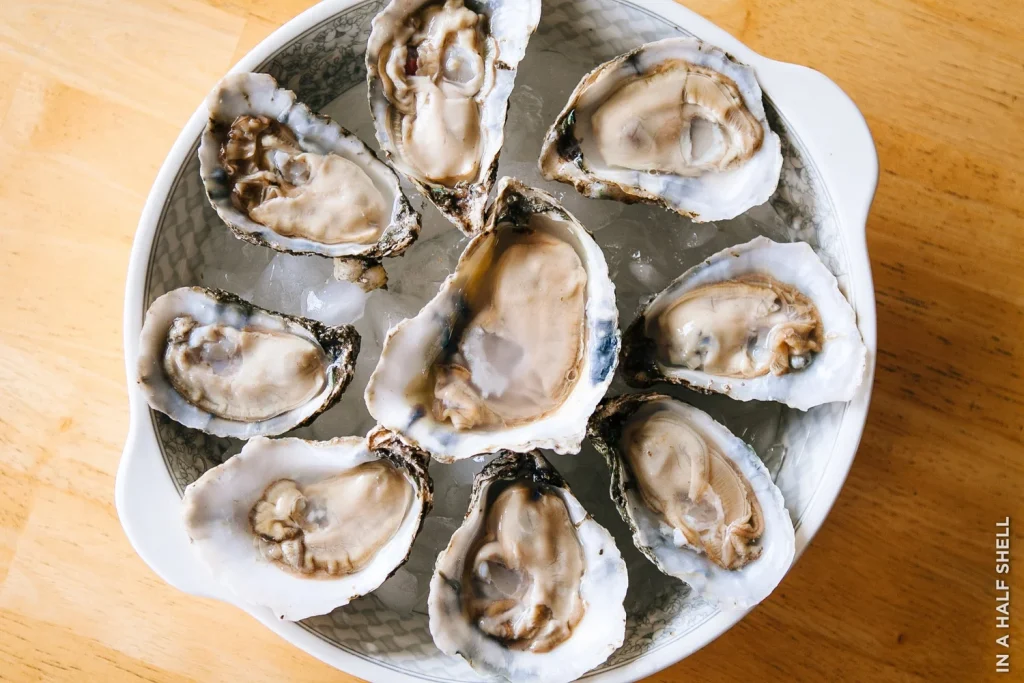
Are you staring at a batch of shucked oysters and wondering if your freezer could be their next stop? You’re not alone in pondering this.
Whether you’ve bought more oysters than you can handle or you’re trying to extend their deliciousness for a future seafood feast, the question of freezing them is crucial. Before you make a decision, consider the possibilities. Imagine savoring the fresh taste of oysters long after you’ve brought them home.
By understanding the right way to freeze shucked oysters, you can ensure that your seafood retains its flavor and quality. Dive into this guide to discover the secrets of freezing shucked oysters successfully, and transform your seafood experience. Let’s uncover how you can make the most of your prized oysters and keep your taste buds happy!
Freezing Basics For Shucked Oysters
Freezing shucked oysters helps preserve them for later use. Understanding the basics of freezing keeps oysters tasty and safe. The process affects texture and flavor, so proper steps matter.
Knowing when to freeze and how to pick fresh oysters ensures the best results. Follow simple guidelines to enjoy oysters even after freezing.
How Freezing Affects Oysters
Freezing changes oyster texture slightly. Ice crystals form inside the meat, which can make it softer. Flavor may be less vibrant compared to fresh oysters.
Freezing does not kill bacteria, so oysters must be fresh and clean before freezing. Proper packaging prevents freezer burn and preserves taste.
When To Freeze
Freeze oysters as soon as possible after shucking. The fresher, the better the frozen oyster quality. Do not freeze oysters left out at room temperature for long.
Use frozen oysters within 3 months for best flavor. Label packages with freezing dates to track storage time.
Choosing Fresh Oysters
Select oysters that smell clean and fresh, like the ocean. Avoid any with a strong or sour odor. Shells should be tightly closed or close when tapped.
Shuck oysters carefully to avoid contamination. Only freeze oysters that look plump and moist, never slimy.
Preparation Before Freezing
Proper preparation is key before freezing shucked oysters. It helps keep their fresh taste and texture. Follow these simple steps to prepare oysters for freezing. This ensures the best quality and safety.
Cleaning And Draining
Start by rinsing the shucked oysters gently under cold water. Remove any shell fragments or grit carefully. Place them in a colander to drain well. Avoid soaking oysters in water to keep flavor intact.
Packaging Tips
Use airtight packaging to prevent freezer burn. Wrap oysters tightly in plastic wrap or freezer bags. Remove as much air as possible before sealing. Label packages with the date for easy tracking.
Using Suitable Containers
Choose containers that are freezer-safe and moisture-resistant. Small, shallow containers work best to freeze oysters evenly. Avoid glass containers that might crack at low temperatures.
Freezing Methods
Freezing shucked oysters can be a great way to extend their shelf life, but the method you choose affects their texture and flavor after thawing. Different freezing techniques preserve oysters in unique ways, so understanding these can help you enjoy your oysters just the way you like. Let’s look at some practical freezing methods and what you can expect from each.
Freezing In Oyster Liquor
Oyster liquor is the natural juice inside the oyster shell. Freezing oysters with this liquid helps keep them moist and retains much of their original flavor. When you freeze oysters in their liquor, they tend to thaw juicier and taste fresher compared to those frozen dry.
To do this, simply place the shucked oysters along with their liquor in an airtight container. Be sure to leave some space for expansion as the liquid freezes. This method works well if you plan to use the oysters in soups or stews, where the liquor adds extra depth.
Freezing Without Liquor
Freezing oysters without their liquor is another option, especially if you want to save space or plan to use the oysters in recipes where you’ll add your own liquids later. However, this method can lead to drier oysters once thawed.
To minimize moisture loss, spread the oysters on a baking sheet and flash freeze them before transferring to a freezer bag. This prevents them from sticking together and makes portioning easier. Keep in mind that without the liquor, the oysters may lose some of their natural brininess.
Vacuum Sealing Advantages
Vacuum sealing is a powerful way to freeze shucked oysters because it removes air, which helps prevent freezer burn and preserves freshness longer. If you have a vacuum sealer, this is one of the best options to maintain texture and flavor.
Vacuum-sealed oysters stay fresher for months and thaw with less liquid loss. This method is especially useful if you buy oysters in bulk and want to keep them ready for future use. Have you tried vacuum sealing before? You might be surprised how much it improves the quality after freezing.
Credit: www.hungryhuy.com
Storage Duration And Conditions
Proper storage duration and conditions are vital for freezing shucked oysters safely. These factors keep oysters fresh and tasty after freezing. Knowing the right freezing time and temperature helps maintain quality.
Incorrect storage can lead to loss of flavor and texture. Freezer burn is a common issue that reduces oyster quality. Taking care during freezing preserves the best taste and texture.
Optimal Freezing Time
Freeze shucked oysters within two days of shucking. Use them within three months for best taste. Over time, oysters lose flavor and can become rubbery. Label the package with the freezing date to track storage time.
Temperature Guidelines
Keep your freezer at 0°F (-18°C) or below. This temperature stops bacteria growth and preserves freshness. Avoid opening the freezer often to maintain a steady temperature. Use a freezer thermometer to check temperature accuracy.
Avoiding Freezer Burn
Seal oysters tightly in air-proof containers or vacuum bags. Remove as much air as possible before sealing. Wrap containers with plastic wrap for extra protection. Freeze oysters in small portions to avoid refreezing leftovers. Freezer burn dries out oysters and changes their flavor.
Thawing Shucked Oysters Safely
Thawing shucked oysters safely is key to preserving their fresh taste and preventing foodborne illness. How you thaw them impacts texture, flavor, and safety. Let’s look at practical ways to bring frozen oysters back to life without losing quality or risking contamination.
Refrigerator Thawing
Refrigerator thawing is the safest and most reliable method. Simply place your frozen shucked oysters in a sealed container or bag and leave them in the fridge for 12 to 24 hours.
This slow thaw keeps the oysters at a consistent, safe temperature, minimizing bacterial growth. Patience here pays off with oysters that taste fresh and maintain their natural texture.
Quick Thaw Techniques
If you’re short on time, you can thaw oysters more quickly using cold water. Keep the oysters sealed in a watertight bag and submerge them in cold water.
Change the water every 20-30 minutes to keep it cold. This method usually takes about an hour and avoids the risk of partial cooking that warm water or microwaving could cause.
Avoiding Cross Contamination
Handling oysters carefully during thawing helps prevent cross contamination. Always use clean utensils and surfaces, and never let thawed oysters come into contact with raw meat or unwashed hands.
Wash your hands thoroughly before and after handling. Keep thawed oysters in their own container to avoid mixing with other foods, especially if you plan to store them before use.
Credit: www.hungryhuy.com
Using Frozen Oysters
Using frozen oysters can be a convenient way to enjoy this seafood delicacy beyond its usual fresh season. Freezing extends their shelf life, making it easier to keep them on hand for spontaneous meals. However, how you use frozen oysters affects their taste and texture, so knowing the right cooking techniques matters.
Best Cooking Methods
Frozen oysters are best suited for cooked dishes rather than eating raw. Cooking methods like steaming, baking, or frying help preserve their flavor while improving texture. Avoid grilling or serving them raw, as freezing changes their natural softness.
Try adding frozen oysters to chowders or stews where their flavor can blend well with other ingredients. You can also pan-fry them with a light coating of breadcrumbs for a crispy bite. Steaming frozen oysters with garlic and herbs offers a simple, tasty option that highlights their briny taste.
Texture And Flavor Changes
Freezing causes the oysters’ cell structure to break down, which makes their texture softer and sometimes a bit watery after thawing. This change means frozen oysters won’t have the same firm, plump bite as fresh ones. Their flavor remains briny but can be slightly muted compared to fresh oysters.
Have you noticed how thawed oysters sometimes lose their firmness? That’s why frozen oysters work best in dishes where texture isn’t the main focus. Using them in soups or mixed recipes lets you enjoy their taste without worrying about mushiness.
Recipes For Frozen Oysters
- Oyster Stew:Simmer frozen oysters with butter, cream, and seasoning for a rich, comforting stew.
- Fried Oyster Po’ Boy:Coat thawed oysters in seasoned flour, fry until golden, and serve in a sandwich with fresh veggies.
- Seafood Pasta:Toss cooked frozen oysters into a garlic and white wine sauce, then mix with your favorite pasta.
Using frozen oysters is about adapting your cooking to their changed texture and flavor. What’s your favorite oyster dish that could work well with frozen ones?
Safety Tips And Common Mistakes
Freezing shucked oysters can be a handy way to extend their shelf life. Yet, safety is key to avoid health risks. Common mistakes may spoil the oysters or cause foodborne illness. Follow these safety tips to keep your oysters fresh and safe to eat.
Signs Of Spoilage
- Oysters with a strong, unpleasant odor should be discarded.
- Look for any slimy texture or discoloration on the oyster meat.
- A dull or chalky appearance can indicate spoilage.
- Discard oysters that have an off or sour taste after thawing.
Handling After Thawing
- Thaw oysters in the refrigerator, not at room temperature.
- Use thawed oysters within 24 hours for best quality and safety.
- Keep thawed oysters cold and avoid leaving them out too long.
- Rinse oysters gently with cold water before cooking or eating.
Avoiding Refreezing
- Never refreeze oysters after they have fully thawed.
- Refreezing can change texture and increase bacteria risk.
- Only freeze oysters once to maintain safety and flavor.
- Plan portions before freezing to avoid leftovers that require refreezing.
Credit: cfishct.com
Frequently Asked Questions
Can I Freeze Shucked Oysters For Later Use?
Yes, you can freeze shucked oysters. Place them in an airtight container with their liquor. Freeze within 24 hours for best quality. Use within 3 months for optimal taste and texture.
How Do I Properly Freeze Shucked Oysters?
To freeze shucked oysters, keep them in their liquor. Store in a sealed container or freezer bag. Remove excess air before sealing. Label with the date to track freshness.
Will Freezing Affect The Texture Of Oysters?
Freezing can slightly change the texture of oysters. They may become softer or more watery after thawing. However, the flavor generally remains intact. Use frozen oysters in cooked dishes for best results.
How Should I Thaw Frozen Shucked Oysters?
Thaw frozen oysters slowly in the refrigerator overnight. Avoid thawing at room temperature to prevent bacteria growth. Use thawed oysters within 24 hours for safety and freshness.
Conclusion
Freezing shucked oysters can keep them fresh for a short time. Use airtight containers or bags to prevent freezer burn. Thaw oysters slowly in the fridge for best taste. Keep in mind, freezing may change their texture slightly. Enjoy oysters soon after thawing for the best flavor.
Always check for freshness before cooking or eating. Freezing is a handy way to store oysters safely. Simple steps help keep your seafood tasty and fresh.