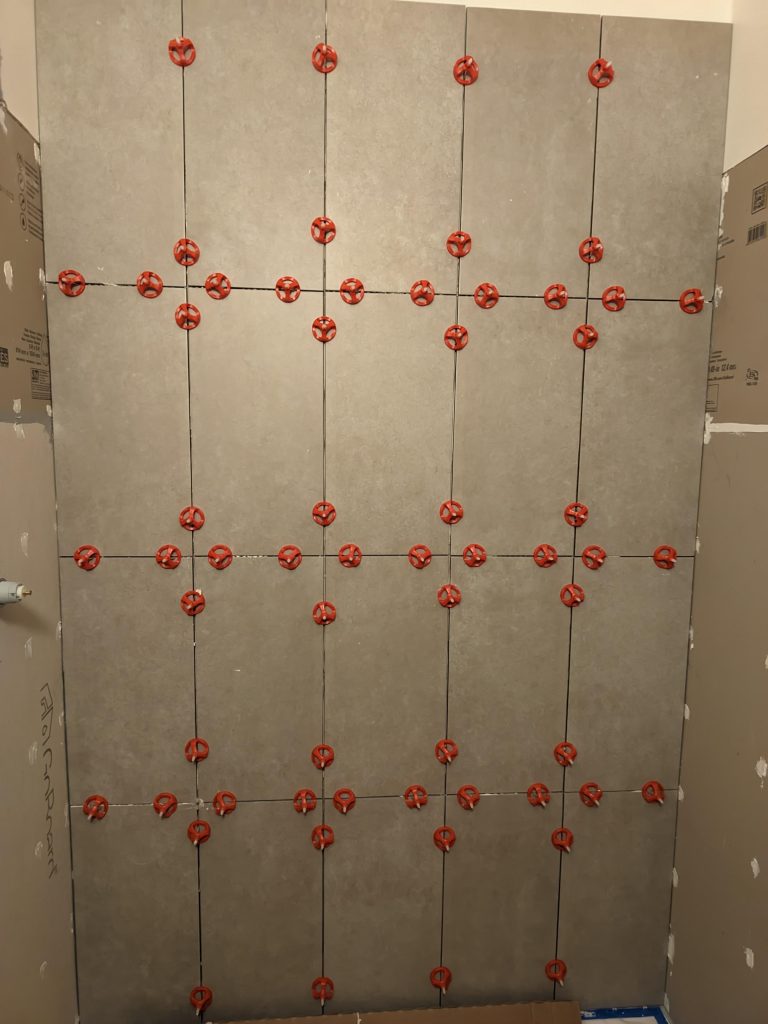
Are you about to install 12×24 tiles and wondering if a 1/4 trowel is the right tool for the job? Using the correct trowel size can make all the difference in how your tiles stick and how smooth your finished floor or wall looks.
Choosing the wrong trowel might lead to uneven tiles, weak adhesion, or even costly repairs down the line. You’ll discover exactly when a 1/4 trowel works for 12×24 tiles and when you might need to reach for something different. Keep reading to save time, money, and frustration on your next tiling project!

Credit: www.reddit.com
Choosing The Right Trowel Size
Using the right trowel size is important for tile installation. It helps the tile stick well to the surface.
For a 12×24 inch tile, choosing the correct trowel size affects the strength of the bond. It also affects how even the tile lays.
Impact Of Trowel Size On Tile Adhesion
Trowel size controls how much adhesive spreads under the tile. Too little adhesive can cause tiles to come loose.
If the trowel notch is too small, the adhesive layer will be thin. This can lead to weak adhesion and tile damage later.
Using the correct trowel size helps the tile stick firmly and stay flat. It also avoids hollow spots under the tile.
Common Trowel Sizes For Large Tiles
Large tiles like 12×24 inch need bigger trowel notches. This spreads enough adhesive for good support.
A 1/4 inch square notch trowel is often too small for 12×24 tiles. A 1/2 inch notch is usually better.
- 1/4 inch notch: Good for small tiles up to 8×8 inches
- 1/2 inch notch: Best for large tiles like 12×24 inches
- 3/8 inch notch: Sometimes used for medium tiles
Choosing the right trowel size helps make your tile job last longer and look better.

Credit: www.amazon.ca
Challenges With 1/4 Trowel On 12×24 Tiles
Using a 1/4 inch trowel for 12×24 inch tiles can cause problems. These large tiles need enough mortar to stick well.
Small notches on the trowel may not spread enough mortar. This can lead to weak spots and poor tile installation.
Insufficient Mortar Coverage
A 1/4 inch trowel may not hold enough mortar for 12×24 tiles. Large tiles need more mortar to cover the back fully.
Without full coverage, tiles can have empty spaces under them. These gaps cause tiles to crack or break over time.
- Mortar may not fill all tile grooves
- Empty spots reduce tile support
- Tiles can become loose or crack
Risk Of Tile Lippage
Tile lippage happens when one tile edge is higher than another. A 1/4 trowel can increase this risk with large tiles.
Thin mortar lines do not level the tile surface well. Uneven mortar can cause tiles to sit at different heights.
- Thin mortar spreads unevenly
- Tiles may not sit flat
- Lippage creates trip hazards and looks bad
Adhesion And Durability Concerns
Mortar that is too thin weakens the bond between tile and floor. A 1/4 inch trowel may cause poor adhesion with large tiles.
Poor adhesion leads to tiles loosening over time. This reduces the floor’s durability and may need repairs sooner.
- Thin mortar layer may not hold tile well
- Tiles can shift or pop loose
- Floor may wear out faster
Recommended Trowel Sizes For 12×24 Tiles
Choosing the right trowel size is important for tile installation. It ensures proper adhesion and a smooth surface.
For 12×24 tiles, the trowel size affects the grout lines and tile height. Let’s explore the best options.
Benefits Of 1/2 Inch Trowel
A 1/2 inch trowel offers several advantages for larger tiles. It provides better coverage and support.
- Ensures full adhesive contact
- Reduces risk of tile lippage
- Improves overall tile stability
Alternatives To 1/4 Inch Trowel
A 1/4 inch trowel may not be ideal for 12×24 tiles. There are better alternatives that suit larger tiles.
| Trowel Size | Recommended For |
| 1/4 inch | Smaller tiles |
| 1/2 inch | 12×24 tiles |
| 3/8 inch | Medium tiles |

Credit: alsyedconstruction.com
Expert Tips For Proper Installation
Using a 1/4 inch trowel for 12×24 inch tiles can work if done correctly. Proper technique ensures the tiles stick well and look great.
This guide covers key tips for even mortar, avoiding air pockets, and handling large tiles safely.
Ensuring Even Mortar Application
Applying mortar evenly is important to keep tiles flat and secure. Use the right trowel size and pressure for consistent coverage.
- Hold the trowel at a 45-degree angle to spread mortar.
- Use smooth, even strokes to avoid thick or thin spots.
- Check the mortar thickness regularly to ensure uniformity.
- Apply enough mortar to cover the tile back fully.
Techniques To Avoid Air Pockets
Air pockets reduce tile adhesion and cause cracks. Follow these tips to prevent gaps under tiles.
| Technique | Description |
| Back Buttering | Apply a thin layer of mortar on the tile back before placing it. |
| Press Firmly | Push tiles into mortar with steady pressure to remove air. |
| Use a Rubber Mallet | Tap tiles gently to settle mortar and expel trapped air. |
| Check Coverage | Lift tiles occasionally to check full mortar contact. |
Handling Large Format Tiles Safely
Large tiles like 12×24 require care during handling. They can break or chip if not supported properly.
- Use two people to carry large tiles to avoid dropping.
- Place tiles on a flat, cushioned surface before installation.
- Wear gloves to improve grip and protect your hands.
- Store tiles upright in a secure area to prevent bending or cracking.
Common Mistakes To Avoid
Using the right tools is key when installing 12×24 tiles. Many people wonder if a 1/4 trowel works well for these large tiles.
This guide covers common mistakes to avoid when using a 1/4 trowel for 12×24 tiles. Avoiding these errors helps ensure a strong, lasting tile installation.
Using Too Small Trowel
A 1/4 inch trowel may be too small for 12×24 tiles. This size might not spread enough mortar for proper bonding.
- Insufficient mortar coverage can cause tiles to lift or crack.
- Large tiles need more mortar to fill gaps under the tile.
- Use a larger trowel size like 1/2 inch for better adhesion.
Skipping Back Buttering
Back buttering adds mortar to the tile’s back before placing it. Skipping this step can create hollow spots.
Benefits of Back Buttering:
- Improves mortar coverage under large tiles.
- Prevents voids that cause tile cracking.
- Ensures better bonding with the substrate.
Ignoring Manufacturer Guidelines
Every tile and mortar product has specific instructions. Ignoring these can lead to poor results or failure.
| Guideline | Why It Matters |
| Trowel size | Ensures correct mortar thickness and coverage |
| Mortar type | Matches tile and surface requirements |
| Setting time | Prevents tile movement or slipping |
Frequently Asked Questions
Can I Use A 1/4 Trowel For 12×24 Tiles?
A 1/4 trowel is generally too small for 12×24 tiles. Larger tiles need more adhesive coverage, usually requiring a 1/2 inch x 1/2 inch square-notch trowel for proper bonding.
What Size Trowel Is Best For 12×24 Tiles?
For 12×24 tiles, a 1/2 inch x 1/2 inch square-notch trowel is recommended. It ensures even adhesive spread and strong tile adhesion, preventing hollow spots.
Will A 1/4 Trowel Cause Tile Adhesion Issues?
Yes, a 1/4 trowel may cause poor adhesion for large tiles. Insufficient mortar coverage can lead to tile shifting or cracking over time.
Can I Use A Smaller Trowel For Thinset On Large Tiles?
Using a smaller trowel on large tiles is not advised. It reduces thinset coverage, increasing the risk of tile failure and uneven surfaces.
Conclusion
Using a 1/4 trowel for 12×24 tiles can work, but it has limits. The trowel size affects how well the tile sticks and how even the surface is. Larger tiles usually need a bigger trowel to hold the thinset properly.
Choosing the right trowel helps prevent tile problems later. Think about the tile thickness and surface flatness before deciding. Proper tools make your tile job easier and last longer. Small details matter in tiling. Choose wisely for the best results.