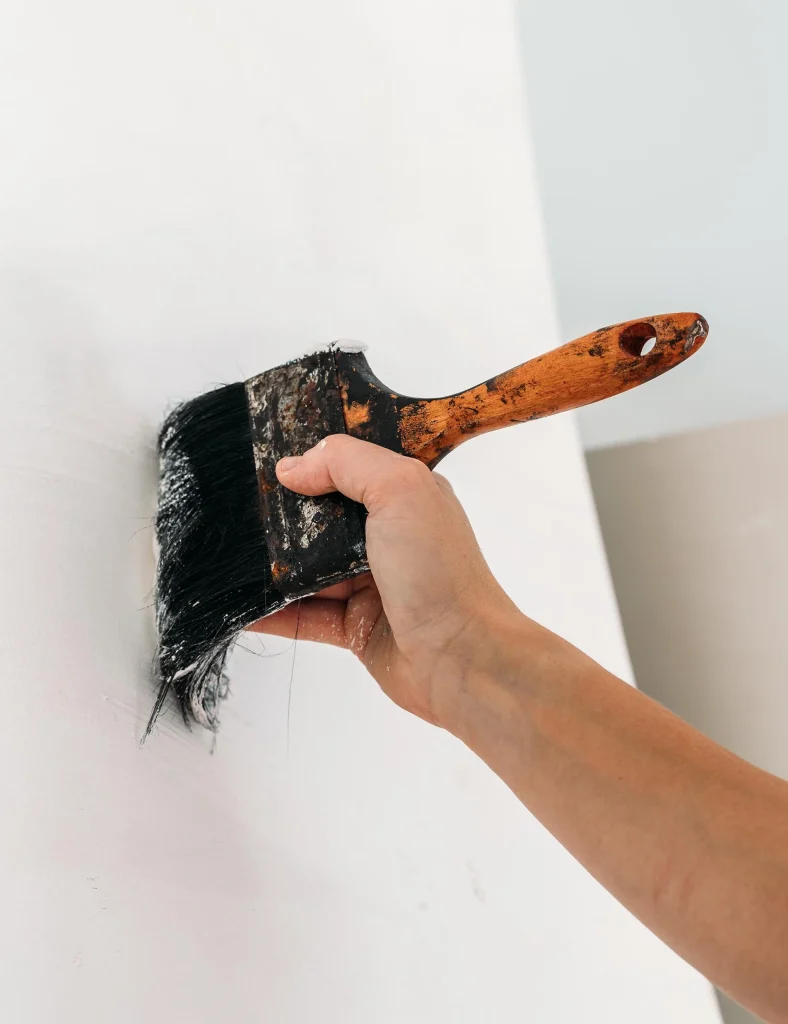
Have you ever looked at your range hood and wished it had a fresh new look? You’re not alone.
Many homeowners wonder if they can simply paint their range hood with a brush to give their kitchen a quick and affordable makeover. The good news is, you can! But before you grab your paintbrush, there are a few things you need to know to ensure the job is done right and lasts for years to come.
In this guide, we’ll explore everything you need to consider, from preparation to the final coat, to help you achieve a flawless finish. Get ready to transform your kitchen with a splash of color and a touch of creativity! Keep reading to discover the secrets of painting your range hood like a pro.
Choosing The Right Paint
Choosing the right paint for your range hood is crucial to ensure durability and a smooth finish. Range hoods face heat, grease, and moisture daily, so not all paints will hold up well. Selecting a paint that withstands these conditions will save you time and effort in the long run.
Types Suitable For Range Hoods
Not every paint is designed for kitchen appliances. Look for paints labeled for metal or appliances, as these offer better adhesion and resistance to stains.
- Enamel Paint:Known for its hard, glossy finish, enamel paint provides a durable coating that resists grease and heat.
- Oil-Based Paint:Offers excellent adhesion and a smooth finish but requires good ventilation due to strong fumes.
- Latex Paint:Easier to clean and less smelly, but it might not be the best choice for heat-exposed surfaces unless it’s specially formulated.
Think about how often you cook and the type of heat your range hood endures. This will help you narrow down the best paint type for your needs.
Heat-resistant Paint Options
Heat resistance is a must-have quality for range hood paint. Not all standard paints can handle high temperatures without peeling or discoloring.
- High-Temperature Spray Paint:Often used for grills or engines, these sprays can withstand heat up to 1200°F, making them perfect for metal hoods.
- Silicone-Based Paints:These paints provide a flexible, heat-resistant surface and resist cracking under temperature changes.
- Epoxy Paint:Known for its toughness and resistance to heat and chemicals, epoxy is a solid choice for greasy kitchen environments.
Have you checked the temperature range your paint can handle? Choosing a paint that matches or exceeds your range hood’s heat exposure will prevent costly repainting later.
Preparing The Surface
Preparing the surface of your range hood is crucial before painting it with a brush. A clean and smooth surface helps the paint stick better and last longer. Proper preparation also prevents peeling and uneven coverage.
Follow these steps to get your range hood ready for painting.
Cleaning Techniques
Start by removing all grease and dirt from the hood. Use a degreaser or a mixture of warm water and dish soap. Apply it with a sponge or cloth, scrubbing gently but thoroughly.
Rinse with clean water and dry the surface completely. Avoid leaving any residue that can affect paint adhesion.
Sanding Tips
Lightly sand the hood to create a rough texture for the paint to grip. Use fine-grit sandpaper, around 220 grit, for the best results.
Sand evenly, focusing on glossy or shiny areas. Wipe away the dust with a damp cloth and let it dry before moving on.
Priming The Hood
Apply a primer designed for metal surfaces. Priming seals the hood and improves paint coverage. Use a brush with smooth, even strokes to avoid clumps.
Allow the primer to dry fully according to the product instructions. This step ensures a strong base for your paint.
Brush Selection
Choosing the right brush is crucial when painting a range hood. The brush you pick affects the smoothness of your finish and how easily you can cover tricky spots. A good brush helps you avoid streaks, drips, and uneven paint layers, making your project look professional.
Best Brush Types For Smooth Finish
Synthetic bristle brushes work best with most paints, especially water-based and enamel types. They hold paint well and spread it evenly without leaving hairs behind.
Natural bristle brushes are better for oil-based paints but can cause brush marks if you’re not careful. If your range hood has a metal surface, a synthetic brush is usually a safer bet.
Consider a high-quality angled sash brush for edges and corners. The angled design lets you reach tight spots easily, giving you a clean finish without extra effort.
Brush Sizes For Different Areas
Use a 2 to 2.5-inch brush for the main flat areas of the range hood. This size balances coverage and control, helping you apply paint evenly.
For narrow edges or detailed spots, switch to a 1 to 1.5-inch brush. It lets you maneuver around curves and vents without overpainting adjacent areas.
Have you noticed how using a too-large brush in small spaces creates more mess than progress? Matching brush size to the area keeps your work neat and saves time on cleanup.
Credit: www.diychatroom.com
Painting Techniques
Painting a range hood with a brush requires some skill and attention to detail. The right techniques can make your project look professional and durable. Let’s break down key painting techniques that will help you get smooth, even coverage without the common pitfalls.
Proper Brush Strokes
Use long, even strokes to spread the paint smoothly. Start at one edge and move in one consistent direction, avoiding back-and-forth scrubbing that can create streaks.
Hold your brush at a slight angle to control the flow of paint. This helps you apply an even coat without overloading the surface. Have you noticed how a steady hand makes all the difference?
Avoiding Drips And Streaks
Dip your brush lightly to avoid excess paint. Too much paint leads to drips and uneven texture, which are tough to fix later.
- Wipe the brush edge on the can before painting.
- Apply thin coats rather than one thick layer.
- Watch for spots where paint pools and gently smooth them out immediately.
Stopping drips before they happen saves time and frustration. A patient approach here pays off.
Layering And Drying Time
Thin layers dry faster and adhere better. Allow each coat to dry completely before adding another to avoid peeling or bubbling.
Depending on the paint type, drying time may vary from 1 to 4 hours. Check the label and test the surface with a gentle touch before applying the next layer.
Do you rush to finish, or take your time to ensure quality? Trust me, layering patiently yields a smooth, lasting finish that’s worth the wait.
Safety Precautions
Painting a range hood with a brush can refresh your kitchen’s look, but it requires careful attention to safety. The chemicals in paint and primer can be harmful if not handled properly. Taking the right precautions protects your health and ensures a smooth painting process.
Ventilation Tips
Good airflow is essential when painting indoors. Open windows and doors to let fresh air circulate freely around your workspace. If possible, use a fan to push fumes outside, keeping the room well-ventilated.
Have you noticed how quickly paint smell can build up in a closed kitchen? That lingering odor is a sign that your space needs more air movement. Avoid painting on windy or rainy days to prevent dust and moisture from ruining your finish.
Protective Gear Recommendations
Wearing the right gear shields your skin and lungs from harmful chemicals. Use a respirator mask designed for paint fumes instead of a simple dust mask. This small step can make a big difference in how you feel during and after the job.
Don’t forget gloves to protect your hands from irritation, and wear old clothes or a coverall. Safety glasses can guard your eyes from accidental splashes. Imagine the frustration of having to stop halfway because of a rash or eye discomfort—taking these precautions helps you avoid that.
Common Mistakes To Avoid
Painting a range hood with a brush can transform your kitchen’s look. Avoiding common mistakes ensures a smooth and lasting finish. Many paint jobs fail due to simple errors. Knowing these pitfalls helps you save time and effort.
Skipping Surface Prep
Surface preparation is key for paint to stick well. Dirt, grease, and old paint cause peeling. Clean the hood thoroughly with degreaser. Sand it lightly to create a rough surface. Wipe off dust before painting. Skipping these steps leads to uneven coverage and quick wear.
Using Wrong Paint Type
Choosing the wrong paint can ruin the job. Range hoods need heat-resistant and washable paint. Avoid regular wall paint or water-based types. Use oil-based or enamel paint made for metal surfaces. This ensures durability and easy cleaning after cooking.
Rushing Drying Process
Paint needs enough time to dry between coats. Rushing causes smudges and bubbles. Follow the paint manufacturer’s drying times. Work in a dust-free, well-ventilated area. Patience results in a smooth, professional finish that lasts longer.
Maintaining Your Painted Range Hood
Maintaining your painted range hood keeps it looking fresh and new for years. Proper care protects the paint from stains, chips, and wear caused by kitchen activities. Simple cleaning and quick touch-ups help preserve its beauty and function. Consistent attention avoids costly repairs or repainting later. Keep your kitchen stylish with easy maintenance steps.
Cleaning Without Damage
Use a soft cloth or sponge for cleaning. Avoid abrasive scrubbers that can scratch the paint. Choose mild soap and warm water to remove grease and dirt. Wipe gently to protect the paint layer. Dry the surface fully after cleaning to prevent moisture damage. Avoid harsh chemicals or bleach that can fade or peel paint. Regular light cleaning stops buildup and keeps your hood shiny.
Touch-up Tips
Keep extra paint from the original job for touch-ups. Spot paint small chips or scratches promptly to prevent rust. Use a fine brush for precise application. Allow the paint to dry completely between coats. Match the paint type and finish for a seamless look. Lightly sand rough edges before touching up for better adhesion. Store paint safely for future repairs.

Credit: www.myrustica.com
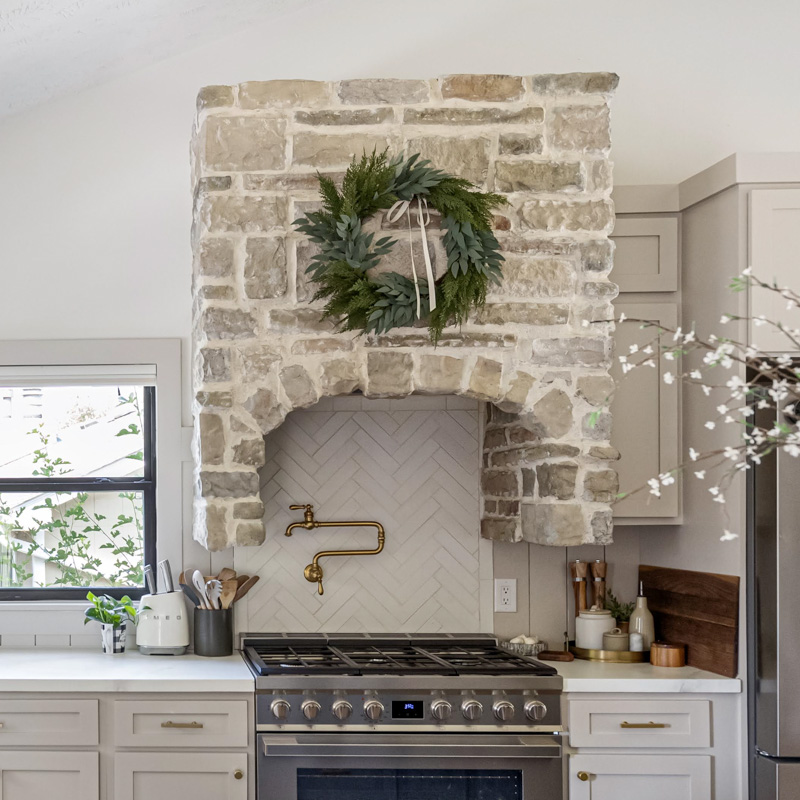
Credit: crystelmontenegrohome.com
Frequently Asked Questions
Can You Paint A Range Hood With A Brush?
Yes, you can paint a range hood with a brush. Use a high-quality brush for smooth application and even coverage. Choose heat-resistant paint designed for kitchen appliances to ensure durability and safety.
What Type Of Paint Is Best For Range Hoods?
Heat-resistant enamel paint is best for range hoods. It withstands high temperatures and resists grease and stains. This paint type ensures a long-lasting, durable finish suitable for kitchen environments.
How Should I Prepare A Range Hood Before Painting?
Clean the range hood thoroughly to remove grease and dirt. Sand the surface lightly to promote paint adhesion. Use a primer suitable for metal surfaces before applying the paint.
Is Brushing Better Than Spraying Paint On Range Hoods?
Brushing offers precise control and is ideal for small areas or touch-ups. Spraying provides a smoother, more even finish on large surfaces but requires more preparation and ventilation.
Conclusion
Painting a range hood with a brush is possible and practical. It allows you to refresh the look without much hassle. Choose the right paint and prep the surface well. Take your time to apply thin, even coats for best results.
Clean your brush after each use to keep it in good shape. A painted range hood can brighten your kitchen and save money. Simple steps can make a big difference in your space. Give it a try, and enjoy the new look!