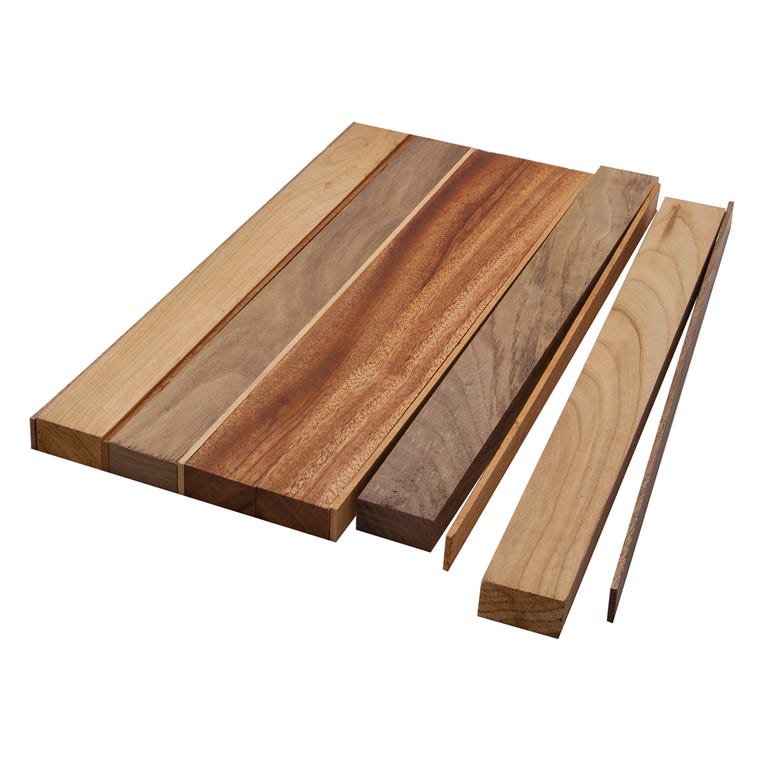
Are you tired of using boring, plain cutting boards that don’t match your kitchen style? Imagine having a cutting board that’s not only practical but also reflects your personality.
Making your own cutting board is easier than you think, and it gives you a unique piece you can be proud of. In this guide, you’ll discover simple steps to create a beautiful, durable cutting board that fits your needs perfectly.
Ready to transform your kitchen tools and impress everyone with your DIY skills? Let’s get started!
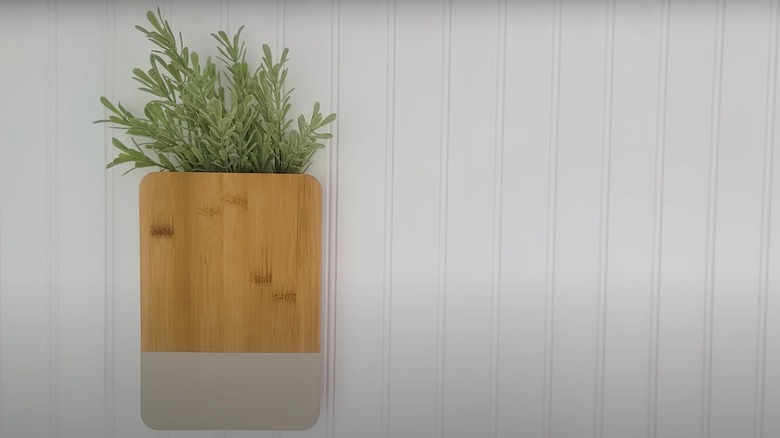
Credit: www.housedigest.com
Choosing The Right Wood
Picking the right wood is key to making a good cutting board. The wood must be safe, strong, and last a long time.
Knowing the types of wood, grain patterns, and how green the wood is helps you choose better.
Hardwoods Vs Softwoods
Hardwoods are usually better for cutting boards. They resist cuts and dents well. Softwoods are softer and can get damaged fast.
- Hardwoods come from trees like maple, walnut, and cherry.
- Softwoods come from pine, fir, and cedar trees.
- Hardwoods have tight grain and last longer.
- Softwoods may absorb moisture and stains more easily.
Wood Grain Patterns
Wood grain affects the look and strength of your board. Straight grain is strong and easier to clean. Wavy or irregular grain looks nice but may trap food bits.
| Grain Type | Appearance | Durability | Cleaning |
|---|---|---|---|
| Straight Grain | Lines run straight | Very strong | Easy to clean |
| Wavy Grain | Curved or flowing lines | Moderate strength | Needs more care |
| Cross Grain | Grains run in different directions | Less durable | Hard to clean |
Sustainability Considerations
Choose wood that is good for the planet. Look for wood that is harvested in a safe and responsible way.
Here are ways to check if your wood is sustainable:
- Look for FSC or PEFC certification labels.
- Buy from local sawmills to reduce shipping.
- Use reclaimed or recycled wood if possible.
- Avoid endangered or rare tree species.
Essential Tools And Materials
Making a cutting board yourself is a fun and rewarding project. You need some basic tools and materials to get started.
Choosing the right tools helps you create a smooth and durable cutting board. Let’s look at the essentials.
Cutting Tools
Cutting tools shape the wood and create the board’s size and design. Sharp tools make cutting easier and safer.
Common cutting tools include saws, chisels, and knives. Each has a special use in the making process.
- Hand saw or circular saw for cutting wood pieces
- Chisels for shaping edges and corners
- Utility knife for fine trimming and detail work
Sanding Equipment
Sanding smooths the surface of your cutting board. It removes rough spots and prepares wood for finishing.
You can use different sanding tools depending on your comfort and project size.
- Sandpaper in various grits (start with coarse, finish with fine)
- Orbital or palm sander for faster sanding
- Sanding block for hand sanding small areas
Finishing Supplies
Finishing protects the wood and makes the cutting board last longer. It also gives a nice look and feel.
Food-safe finishes are important since the board will touch food. Choose natural oils or waxes.
- Mineral oil to seal and protect wood
- Beeswax for a smooth, water-resistant finish
- Food-safe wood conditioner to keep the board hydrated
Designing Your Cutting Board
Designing your own cutting board lets you create a useful and personal kitchen tool. You can choose the shape, size, and style to fit your needs.
Planning your design carefully helps you make a cutting board that looks good and lasts long. Let’s explore how to design it step by step.
Selecting The Shape And Size
Think about how you use your cutting board. A bigger board works well for big tasks. A small one is easy to store and move.
- Rectangular boards offer plenty of space for chopping.
- Round boards add a unique look and are great for serving.
- Odd shapes can fit your kitchen style or storage space.
- Thickness affects durability; thicker boards last longer.
Creating A Template
Make a paper or cardboard template before cutting your wood. This helps you see the shape and size in real life.
| Template Material | Advantages |
| Cardboard | Easy to cut and adjust |
| Paper | Good for simple shapes |
| Thin wood sheet | Durable and reusable |
Incorporating Personal Touches
Add details that make your cutting board special. You can use wood burns, paint, or engravings.
Ideas for Personal Touches:
- Engrave your name or a favorite quote.
- Use different wood colors for patterns.
- Add a juice groove for practical use.
- Include handles or feet for easy use and storage.
Step-by-step Construction
Building a cutting board by yourself is a fun and rewarding project. You will need basic tools and some patience.
This guide will help you make a strong and smooth cutting board step by step.
Cutting And Shaping The Wood
Start by selecting hardwood like maple or walnut. Cut the wood into strips of equal width.
Shape the edges with a saw or sander to create a smooth outline for your board.
- Use a table saw for straight cuts
- Trim edges to remove rough spots
- Round corners if desired
Joining Techniques
Glue the wood strips side by side to form the board surface. Use wood glue for a strong bond.
Clamp the strips tightly and let the glue dry for several hours.
- Apply glue evenly on all edges
- Use bar clamps to hold pieces firm
- Check for gaps and adjust before drying
Sanding For Smoothness
After the glue dries, sand the board to remove any roughness. Start with coarse sandpaper.
Move to finer sandpaper for a smooth finish. Sand all sides and edges evenly.
- Begin with 80-grit sandpaper
- Progress to 120-grit, then 220-grit
- Wipe dust with a clean cloth after sanding
Finishing And Maintenance
Finishing your cutting board makes it look good and protects it from damage. Proper maintenance keeps it safe and lasts longer.
This guide covers applying a food-safe finish, curing and drying, and cleaning and care tips to keep your board in top shape.
Applying Food-safe Finish
Use a food-safe finish to protect your board from moisture and stains. Mineral oil is a popular choice because it is safe and easy to apply.
Apply the finish evenly with a clean cloth. Let the oil soak in for a few hours, then wipe off the extra oil with a dry cloth.
- Choose food-safe mineral oil or beeswax
- Use a soft cloth to apply the finish
- Cover all surfaces, including edges
- Allow oil to soak for 4 to 6 hours
- Wipe off any excess oil
Curing And Drying
After applying the finish, let your board cure in a dry place. This helps the finish harden and protect the wood well.
Keep the board flat and avoid stacking anything on it. Curing usually takes about 24 hours.
- Place board on a flat surface
- Keep in a well-ventilated area
- Do not stack or cover the board
- Let cure for 24 hours before use
Cleaning And Care Tips
Clean your cutting board properly to keep it safe and durable. Avoid soaking it in water or putting it in the dishwasher.
Use mild soap and warm water. Dry the board quickly to stop it from warping or cracking.
- Wash with mild soap and warm water
- Rinse and dry immediately with a towel
- Do not soak or submerge in water
- Apply oil finish regularly to maintain protection
- Store in a dry place away from direct heat

Credit: www.foodandwine.com
Troubleshooting Common Issues
Making your own cutting board can be fun but tricky. Some problems like cracks and surface marks may happen.
This guide helps you fix these issues and keep your board strong for a long time.
Preventing Cracks And Warping
Wood cracks and warps if it dries too fast or gets wet often. Keep your board in a dry place.
Use food-safe oil to seal the wood. This stops moisture from getting inside.
- Apply oil regularly, about once a month
- Store the board flat, not standing on edge
- Avoid soaking the board in water
- Do not put the board in the dishwasher
Fixing Surface Imperfections
Scratches and stains can appear from cutting and spills. Sand the surface lightly to smooth it.
Use fine sandpaper, then clean and re-oil the board to protect it.
- Start with 220-grit sandpaper for rough spots
- Finish with 320-grit for a smooth surface
- Wipe off dust with a damp cloth
- Apply a thin layer of mineral oil after sanding
Extending Board Longevity
Keep your cutting board useful for years by cleaning it well. Avoid harsh soaps and heat.
Oil it often to stop drying and cracking. Use a food-safe oil like mineral or walnut oil.
- Clean with mild soap and warm water
- Dry board immediately after washing
- Oil board once every few weeks
- Store in a cool, dry place
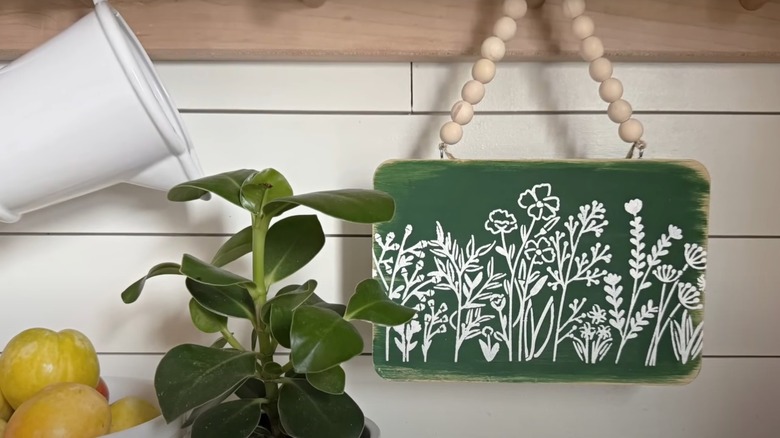
Credit: www.housedigest.com
Frequently Asked Questions
What Materials Are Best For Diy Cutting Boards?
Hardwoods like maple, walnut, and cherry are ideal. They resist knife marks and are food-safe. Avoid softwoods as they absorb moisture and damage easily.
How Do I Maintain My Homemade Cutting Board?
Regularly oil with food-safe mineral oil to prevent drying and cracking. Clean with mild soap and water. Avoid soaking or dishwasher use.
Can I Customize The Size And Shape Of My Cutting Board?
Yes, DIY cutting boards allow full customization. Choose any size or shape to fit your kitchen needs and style preferences.
How Long Does It Take To Make A Cutting Board?
Depending on design, it can take 2 to 6 hours. Time includes cutting, gluing, sanding, and finishing steps.
Conclusion
Creating your own cutting board is a rewarding project. It offers creativity and functionality in your kitchen. Simple tools and materials make it accessible for everyone. Enjoy choosing wood types and designs that suit you. This process enhances your skills and saves money.
Plus, a handmade board adds a personal touch to your cooking space. Don’t hesitate to share your unique creation with friends. They’ll admire your craftsmanship and creativity. Dive into this fun, practical project today. Your kitchen will thank you for it!