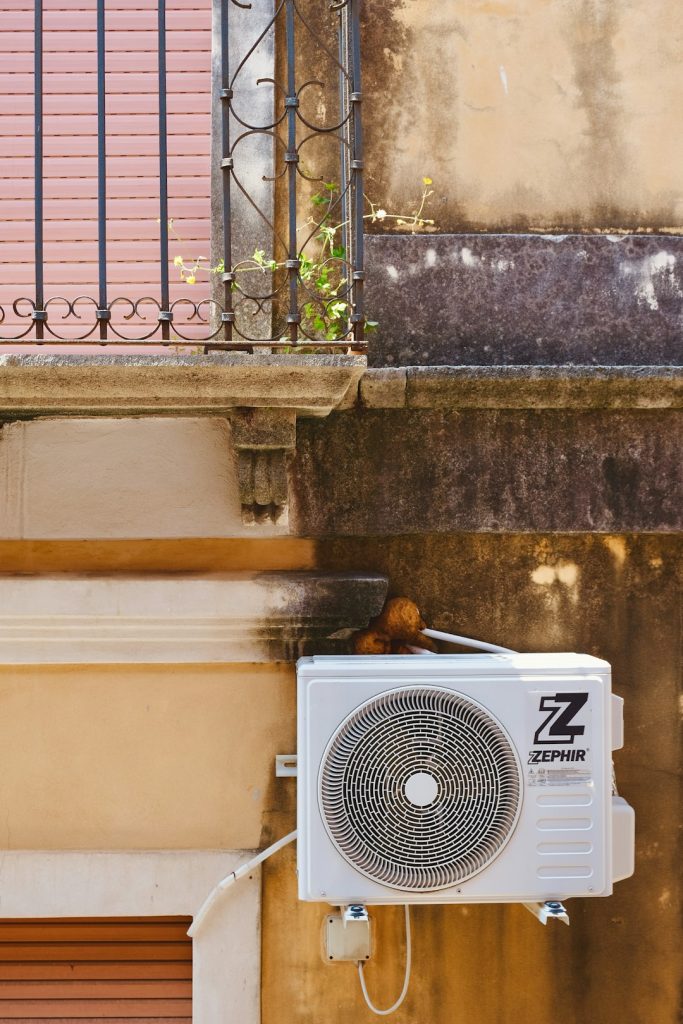
Are you tired of sweating through hot days and high electricity bills? Imagine having a cool, comfortable home without waiting for expensive installation services.
Installing your own split air conditioner might sound tricky, but with the right steps, you can do it yourself—and save both time and money. You’ll discover simple, clear instructions that anyone can follow to get your split AC up and running smoothly.
Ready to take control of your comfort? Let’s dive in and make your home a refreshing retreat.
Benefits Of Diy Split Ac
Installing a split air conditioner yourself can be rewarding. It offers multiple benefits that enhance comfort at home.
Understanding these benefits helps you decide if a DIY approach is right for you.
Cost Savings Compared To Professional Installation
Hiring professionals to install a split AC can be expensive. Doing it yourself saves money.
You only pay for the unit and materials. No labor costs mean more savings in your pocket.
- Avoids expensive service fees
- Eliminates hourly labor charges
- Reduces additional costs for extra parts
Customization For Your Space
DIY installation gives you control over where the AC goes. You can choose the best spot for cooling.
Place the unit where it fits your room’s layout. Customize the installation to suit your needs.
- Choose the height and angle
- Decide on the perfect room location
- Position for optimal airflow
Quick Installation Timeline
Installing a split AC can be quick if you do it yourself. You set the schedule and pace.
No need to wait for an appointment. You can start and finish as soon as you have the time.
| Task | Time Estimate |
| Gathering tools and materials | 1 hour |
| Mounting indoor and outdoor units | 2 hours |
| Connecting components | 1.5 hours |
| Testing and finishing | 1 hour |
Tools And Materials Needed
Installing a split air conditioner by yourself saves money and gives you control. You need the right tools and materials for a safe setup.
This guide helps you gather everything needed before you start the installation process.
Essential Tools List
Having the right tools makes the installation easier and safer. Use tools that fit the job and are in good condition.
- Drill with masonry bits for wall holes
- Pipe cutter for copper tubing
- Vacuum pump to remove air and moisture
- Manifold gauge set to check refrigerant pressure
- Level to ensure proper unit alignment
- Screwdrivers (flathead and Phillips)
- Wrenches for tightening connections
- Measuring tape for accurate placement
- Wire stripper and crimper for electrical work
- Safety gloves and goggles for protection
Selecting The Right Split Ac Unit
Choose a split AC unit that fits your room size and climate. Look for models with clear installation guides.
Check the cooling capacity, energy efficiency, and installation type. Make sure the unit matches your power supply and space.
- Match BTU capacity to room size
- Select energy-efficient models to save power
- Pick units with easy installation kits
- Consider inverter technology for better control
- Verify electrical compatibility
Additional Supplies
Besides tools and the AC unit, you need extra supplies. These help secure the unit and complete the installation.
- Insulated copper pipes for refrigerant flow
- Electrical wires for power connection
- Wall mounting brackets and screws
- Sealant or foam for wall holes
- Drain pipe for condensate water
- Electrical tape and cable ties
- Protective conduit for wiring
- Instruction manual from the AC manufacturer
Preparing The Installation Site
Installing a split air conditioner yourself needs careful site preparation. A good site helps the unit work well and last longer.
Before starting, check the area for space, safety, and airflow. This makes sure the installation goes smoothly.
Choosing The Optimal Location
Pick a spot that holds the indoor and outdoor units safely. The place should be easy to reach for service and cleaning.
Avoid places with direct sunlight or too much dust. Keep the outdoor unit away from strong wind or heavy rain.
- Indoor unit: wall with no obstacles nearby
- Outdoor unit: stable surface, not exposed to harsh weather
- Near electrical outlets for easy wiring
Measuring And Marking
Use a tape measure to mark the exact spots for mounting the units. Check the height and distance rules in the manual.
Mark holes for screws and brackets. Double-check all measurements before drilling or cutting walls.
- Measure height from the floor for indoor unit
- Mark hole positions for secure fixing
- Confirm pipe and wire paths are clear
Ensuring Proper Ventilation
Good airflow around both units helps the air conditioner cool well. Do not block vents or air paths.
Keep space around the outdoor unit for air to flow freely. Avoid tight corners or closed spaces.
- Leave at least 12 inches of space around outdoor unit
- Keep indoor vents clear of furniture or curtains
- Ensure no objects block air intake or exhaust

Credit: www.shopabunda.com
Step-by-step Installation Guide
Installing a split air conditioner yourself can save money. This guide helps you do it safely and correctly.
Follow each step carefully to ensure your AC works well and lasts long.
Mounting The Indoor Unit
Choose a wall that supports the indoor unit’s weight. Avoid direct sunlight and heat sources.
Use a mounting plate to fix the unit firmly. Make sure it is level for proper drainage.
- Mark the drilling holes on the wall using the mounting plate
- Drill holes and insert wall plugs
- Attach the mounting plate securely with screws
- Hang the indoor unit on the plate carefully
- Check that the unit is stable and level
Setting Up The Outdoor Unit
Place the outdoor unit on a flat, stable surface. Keep it clear from dust and debris.
Allow enough space around the unit for good airflow. Avoid placing it near tall plants or walls.
- Use a concrete pad or metal stand for support
- Ensure the unit is level to avoid vibration
- Leave at least 12 inches of space on all sides
- Secure the unit with bolts to prevent movement
Connecting Refrigerant Lines And Wiring
Connect the copper refrigerant pipes between indoor and outdoor units. Use proper tools to avoid leaks.
Attach electrical wires following the manufacturer’s wiring diagram. Turn off power before working on wiring.
- Cut the refrigerant pipes to correct length
- Flare the pipe ends for a tight fit
- Connect pipes and tighten flare nuts securely
- Connect electrical wires to the terminal blocks
- Check all connections for tightness and safety
Sealing And Insulating Connections
Seal the hole in the wall around the pipes to keep air and water out. Use foam or putty.
Wrap refrigerant lines with insulation to stop energy loss and prevent condensation.
- Apply weatherproof sealant around the wall hole
- Use foam pipe insulation around refrigerant lines
- Secure insulation with tape or clamps
- Check that all seals and insulation cover gaps fully
Testing And Troubleshooting
Testing and troubleshooting your DIY split air conditioner help keep it working well. Regular checks find small problems before they grow bigger.
Use simple steps to test power, fix common issues, and maintain efficiency. This guide helps you do it safely and correctly.
Powering On And Initial Checks
First, make sure the air conditioner is plugged in and the circuit breaker is on. Check the remote control batteries and settings.
- Confirm power supply is active
- Inspect the indoor and outdoor units for visible damage
- Check filters for dirt or blockage
- Listen for unusual sounds when turning on
- Look for error codes on the display panel
Common Issues And Fixes
Many problems have easy fixes. Knowing these saves time and money on repairs.
| Issue | Cause | Fix |
| Unit does not turn on | Power off or blown fuse | Check breaker and replace fuse |
| Weak cooling | Dirty filter or low refrigerant | Clean filter or call technician |
| Water leakage | Blocked drain pipe | Clear drain pipe |
| Strange noises | Loose parts or fan issue | Tighten screws or inspect fan |
Maintaining Efficiency
Good maintenance keeps your air conditioner running well and saves energy.
- Clean or replace air filters every month
- Keep outdoor unit free of leaves and dirt
- Check and clean evaporator and condenser coils
- Ensure proper insulation of pipes and ducts
- Schedule professional service yearly

Credit: www.lowes.com
Safety Tips And Precautions
Installing a split air conditioner yourself can save money. Safety is very important during the installation process.
Follow safety rules to avoid accidents and damage to your unit. This guide covers key precautions to keep you safe.
Handling Electrical Components Safely
Turn off power before working on electrical parts. Use a voltage tester to confirm no electricity flows.
Do not touch wires with wet hands. Keep tools and parts dry and insulated to avoid shocks.
- Switch off the main circuit breaker
- Use insulated tools only
- Check wires for damage before handling
- Keep water away from electrical areas
Avoiding Refrigerant Leaks
Refrigerant leaks can harm health and damage the environment. Handle refrigerants carefully to avoid leaks.
Use correct tools for cutting and connecting pipes. Check all joints and fittings for tightness after installation.
- Do not puncture refrigerant lines
- Use leak detectors to check connections
- Wear gloves when handling refrigerants
- Work in a well-ventilated area
Using Proper Protective Gear
Wear safety gear to protect yourself from injury. This includes gloves, goggles, and masks.
Protective gear helps avoid cuts, burns, and breathing problems. Always wear gear before starting work.
- Safety gloves prevent cuts and chemical burns
- Goggles protect eyes from dust and debris
- Masks stop inhaling harmful fumes
- Wear sturdy shoes to prevent foot injuries
Maintaining Your Split Ac
Keeping your split air conditioner clean and well-maintained helps it run smoothly. Regular care improves air quality and saves energy.
Simple maintenance tasks can prevent costly repairs and extend your AC’s life. You can do many of these yourself with little effort.
Regular Cleaning Routines
Clean your AC unit every few weeks to remove dust and dirt. This keeps the air fresh and stops blockages.
Wipe the indoor and outdoor units with a soft cloth. Avoid using harsh chemicals that can damage the parts.
- Turn off power before cleaning
- Use a damp cloth to wipe surfaces
- Clean vents and louvers gently
- Remove debris around the outdoor unit
Filter Replacement Schedule
Filters catch dust and pollen, so replace them regularly. Clean filters help air flow well and keep the AC efficient.
Check your filters every month during heavy use. Replace or wash them if they look dirty or clogged.
- Inspect filters monthly
- Replace disposable filters every 3 months
- Wash reusable filters every 1-2 months
- Dry reusable filters completely before reinstalling
Seasonal Maintenance Tips
Prepare your AC for each season to keep it working well. Seasonal care prevents damage and improves performance.
Before summer, check coolant levels and clean coils. In winter, cover the outdoor unit to protect it from weather.
- Clean coils and fins twice a year
- Check coolant and refill if needed
- Clear debris around the outdoor unit
- Cover outdoor unit in cold months
- Run the AC for 15 minutes monthly in winter
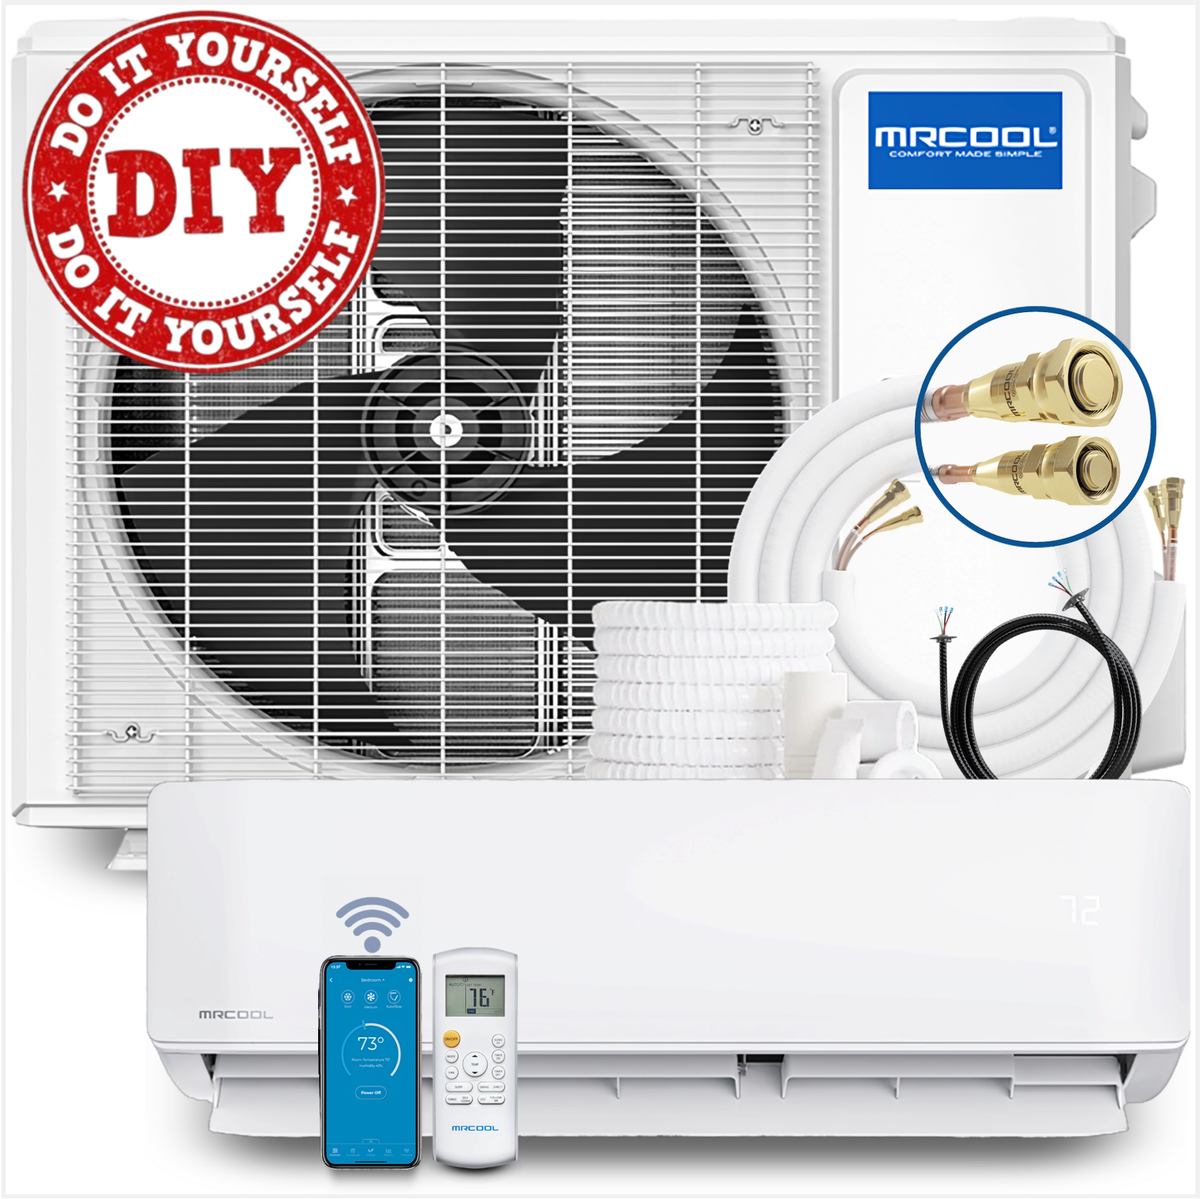
Credit: www.ebay.com
Frequently Asked Questions
What Tools Are Needed For Diy Split Air Conditioner Installation?
You need a drill, screwdriver, level, pipe cutter, vacuum pump, and mounting brackets. These tools help ensure a secure and precise installation.
How Long Does It Take To Install A Split Air Conditioner Yourself?
Installation typically takes 3 to 6 hours depending on your experience and site conditions. Careful preparation speeds up the process.
Can I Install A Split Air Conditioner Without Professional Help?
Yes, with proper tools and instructions, DIY installation is possible. However, ensure safety and follow manufacturer guidelines closely.
What Are Common Mistakes To Avoid During Diy Ac Installation?
Avoid improper mounting, poor sealing, incorrect wiring, and inadequate refrigerant handling. These mistakes reduce efficiency and can damage the unit.
Conclusion
Installing a split air conditioner yourself saves money and builds skills. It takes some effort, but the process is clear and doable. Following instructions carefully helps avoid common mistakes. You gain control over your home’s cooling and maintenance. Enjoy cool air without waiting for a technician.
This project fits many budgets and home types. Try it step by step, and feel proud of your work. A DIY split AC brings comfort and satisfaction together.