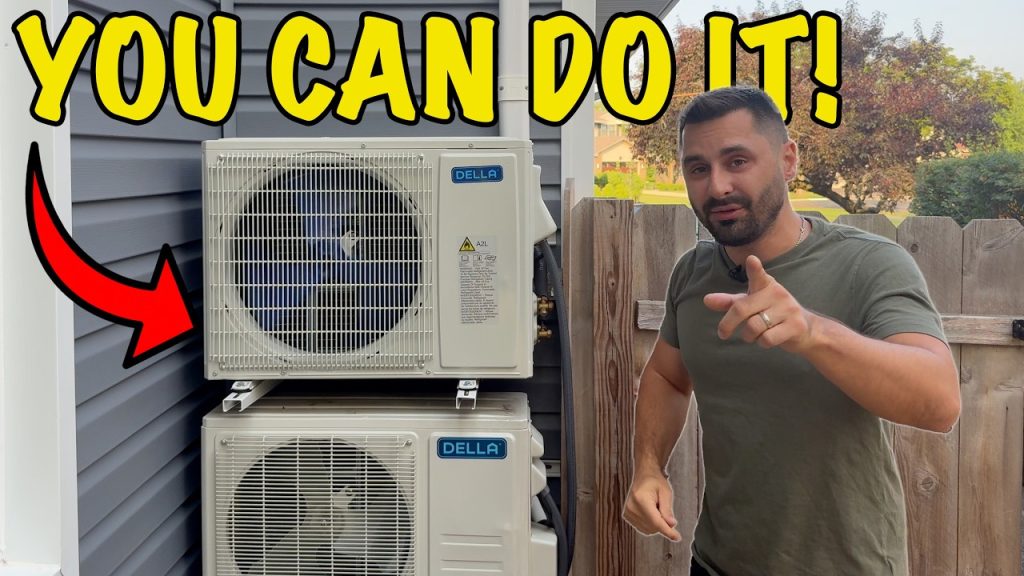
Are you tired of high cooling bills and waiting for a technician to install your air conditioner? What if you could set up your own split air conditioner quickly and save money at the same time?
Imagine feeling the cool breeze in your room, knowing you did it all by yourself. This guide will show you exactly how to install a split air conditioner step-by-step, even if you have no prior experience. Keep reading, and you’ll discover simple tips and tricks that make the process easier than you ever thought possible.
Your comfort is just a few easy steps away!
Benefits Of A Diy Split Ac
DIY split air conditionerssave money by avoiding costly professional fees. Buying parts and installing yourself lowers overall expenses significantly.
Control over every part allows custom setupto fit your room size and style. You pick the best location and settings for comfort and efficiency.
Installing your own AC builds new skills. You learn how the system works and how to fix small problems later. This knowledge helps with future repairs and saves more money.
Credit: shopsolarkits.com
Choosing The Right Split Ac Unit
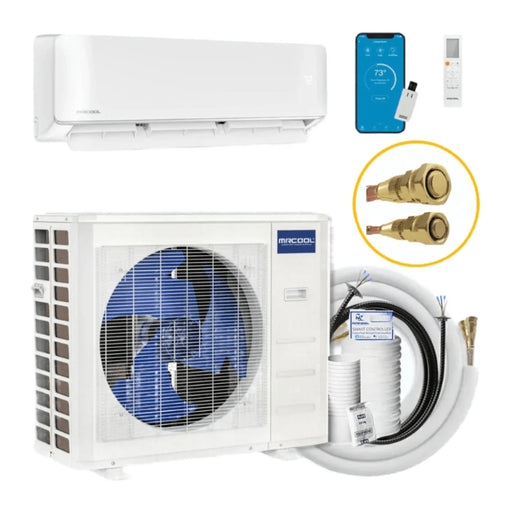
Choosing the right split AC unit depends on space sizeand energy use. Proper sizing keeps the room cool without wasting power.
Energy efficiency ratings like SEERor EERshow how well the AC saves energy. Higher ratings mean lower bills and less pollution.
- Cooling capacity:Match the AC size to your room for best results.
- Noise level:Choose quieter units for bedrooms and study rooms.
- Installation type:Check if the unit fits your wall or window space.
- Smart features:Some units have timers, remote control, and app support.
- Air filters:Look for models with good filters to keep air clean.
Tools And Materials Needed
Essential tools include a drill, screwdriver, and a pipe cutter. A level and tape measure help ensure proper placement. Wrenches and pliers are needed to tighten fittings and connections. A vacuum pump removes air from refrigerant lines.
Safety gear is very important. Wear safety goggles to protect eyes from dust and debris. Gloves keep hands safe from sharp edges and chemicals. A dust mask prevents inhaling particles during installation.
| Additional Supplies | Purpose |
|---|---|
| Refrigerant gas | Needed to cool air inside the system |
| Electrical tape | Secures wiring and protects connections |
| Sealant or insulation tape | Prevents leaks and improves efficiency |
| Mounting brackets | Supports the outdoor unit firmly |

Credit: hsheatpumps.ca
Preparing For Installation
Choose a spot for the indoor unit that is strong and can hold its weight. It should be near a power outlet and away from direct sunlight or heat sources. The outdoor unit needs good airflow and should not be blocked by plants or walls.
Check if your home’s electrical system can handle the air conditioner’s power needs. The unit usually needs a dedicated circuit breaker. Make sure the wiring matches the air conditioner’s requirements to avoid any problems.
Clear the area around the installation site. Remove furniture and other objects that might get in the way. This makes the job safer and easier. Also, keep tools and parts organized to save time during installation.
Step-by-step Installation Guide
Choose a sturdy wallthat can hold the indoor unit’s weight. Use a level to mark the mounting plate’s position. Drill holes and fix the plate securely with screws. Leave space around the unit for good air flow and easy cleaning.
Place the outdoor unit on a flat surface, like a concrete pad or metal stand. Ensure it is stable and level to avoid noise and vibration. Keep it away from direct sunlight and heavy rain. Leave room for air to move freely around the unit.
- Connect the copper pipes from indoor to outdoor unit.
- Use a pipe bender to avoid kinks.
- Insulate the pipes to prevent energy loss.
- Check for leaks using soapy water or a leak detector.
- Turn off power at the breaker before starting.
- Connect the wires following the manual’s color codes.
- Use wire nuts or terminal blocks for safe connections.
- Secure wires to avoid movement or damage.
Switch on the power and set the thermostat to cool mode. Listen for unusual sounds and check air flow. Use a pressure gauge to check refrigerant levels. Look for any water leaks or error codes. Adjust settings for best comfort.
Common Installation Challenges
Handling refrigerant safelyis key to avoid health risks. Use gloves and goggles. Make sure the area is well ventilated. Do not release refrigerant into the air. Only certified tools should be used for charging or recovering refrigerant.
Avoiding leaksrequires careful checking. Inspect all connections and joints for tightness. Use proper sealing materials on fittings. Test the system under pressure before finalizing the installation. Small leaks can reduce cooling efficiency.
Dealing with electrical issuesdemands caution. Turn off power before starting work. Use the correct wire size and follow local codes. Connect wires securely and double-check all connections. Faulty wiring can cause shorts or fire risks.
Maintenance Tips For Longevity
Cleaning filtersregularly keeps air flowing well and improves cooling. Dirty filters block air and make the unit work harder. Remove filters and wash them with warm water. Let them dry fully before placing back.
Coils also need cleaning. Dust and dirt on coils reduce efficiency. Use a soft brush or vacuum to clean coils gently. Clean coils help the air conditioner cool better and use less energy.
- Look for any oily spots or frost on pipes to check for leaks.
- Listen for hissing sounds which may signal refrigerant leaks.
- Leaks reduce cooling power and can damage the system.
Regular inspections by a technician catch small issues before they grow. Check the unit at least once a year. Inspections help keep the air conditioner running smoothly and last longer.

Credit: www.youtube.com
When To Call A Professional
Complex electrical workrequires skill and knowledge. Mistakes can cause fires or shocks. Professionals use special tools for safe wiring. Handling breakers and voltage is risky without experience.
Severe refrigerant problems need certified technicians. Refrigerant leaks affect cooling and harm the environment. Repairing or refilling refrigerant involves strict rules. Only trained experts should open sealed parts.
Warranty and safety concerns matter a lot. DIY fixes might void the warranty on your unit. Manufacturers often require professional service to keep warranty valid. Safety checks by pros prevent accidents and equipment damage.
Frequently Asked Questions
How Do I Install A Split Air Conditioner Myself?
Installing a split air conditioner yourself can be cost-effective. Begin by selecting a suitable location for the indoor and outdoor units. Use a drill to make necessary holes and secure the mounting plates. Connect the piping and wiring carefully. Finally, test the system to ensure it’s functioning correctly.
What Tools Are Needed For Diy Ac Installation?
For a DIY split air conditioner installation, you’ll need a drill, screwdriver, wrench, and pipe cutter. A level is important for proper alignment. Additionally, a vacuum pump and manifold gauge set are essential for refrigerant handling. Always ensure you have the necessary tools before starting the installation process.
Can I Save Money By Installing My Own Ac?
Yes, installing your own split air conditioner can save money on labor costs. By handling the installation yourself, you avoid hiring professional technicians. However, ensure you have the necessary skills and tools. Mistakes can lead to additional costs. Proper installation ensures efficiency and longevity, maximizing your investment.
What Are The Risks Of Diy Ac Installation?
DIY split air conditioner installation involves several risks. Incorrect installation can damage the unit or reduce its efficiency. You might void the warranty by not using a professional. Additionally, improper handling of refrigerants can be hazardous. Always follow instructions and prioritize safety to mitigate these risks.
Conclusion
Installing your own split air conditioner saves money and time. You gain control over the setup process. Careful planning and following steps bring success. Safety matters most; always check instructions and tools. Enjoy cool air without waiting for technicians. A DIY project can feel rewarding and practical.
Stay patient and ask for help if needed. Now, you are ready to make your home comfortable.