
Is your garden hose leaking or damaged? Don’t worry—you don’t have to buy a new one just yet.
Repairing a garden hose is easier than you think, and it can save you both time and money. In this guide, you’ll discover simple, step-by-step methods to fix common hose problems quickly. Whether it’s a small hole, a crack, or a broken connector, you’ll learn how to get your hose working like new again.
Keep reading, and you’ll be ready to tackle your garden hose repairs with confidence.
Common Hose Problems
Garden hoses are essential for watering plants and keeping your garden fresh. But, they often face common problems.
Understanding these issues helps you repair them and extend the life of your hose.
Leaks And Cracks
Hoses can develop leaks and cracks due to wear and tear. These issues waste water and reduce pressure.
- Inspect the hose for visible holes or splits.
- Use waterproof tape to cover small leaks.
- Replace sections with larger cracks.
Kinks And Twists
Kinks and twists can block water flow. They happen when the hose is not stored properly.
| Problem | Solution |
| Kinks | Stretch the hose flat in the sun. |
| Twists | Unroll completely before use. |
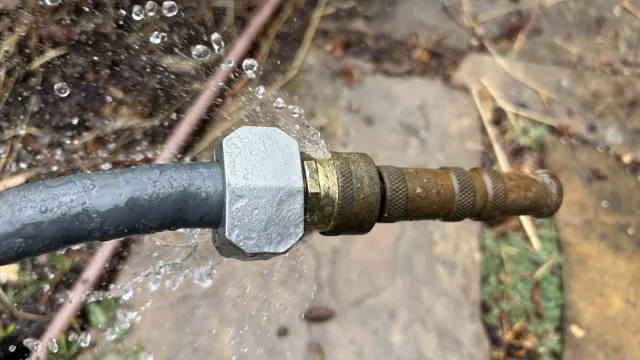
Damaged Connectors
Connectors can become damaged, causing leaks at the ends of the hose. This affects the efficiency of water delivery.
Credit: ucanr.edu
Tools And Materials Needed
Fixing a garden hose is easy with the right tools. Having the right materials saves time and effort.
This guide covers the essential tools and replacement parts for hose repair. Use them to fix leaks or breaks.
Essential Repair Tools
These tools help you cut, connect, and seal your garden hose. They make repairs clean and strong.
- Utility knife or hose cutter for clean cuts
- Screwdriver for tightening clamps and fittings
- Pliers to hold or twist small parts
- Measuring tape to measure hose length
- Marker to mark cut points on the hose
- Water source to test the repair
Replacement Parts
Replacement parts fix leaks and broken connections. Choose parts that fit your hose size and type.
- Hose connectors or couplings to join hose sections
- Rubber washers or gaskets to prevent leaks
- Hose clamps to secure connectors tightly
- Quick-connect fittings for easy hose attachment
- Replacement hose sections if the damage is severe
Fixing Small Leaks
Small leaks in a garden hose waste water and reduce pressure. Fixing them quickly saves water and extends hose life.
You can repair leaks using simple tools like waterproof tape or hose repair tape. Both methods work well for small holes.
Using Waterproof Tape
Waterproof tape is a flexible and strong option. It seals small leaks and keeps the hose watertight.
- Turn off the water and dry the hose surface.
- Cut a piece of waterproof tape longer than the leak.
- Wrap the tape tightly around the damaged area.
- Press firmly to remove air bubbles.
- Wait 30 minutes before turning the water back on.
Applying Hose Repair Tape
Hose repair tape is designed for garden hoses and offers a strong, lasting fix.
| Step | Action | Tip |
| 1 | Turn off water and dry the hose. | Ensure no moisture remains around leak. |
| 2 | Cut a piece of repair tape about 6 inches long. | Longer tape gives better coverage. |
| 3 | Stretch tape and wrap tightly over leak. | Overlap edges by half the tape width. |
| 4 | Press the tape firmly to seal. | Use gloves to avoid sticking to hands. |
| 5 | Wait 15 minutes before testing the repair. | Check for any leaks before use. |
Repairing Large Holes
Large holes in a garden hose can waste water and stop your watering tasks. Fixing these holes is easy with the right tools and steps.
Two common ways to repair big holes are cutting out the damaged part and using hose repair kits. Both work well to restore your hose.
Cutting Out The Damaged Section
First, find the hole and mark the area around it. Use a sharp knife or scissors to cut out the damaged section in a straight line.
Make sure both cut ends are clean and even. This helps when you join the hose parts back together.
- Locate the hole
- Mark an area around it
- Cut out the damaged section evenly
- Prepare both ends for joining
Using Hose Repair Kits
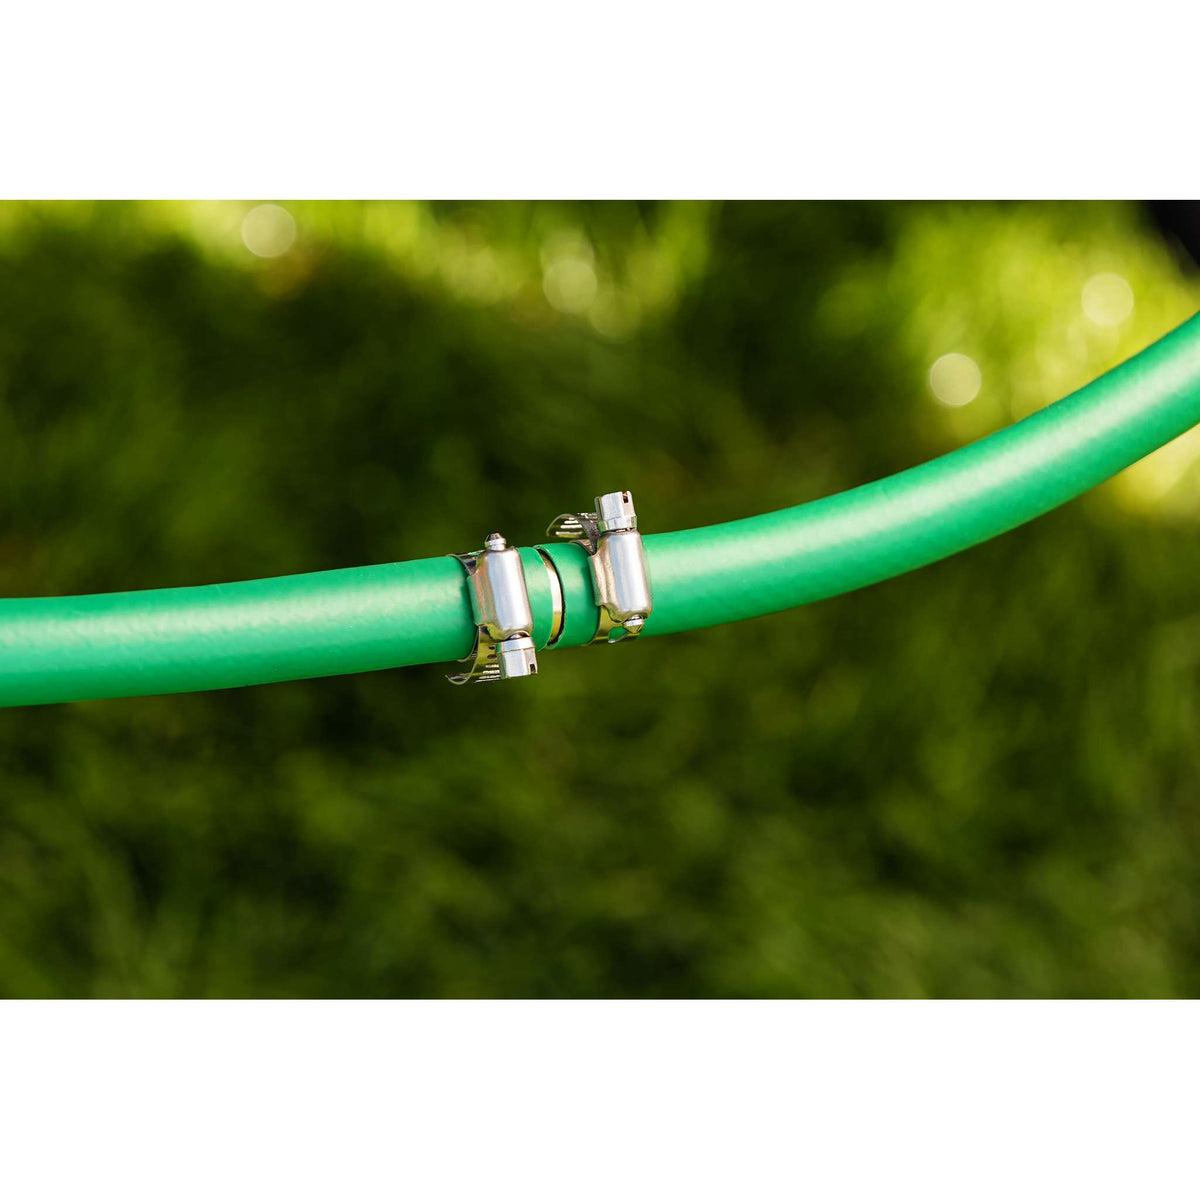
Hose repair kits contain connectors that link hose ends. After cutting out the damaged part, insert the hose ends into the connector.
Secure the ends with clamps or screws provided in the kit. This seals the connection and stops leaks at the repair site.
- Insert hose ends into the repair connector
- Tighten clamps or screws to hold the hose
- Check the repair for leaks
- Allow the hose to dry before use
Replacing Connectors
Fixing a garden hose often means replacing old or broken connectors. This helps stop leaks and keeps water flowing well. You can do this yourself with some simple tools.
The process involves two main parts: removing old fittings and installing new connectors. Follow these steps carefully for the best results.
Removing Old Fittings
Old fittings can be tight or stuck after use. Removing them carefully prevents damage to the hose. Use the right tools and some patience.
- Turn off the water and drain the hose completely.
- Use a wrench or pliers to loosen the old fitting.
- Twist the fitting counterclockwise to unscrew it from the hose.
- If the fitting is stuck, apply some lubricant and wait a few minutes.
- Remove any leftover tape or debris from the hose end.
Installing New Connectors
After removing the old fittings, you can attach new connectors. Proper installation ensures no leaks and a secure fit.
| Connector Type | Material | Use |
|---|---|---|
| Brass Connector | Brass | Durable, good for frequent use |
| Plastic Connector | Plastic | Lightweight, budget-friendly option |
| Aluminum Connector | Aluminum | Resistant to rust, moderate strength |
- Cut the hose end clean and straight with a sharp knife.
- Slide the new connector’s clamp or collar onto the hose.
- Push the connector firmly into the hose end.
- Tighten the clamp or collar to secure the connector.
- Check for leaks by running water through the hose.

Credit: www.youtube.com
Preventing Future Damage
Repairing a garden hose is only part of keeping it useful. Preventing future damage helps your hose last longer. Simple care and smart habits protect your hose from wear and tear.
Follow easy steps to keep your hose safe. Store it well and check it often. These actions save time and money in the long run.
Proper Storage Tips
Storing your garden hose correctly stops cracks and leaks. Avoid leaving it in the sun or cold. Keep it in a dry, shaded spot to protect the material.
- Drain all water before storing the hose
- Coil the hose loosely to avoid kinks
- Use a hose reel or hanger for neat storage
- Keep it away from sharp objects and chemicals
- Store indoors during winter or freezing weather
Regular Maintenance
Check your hose regularly to spot issues early. Clean it to remove dirt that can cause damage. Simple fixes stop small problems from growing.
| Maintenance Task | Why It Matters |
|---|---|
| Inspect for cracks or leaks | Find damage early to fix quickly |
| Clean the hose inside and out | Remove dirt and prevent blockages |
| Check fittings and connectors | Ensure tight seals to avoid leaks |
| Replace worn parts as needed | Keep hose working properly |
Credit: www.garant.com
Frequently Asked Questions
How Do I Fix A Leaking Garden Hose?
To fix leaks, first locate the damaged area. Cut out the damaged section with a sharp blade. Use hose repair connectors to join the ends securely. Tighten all clamps to prevent water leaks. Test the hose by turning on the water supply.
What Tools Are Needed To Repair A Garden Hose?
You need a utility knife, hose repair connectors, and clamps. Additionally, pliers help tighten clamps. A measuring tape can assist in cutting the hose accurately. These tools make the repair process quick and efficient.
Can I Repair A Garden Hose Puncture Without Replacing It?
Yes, small punctures can be repaired using waterproof tape or hose repair kits. Clean and dry the puncture area before applying tape. For better durability, use connectors to replace larger damaged sections.
How Long Does It Take To Repair A Garden Hose?
Repairing a garden hose typically takes 10 to 20 minutes. The time depends on the damage size and your repair method. Quick fixes like tape take less time than replacing sections.
Conclusion
Repairing a garden hose saves money and extends its life. Small cracks and leaks can be fixed quickly with simple tools. Keep your hose ready for watering plants or cleaning outdoors. Regular checks help spot damage before it gets worse.
A well-maintained hose makes gardening easier and more enjoyable. Try these easy steps next time your hose shows signs of wear. No need to buy a new one right away. Save time and effort with basic repairs at home.