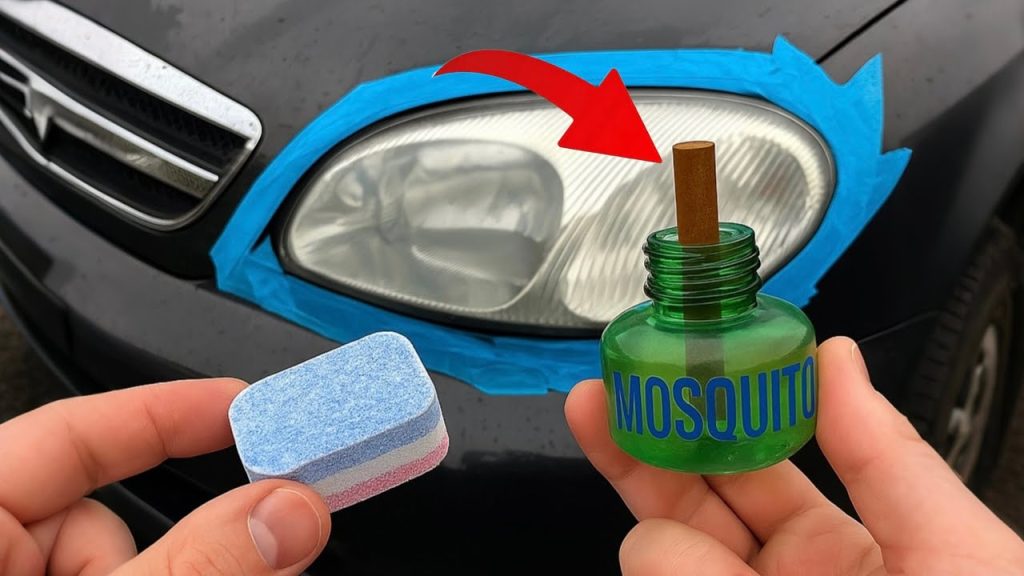
Are your car headlights looking dull or foggy? This can make driving at night harder and even unsafe.
You might think cleaning them is complicated, but it’s easier than you expect. You’ll learn simple, effective ways to restore your headlights to their clear, bright state. Keep reading, and you’ll discover tips that save you time and money while making your car look great and improving your safety on the road.
Why Clean Headlights Matter
Clean headlights help you see better while driving at night. They also make your car look nice.
Dirty or cloudy headlights reduce how much light shines on the road. This can be dangerous and costly.
Safety Benefits
Clear headlights improve your view in the dark and in bad weather. This helps you avoid accidents.
Other drivers can see your car better when headlights are clean. This lowers the risk of collisions.
- Better night vision
- Improved visibility in rain or fog
- Increased awareness for other drivers
Improved Appearance
Clean headlights make your car look newer and well cared for. This can boost your car’s overall look.
Cloudy or yellow headlights can make even a nice car seem old or neglected. Cleaning fixes this problem.
- Brighter, clearer lights
- More attractive car front
- Shows you care about your vehicle
Cost Savings
Cleaning headlights costs less than replacing them. It also helps you avoid accidents that can be expensive.
Well-maintained headlights keep your car safer and can increase its resale value.
- Less need to buy new headlights
- Lower risk of accident costs
- Better car value when selling
Common Causes Of Headlight Cloudiness
Car headlights often become cloudy over time. This cloudiness makes lights dimmer and less effective. Understanding the causes helps you clean them better.
Many factors cause this problem. Some damage the surface, while others create a film on the headlights.
Uv Damage
Sunlight contains UV rays that harm your headlights. These rays break down the plastic surface. The plastic then looks yellow and hazy.
UV damage happens faster in sunny places. It can make your headlights less clear and reduce visibility at night.
Road Debris
Small rocks and dirt hit your headlights while driving. These tiny impacts cause scratches and chips. Over time, they make the surface rough and cloudy.
Road debris can also leave sticky dirt that is hard to clean. This adds to the cloudy look and lowers light brightness.
- Sand grains scratch the lens
- Stones chip the surface
- Dirt sticks and builds up
Oxidation
Oxidation happens when the headlight surface reacts with oxygen in the air. This creates a cloudy, white layer on the plastic.
This layer blocks light and makes headlights look dull. Oxidation grows faster if the headlights are not cleaned regularly.
Essential Tools And Materials
Cleaning car headlights helps improve visibility and safety. Using the right tools makes the job easier.
This guide lists the essential tools and materials you need to clean your headlights well.
Cleaning Solutions
Cleaning solutions remove dirt and grime from the headlight surface. Choose a solution that is safe for plastic lenses.
Common options include mild soap, vinegar, and commercial headlight cleaners.
- Mild soap mixed with water
- White vinegar diluted with water
- Commercial headlight cleaning sprays
Polishing Pads
Polishing pads help remove oxidation and scratches from headlights. They come in different materials and textures.
Soft foam pads are gentle, while microfiber pads offer effective polishing without damage.
- Foam polishing pads for light cleaning
- Microfiber pads for better polishing
- Applicator pads for applying creams
Protective Gear
Protective gear keeps you safe during the cleaning process. It also prevents damage to your skin and eyes.
Wear gloves to protect your hands and safety glasses to shield your eyes from splashes.
- Rubber or latex gloves
- Safety glasses or goggles
- Old clothes or apron to protect your body
Credit: www.msn.com
Step-by-step Cleaning Process
Cleaning your car headlights improves visibility and safety. Clear headlights also make your car look well cared for.
This guide shows a simple way to clean headlights using easy steps. Follow each part carefully for the best results.
Preparing The Headlights
Start by cleaning the headlights with soap and water. This removes dirt and dust from the surface.
Dry the headlights with a clean cloth before applying any cleaner. Mask off the area around headlights with tape to protect your car’s paint.
- Wash headlights with mild soap and water
- Dry with a soft, clean cloth
- Use painter’s tape to cover edges
Applying The Cleaner
Apply a plastic or headlight cleaner to the headlight surface. Use a soft cloth or sponge to spread the cleaner evenly.
Rub the cleaner gently in small circles. This helps remove yellowing and haze from the plastic.
- Put cleaner on a clean cloth or sponge
- Apply to headlights evenly
- Rub in circular motions for 2–3 minutes
Polishing The Surface
Use a dry microfiber cloth to polish the headlights after cleaning. This step smooths the surface and brings back shine.
Keep polishing until the plastic looks clear and smooth. Avoid pressing too hard to prevent scratches.
- Take a dry microfiber cloth
- Polish headlights gently in circles
- Stop when surface looks shiny and clear
Rinsing And Drying
Rinse the headlights with clean water to remove any leftover cleaner. Make sure no residue stays on the surface.
Dry the headlights with a soft towel. This prevents water spots and keeps headlights clear for longer.
- Rinse headlights gently with clean water
- Dry with a soft, clean towel
- Check for any missed spots and repeat if needed
Diy Methods Vs. Commercial Kits
Cleaning car headlights is important for safe driving at night. Over time, headlights get cloudy or dirty.
You can clean headlights using household items or buy special cleaning kits. Each option has its own benefits and limits.
Household Remedies
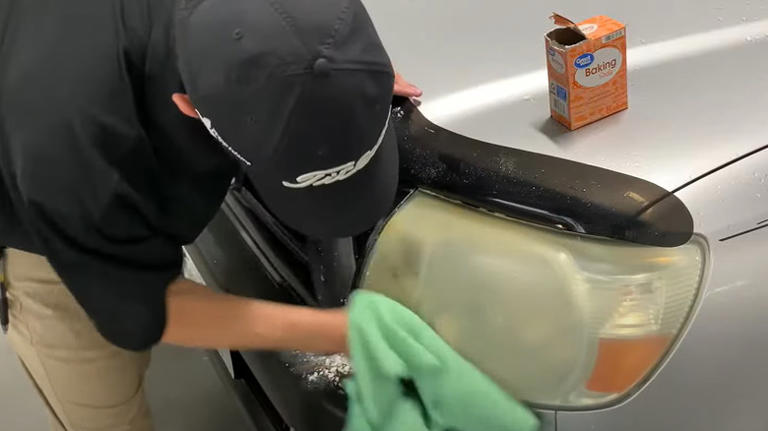
Many people use items found at home to clean headlights. Common choices include toothpaste, baking soda, and vinegar.
These remedies often work by gently scrubbing off dirt and grime from the headlight surface.
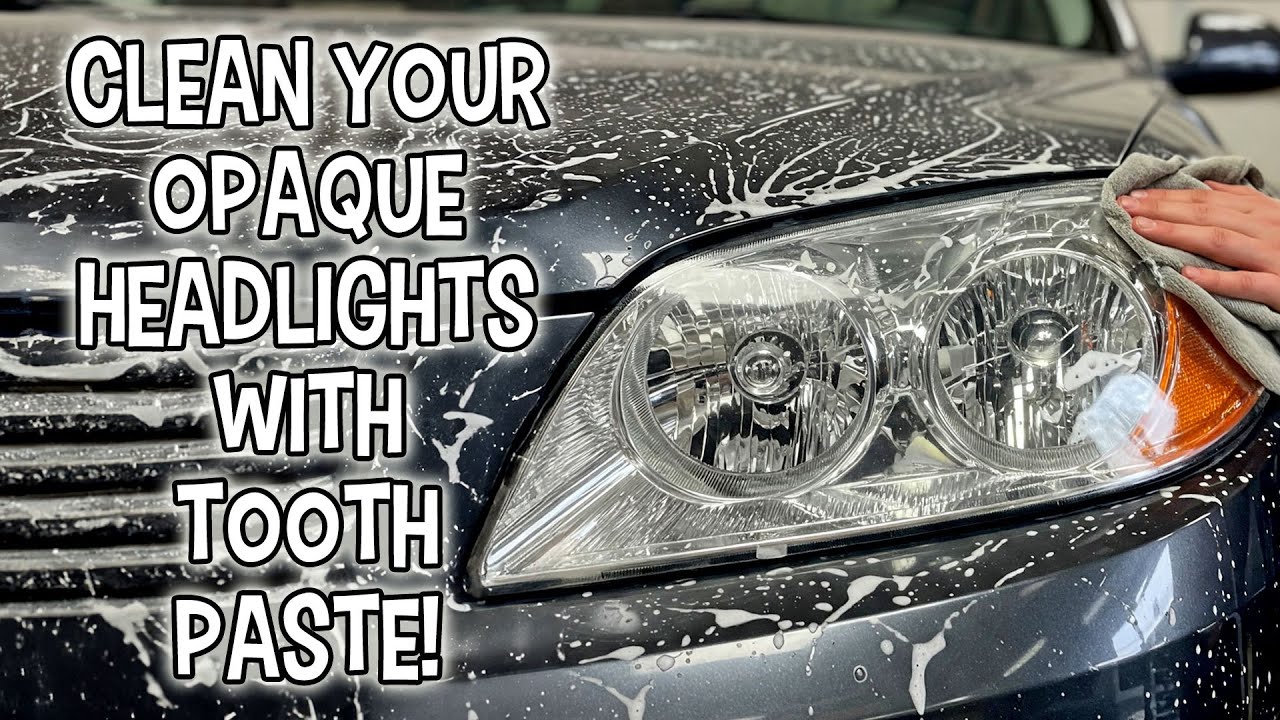
- Toothpaste acts as a mild abrasive to remove haze.
- Baking soda mixed with water forms a paste for scrubbing.
- Vinegar helps dissolve mineral deposits and dirt.
- Rubbing with a soft cloth helps avoid scratches.
Professional Products
Commercial headlight cleaning kits include special cleaners and polishing tools. They are designed for better and faster results.
These kits usually have sandpaper, polishing compound, and sealants to protect headlights after cleaning.
- Sandpaper removes the outer cloudy layer safely.
- Polishing compounds restore clear shine.
- Sealants keep headlights clean longer.
- Instructions guide you through each step.
Pros And Cons
Both DIY methods and commercial kits have good and bad points. Choosing the right one depends on your needs.
| Option | Pros | Cons |
|---|---|---|
| Household Remedies | Cheap and easy to find Safe for light cleaning | May not remove heavy haze Results may be temporary |
| Commercial Kits | More effective for tough grime Includes protective sealants | Costs more money Needs careful use to avoid damage |

Credit: www.carsales.com.au
Preventive Tips To Keep Headlights Clear
Clear headlights improve your safety when driving at night or in bad weather. Dirt, dust, and sun can make headlights cloudy and reduce light output. Regular care helps keep headlights bright and effective.
Use simple methods to protect your headlights from damage and wear. This guide shares tips on maintenance, coatings, and parking to keep your lights clear.
Regular Maintenance
Clean your headlights often with mild soap and water. Avoid harsh chemicals that can cause damage. Dry them with a soft cloth to prevent scratches.
- Wash headlights at least once a month.
- Use a soft sponge or cloth.
- Avoid abrasive cleaners.
- Check for cracks or chips regularly.
- Polish headlights to remove minor cloudiness.
Protective Coatings
Apply a protective coating to block UV rays and dirt buildup. These coatings help keep plastic lenses from turning yellow or hazy. Reapply as needed based on product instructions.
| Coating Type | Benefit | Application Frequency |
| UV Sealant | Prevents sun damage | Every 6 months |
| Clear Protective Film | Guards against scratches and dirt | Once, lasts 1-2 years |
| Wax-Based Coating | Repels water and dust | Every 3 months |
Parking Strategies
Park your car in shaded or covered areas. Avoid direct sunlight to slow down headlight aging. Also, stay away from places with heavy dust or debris.
- Choose shaded parking spots.
- Use a car cover if no shade is available.
- Park away from trees that drop sap or pollen.
- Avoid parking near construction zones.
When To Seek Professional Help
Cleaning car headlights can improve your night driving. Simple dirt or fog can be cleaned at home. Some problems need a professional to fix.
Knowing when to get expert help keeps your headlights safe. It also saves time and money in the long run.
Severe Damage
Headlights with deep cracks or broken lenses need expert care. These damages let moisture inside. This can cause electrical issues or poor light.
Professional repair or replacement is best for severe damage. They use the right tools and parts to fix it safely.
Headlight Replacement
If headlights are old or badly yellowed, replacement might be needed. Cleaning might not restore clear light. A new headlight improves visibility and safety.
Experts check your car model and install the correct headlights. They also align lights properly to avoid blinding other drivers.
Cost Considerations
Professional headlight services cost more than DIY cleaning. Prices depend on damage, car model, and parts needed. Sometimes repair is cheaper than replacement.
- Small repairs cost less but need expert tools
- Replacement prices vary by car brand and type
- Quality parts last longer and improve safety
Credit: www.youtube.com
Frequently Asked Questions
How Can I Make Headlights Clear Again?
To clear your headlights, clean them with soap and water first. Then, use a headlight restoration kit or toothpaste. Gently rub in circular motions and rinse. Finish by applying a UV sealant to protect against future damage.
What Household Items Can Clean Headlights?
Toothpaste, baking soda, and vinegar can clean headlights effectively. Apply them with a soft cloth, scrubbing gently. Rinse thoroughly with water and dry with a clean towel. These items help remove grime and restore clarity.
How Often Should Headlights Be Cleaned?
Headlights should be cleaned every three to six months. Regular cleaning prevents buildup of dirt and oxidation. Maintaining clean headlights ensures maximum visibility and safety while driving at night or in adverse weather conditions.
Does Toothpaste Really Work On Headlights?
Yes, toothpaste effectively cleans headlights. Its mild abrasives remove grime and restore clarity. Apply it with a cloth, rub in circular motions, and rinse with water. For best results, use a non-gel toothpaste.
Conclusion
Cleaning your car headlights keeps them bright and safe. Clear headlights help you see better at night. Dirt and fog can make lights dim and weak. Use simple tools and easy steps for cleaning. Regular care stops yellowing and damage over time.
Bright headlights also make your car look good. Take a few minutes to clean them often. Your driving will feel safer and more confident. Keep your headlights shining and enjoy better road views.