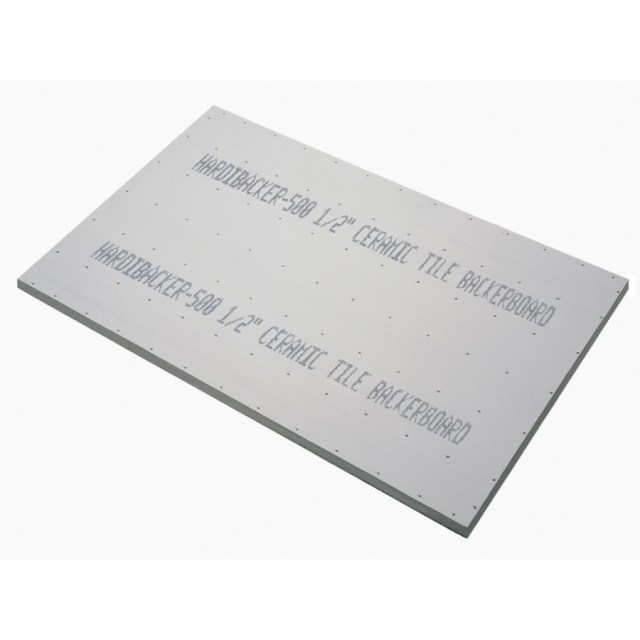
If you’re tackling a tiling or bathroom project, you’ve probably come across Hardiebacker cement board. Cutting it the right way is key to getting clean, precise edges without wasting material or damaging the board.
But how exactly do you cut Hardiebacker cement board safely and efficiently? Whether you’re a DIY enthusiast or a first-time user, this guide will walk you through simple, effective methods you can use today. Keep reading to discover tips that will save you time, effort, and frustration on your next project.
Tools For Cutting Hardiebacker
Cutting Hardiebacker cement board needs the right tools. Using proper tools makes the job easier and cleaner.
This guide covers manual tools, power tools, and safety gear for cutting Hardiebacker.
Manual Tools
Manual tools work well for small cuts or straight lines. They do not need electricity and are easy to control.
Common manual tools include a scoring knife and a utility knife. Score the board deeply, then snap it along the line.
- Scoring knife or carbide-tipped knife
- Straight edge or ruler to guide cuts
- Measuring tape for accurate sizing
- Carpenter’s square for right angles
Power Tools
Power tools speed up cutting and handle complex shapes. They work best for large projects or curved cuts.
Popular power tools for Hardiebacker are angle grinders and circular saws with diamond blades or carbide-tipped blades.
- Angle grinder with diamond blade
- Circular saw with carbide-tipped blade
- Jigsaw for curved cuts
- Dust shroud or vacuum attachment
Safety Gear
Cutting Hardiebacker creates dust that can harm your lungs and eyes. Use safety gear to protect yourself.
Wear a dust mask, safety goggles, and gloves. Work in a well-ventilated area to reduce dust exposure.
- Dust mask or respirator rated for silica dust
- Safety goggles to protect eyes
- Heavy-duty gloves for hand protection
- Long sleeves and pants to avoid skin contact

Credit: www.tilemountain.co.uk
Preparing The Work Area
Cutting Hardiebacker cement board needs a safe and clean space. Preparing the work area helps you work faster and avoid mistakes.
Organize your tools and clear the area before you start. This will make cutting easier and safer.
Clearing The Space
Remove all items that can block your work. Make sure you have enough room to move the cement board freely.
- Clear the floor and workbench of clutter
- Set up good lighting to see cutting lines clearly
- Wear protective gear like gloves and goggles
- Keep dust control tools nearby, such as a vacuum or dust mask
Marking The Board
Marking the board before cutting ensures accuracy. Use a pencil or chalk for clear lines that are easy to follow.
| Tool | Use |
| Pencil | Mark straight lines for cuts |
| Measuring Tape | Measure exact lengths |
| Square Ruler | Draw right angles and straight edges |
| Chalk | Mark lines visible on dusty surfaces |
Cutting Techniques
Hardiebacker cement board is tough and needs the right cutting tools. Using the correct technique helps get smooth cuts and avoids damage.
There are several ways to cut Hardiebacker. Each method suits different tools and skill levels.
Scoring And Snap Method
This technique works well for thin cement boards. Score the board deeply with a utility knife. Then snap it along the score line.
It is a simple and clean method. It does not create much dust or require power tools.
- Place the board on a flat surface
- Use a straight edge to guide the knife
- Score the board several times until deep
- Lift and snap the board along the score
Using A Circular Saw
A circular saw cuts Hardiebacker fast and straight. Use a carbide-tipped blade made for cement board or masonry.
Wear a mask and goggles to protect against dust. Mark the cut line clearly and cut slowly for accuracy.
- Set the blade depth to just over the board thickness
- Clamp the board to avoid movement
- Follow the marked line steadily
- Clean the blade after cutting to maintain performance
Wet Cutting Approach
Wet cutting reduces dust when cutting Hardiebacker. Use a wet saw or add water to the blade area while cutting.
This method keeps the air cleaner and cools the blade. It works well for large or many cuts.
- Use a wet saw with a diamond blade
- Keep water flowing steadily on the blade
- Cut slowly to let the water control dust
- Wear protective gear as a safety precaution
Handling Corners And Curves
Cutting Hardiebacker cement board can be tricky, especially around corners and curves. These areas need careful handling to keep the board strong and fit well.
Using the right tools and techniques helps make clean cuts without breaking or cracking the board. This guide covers how to cut corners and shape curves correctly.
Making Precise Corner Cuts
For sharp corners, use a straight edge and a score-and-snap method. Mark the cutting lines clearly to avoid mistakes. Score the board deeply with a carbide-tipped knife, then snap it along the line.
- Measure the corner area carefully and mark the lines on the board.
- Place a straight edge along the lines for accuracy.
- Score the cement board deeply using a carbide knife or scoring tool.
- Snap the board along the scored line to create a clean break.
- Sand any rough edges gently to smooth the corner.
Shaping Curves And Irregular Cuts
Cutting curves in Hardiebacker requires a different approach. Use a jigsaw with a carbide blade for smooth, controlled cuts. Take your time to follow the curve lines precisely.
| Tool | Best Use | Tips |
|---|---|---|
| Jigsaw with carbide blade | Cutting curves and irregular shapes | Use slow speed for control |
| Carbide-tipped scoring knife | Straight cuts and corners | Score deeply before snapping |
| Sandpaper or rasp | Smoothing rough edges | Use fine grit for finishing |
Common Mistakes To Avoid
Cutting Hardiebacker cement board needs care and the right approach. Mistakes can cause damage or poor results.
Knowing what to avoid helps you cut the board safely and cleanly. Here are common errors to watch out for.
Incorrect Tool Use
Using the wrong tool can break or chip the cement board. It also makes cutting harder and unsafe.
Many try to use regular saw blades or knives that do not fit this tough material.
- Do not use a standard handsaw or utility knife alone.
- A carbide-tipped scoring knife or a diamond blade saw works best.
- Power saws should have dust control to protect lungs.
Ignoring Safety Precautions
Hardiebacker dust is harmful if breathed in. Ignoring safety rules risks health problems.
Many skip wearing masks, goggles, or gloves when cutting the board.
- Always wear a dust mask or respirator.
- Use safety goggles to protect your eyes.
- Wear gloves to avoid cuts and skin irritation.
- Cut outside or in a well-ventilated area.
Poor Measurement Practices
Wrong measurements cause wasted material and bad fits. It is a common mistake to rush this step.
Many fail to double-check or mark their cuts clearly before cutting.
- Measure twice before making any cuts.
- Use a straight edge or ruler for marking.
- Mark the cut line clearly with a pencil.
- Check the board position before cutting.

Credit: insulationgo.co.uk
Finishing And Installing Cut Pieces
Cutting Hardiebacker cement board leaves rough edges. These edges need smoothing before installation. Proper finishing helps the board fit better and last longer.
After cutting, prepare each piece carefully. Follow simple steps for a clean, strong installation.
Smoothing Edges
Use a sanding block or rasp to smooth the cut edges of the cement board. This removes sharp fragments and creates a safe, even edge.
Wear a dust mask and goggles to protect yourself from dust. Work in a well-ventilated area to stay safe.
- Sand edges gently with a sanding block or rasp
- Clear dust with a brush or cloth
- Check edges for evenness and smoothness
- Wear safety gear to avoid dust inhalation
Proper Installation Tips
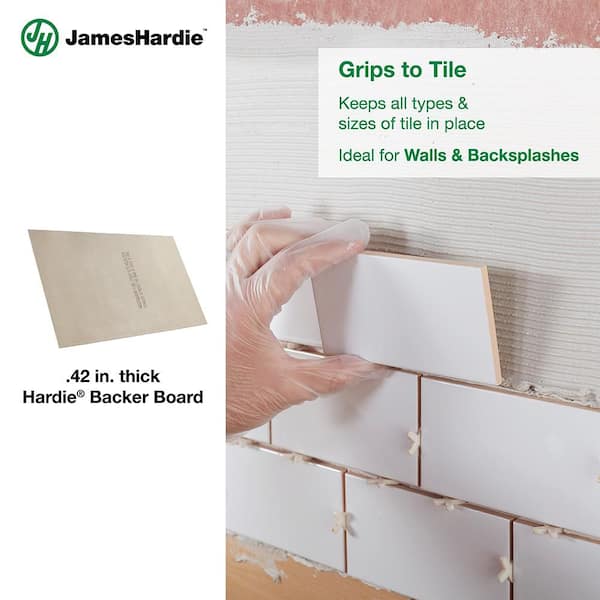
Place the cut pieces tightly against the wall or floor. Make sure edges line up well. Use the right screws to hold the board firmly.
Leave a small gap between boards to allow for expansion. Seal joints with thinset or joint tape for a strong, moisture-resistant surface.
- Use corrosion-resistant screws every 8 inches
- Keep a 1/8-inch gap between boards
- Seal seams with thinset or fiberglass tape
- Press boards firmly but do not force them
- Check for level and alignment before securing
Credit: www.homedepot.com
Frequently Asked Questions
What Tools Do You Need To Cut Hardiebacker?
To cut Hardiebacker, you’ll need a carbide-tipped scoring knife, a circular saw with a carbide blade, and safety gear. Ensure you have protective eyewear and a dust mask. These tools ensure clean and efficient cuts, making your project smoother and more precise.
Can You Use A Jigsaw On Hardiebacker?
Yes, a jigsaw can be used on Hardiebacker cement board. Ensure you use a carbide-grit blade for the jigsaw. This blade type handles the board’s toughness. Always cut slowly and steadily for best results.
How Do You Score And Snap Hardiebacker?
To score and snap Hardiebacker, use a carbide-tipped scoring knife. First, score the board along your marked line. Apply firm, consistent pressure. Then, press down to snap the board along the scored line. This method is efficient for straight cuts.
Is Cutting Hardiebacker Dusty?
Yes, cutting Hardiebacker produces dust. This is why wearing a dust mask is essential. Use a circular saw with a vacuum attachment if possible. This reduces airborne particles, ensuring safety and cleanliness during your project.
Conclusion
Cutting Hardiebacker cement board is simple with the right tools. Score the board carefully and snap it along the line. Use a carbide-tipped blade for clean cuts on a saw. Always wear safety gear to protect your eyes and lungs.
Take your time to measure twice before cutting once. These steps ensure a neat and precise job. Now, you can handle your tile projects with more confidence. Practice makes perfect, so don’t rush. The right technique saves time and effort every time.