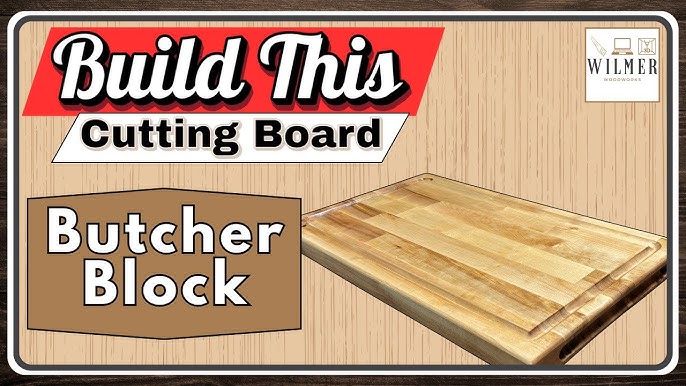
Are you ready to create a butcher block cutting board that’s not only sturdy but also adds a touch of charm to your kitchen? Making your own cutting board might sound tricky, but with the right steps, you can craft a piece that lasts for years.
Imagine slicing your favorite meals on a board you built yourself—strong, smooth, and built to handle any chopping task. In this guide, you’ll discover simple techniques and insider tips that make the process easy and even enjoyable. Keep reading, and you’ll soon have a custom butcher block cutting board you’ll be proud to use every day.

Credit: www.reddit.com
Choosing The Wood
Making a butcher block cutting board starts with selecting the right wood. The wood must be strong and safe for food use.
Choosing the proper wood helps the board last longer and stay sharp. It also prevents damage to knives and keeps the board clean.
Best Wood Types
Hardwoods work best for butcher blocks. They resist cuts and do not dull knives quickly. Some popular choices include:
- Maple – strong and light-colored
- Walnut – dark and durable
- Cherry – smooth with a reddish tone
- Beech – tight grain and tough
- Teak – oily wood that resists moisture
Wood Quality Tips
| Tip | Reason |
|---|---|
| Use hardwood only | Soft woods dent easily and harbor bacteria |
| Pick wood with tight grain | Prevents cracks and absorbs less moisture |
| Avoid treated or painted wood | Chemicals can be unsafe for food contact |
| Choose wood free of knots | Knots can weaken the board and cause splits |
| Check for dry wood | Wet wood can warp or crack over time |
Gathering Tools And Materials
Making a butcher block cutting board needs the right tools and materials. Gathering them first helps your project go smoothly.
This guide covers the essential tools and extra supplies you need to start building your board.
Essential Tools
These tools are needed to cut, shape, and smooth the wood. Having them ready makes the work easier and safer.
- Table saw or circular saw for cutting wood pieces
- Planer or hand plane to smooth surfaces
- Clamps to hold wood tight while gluing
- Orbital sander or sanding block for finishing
- Measuring tape and square for accuracy
- Wood glue for joining pieces
- Safety gear like goggles and gloves
Additional Supplies
Extra supplies help protect and finish your cutting board. They also make the board last longer.
- Hardwood lumber like maple, walnut, or cherry
- Food-safe mineral oil for sealing
- Beeswax or board cream for extra protection
- Fine grit sandpaper for final smoothing
- Wood filler for fixing small gaps or holes
Preparing The Wood
Preparing the wood is an important part of making a butcher block cutting board. It helps the board last longer and look better. You start with raw wood and get it ready for shaping.
This process includes cutting the wood to the right size and making the surface smooth. Proper preparation makes the board safe and easy to use.
Cutting To Size
Cut the wood pieces to the size you want for your cutting board. Use a saw to make straight and clean cuts. Measure carefully before cutting to avoid mistakes.
Cutting to size creates the base shape of your board. You can cut multiple pieces to join together later for a thicker board.
- Use a tape measure and pencil to mark cuts
- Choose a saw suitable for the wood type
- Wear safety gear when cutting
- Keep cuts straight for easier assembly
Planing And Sanding
Planing removes rough spots and evens out the wood surface. It also helps the wood pieces fit tightly together. Use a hand plane or electric planer for this step.
Sanding smooths the wood and removes any small splinters. Start with coarse sandpaper and move to finer grits for a soft finish. Sand all sides to prepare for sealing.
- Plane wood until all surfaces are flat
- Sand with 80 grit sandpaper first
- Finish sanding with 220 grit for smoothness
- Remove dust before gluing or sealing
Gluing And Clamping
Gluing and clamping are key steps to make a strong butcher block cutting board. The glue holds the wood pieces together. Clamps keep them tight while the glue dries.
Proper glue application and clamp use help avoid gaps and weak spots. This ensures your board lasts a long time.
Applying Wood Glue
Apply wood glue evenly on all edges that will join. Avoid using too much glue to prevent squeeze-out, but use enough to cover the surface fully.
- Use a brush or glue bottle tip for even spreading
- Coat all edges that touch another piece
- Wipe off any excess glue with a damp cloth
- Check for full coverage without thick glue spots
Using Clamps Correctly
Clamps hold the wood pieces tightly while the glue sets. Use enough clamps to apply even pressure across the board.
| Clamp Type | Use | Tips |
|---|---|---|
| Bar Clamps | Good for wide boards | Place clamps every 6-8 inches for even pressure |
| Pipe Clamps | Adjustable for different sizes | Use soft pads to protect wood surfaces |
| C-Clamps | Strong pressure for small areas | Do not overtighten to avoid dents |
Shaping The Board
Shaping a butcher block cutting board is an important step. It makes the board safer and more comfortable to use.
You will learn how to trim the edges and add rounded corners for a smooth finish.
Trimming Edges
Start by trimming the edges to create a straight and even surface. Use a saw to cut off any uneven parts carefully.
- Mark the edges with a pencil for guidance.
- Use a table saw or circular saw for straight cuts.
- Clamp the board securely before cutting.
- Sand the edges after trimming to smooth rough spots.
Adding Rounded Corners
Rounded corners make the board easier to handle and reduce the risk of chipping. Use a router or sanding block to round the corners.
| Tool | Purpose | Tips |
|---|---|---|
| Router with round-over bit | Creates smooth, even rounded corners | Move slowly to avoid burning the wood |
| Sanding block | Manually smooths corners | Use medium to fine grit sandpaper |
| Orbital sander | Quickly rounds edges | Keep sander moving to prevent gouges |
Sanding For Smoothness
Sanding is key to making a butcher block cutting board smooth. It removes rough spots and shapes the wood.
Good sanding helps the board feel nice to touch and safe for cutting food.
Choosing Sandpaper Grits
Start sanding with coarse grit sandpaper. It removes big bumps and marks fast. Then use finer grits to smooth the surface.
Use a range of grits to get the best finish. Coarse grit is usually 80 to 100. Medium grit is 120 to 150. Fine grit is 220 or higher.
- Begin with 80 or 100 grit sandpaper
- Follow with 120 or 150 grit for better smoothness
- End with 220 grit or higher for a fine finish
Final Sanding Tips
Sanding evenly is important to avoid dips or rough spots. Sand with the grain of the wood, not against it.
Check your board by running your hand over it. If it feels smooth, wipe off dust before finishing.
- Sand along the wood grain for best results
- Use light pressure to avoid scratches
- Remove all dust before applying oil or finish
Applying Finish
Applying a finish protects your butcher block cutting board. It keeps the wood safe and clean. A good finish also stops moisture from damaging the board.
Choosing the right finish is important. It should be safe for food and easy to apply. Let’s look at food-safe oils and sealing the board.
Food-safe Oils
Food-safe oils soak into the wood and protect it from drying out. They keep the board looking fresh and smooth. These oils do not harm people or food.
Common food-safe oils include mineral oil and walnut oil. Mineral oil is clear and easy to find. Walnut oil smells nice and hardens the wood a bit.
- Apply oil with a clean cloth
- Rub it in well, covering all surfaces
- Let the oil soak for a few hours or overnight
- Wipe off any extra oil
- Repeat until the wood stops absorbing oil
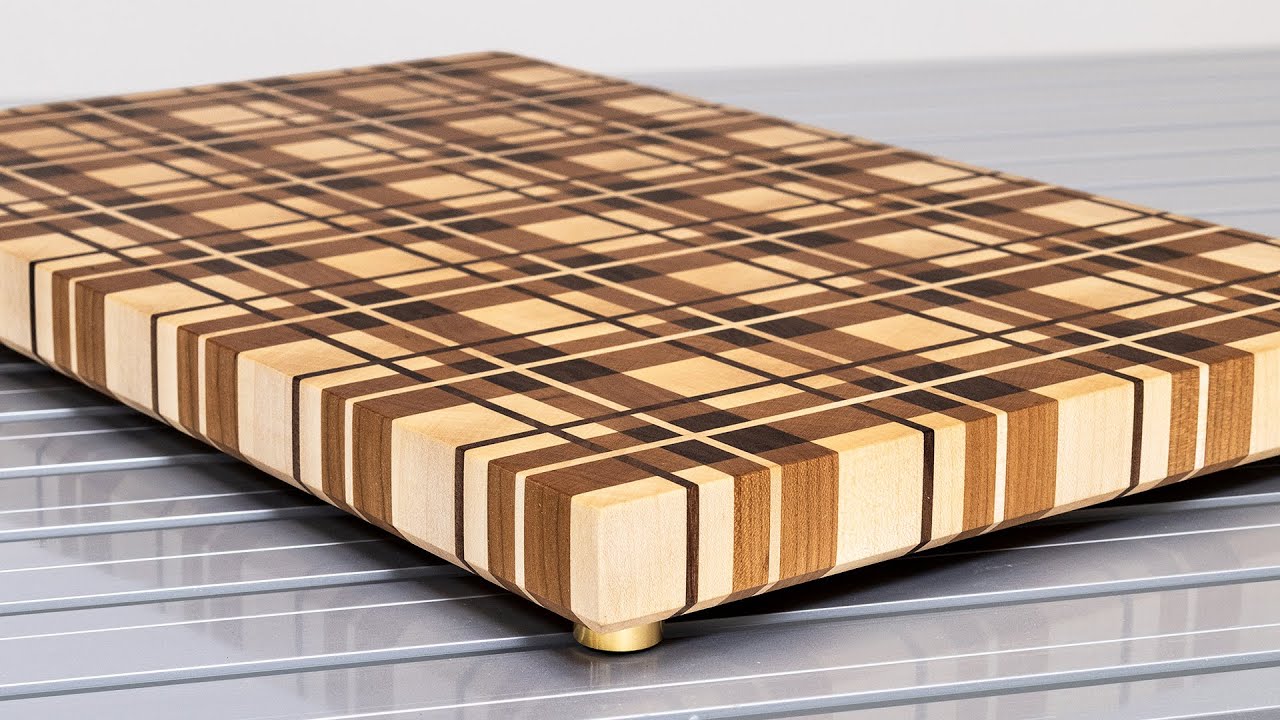
Sealing The Board
Sealing the board adds a protective layer on top of the wood. It helps stop water and stains from soaking in. Use a food-safe sealer for safety.
Beeswax is a popular choice to seal butcher blocks. It melts and forms a thin, water-resistant coat. Mix beeswax with mineral oil for easy application.
- Warm the beeswax and oil mixture gently
- Apply it evenly with a soft cloth
- Let it dry and harden for several hours
- Buff the board with a clean cloth to shine
- Reapply every few months for best protection
Credit: www.youtube.com
Maintenance Tips
A butcher block cutting board needs care to stay useful and look good. Regular maintenance keeps it clean and safe for food.
Proper cleaning and oiling protect the wood and help it last for years.
Cleaning Advice
Clean your cutting board after every use. Use warm water and mild soap. Avoid soaking it in water to stop warping.
- Wipe the board with a damp cloth.
- Scrub gently using a soft sponge and soap.
- Rinse quickly with warm water.
- Dry it thoroughly with a towel.
- Let it air dry standing up or on its side.
Reapplying Oil
Oiling your butcher block keeps the wood from drying out and cracking. Use food-safe mineral oil for best results.
| When to Oil | How to Oil |
| After cleaning and drying fully | Apply oil with a soft cloth in thin, even coats |
| Once a month or when wood looks dry | Let oil soak in for 20 minutes, then wipe excess |
| Before first use | Apply 3-4 coats over two days for protection |

Credit: www.youtube.com
Frequently Asked Questions
What Tools Do You Need To Make A Butcher Block?
To make a butcher block, you’ll need a table saw, clamps, sander, and wood glue. A planer and a drill are also useful. These tools ensure precise cuts and a smooth finish. Always prioritize safety when using power tools.
How Do You Choose Wood For A Cutting Board?
Choose hardwoods like maple, walnut, or cherry for durability and aesthetics. These woods resist knife marks and bacteria. Ensure the wood is kiln-dried to prevent warping. Select wood with a tight grain for a smoother surface.
What Is The Best Finish For A Butcher Block?
Food-safe mineral oil is ideal for finishing butcher blocks. It prevents drying and cracking. Apply generously and let it soak. Reapply monthly to maintain protection. Avoid finishes that aren’t food-safe as they can contaminate food.
How Do You Maintain A Butcher Block Cutting Board?
To maintain a butcher block, clean it with mild soap and water. Dry it immediately to prevent warping. Regularly apply mineral oil to keep it conditioned. Avoid placing it in the dishwasher or soaking it in water.
Conclusion
Making a butcher block cutting board takes patience and care. Start with good wood and cut it to size. Glue the pieces tightly and clamp them well. Sand the board smooth until it feels soft. Finish by applying oil to protect the wood.
A homemade cutting board lasts long and works great. It adds a personal touch to your kitchen. Try making one yourself for a useful project. Enjoy cooking with a board you built by hand. Simple steps bring great results.