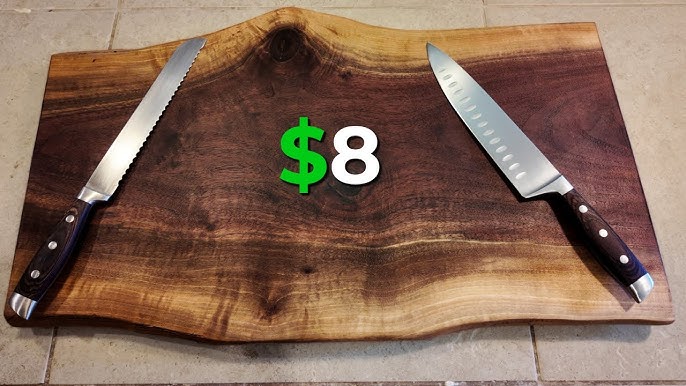
Have you ever wanted to create something useful with your own hands? Making a wooden cutting board is easier than you might think, and it’s a project that gives you both satisfaction and a beautiful, functional item for your kitchen.
Imagine having a cutting board that’s not only durable but also crafted to your exact style and size. In this guide, you’ll discover simple steps to turn raw wood into a sturdy cutting board you’ll be proud to use every day.
Keep reading, and you’ll learn tips that will make the process smooth and enjoyable from start to finish.

Credit: www.youtube.com
Choosing The Right Wood
Picking the right wood is key to making a great cutting board. The wood must be strong and safe for food use.
Different woods have different looks and qualities. Choose wood that lasts long and does not harm knives.
Best Wood Types For Cutting Boards
Hardwoods are the best choice for cutting boards. They resist knife marks and do not crack easily.
- Maple: Very hard and has a fine grain. It is common for cutting boards.
- Walnut: Dark and strong wood. It looks good and is gentle on knives.
- Cherry: Medium hard wood with a smooth surface. It darkens with use.
- Beech: Hard wood with tight grain. It is durable and affordable.
- Teak: Contains natural oils. This makes it water-resistant and long-lasting.
Wood Safety And Food Contact
Wood must be safe to use with food. Avoid woods that can cause allergies or release toxins.
Use woods that do not absorb too much water. This stops bacteria from growing inside the board.
- Avoid softwoods like pine. They have open grains and can trap bacteria.
- Do not use treated or painted wood. Chemicals can be harmful if they touch food.
- Choose wood with closed grains. It helps keep the board clean and safe.
- Seal the board with food-safe oil. This protects the wood and makes cleaning easier.
Tools And Materials Needed
Making a wooden cutting board requires some basic tools and materials. You need the right items to create a smooth and safe surface for cutting.
This guide covers the essential tools and supplies you need for this woodworking project.
Essential Tools For The Project
You will need tools to cut, shape, and finish the wood. These tools help you work safely and accurately.
- Table saw or circular saw – for cutting wood pieces
- Jointer or hand plane – to smooth edges
- Random orbital sander – for sanding surfaces
- Clamps – to hold pieces while gluing
- Measuring tape or ruler – for precise measurements
- Pencil – to mark cutting lines
- Wood glue – to join pieces together
- Safety glasses and ear protection – to stay safe
Supplies And Finishing Products
Choosing the right wood and finish is important for a strong, food-safe cutting board. Use quality materials for best results.
- Hardwood boards like maple, walnut, or cherry
- Food-safe mineral oil – to protect the wood
- Beeswax or cutting board conditioner – for a smooth finish
- Fine-grit sandpaper (220 to 320 grit) – for final sanding
- Clean cloths – to apply oil and wax
Preparing The Wood
Preparing the wood properly is key to making a good wooden cutting board. It ensures the board is strong and safe to use.
This process starts with cutting the wood to the right size and then sanding it for a smooth finish.
Cutting Wood To Size
Choose hardwood like maple, walnut, or cherry for your cutting board. Cut the wood into pieces that fit your desired board size.
- Measure the wood pieces to your preferred length and width.
- Use a saw to cut the wood precisely along the marks.
- Check the thickness to keep it even across all pieces.
- Trim any uneven edges to make the wood straight.
- Arrange the pieces to see how they fit together before gluing.
Sanding Techniques For Smoothness
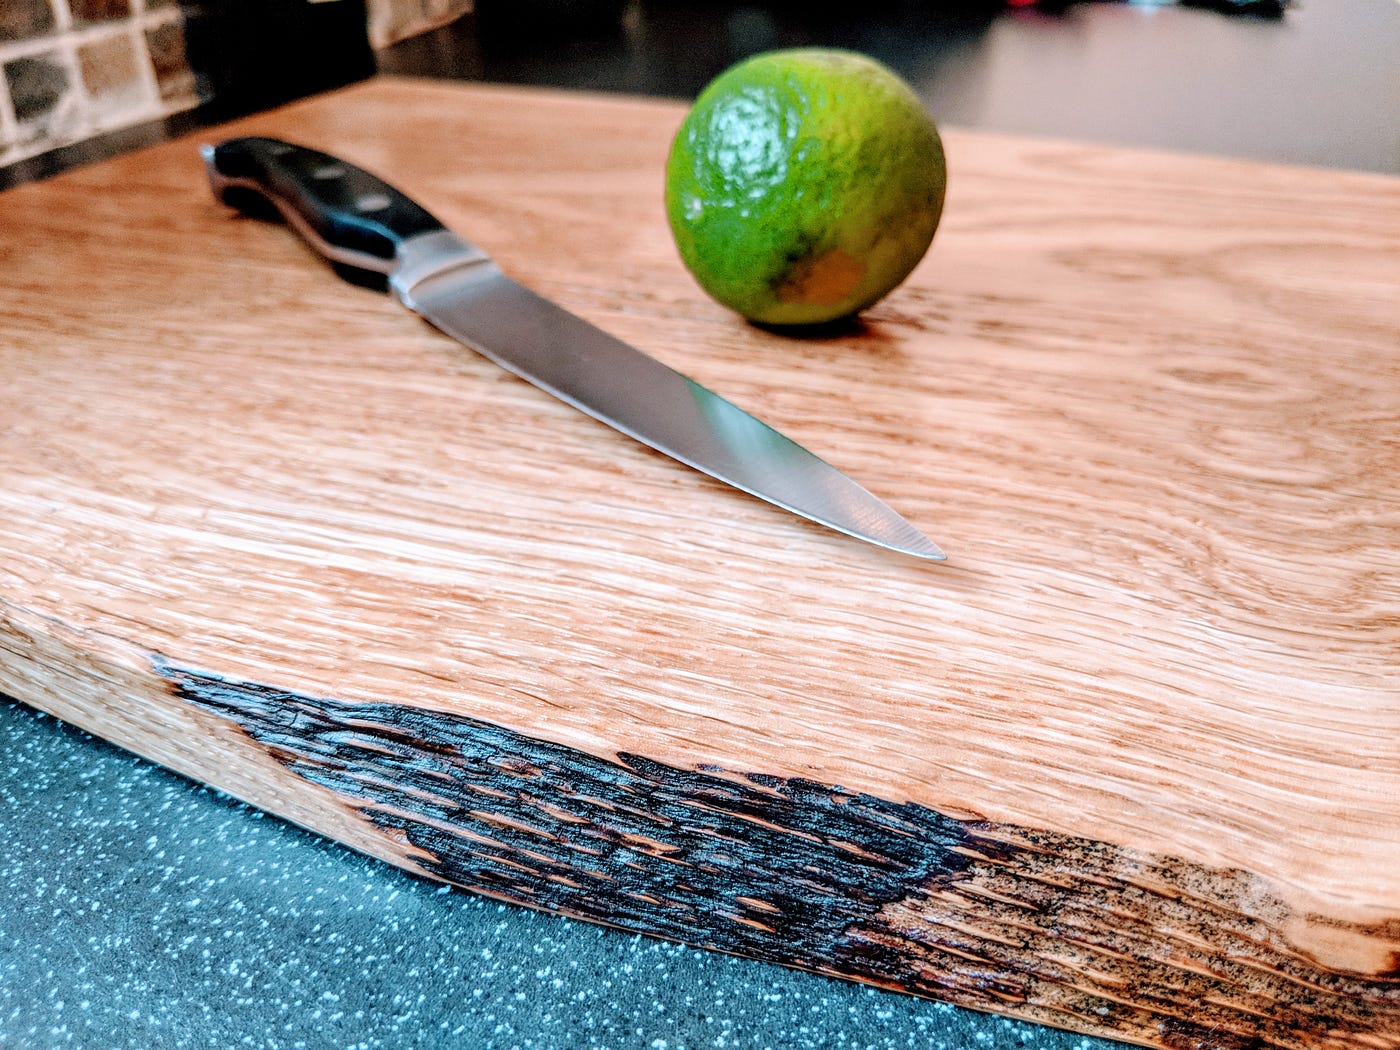
Sanding removes rough spots and prepares the surface for finishing. Start with coarse grit and work up to fine grit sandpaper.
| Sanding Grit | Purpose | How to Use |
| 80-100 | Remove saw marks and rough edges | Sand evenly using a sanding block |
| 120-150 | Smooth the surface | Use circular motions for even sanding |
| 220-320 | Prepare for finishing | Sand lightly to create a smooth finish |
Credit: medium.com
Assembling The Board
Assembling your wooden cutting board is an important step. It brings all the pieces together to create a strong, smooth surface.
This part requires care to make sure the board is stable and flat for safe use in the kitchen.
Gluing And Clamping The Pieces
Start by applying wood glue evenly on the edges of each piece. Use a brush or a small roller for good coverage.
Press the pieces firmly together to avoid gaps. Then, use clamps to hold them tightly while the glue dries.
- Apply glue on all joining edges
- Align pieces carefully before clamping
- Use enough clamps to apply even pressure
- Leave clamps on for at least one hour
- Wipe off excess glue with a damp cloth
Ensuring Stability And Flatness
Check the board’s surface after removing clamps. Use a straight edge or ruler to find any uneven spots.
If you find bumps or gaps, sand the board carefully. This helps create a flat, even cutting surface.
- Use a straight edge to check flatness
- Sand high spots with coarse, then fine sandpaper
- Inspect edges and corners for stability
- Test stability by pressing on different areas
- Repeat sanding until board is perfectly flat
Shaping And Finishing
Shaping and finishing are key steps in making a wooden cutting board. These steps give the board a smooth feel and a nice look.
Proper shaping makes the board safe to use. Finishing protects the wood and keeps it clean.
Rounding Edges And Corners
Rounding edges and corners makes the board comfortable to hold. It also stops sharp parts from chipping or hurting you.
Use sandpaper or a router to smooth the edges. Start with coarse sandpaper, then use finer grit for a soft finish.
- Sand edges evenly to avoid flat spots
- Round corners to a gentle curve
- Check edges with your hand to feel smoothness
- Remove dust before moving to finishing
Applying Food-safe Oil Or Finish
Applying food-safe oil protects the wood from water and stains. It also keeps the board looking fresh.
Use oils like mineral oil or beeswax. Apply several coats, letting the oil soak in between applications.
- Clean the board before applying oil
- Use a clean cloth to rub oil into wood
- Apply oil evenly on all surfaces
- Let oil soak for a few hours or overnight
- Wipe off extra oil after soaking
- Repeat until wood stops absorbing oil
Maintenance Tips
Taking care of your wooden cutting board keeps it safe and lasts longer. Regular maintenance stops cracks and stains.
Simple cleaning, drying, and oiling steps keep the wood strong and fresh.
Cleaning And Drying
Clean your cutting board right after use. Use warm water and mild soap. Avoid soaking it in water.
Dry the board with a towel. Stand it upright to air dry completely. This stops warping and mold.
- Use a soft sponge or cloth
- Do not put in dishwasher
- Dry fully before storing
Re-oiling And Repairing Scratches
Apply food-safe oil to your board once a month. This keeps the wood from drying out.
Light scratches can be fixed by sanding the surface gently. After sanding, clean and oil the board.
- Use mineral oil or beeswax
- Apply oil with a soft cloth
- Let oil soak for a few hours
- Buff off excess oil
- Sand scratches with fine sandpaper

Credit: www.findbuytool.com
Frequently Asked Questions
What Wood Is Best For Cutting Boards?
The best wood for cutting boards is hardwood like maple, walnut, or cherry. These woods are durable, resist moisture, and don’t dull knives. They have tight grains that prevent bacteria buildup. Avoid softwoods as they can get damaged easily. Choose wood that is food-safe and free from toxic finishes.
How Do You Maintain A Wooden Cutting Board?
To maintain a wooden cutting board, clean it with warm, soapy water after each use. Dry it immediately to prevent warping. Regularly oil it with food-grade mineral oil to maintain its luster and prevent cracks. Avoid soaking it in water or putting it in the dishwasher to preserve its quality.
Can You Use Pine For Cutting Boards?
Pine is not recommended for cutting boards. It is a softwood that can easily get scratched and damaged. Its porous nature makes it susceptible to bacteria. Opt for hardwood options like maple or walnut instead. They are more durable, safe, and maintain their integrity over time.
How Thick Should A Cutting Board Be?
A cutting board should ideally be 1. 5 to 2 inches thick. This thickness provides durability and stability during use. Thicker boards are less likely to warp and can withstand heavy chopping. Ensure it has a non-slip base for safety.
Choose a thickness that suits your kitchen space and needs.
Conclusion
Making a wooden cutting board takes time and care. Choose good wood and follow the steps carefully. Sand the board smooth to avoid rough edges. Treat it with oil to keep it strong and safe. A well-made board lasts a long time in your kitchen.
Enjoy the satisfaction of using something you made yourself. Try making one today and see the difference. Simple tools and patience create a useful kitchen tool. Crafting your own board is both fun and rewarding.