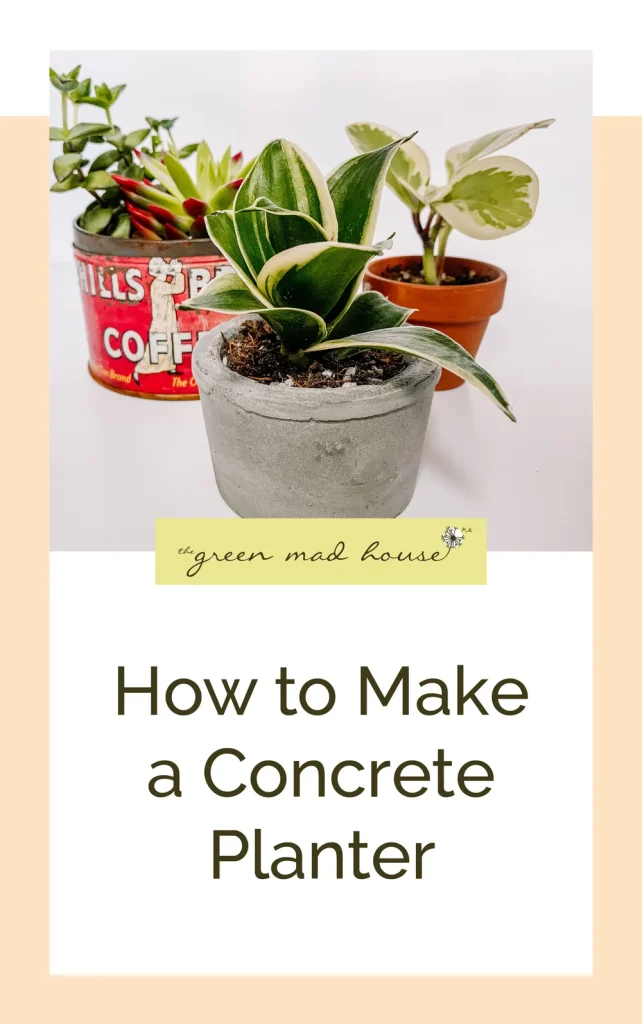
Are you looking to add a personal touch to your garden or home decor? Making your own concrete planters is easier than you think—and it lets you create unique pots that fit your style perfectly.
Imagine having sturdy, stylish planters that you crafted yourself, ready to showcase your favorite plants. You’ll discover simple steps to make concrete planters that look professional without needing special skills or tools. Keep reading, and you’ll be surprised at how rewarding and fun this DIY project can be!

Credit: hamiltonparkhome.com
Materials Needed
Making concrete planters requires the right materials for a strong and durable result. This guide covers what you need to start your project.
Gathering proper supplies helps you avoid mistakes and makes the process easier. Focus on quality materials for the best outcome.
Choosing The Right Cement
Select cement designed for concrete mixing. Portland cement is a common choice for planters. It binds well and offers strength.
- Use Portland cement type I or II for general purpose
- Avoid masonry cement as it is weaker
- Consider quick-setting cement for faster projects
- Buy cement powder fresh and store in a dry place
Selecting Molds
Molds shape your concrete planter. Choose molds that are sturdy and easy to clean. Plastic or silicone molds work well.
| Mold Type | Advantages | Disadvantages |
| Plastic | Affordable, easy to find | May warp or crack |
| Silicone | Flexible, easy to remove planter | More expensive |
| Wood | Custom shapes, reusable | Needs sealing to prevent sticking |
Additional Supplies
Besides cement and molds, several tools and items help make concrete planters. These supplies improve mixing, pouring, and finishing.
- Sand or aggregate for mixing with cement
- Water for mixing the concrete
- Mixing container and stirring tool
- Release agent like cooking spray or oil
- Protective gloves and mask
- Plastic sheet or tarp to cover drying planters
Preparing The Mold
Preparing the mold is an important step in making concrete planters. The mold shapes the concrete into the planter form.
Proper mold preparation helps remove the planter easily and keeps the surface smooth.
Cleaning And Sealing
Clean the mold to remove dirt, dust, and leftover concrete from past use. Dirt can cause rough spots on the planter.
After cleaning, seal the mold if it is porous. Sealing stops moisture from being absorbed by the mold.
- Wash the mold with soap and water
- Dry the mold completely
- Apply a sealant if the mold is wood or plaster
- Let the sealant dry before use
Applying Release Agent
Apply a release agent to the mold before pouring concrete. This helps the planter come out easily after it dries.
Use oil, wax, or a commercial release spray. Make sure to cover all inside surfaces evenly.
- Choose a release agent suitable for your mold material
- Use a brush or cloth to apply the agent
- Cover corners and edges well
- Wipe off any excess to avoid marks
Mixing Concrete
Concrete planters are simple to make at home. The key is getting the concrete mix right. Let’s look at the steps for mixing concrete effectively.
With the right mix, your planters will be strong and durable. Follow these guidelines to create perfect concrete for your projects.
Measuring Ingredients
Accurate measurement of ingredients is important. It ensures the concrete is strong and lasts long. Use the correct ratio for mixing.
Commonly used ratios are 1 part cement, 2 parts sand, and 3 parts gravel. Add water slowly to get the desired consistency.
- 1 part cement
- 2 parts sand
- 3 parts gravel
- Add water until the mix is workable
Mixing Techniques
Mixing techniques affect the strength of the concrete. Use a shovel or a mixer to blend the ingredients well. Ensure an even mix.
Mix the dry ingredients first. Slowly add water while mixing. Stop when the mixture holds together but is not too wet.
- Mix dry ingredients thoroughly
- Add water slowly
- Check consistency frequently
- Avoid over-watering
Pouring Concrete
Pouring concrete is a key step in making concrete planters. It shapes the planter and gives it strength. You need to work carefully to get good results.
This part involves filling the mold with concrete and making sure the mixture settles well. Proper pouring helps avoid cracks and holes.
Filling The Mold
Start by pouring the concrete mix slowly into the mold. Fill it evenly to avoid gaps or weak spots. Use a scoop or bucket for control.
Fill the mold up to the top level. Leave a little space if you plan to add a top layer or smooth the surface later.
- Pour concrete near the mold’s edge to reduce splashing
- Fill in layers if the mold is deep
- Use a trowel to spread concrete evenly
Removing Air Bubbles
Air bubbles can cause holes and weaken your planter. Removing them makes the concrete smooth and strong.
Tap the sides of the mold gently after pouring. This helps bubbles rise and escape from the concrete mix.
- Tap mold with a rubber mallet or your hand
- Use a stick or rod to poke and release trapped air
- Work slowly to avoid creating new bubbles
Setting And Curing
Making concrete planters needs patience in setting and curing. This process ensures your planter becomes strong and durable.
Proper care during setting and curing stops cracks and damage. Let’s look at how to cover the mold and tips for curing time.
Covering The Mold
After pouring concrete into the mold, cover it to keep moisture inside. This helps the concrete cure evenly and avoid drying too fast.
- Use plastic wrap or a plastic bag to cover the mold.
- Make sure the cover fits tightly to prevent air from escaping.
- Keep the mold in a cool, shaded place to slow drying.
- Check the cover daily for any gaps or tears.
Curing Time Tips
Concrete needs time to cure and reach full strength. The curing time depends on the mix and weather conditions.
| Days After Pouring | Care Tips |
| 1 – 3 | Keep covered and moist. Do not remove mold yet. |
| 4 – 7 | Remove mold gently. Continue to mist planter with water daily. |
| 8 – 14 | Keep in shade. Avoid direct sun and freezing temperatures. |
| 15+ | Planter is ready for use but still gains strength over time. |

Credit: www.youtube.com
Demolding And Finishing
After the concrete planter sets, you need to remove it from the mold carefully. This process is called demolding. Finishing the planter involves smoothing rough edges and giving it a clean look.
Good demolding and finishing make your planter look neat and ready to use. Take your time to avoid breaking or damaging the concrete.
Removing The Mold
Wait at least 24 hours for the concrete to harden before removing the mold. The concrete must be firm but not too dry to prevent cracks.
Gently loosen the mold edges by tapping or flexing the mold. Slowly pull the mold away from the concrete planter to avoid breaking it.
- Check the concrete hardness before demolding
- Tap the mold edges lightly to loosen
- Pull the mold slowly and carefully
- If stuck, wait a few more hours before trying again
Sanding And Smoothing Edges
After demolding, the planter edges may feel rough or sharp. Use sandpaper to smooth these areas for safety and a nicer look.
Start with coarse sandpaper to remove big bumps. Then use finer sandpaper to create a smooth surface. Sand in a circular motion for even results.
- Use 80-grit sandpaper first
- Switch to 120-grit for fine smoothing
- Wear a mask to avoid dust
- Wipe the planter clean after sanding
Decorating Your Planters
Concrete planters look great on their own, but decorating them adds style. You can use paint and sealers to make them last longer.
Adding colors and patterns helps your planters fit your space. Let’s explore easy ways to decorate them.
Painting Techniques
Painting your concrete planter can change its look completely. Use acrylic paint for bright colors that stick well.
Try these painting styles to decorate your planter:
- Solid colors for a clean and modern look
- Stripes or dots to add simple patterns
- Stencil designs for detailed shapes or words
- Ombre effect by blending two or more colors
- Splatter paint for a fun and messy style
Sealing For Durability
Sealing your planter protects the paint and concrete from water and dirt. It helps keep your decoration fresh longer.
Use a clear sealer that works outdoors. Apply it in thin layers and let each layer dry before adding another.
- Choose a waterproof sealer for outdoor planters
- Apply at least two coats for strong protection
- Let the sealer dry fully before using the planter
- Reapply sealer every year for best results

Credit: www.youtube.com
Troubleshooting Common Issues
Making concrete planters can be fun but sometimes problems happen. These problems can make your planter look bad or break easily.
Knowing how to fix these common issues helps you get better results. Below are tips to solve cracking problems and uneven surfaces.
Cracking Problems
Cracks in concrete planters often appear when the mix dries too fast or is too dry. Cracks can weaken your planter and spoil its look.
To avoid cracks, keep the concrete moist for several days after pouring. Use a good mix with the right water and cement ratio.
- Cover the planter with plastic to keep moisture.
- Use a mix with enough water but not too wet.
- Add fibers or mesh to the mix to reduce cracks.
- Do not move the planter while drying.
Uneven Surfaces
Uneven surfaces happen when the concrete is not spread or smoothed properly. It makes the planter look rough and unprofessional.
To get a smooth surface, pour concrete slowly and tap the mold gently. Use a trowel or float to smooth the top before it hardens.
- Pour concrete in small amounts to control spreading.
- Tap the mold to remove air bubbles and level the mix.
- Smooth the surface with a flat tool before drying.
- Work quickly to finish smoothing before the concrete sets.
Frequently Asked Questions
How Do You Start Making A Concrete Planter?
Begin by selecting a mold and preparing your concrete mix. Pour the mix into the mold evenly. Let it cure fully before removing the mold to ensure durability and shape retention.
What Materials Are Needed For Diy Concrete Planters?
You need cement, sand, water, a mold, and release agent. Optional items include paint and sealant for finishing touches.
How Long Does Concrete Take To Cure For Planters?
Concrete typically cures in 24 to 48 hours for handling. Full strength develops over 28 days, ensuring maximum durability.
Can I Customize The Shape Of Concrete Planters?
Yes, use different molds or create your own mold. This allows for unique shapes and sizes tailored to your needs.
Conclusion
Making concrete planters is simple and fun. You only need a few materials and some patience. Mixing and pouring the concrete carefully gives the best results. Let your planter dry fully before removing the mold. Personalize your planter by adding colors or designs.
These planters last long and look great in any space. Try making one today to brighten your home or garden. Enjoy the process and watch your creation come to life!