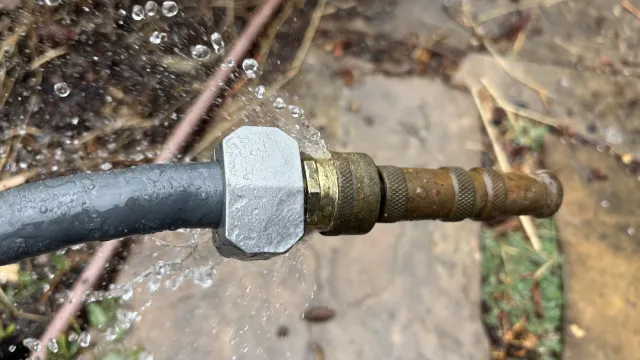
Is your garden hose leaking or damaged? Don’t rush to buy a new one just yet.
You can save time and money by learning how to repair your garden hose yourself. Imagine fixing those annoying leaks and cracks quickly, so your watering routine stays smooth and stress-free. In this guide, you’ll discover simple, practical steps to get your hose working like new again.
Ready to bring your garden hose back to life? Let’s dive in!
Identify Common Hose Issues
Garden hoses often face wear and tear from regular use. Finding problems early helps fix them before they get worse.
Knowing the common issues makes repairing your hose easier and saves money.
Leaks And Holes
Leaks and holes cause water to spray out and reduce pressure. They happen from sharp objects or aging material.
Small holes can be patched with tape or sealant. Bigger holes may need a hose repair kit or replacement section.
- Check for wet spots or water spraying
- Use waterproof tape for small leaks
- Cut out damaged parts for large holes
- Attach a repair coupling for quick fix
Kinks And Twists
Kinks and twists block water flow. They happen when the hose bends sharply or is stored badly.
Straighten the hose by stretching it out or warming it under the sun. Avoid sharp bends when using or storing.
- Uncoil the hose fully before use
- Store in loops, not tight coils
- Use hose guides to prevent sharp bends
- Replace if the hose stays kinked
Damaged Couplings
Couplings connect the hose to the faucet or nozzle. Cracks or rust here cause leaks or weak connections.
Replace broken couplings with new ones. Tighten loose fittings to stop water waste and improve flow.
- Inspect couplings for cracks or rust
- Tighten loose connections by hand or with a tool
- Use plumber’s tape for a better seal
- Swap damaged couplings for new parts
Tools And Materials Needed
Fixing a garden hose requires a few simple tools and parts. Having these ready saves time and effort. This guide lists what you need before starting your repair.
Gathering the right items ensures a smooth repair process. Let’s look at the tools and materials needed for common hose repairs.
Basic Repair Kit
A basic repair kit holds the essential tools to fix leaks or breaks in a garden hose. You can buy one or assemble it yourself.
- Utility knife or scissors to cut the hose
- Adjustable wrench for tightening fittings
- Screwdriver for clamps and connectors
- Rubber washers to seal connections
- Hose repair couplings for patching holes
Replacement Parts
You may need new parts to replace damaged sections. Keep these parts handy for quick fixes.
| Part | Use |
| Hose connectors | Join hose ends or attach to spigots |
| Rubber washers | Prevent leaks at joints |
| Hose clamps | Secure repair couplings tightly |
| Repair sleeves | Cover and seal cracks or holes |
Safety Gear
Wear safety gear to protect yourself during repairs. Simple precautions keep you safe.
- Work gloves to avoid cuts and scrapes
- Eye protection to prevent debris from entering eyes
- Closed-toe shoes for foot safety
Fixing Small Leaks And Holes
A garden hose with small leaks can waste water and lower pressure. Fixing these leaks is simple and saves you money.
Below are methods to repair your garden hose effectively. Choose the one that suits your needs best.
Using Waterproof Tape
Waterproof tape is a quick and easy fix for small leaks. It’s flexible and sticks well to rubber surfaces.
- Dry the hose completely before applying tape.
- Wrap the tape tightly around the leak area.
- Overlap the tape layers to ensure a solid seal.
Applying Hose Repair Tape
Hose repair tape is designed for hose surfaces. It provides a durable seal and can handle water pressure.
- Resistant to weather conditions
- Easy to apply without tools
- Long-lasting solution
Sealants And Patches
Sealants and patches offer a more permanent fix. They are ideal for larger leaks or older hoses.
| Method | Best Use |
| Sealants | Small, consistent leaks |
| Patches | Large holes or tears |
Repairing Larger Damage
Garden hoses can get bigger holes or tears from wear or accidents. Fixing these damages stops water waste and keeps the hose usable.
There are simple ways to repair large holes or splits in your garden hose. You can cut and rejoin the hose, use hose menders, or replace damaged sections.
Cutting And Rejoining Hose
Cutting out the damaged part of your hose is a clean way to fix big holes. After cutting, you join the two good ends back together.
Use a sharp knife or scissors to cut straight across the hose. Make sure both ends are smooth and even before connecting them.
- Cut about 1 inch before and after the damage
- Check the hose ends for clean cuts
- Use a hose connector or mender to join ends
- Tighten clamps to prevent leaks
Installing Hose Menders
Hose menders are small tools that fix damaged hose sections. They connect two hose ends tightly and stop leaks.
To install, insert the mender into both hose ends. Use hose clamps or built-in rings to secure the connection firmly.
- Choose the right size mender for your hose
- Push mender fully inside hose ends
- Tighten clamps or rings for a strong seal
- Test the repair by turning on water slowly
Replacing Hose Sections
If a hose section is badly damaged, replacing it is the best option. Cut out the broken part and use new hose to fill the gap.
Use hose connectors to join the new section to the old hose. This keeps your garden hose long and working well.
- Measure the damaged section length
- Cut out the damaged hose piece cleanly
- Cut a new hose piece to the same length
- Attach connectors to both ends of new and old hose
- Tighten clamps for a leak-proof fit
Addressing Kinks And Twists
Kinks and twists in garden hoses can block water flow. They also make using the hose hard and frustrating.
Fixing these problems keeps your hose working well and lasts longer. You can use simple ways to straighten and prevent kinks.
Straightening Techniques
One way to fix kinks is to stretch the hose out in the sun. The heat makes the hose soft and easier to straighten.
Another way is to run water through the hose at full pressure. This helps push out small twists inside the hose.
- Lay the hose flat on a sunny spot for 30 minutes.
- Pull the hose gently to straighten sharp bends.
- Turn on the water fully to clear inside twists.
- Use your hands to smooth out any remaining kinks.
Preventive Measures
Store your hose properly to avoid kinks. Coil it loosely after each use and keep it out of sharp corners.
You can also use hose guides or reels. These tools help keep the hose in good shape and stop twists from forming.
- Coil the hose in large loops, not tight circles.
- Keep the hose away from rough or sharp objects.
- Use a hose reel to wind up the hose neatly.
- Drain the hose before storing to prevent bending.

Credit: www.youtube.com
Fixing Or Replacing Couplings
Garden hoses often leak or stop working properly because of bad couplings. Fixing or replacing these parts can save your hose.
Couplings connect the hose to the water source or other hoses. They need to be tight and undamaged to work well.
Tightening Loose Fittings
Loose fittings cause leaks and reduce water pressure. Tighten the fittings with a wrench or by hand if possible.
Be careful not to overtighten. This can damage the fittings or hose ends.
- Turn the fitting clockwise to tighten
- Check for leaks after tightening
- Use plumber’s tape for a better seal
Replacing Damaged Ends
Cracked or broken hose ends cause leaks and make it hard to connect. Replace damaged ends to fix the problem.
Cut off the damaged part with a sharp knife. Attach a new hose end and secure it tightly.
- Cut hose end square and clean
- Push new coupling on the hose
- Tighten clamp or use a crimp tool
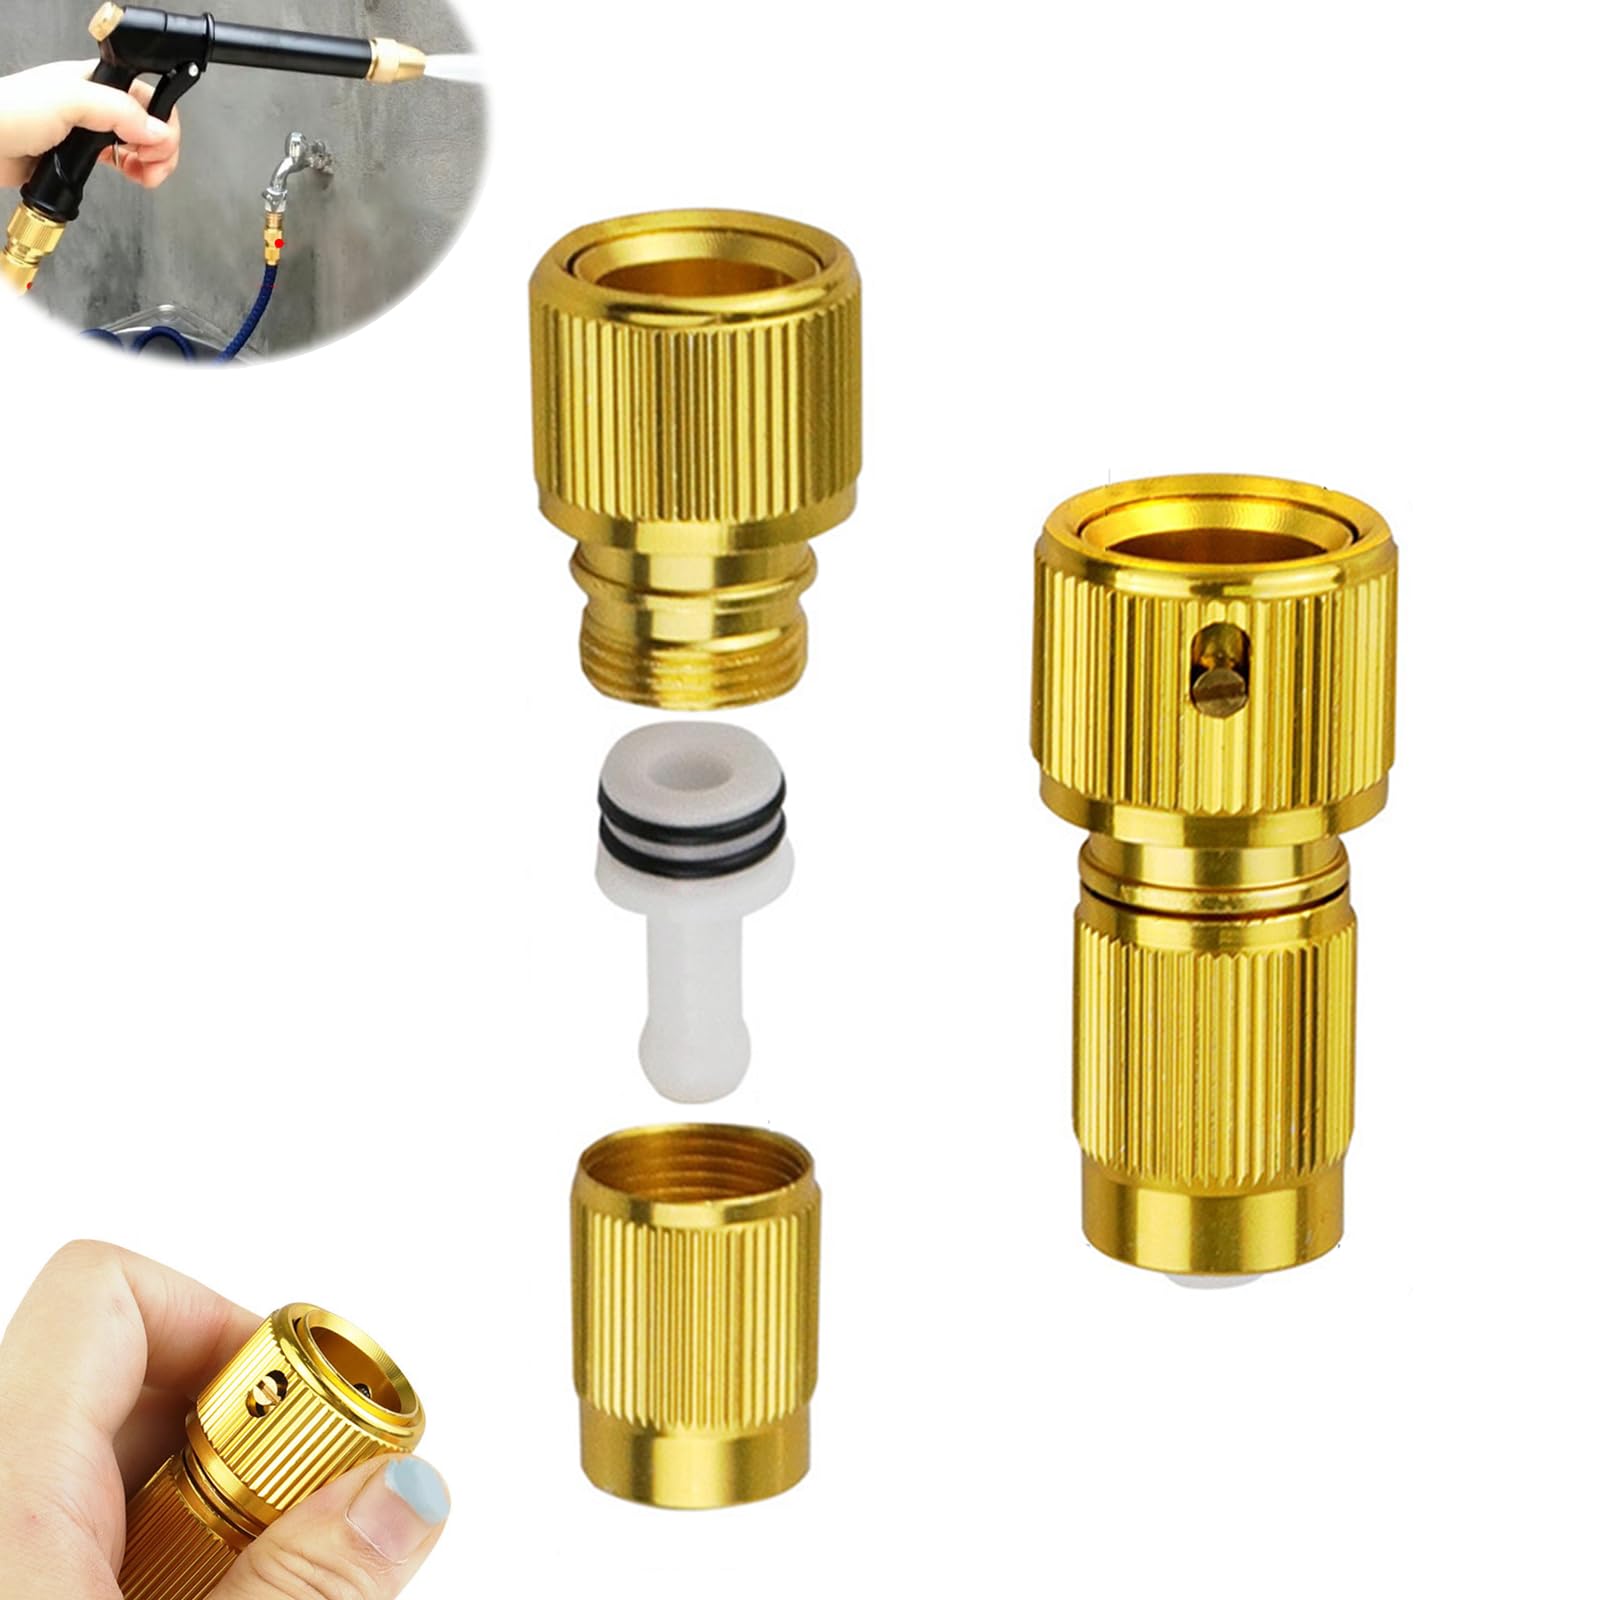
Using Quick Connectors
Quick connectors make attaching and detaching hoses easy. They fit on hose ends and let you connect fast.
Install quick connectors by replacing old couplings. They save time and reduce leaks.
- Remove old fitting from hose end
- Attach quick connector firmly
- Click hoses together for easy use
Maintenance Tips For Longevity
A garden hose lasts longer with good care. Simple maintenance helps avoid leaks and cracks.
Follow easy tips to keep your hose working well for many seasons.
Proper Storage Methods
Storing your garden hose correctly prevents damage. Keep it away from sharp objects and sunlight.
- Drain water from the hose before storing
- Coil the hose loosely to avoid kinks
- Use a hose reel or hanger to keep it off the ground
- Store the hose in a shaded, dry place
- Avoid leaving the hose in freezing temperatures
Regular Inspections
Check your hose often for signs of wear. Early fixes stop small problems from growing.
| Problem | What to Check | Action |
| Leaks | Look for wet spots or drips | Replace washers or patch holes |
| Cracks | Inspect the hose surface closely | Use hose repair tape or replace damaged parts |
| Kinks | Find bends that block water flow | Straighten or re-coil the hose properly |
Avoiding Harsh Conditions
Harsh weather and rough use shorten a hose’s life. Protect it from stress and damage.
- Do not drag the hose over rough surfaces like concrete
- Keep the hose away from chemicals and sharp tools
- Avoid leaving the hose in full sun for many hours
- Do not expose the hose to freezing water inside
- Turn off water pressure when the hose is not in use
Credit: www.amazon.ca
Credit: www.amazon.com
Frequently Asked Questions
How Can I Fix A Leaking Garden Hose?
To fix a leaking garden hose, first identify the leak location. Cut out damaged parts, then use a hose repair kit or connectors. Ensure tight fittings to prevent leaks. Replace washers if needed for a secure seal.
What Tools Are Needed To Repair A Garden Hose?
You typically need a hose repair kit, utility knife, pliers, and a screwdriver. These tools help cut, strip, and connect hose sections effectively. Having these ensures a quick and easy garden hose repair.
Can I Repair A Punctured Garden Hose At Home?
Yes, small punctures can be repaired at home using repair kits or waterproof tape. Clean the area, apply the patch or connector, and allow it to dry. This method is cost-effective and extends hose life.
How Long Does It Take To Repair A Garden Hose?
Repairing a garden hose usually takes 10 to 20 minutes. Time depends on the damage size and repair method. Quick fixes like patching leaks are faster, while replacing hose sections may take longer.
Conclusion
Repairing a garden hose saves money and time. Small leaks or cracks do not need full replacement. You can fix many problems with simple tools at home. Regular checks help spot damage early and keep water flowing well. A working hose makes gardening easier and more fun.
Try these easy steps to keep your hose in good shape. Your plants will thank you for it. Stay patient and careful during the repair process. You will enjoy a longer-lasting garden hose.