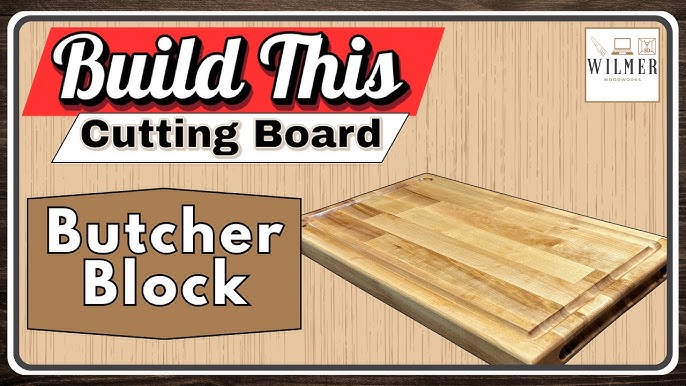
If you love cooking, having a sturdy, beautiful cutting board makes a big difference. Imagine crafting your very own butcher block cutting board—strong, durable, and perfect for all your kitchen tasks.
You might think it’s hard or expensive, but it’s easier than you expect. In this guide, you’ll learn simple steps to build a cutting board that lasts for years. Ready to create a kitchen tool that’s truly yours? Keep reading, and by the end, you’ll have the confidence to make your own butcher block cutting board from start to finish.
Credit: www.youtube.com
Choosing The Right Wood
Picking the right wood is key to making a strong butcher block cutting board. The wood must be tough, safe, and last long.
This guide helps you understand different woods and how to choose the best one for your board.
Hardwood Vs Softwood
Hardwood comes from trees that lose leaves in winter. Softwood comes from evergreen trees. For cutting boards, hardwood is best.
Hardwoods are stronger and resist cuts better. Softwoods are softer and get damaged easily. Softwood can also absorb water more.
- Hardwood is durable and safe for food.
- Softwood is cheaper but wears out fast.
- Hardwood resists knife marks and bacteria.
Popular Wood Types For Butcher Blocks
Some woods are popular for butcher blocks because they are strong and food safe. Oak, maple, and walnut are common choices.
- Maple:Hard, light color, very durable.
- Walnut:Dark, strong, and looks great.
- Cherry:Medium hardness, reddish color.
- Oak:Very tough, with a coarse grain.
- Beech:Hard and light, easy to work with.
Wood Quality And Grain Orientation
Good quality wood has no cracks, knots, or soft spots. These flaws weaken the board and can trap bacteria.
The wood grain affects strength and cutting surface. End grain boards last longer and are easier on knives. Edge grain boards look nice and are cheaper.
- End grain:Shows tree rings, very strong.
- Edge grain:Shows the side of the wood plank.
- Face grain:Wide flat surface, less durable.
Gathering Tools And Materials
Building a butcher block cutting board needs the right tools and materials. Getting everything ready makes the project easier.
This guide explains what tools, glue, finish, and safety gear you need. Start by collecting these items before you begin.
Essential Tools List
You need some basic woodworking tools to build a butcher block. These tools help you cut, sand, and assemble the wood pieces.
- Table saw or circular saw for cutting wood
- Planer or hand plane to smooth surfaces
- Random orbit sander for sanding
- Clamps to hold pieces tight while gluing
- Measuring tape and square for accuracy
- Brush or rag for applying finish
- Workbench or sturdy surface to work on
Recommended Wood Glue And Finish
Using the right wood glue keeps your board strong and durable. Choose a glue that works well for hardwoods and water resistance.
A food-safe finish protects your board and makes it last longer. It also keeps moisture out and makes cleaning easy.
- Wood glue: Titebond III or any waterproof wood glue
- Finish: Mineral oil, beeswax, or a food-safe cutting board oil
Safety Gear
Safety gear protects you while working with tools and wood. Always wear protective equipment to avoid injuries.
- Safety glasses to protect your eyes
- Hearing protection when using loud tools
- Dust mask to avoid breathing wood dust
- Work gloves to protect your hands
Preparing The Wood
Preparing the wood is an important part of building a butcher block cutting board. Proper preparation helps the board last longer and look better.
You will work on cutting, sanding, and arranging the wood before gluing it together. Each step needs care and attention.
Cutting Wood To Size
Cut the wood pieces to the size you want for your board. Use a saw to make straight, clean cuts.
Cutting the wood correctly helps the pieces fit well and makes the board sturdy.
- Measure the length and width of each piece.
- Mark the wood with a pencil before cutting.
- Use a sharp saw to get smooth edges.
- Double-check each piece after cutting.
Sanding And Smoothing Edges
Sanding removes rough spots and splinters from the wood edges. It makes the surface smooth and safe to touch.
Use sandpaper with different grits, starting coarse and moving to fine for a polished finish.
- Start sanding with 80-grit sandpaper.
- Move to 120-grit to smooth edges.
- Finish with 220-grit for a soft touch.
- Wipe dust off between sanding steps.
Arranging The Wood Pieces
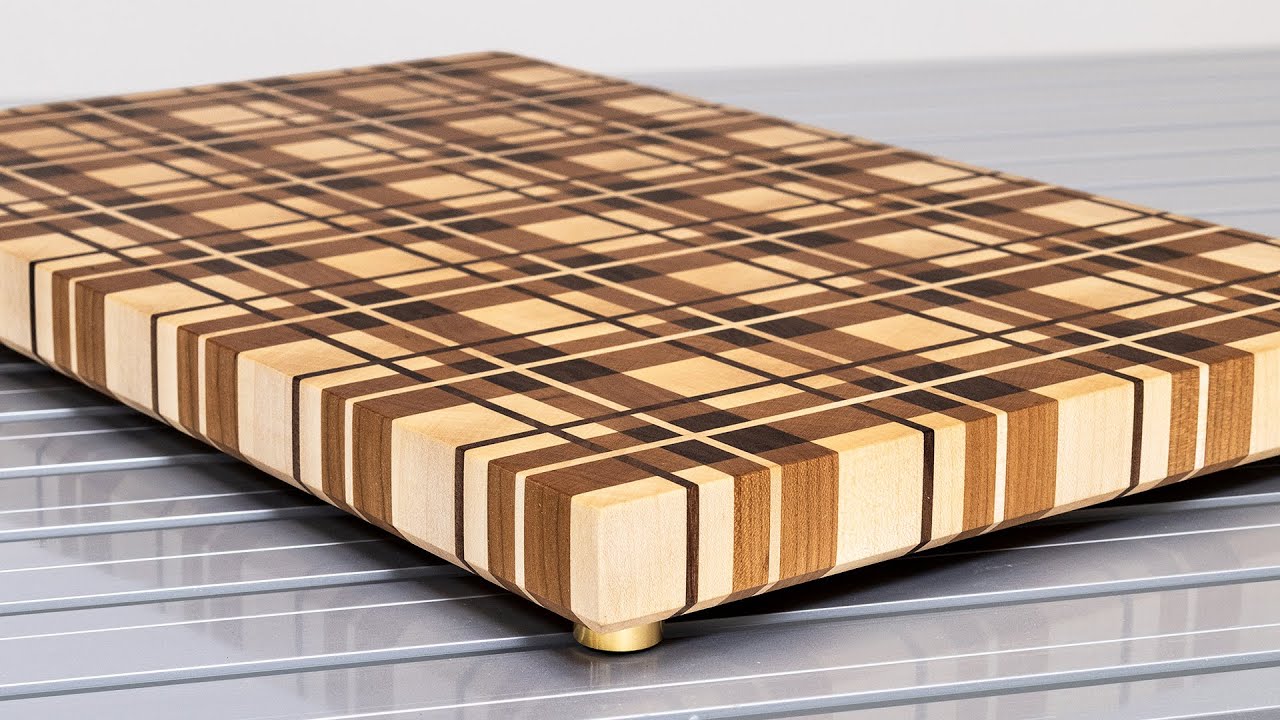
Arrange the wood pieces in a pattern you like before gluing. This step helps you see the final look.
Try different layouts to find the best design. Keep the grain direction in mind for strength.
- Lay pieces side by side on a flat surface.
- Mix wood colors for contrast.
- Check that edges fit tightly together.
- Adjust pieces until the design looks good.

Credit: www.newtonmakes.com
Gluing And Clamping
Gluing and clamping are key steps in making a strong butcher block cutting board. These steps hold the wood pieces tightly together until the glue dries. Proper technique ensures the board stays flat and durable for years.
Careful glue application and clamping pressure help prevent gaps and warping. Let’s look at how to do each step correctly.
Applying Glue Properly
Use a good-quality wood glue designed for cutting boards. Spread the glue evenly on the edges of each wood strip. Avoid using too much glue as it can squeeze out and cause a mess.
- Apply a thin, even layer of glue on one side only.
- Use a brush or a small roller for smooth coverage.
- Join the pieces quickly before the glue starts to dry.
- Check for any dry spots and add glue if needed.
- Wipe off excess glue with a damp cloth before clamping.
Using Clamps Effectively
Clamps keep the glued pieces tight and aligned. Use enough clamps to apply even pressure across the whole board. Too little pressure can cause gaps; too much may squeeze out all the glue.
| Clamp Type | Use | Pressure Level |
| Bar Clamps | Long boards | Medium to High |
| Pipe Clamps | Wide boards | Medium |
| Hand Screw Clamps | Small boards | Low to Medium |
| Cauls | Keep board flat | Even pressure |
Place scrap wood cauls on top of the board to protect the surface. Tighten clamps just enough to hold pieces firmly without bending the wood.
Drying Time And Tips
Let the glued board dry fully before removing clamps. Drying time depends on the glue type and room conditions. Usually, 24 hours is enough for wood glue.
- Keep the board clamped on a flat surface.
- Avoid moving or disturbing the board while drying.
- Check the glue instructions for exact drying times.
- If needed, lightly sand any glue residue after drying.
- Store the board in a dry, ventilated area during drying.
Shaping And Sanding The Board
Shaping and sanding are key steps in building a butcher block cutting board. These steps help make the board safe and nice to use.
Careful shaping and sanding remove rough spots and give the board a smooth finish.
Trimming Excess Wood
Start by trimming any extra wood that sticks out beyond your board’s final size. Use a saw or a sharp chisel for this.
Make sure the edges are straight and even. This step creates a clean shape for your cutting board.
- Mark the final size on the wood
- Cut along the marks carefully
- Remove small pieces with a chisel if needed
- Check all sides for evenness
Sanding For A Smooth Finish
Use sandpaper to smooth the surface of the board. Start with coarse grit to remove roughness.
Move to finer grit sandpaper to make the surface soft and pleasant to touch. Sand along the wood grain for best results.
- Begin with 80-grit sandpaper
- Sand evenly over the whole surface
- Switch to 120-grit, then 220-grit paper
- Wipe dust off between sanding steps
Rounding Edges And Corners
Sharp edges can hurt hands and cause damage. Use sandpaper or a router to round edges and corners.
Soft, rounded edges make the board safer and more comfortable to hold and clean.
- Use medium grit sandpaper on edges
- Sand corners into smooth curves
- Check for any sharp spots
- Finish with fine grit for softness
Applying Finish
Applying the right finish protects your butcher block cutting board. It keeps the wood safe from moisture and food stains. A good finish also makes your board look beautiful.
This guide covers choosing food-safe finishes, applying oil or wax, and tips for curing and maintenance.
Choosing Food-safe Finishes
Not all finishes are safe for surfaces that touch food. Choose finishes that do not contain harmful chemicals. Natural oils and waxes are best for butcher blocks.
- Mineral oil: odorless and tasteless, easy to apply
- Beeswax: adds extra protection and shine
- Tung oil: natural and waterproof when cured
- Walnut oil: safe but check for nut allergies
- Shellac: natural resin, food-safe after curing
Applying Oil Or Wax
Start with clean, dry wood. Use a soft cloth or brush to apply a generous layer of oil or wax. Rub it in the direction of the wood grain for best absorption.
Let the finish soak in for at least 20 minutes. Wipe off any excess with a clean cloth. Repeat the process two or three times for a strong, even coating.
| Finish Type | Application Tips | Dry Time |
| Mineral Oil | Apply 3 coats, rub well | 20-30 minutes |
| Beeswax | Warm before applying, buff to shine | 1 hour |
| Tung Oil | Thin coats, let dry fully | 24 hours |
Curing And Maintenance Tips
After applying finish, let your board cure in a dry place. This strengthens the protective layer. Avoid using the board for at least 24 hours after finishing.
- Reapply oil once a month or when wood looks dry
- Clean with mild soap and water; dry immediately
- Do not soak or put in dishwasher
- Lightly sand rough spots before reapplying finish
- Store in a dry area away from direct sunlight
Adding Optional Features
Building a butcher block cutting board lets you add features that improve function and style. These extras can make your board unique and easier to use.
This guide covers adding juice grooves, attaching feet or handles, and customizing with engraving.
Adding Juice Grooves
A juice groove catches liquids from meats or fruits. It helps keep your countertop clean while cutting.
Use a router with a round-nose bit to carve a groove near the board’s edges. Keep the groove about 1/4 inch deep and 1/2 inch wide.
Attaching Feet Or Handles
Feet lift the board off the surface for better grip and airflow. Handles make it easier to carry or hang the board.
- Choose hardwood or rubber for feet to prevent slipping.
- Attach feet evenly spaced on the bottom corners with wood glue and screws.
- Select metal or wooden handles that match your board style.
- Secure handles on the sides using screws or bolts.
Customizing With Engraving
Engraving adds a personal touch, like initials or a logo. You can use a laser engraver or hand tools.
| Engraving Method | Tools Needed | Best For |
|---|---|---|
| Laser Engraving | Laser engraver machine | Precise, detailed designs |
| Hand Carving | Chisels, gouges, mallet | Simple, rustic look |
| Wood Burning | Pyrography pen | Darkened, artistic effects |

Credit: www.youtube.com
Care And Maintenance
Keeping your butcher block cutting board in good shape takes simple care. Proper cleaning and regular oiling keep it safe and durable.
Follow these tips to keep your board looking great and lasting a long time.
Cleaning Tips
Clean your butcher block after each use. Use warm water and mild soap. Avoid soaking the board in water to stop warping.
Dry the board with a towel right after washing. Let it air dry standing up to keep both sides dry.
- Use a soft sponge or cloth
- Do not put in dishwasher
- Use lemon and salt to remove stains and odors
- Disinfect with vinegar or diluted bleach if needed
Re-oiling Schedule
Oil your butcher block regularly to protect the wood. This stops cracking and keeps the board looking fresh.
Apply food-safe mineral oil or butcher block oil. Rub it in with a clean cloth and let it soak overnight.
- Oil the board once a month with regular use
- Oil more often if the board looks dry
- Wipe off extra oil before use
Repairing Minor Damage
Small cuts and scratches happen with use. Sand the surface lightly with fine sandpaper to smooth the area.
After sanding, clean the dust and re-oil the board. This helps the wood heal and stay protected.
- Use 220-grit sandpaper for light sanding
- Sand in the direction of the wood grain
- Clean dust with a damp cloth
- Apply oil after sanding to seal the surface
Frequently Asked Questions
What Materials Are Needed To Build A Butcher Block Board?
To build a butcher block, you need hardwoods like maple or walnut. Also, get wood glue, clamps, sandpaper, and food-safe finish. These materials ensure durability and safety for cutting food.
How Do You Join Wood Pieces For A Butcher Block?
Use wood glue to bond the hardwood strips edge to edge. Clamp them tightly and let dry for 24 hours. This creates a strong, seamless cutting surface.
How Should I Finish A Butcher Block Cutting Board?
Apply food-safe mineral oil or beeswax to seal the wood. This protects the board and enhances its natural grain. Reapply regularly to maintain moisture and durability.
Can I Use Any Hardwood For Butcher Block Cutting Boards?
Hardwoods like maple, walnut, and cherry are best. They resist knife marks and bacteria growth. Avoid softwoods as they dent easily and are less hygienic.
Conclusion
Building a butcher block cutting board takes time and care. Choose good wood and follow each step closely. Sand the surface smooth and apply oil to protect it. This board will last long with simple maintenance. Enjoy using a sturdy, handmade board in your kitchen.
Small effort leads to a useful, beautiful tool. Try the project and see how rewarding it feels.