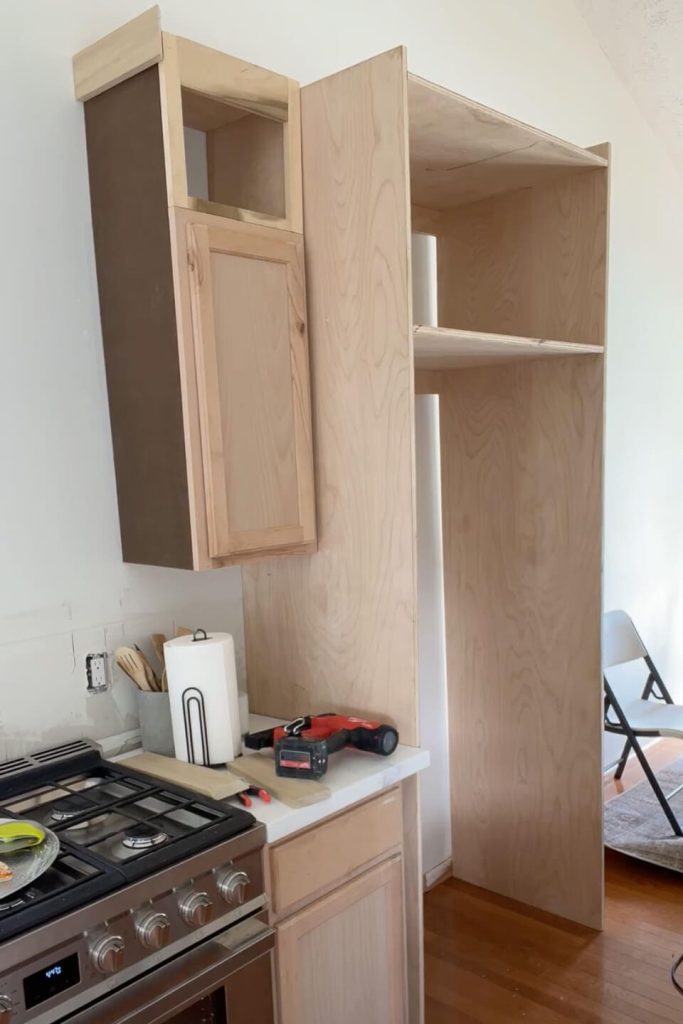
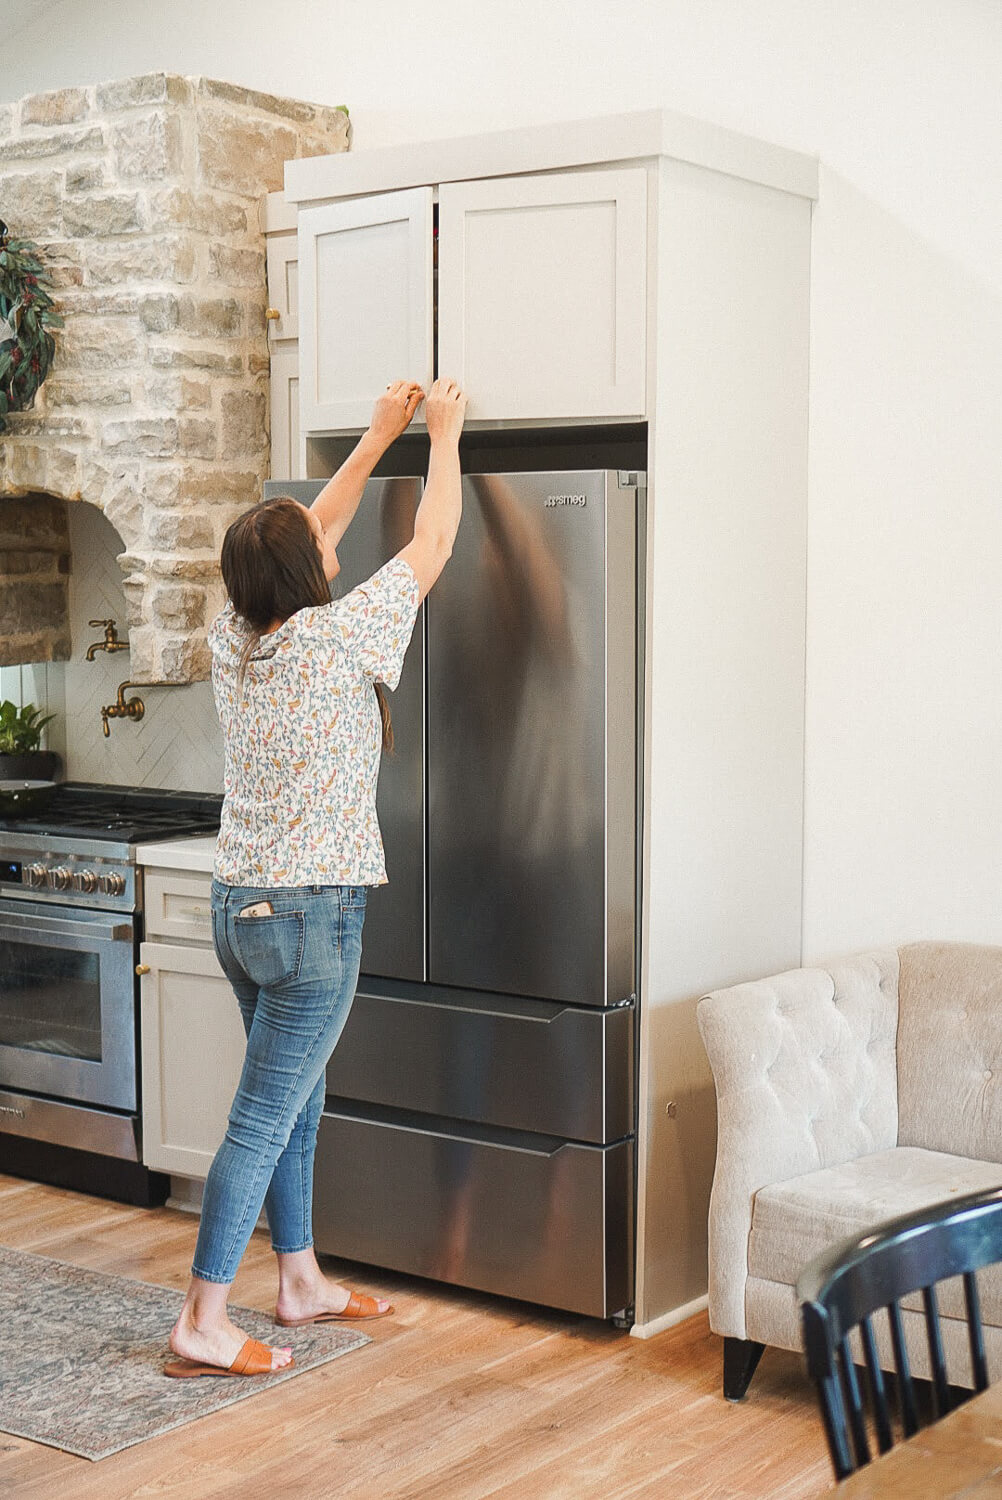
Are you tired of your refrigerator sticking out like a sore thumb in your kitchen? A refrigerator cabinet can seamlessly blend your fridge with your kitchen decor, giving it a custom, built-in look.
Imagine opening your kitchen to find everything in harmony, where your appliances complement your style, not compete with it. In this guide, we’ll show you how to build a refrigerator cabinet that’s both functional and fashionable. You’ll discover simple steps that make this project manageable, even if you’re not a seasoned DIYer.
Get ready to transform your kitchen into a space that not only meets your needs but also reflects your personal style. Curious to learn how? Read on to find out how easy it can be to upgrade your kitchen with just a few tools and a bit of creativity.
Credit: crystelmontenegrohome.com
Planning Your Refrigerator Cabinet
Planning your refrigerator cabinet carefully is the key to a smooth build and a finished product that fits perfectly and works well. Taking time at this stage helps you avoid costly mistakes and ensures your cabinet meets your needs.
Measuring Space Accurately
Start by measuring the exact space where your refrigerator cabinet will go. Measure height, width, and depth multiple times to confirm accuracy. Remember to account for extra space needed for door clearance and any surrounding fixtures.
Think about the thickness of the cabinet walls and shelves too. If you skip this, you might end up with a cabinet that’s too tight or too loose. Have you checked the clearance needed for the fridge’s door to open fully without hitting walls or cabinets?
Choosing Materials
Select materials that are strong and moisture-resistant since refrigerators produce condensation. Plywood or medium-density fiberboard (MDF) with a waterproof finish often work well. Avoid particleboard; it can swell if exposed to moisture.
Also consider the cabinet’s style and finish. Do you want it painted, laminated, or stained? Your choice affects both the look and durability of the cabinet. Think about how your material choice will hold up over time and with regular cleaning.
Designing For Ventilation
Proper ventilation is essential to prevent your refrigerator from overheating. Make sure you leave enough open space around the fridge for air to flow freely. Check your fridge’s manual for recommended ventilation clearances.
Adding vents or grills at the back or sides of the cabinet can help air circulate. Have you thought about how heat will escape from the fridge? Without good ventilation, your appliance may work harder and use more energy.
Credit: crystelmontenegrohome.com
Gathering Tools And Supplies
Gathering the right tools and supplies is the first step to build a refrigerator cabinet. Having everything ready saves time and keeps the work smooth. It also helps avoid mistakes and frustration during the project.
Choosing good-quality items ensures the cabinet is strong and lasts long. Planning ahead makes the building process easier and more enjoyable.
Essential Tools List
- Measuring tape for accurate dimensions
- Power drill with drill bits
- Screwdriver set for assembling parts
- Handsaw or circular saw for cutting wood
- Level to keep surfaces straight
- Clamps to hold pieces together
- Hammer for nails and adjustments
- Pencil for marking measurements
Selecting Hardware
Pick strong hinges that support the cabinet doors. Use screws that fit wood and metal securely. Choose handles that match your kitchen style and are easy to grip. Consider magnetic catches to keep doors closed tightly. Select adjustable feet if the floor is uneven.
Safety Gear
- Safety goggles to protect your eyes
- Work gloves for hand protection
- Dust mask to avoid inhaling sawdust
- Ear protection if using loud power tools
- Closed-toe shoes to protect your feet
Preparing The Workspace
Preparing your workspace is a crucial first step before building a refrigerator cabinet. A well-organized area helps you work efficiently and avoid mistakes. It also keeps your tools and materials within easy reach, reducing frustration and wasted time.
Clearing The Area
Start by removing any unnecessary items from your workspace. This gives you plenty of room to move around and handle large cabinet parts safely. Think about the path you’ll need to carry the fridge and cabinet pieces; clear that as well.
Have you noticed how clutter can slow you down or cause accidents? Keeping the area tidy protects both you and your project.
Setting Up Work Surfaces
Set up sturdy tables or workbenches where you can cut, measure, and assemble parts comfortably. The height should let you work without bending too much, preventing back strain. If you don’t have a dedicated bench, a flat, stable surface covered with a protective layer will work.
Consider lighting too. Bright, even light helps you see measurements and cuts clearly, reducing errors.
Organizing Materials
Gather all the materials and tools you’ll need before you start. Arrange screws, wood panels, hinges, and your power tools in a logical order. Use containers or trays to keep small parts from getting lost.
Having everything organized not only saves time but also keeps your focus sharp. What’s one small change you can make right now to improve your workspace setup?
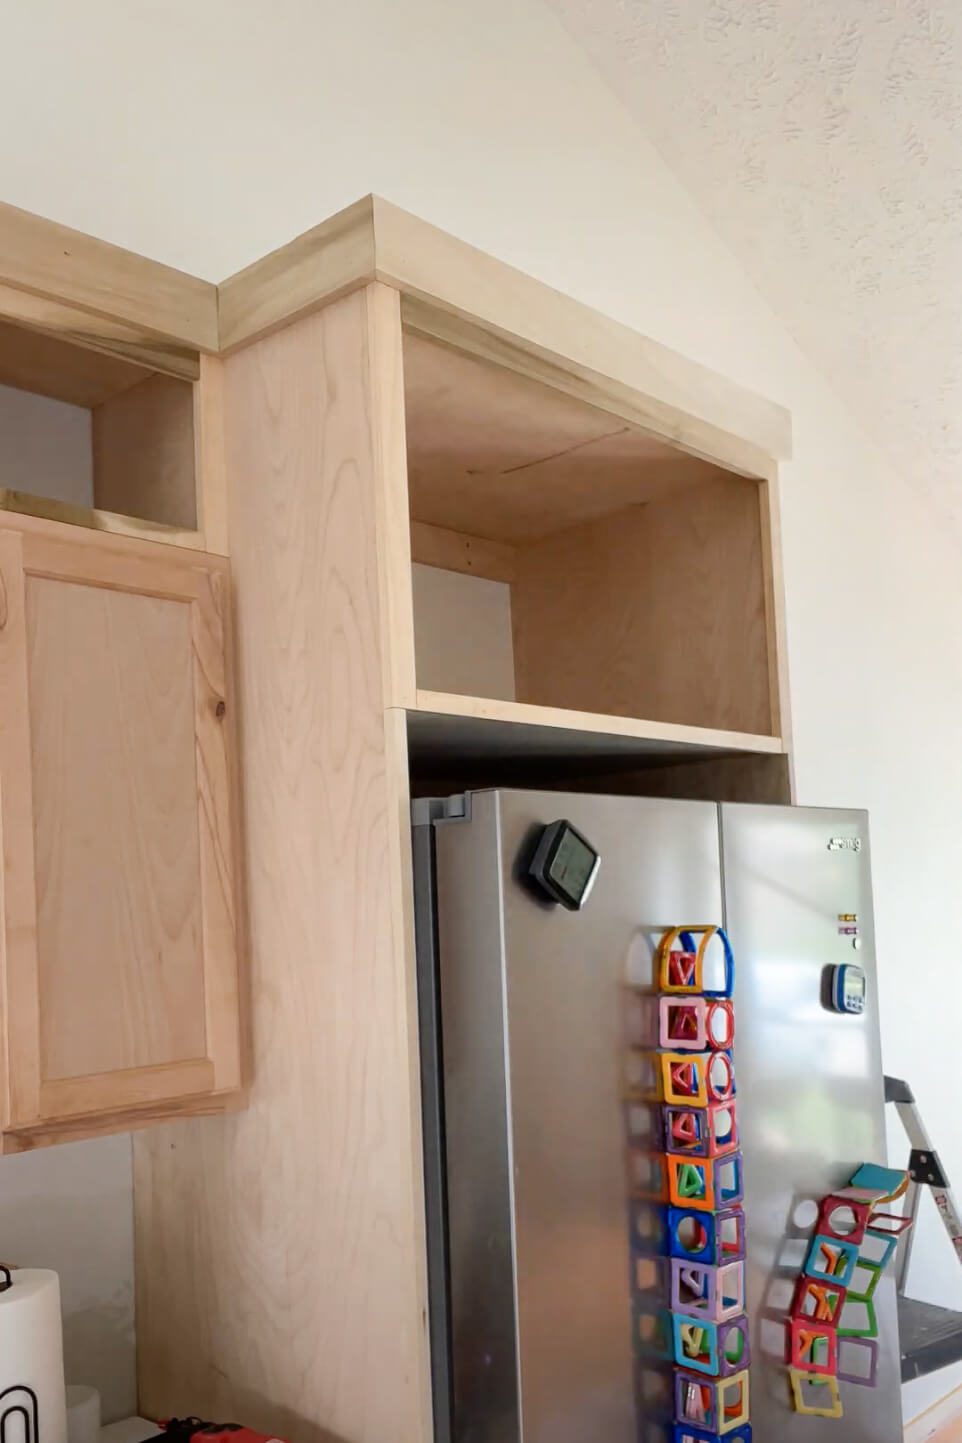
Cutting And Assembling The Frame
Cutting and assembling the frame is a crucial stage in building a refrigerator cabinet. This part sets the foundation for the entire structure, so precision matters. You’ll want to take your time marking, cutting, and joining each piece to ensure everything fits perfectly.
Marking Measurements
Start by measuring your refrigerator and the space where the cabinet will sit. Mark these dimensions clearly on your wood panels using a pencil and a straight edge. Double-check each measurement to avoid costly mistakes later.
Use a tape measure that locks in place to keep your marks consistent. Mark all pieces before cutting to maintain an overview of the frame layout. Have you ever cut a piece too short and had to start over? Accurate marking helps you avoid that frustration.
Cutting Wood Panels
Choose quality wood panels that can withstand the weight and moisture near a refrigerator. Use a circular saw or table saw for straight, clean cuts. Always wear safety goggles and keep your hands clear of the blade.
Cut slowly and follow your marked lines closely. If your cuts aren’t perfect, the frame might not be square. Cutting carefully ensures that your cabinet will be sturdy and aligned properly.
Joining Frame Pieces
After cutting, it’s time to join the pieces together. Use wood screws and wood glue to secure the joints for extra strength. Clamp the pieces as you assemble to keep them from shifting.
Test the frame for squareness by measuring diagonally from corner to corner. If the measurements match, your frame is square and ready for the next steps. How confident are you in your joining skills? Practicing on scrap wood can boost your precision before working on the actual frame.
Installing Shelves And Supports
Installing shelves and supports is a key part of building a refrigerator cabinet. Proper placement and sturdy support keep your shelves strong and usable. Careful planning helps maximize storage space and maintain stability.
Choosing Shelf Placement
Decide shelf height based on what items you will store. Leave enough space for tall bottles or large containers. Use adjustable shelf brackets for flexible placement. Place shelves evenly to balance weight and accessibility. Think about how often you need to reach items.
Securing Supports
Use strong materials like metal brackets or wooden cleats for support. Attach supports firmly to cabinet walls using screws. Check alignment with a level to keep shelves straight. Drill pilot holes to avoid splitting wood. Make sure supports are flush with the wall for stability.
Adjusting For Load
Consider the weight of items when placing shelves. Heavy items need thicker shelves and stronger supports. Spread weight evenly across the shelf to prevent sagging. Use additional brackets for longer shelves. Regularly check shelves for signs of wear or bending.
Finishing Touches
Finishing touches make your refrigerator cabinet look complete and polished. These final steps improve its appearance and protect the wood. Careful attention here ensures your project lasts long and fits perfectly in your space.
Sanding And Smoothing
Sanding removes rough spots and uneven surfaces. Use fine-grit sandpaper for a smooth finish. Sand along the wood grain to avoid scratches. Wipe off dust with a clean cloth before the next step.
Painting Or Staining
Choose paint or stain to match your room’s style. Paint gives a solid, colorful look. Stain highlights the wood’s natural texture and color. Apply thin, even coats and let each dry fully. Seal with a clear finish for extra protection.
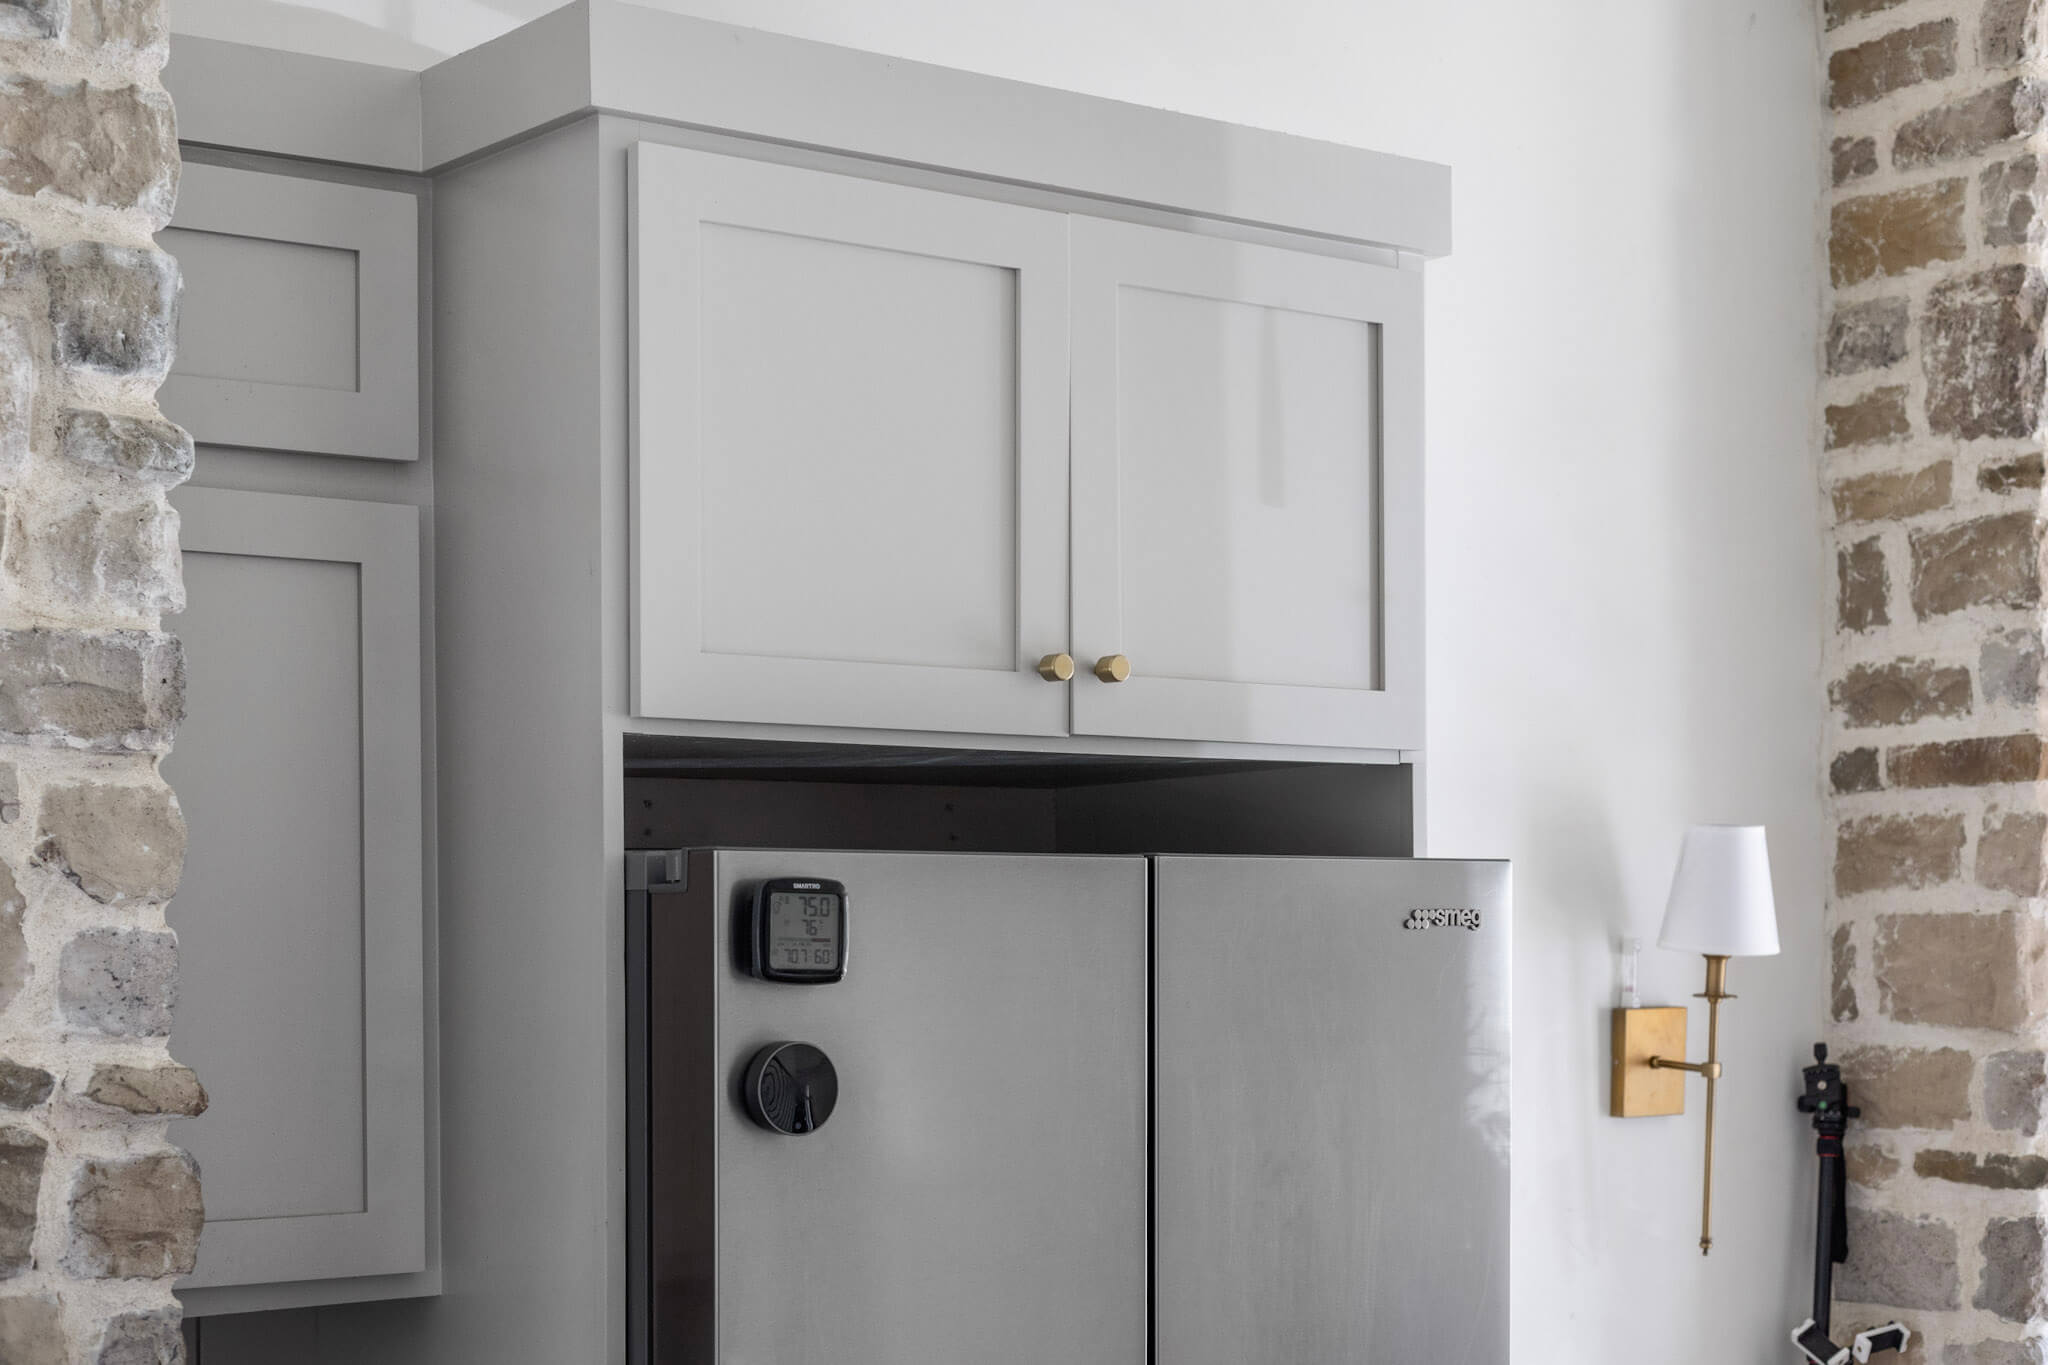
Adding Trim And Handles
Trim adds style and covers gaps around doors and edges. Use simple or decorative trim based on your taste. Attach handles that fit your cabinet’s design and function. Secure handles tightly for easy use and durability.
Fitting The Refrigerator
Fitting the refrigerator into your custom cabinet is a crucial stage that demands precision and patience. This step ensures your appliance not only fits well but also functions efficiently without any hindrance. Let’s break down how to position, slide in, and check the fit for a seamless installation.
Positioning The Cabinet
Start by placing the cabinet in its intended spot. Make sure the floor beneath is level to prevent any tilting that could affect the fridge’s operation. You might want to use a spirit level to confirm this.
Check the clearance around the cabinet for ventilation. Refrigerators need space to breathe, so leave at least a couple of inches on the sides and back. Have you measured these gaps carefully? It can save you from overheating issues later.
Sliding In The Refrigerator
Before sliding the fridge in, remove any packaging and secure loose parts inside. This prevents damage during movement. It’s helpful to have a second person assist you—fridges are heavy and awkward.
Slide the refrigerator slowly into the cabinet, keeping an eye on the sides to avoid scratching or getting stuck. If the cabinet has doors or trim, ensure these don’t block the fridge’s path. Remember, it’s easier to adjust now than to fix scratches or dents later.
Checking For Proper Fit
Once the fridge is in place, check the alignment with the cabinet edges and floor. The fridge door should open smoothly without hitting the cabinet or adjacent walls. If you notice resistance, consider adjusting the cabinet or the fridge feet.
Test the ventilation space again to ensure there’s no blockage. Poor airflow can cause the fridge to work harder, increasing energy costs. Have you noticed any unusual noises or vibrations? These could indicate that the fridge isn’t level or is too tightly fitted.
Maintenance Tips
Maintaining your refrigerator cabinet is key to ensuring it lasts longer and functions smoothly. Regular care not only keeps it looking great but also prevents costly repairs down the line. Let’s dive into some practical tips you can apply to keep your cabinet in top shape.
Cleaning The Cabinet
Start with cleaning the cabinet inside and out. Use a mild detergent mixed with warm water to wipe down surfaces, avoiding harsh chemicals that can damage the finish. Pay special attention to corners and crevices where dust and grime tend to build up.
Have you noticed sticky spots or stains? Tackling them early makes cleaning easier and prevents long-term damage. Also, cleaning the door seals gently with a soft cloth helps maintain a proper seal and energy efficiency.
Inspecting For Wear
Check hinges, handles, and shelves regularly for signs of wear or looseness. Small issues like a wobbly shelf or a squeaky hinge can become bigger problems if ignored. Look for cracks or chips in the cabinet material that might need patching.
Ask yourself: does the door close smoothly? If not, it could indicate misalignment or worn-out components. Catching these signs early allows you to fix them before they affect your fridge’s performance.
Making Adjustments
Adjustments help keep your cabinet functioning perfectly. Tighten screws on handles and hinges if they feel loose. If the door is misaligned, gently realign it to ensure a tight seal.
Sometimes, shelves might need repositioning to accommodate larger items or improve airflow. Don’t hesitate to customize your cabinet’s layout as your storage needs change over time.
Credit: crystelmontenegrohome.com
Frequently Asked Questions
What Materials Are Needed To Build A Refrigerator Cabinet?
You need plywood, screws, hinges, wood glue, paint, and handles. Choose sturdy plywood for durability. Proper measurements ensure a perfect fit. Finishing materials enhance appearance and protect wood.
How Do I Measure For A Refrigerator Cabinet?
Measure the refrigerator’s height, width, and depth. Add extra space for ventilation and door clearance. Accurate measurements prevent fitting issues and allow smooth door operation.
Can I Build A Refrigerator Cabinet Without Professional Tools?
Yes, basic tools like a drill, screwdriver, saw, and measuring tape suffice. Using proper techniques ensures safety and quality even without advanced tools.
How To Ensure Ventilation In A Refrigerator Cabinet?
Leave gaps or install vents at the back or sides. Proper airflow prevents overheating and maintains refrigerator efficiency.
Conclusion
Building a refrigerator cabinet can save space and improve kitchen style. Start with a clear plan and measure carefully. Choose materials that fit your budget and skill level. Take your time with each step to ensure a good fit. A well-made cabinet keeps your fridge secure and looks neat.
Enjoy your new kitchen feature that blends function with design. Small efforts lead to great results. Give it a try and see the difference yourself.