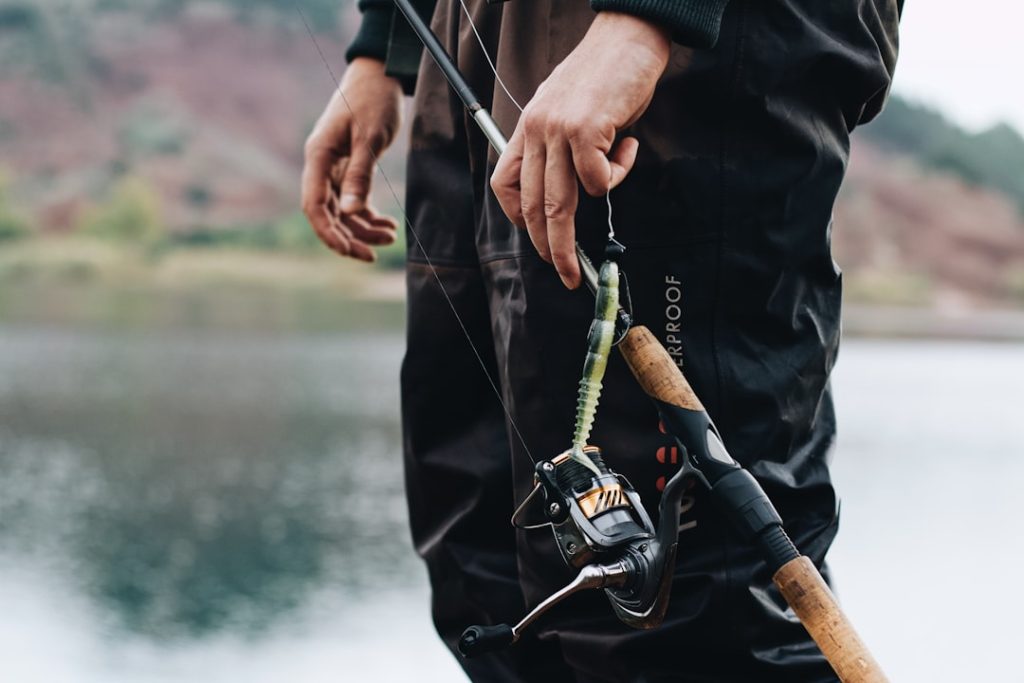
Have you ever wanted a fishing rod that feels like it was made just for you? Building your own custom fishing rod lets you do exactly that.
Imagine casting with a rod that perfectly matches your style and needs, giving you more control and better performance. In this guide, you’ll discover simple steps to create a fishing rod tailored to you. Whether you’re a beginner or looking to upgrade, this article will help you craft a rod that makes every fishing trip more exciting.
Keep reading, and you’ll soon hold a rod that’s truly yours.

Credit: anglersresource.net
Choosing The Right Materials
Building a custom fishing rod starts with picking the right materials. Good materials make the rod strong and easy to use.
Each part of the rod needs careful selection. This helps you create a rod that fits your fishing style.
Selecting Rod Blanks
Rod blanks are the main part of your fishing rod. They decide how the rod bends and casts.
Choose blanks made from graphite for lightness and sensitivity. Fiberglass blanks are strong but heavier.
- Graphite blanks: light and sensitive
- Fiberglass blanks: strong and durable
- Composite blanks: mix of graphite and fiberglass
Picking Suitable Guides
Guides help the fishing line move smoothly along the rod. They also protect the line from damage.
Choose guides with strong frames and smooth rings. Ceramic rings reduce friction and last longer.
- Stainless steel frames for strength
- Ceramic or silicon rings for smooth line flow
- Lightweight guides to keep rod balance
Choosing The Reel Seat
The reel seat holds your fishing reel in place. It needs to be secure and comfortable to use.
Look for reel seats made from durable materials like graphite or aluminum. Check the size to fit your reel well.
- Graphite reel seats: lightweight and strong
- Aluminum reel seats: durable and corrosion-resistant
- Ensure the seat fits your reel size
Handle Materials And Styles
Handles affect how your rod feels in your hand. Comfort helps you fish longer without fatigue.
Cork handles are light and comfortable. EVA foam handles are soft and resist wear from water and sun.
- Cork: classic look, good grip, lightweight
- EVA foam: soft, durable, easy to clean
- Choose handle style that fits your fishing style
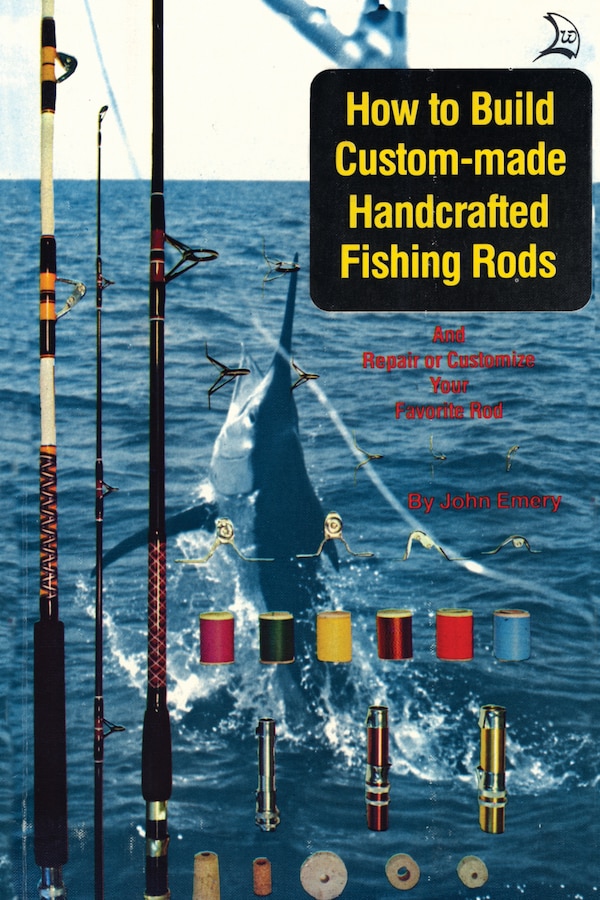
Credit: erinmills.ca
Essential Tools And Supplies
Building custom fishing rods needs the right tools and supplies. These items help you make strong and balanced rods.
This guide covers basic tools, epoxy and thread choices, and extra accessories for rod building.
Basic Tools For Rod Building
Start with essential tools to shape, cut, and assemble your fishing rod parts. These tools make the process easier and accurate.
- Rod drying or wrapping jig
- Sharp hobby knife or razor blade
- Sandpaper of various grits
- Small paintbrushes
- Measuring tape or ruler
- Cutting mat or board
- Scissors for thread trimming
Epoxy And Thread Selection
Choose the right epoxy and thread to secure guides and wrap the rod. Quality materials improve the rod’s durability and appearance.
| Material | Purpose | Tips |
| Two-part epoxy | Glue rod guides and protect wraps | Use slow cure for smooth finish |
| Nylon or polyester thread | Wrap guides and decorate rod | Pick colors that match your design |
| UV-cured resin | Quick drying and clear coating | Use with UV light source |
Additional Accessories
Extra items help improve your rod building experience and final product quality. These accessories assist in finishing and customizing rods.
- Rod tip top guides for smooth line flow
- Thread tensioner for even wraps
- Masking tape to protect areas during epoxy
- Mixing cups and stir sticks for epoxy
- Rod handle materials like cork or EVA foam
Preparing The Rod Blank
Preparing the rod blank is a key part of building a custom fishing rod. This step sets the foundation for a strong and balanced rod.
You will measure, cut, mark guide positions, and clean the blank before adding other parts. Each action helps make the rod work well.
Measuring And Cutting
Start by measuring the rod blank to the desired length. Use a tape measure for accuracy.
Mark the spot where you will cut. Use a fine saw or rod cutter to make a clean cut.
- Measure twice to avoid mistakes
- Cut slowly to prevent splintering
- Smooth the cut edge with sandpaper
Marking Guide Positions
Guides help control the fishing line. Mark where each guide will go on the blank.
Use a ruler and pencil to place marks evenly. Start from the tip and work toward the handle.
- Place the tip-top guide at the rod tip
- Space the guides evenly along the blank
- Mark spots clearly but lightly
Sanding And Cleaning
Sanding smooths the blank and helps glue stick better. Use fine-grit sandpaper for best results.
After sanding, clean the blank with a cloth. Remove dust and oils to prepare for assembly.
- Sand lightly to avoid damaging the blank
- Wipe with a clean, dry cloth
- Use rubbing alcohol for a final clean
Guide Wrapping Techniques
Building custom fishing rods requires skill and patience. Wrapping guides is a crucial step in this process.
Proper techniques ensure the guides are secure and aligned. This improves casting accuracy and overall performance.
Setting Up The Wrapping Station
Having a well-organized wrapping station is essential for efficiency. Gather all necessary tools before starting.
- Ensure good lighting
- Secure the rod in a stable position
- Keep threads within easy reach
Thread Wrapping Methods
Different wrapping methods can be used based on preference. Each method provides a unique finish and strength.
| Method | Description |
| Spiral Wrap | Threads wrap around guides in a spiral pattern. |
| Cross Wrap | Creates a criss-cross pattern for extra strength. |
| Overwrap | Uses multiple thread layers for durability. |
Securing The Guides
Securing the guides is the last step in wrapping. Ensure all threads are tight and knots are secure.
Applying Epoxy Finish
Applying an epoxy finish protects your custom fishing rod. It adds strength and shine to the rod’s surface.
Use the right technique to get a smooth, even coat. This helps the rod last longer in water and sun.
Mixing And Applying Epoxy
Mix the epoxy resin and hardener in the correct ratio. Stir slowly to avoid air bubbles.
Use a clean brush to apply the epoxy on the rod. Spread it evenly from tip to handle.
- Mix epoxy in small batches
- Use a disposable container for mixing
- Apply thin coats to prevent drips
- Rotate the rod during drying
Avoiding Common Mistakes
Do not rush the mixing process. Poor mixing causes sticky or soft spots on the rod.
Avoid applying thick layers of epoxy. Thick coats can drip or dry unevenly.
- Do not shake epoxy bottles; stir gently
- Clean the rod before applying epoxy
- Work in a dust-free area
- Wear gloves to protect your skin
Curing And Drying Tips
Let the epoxy cure in a warm, dust-free place. Proper curing makes the finish hard and clear.
Turn the rod slowly while it dries. This prevents drips and uneven spots.
- Keep the temperature between 70°F and 80°F
- Allow 24 hours for the first coat to dry
- Apply a second coat if needed after drying
- Do not touch the rod during curing
Installing The Reel Seat And Handle
Building a custom fishing rod needs care when installing the reel seat and handle. These parts must fit well for comfort and control.
This guide explains how to align and secure the reel seat, attach the handle, and add finishing touches.
Aligning And Securing The Reel Seat
Start by placing the reel seat on the blank. Make sure it points straight along the rod’s spine. This alignment helps balance and performance.
- Test fit the reel seat without glue first.
- Use a marker to note the correct position.
- Apply epoxy evenly inside the reel seat.
- Slide it back on the blank carefully.
- Hold it steady until the glue sets.
Attaching The Handle
The handle adds grip and comfort. Common handle materials include cork and EVA foam. Choose one that fits your style.
| Handle Material | Benefits | Care Tips |
|---|---|---|
| Cork | Lightweight, good grip | Keep dry, avoid harsh cleaners |
| EVA Foam | Soft, durable | Clean with mild soap |
To attach the handle, apply epoxy to the blank section where the handle will go. Slide the handle onto the blank. Rotate it slightly to spread the glue. Let it dry fully.
Finishing Touches
Once the reel seat and handle are secure, check for any glue spots or rough edges. Sand them smooth for a neat finish.
- Wipe the rod with a clean cloth.
- Apply a thin coat of finish to protect the handle.
- Let everything dry before use.
Testing And Adjusting Your Rod
After building your custom fishing rod, testing is important. It helps ensure the rod works well and feels right.
Adjusting your rod improves its performance. It makes fishing easier and more enjoyable.
Checking Balance And Flexibility
Balance affects how the rod feels in your hand. Hold the rod at the handle and see if it feels steady.
Flexibility shows how the rod bends under pressure. Gently bend the tip and check for smooth movement.
- Test balance by holding the rod horizontally
- Check if the rod feels heavy or light at the tip
- Bend the rod slowly to watch how it flexes
- Look for any stiff or weak spots
Making Fine Adjustments
Small changes can improve the rod’s action and feel. Adjust the position of guides and reel seat if needed.
Tighten all parts firmly but avoid over-tightening. This keeps the rod strong and balanced.
- Move guides slightly to improve line flow
- Adjust reel seat for a comfortable grip
- Check thread wraps and epoxy for secure fit
- Test the rod again after each change
Routine Maintenance Tips
Keep your rod in good shape with regular care. This helps it last longer and perform better.
Clean the rod after every use. Check for damage and fix small issues quickly.
- Wipe down the rod with a soft cloth
- Inspect guides for cracks or wear
- Lubricate reel seat threads as needed
- Store rod in a dry place away from heat

Credit: anglersresource.net
Customizing Your Rod
Making a custom fishing rod lets you build a tool that fits your style. You can change its look and feel.
Personal touches help your rod stand out and feel special. This guide covers how to add designs, pick colors, and use decals.
Adding Personal Designs
Adding personal designs lets you put your mark on the rod. You can draw, paint, or carve patterns on the blank.
- Use waterproof markers for simple drawings
- Try hand-painting for more detailed art
- Engrave small symbols or initials for subtle style
- Seal your design with clear epoxy to protect it
Choosing Colors And Patterns
Colors and patterns make your rod more fun and unique. Pick shades that you like or that match your gear.
| Color | Effect | Best Use |
| Bright Red | High visibility | Day fishing |
| Dark Green | Blends with nature | Forest areas |
| Blue | Cool and calm | Open water |
| Black | Sleek and simple | All conditions |
Using Decals And Wraps
Decals and wraps add style without painting. They come in many designs and are easy to apply or remove.
- Choose vinyl wraps for a smooth finish
- Use decals to add logos or symbols
- Apply wraps carefully to avoid bubbles
- Wraps protect the rod from scratches
Frequently Asked Questions
What Materials Are Best For Custom Fishing Rods?
Graphite and fiberglass are popular for custom rods. Graphite offers sensitivity and lightness. Fiberglass provides durability and flexibility. Choosing depends on fishing style and target species.
How Do I Choose The Right Rod Length?
Rod length affects casting distance and control. Longer rods cast farther but are less precise. Shorter rods offer better accuracy and maneuverability. Select length based on fishing environment and technique.
What Guides Should I Use For My Fishing Rod?
Ceramic or stainless steel guides are common. Ceramic guides reduce line friction, enhancing casting. Stainless steel guides offer strength and corrosion resistance. Proper guides improve rod performance and durability.
How Do I Properly Assemble A Custom Fishing Rod?
Start by attaching the reel seat securely. Next, align and glue the guides along the blank. Wrap the guides tightly with thread. Finish by applying epoxy for protection and durability.
Conclusion
Building custom fishing rods lets you enjoy fishing more. You choose the parts that fit your style best. Each rod feels just right in your hands. It can improve your catch and your fun. Start small, learn as you go.
Practice makes your skills grow stronger. Soon, you will have a rod made just for you. Enjoy the process and the peaceful time fishing brings. Custom rods make every fishing trip special. Try it and see how much better fishing can be.