Are you ready to create your own beautiful, sturdy cutting board? Building a cutting board is easier than you might think, and it gives you something practical and personal to use every day.
Imagine the pride of slicing vegetables or serving cheese on a board you made with your own hands. In this guide, you’ll discover simple steps, handy tips, and expert tricks that make the process smooth and enjoyable. Keep reading, and by the end, you’ll have the confidence to build a cutting board that’s both useful and unique—just for you.

Credit: www.findbuytool.com
Choosing The Right Wood
Choosing the right wood is important for making strong cutting boards. Different woods have different qualities. Some woods last longer and resist cuts better than others.
Picking the right type of wood ensures your cutting board is safe and easy to clean. It also helps the board look good over time.
Hardwood Vs Softwood
Hardwoods come from slow-growing trees like oak and maple. Softwoods come from fast-growing trees like pine. Hardwoods are usually better for cutting boards. They are dense and resist damage well.
Softwoods are softer and can get cut easily. This makes them less durable for cutting boards. Hardwoods also tend to be more resistant to bacteria because they have tighter grain.
Popular Wood Types
- Maple: Hard, smooth, and light color. Common for cutting boards.
- Walnut: Dark color and strong wood. Looks very nice.
- Cherry: Reddish color, hard, and ages well.
- Oak: Very hard and durable but has open grain.
- Beech: Light color and dense wood. Good for cutting boards.
Wood Quality And Grain
| Quality Factor | Description | Why It Matters |
| Grain Tightness | How close the wood fibers are | Tight grain resists cuts and bacteria |
| Hardness | Wood’s resistance to dents and cuts | Hard wood lasts longer and stays smooth |
| Moisture Content | Amount of water in the wood | Lower moisture reduces warping and cracking |
| Finish Quality | How smooth and sealed the surface is | Smoother finish is easier to clean and maintain |
Gathering Tools And Materials
Building a cutting board needs the right tools and materials. These items help you work safely and get good results.
Here is a guide to what you need before starting your project.
Essential Tools
Basic woodworking tools help shape and finish your cutting board. You will use these a lot during the build.
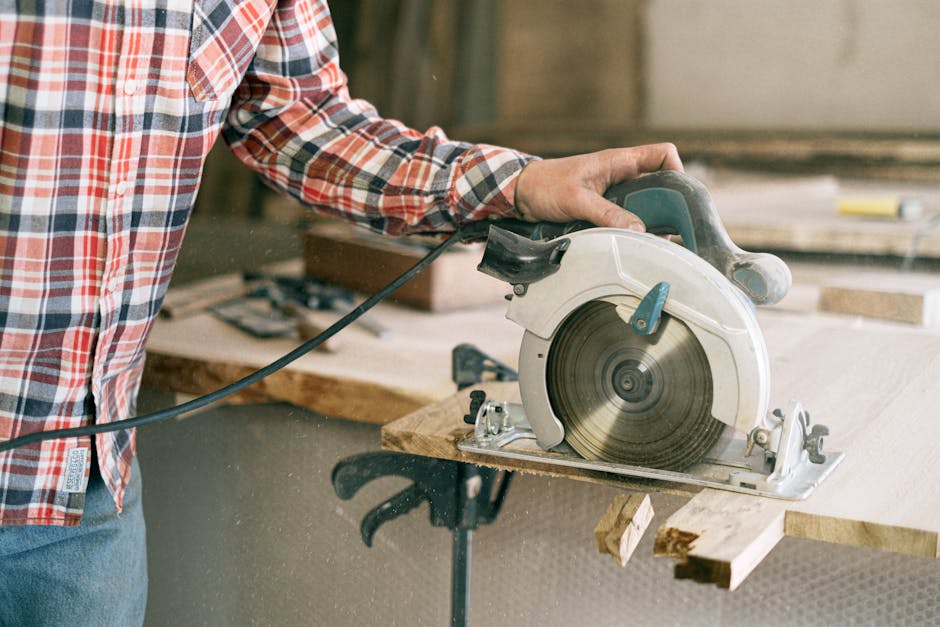
- Table saw or circular saw for cutting wood pieces
- Planer or hand plane to smooth surfaces
- Belt sander or orbital sander for fine sanding
- Clamps to hold wood tightly while glue dries
- Wood glue to join pieces securely
- Measuring tape and square for accurate cuts
Safety Equipment
Protect yourself with the right safety gear. It reduces risks when working with sharp tools and dust.
| Safety Item | Purpose |
| Safety glasses | Protect eyes from flying wood chips |
| Dust mask | Keep dust out of your lungs |
| Hearing protection | Reduce loud noise from power tools |
| Work gloves | Protect hands from splinters and cuts |
Additional Supplies
These extra supplies help finish your cutting board and keep it in good shape.
- Food-safe mineral oil for sealing the wood
- Beeswax for added protection and shine
- Fine steel wool to smooth the finish
- Clean cloths for applying oils and wax
Preparing The Wood
Preparing the wood is an important step in building a cutting board. This process makes sure the wood is ready for cutting and shaping.
Good preparation helps create a smooth and safe surface for food use. It also makes the board last longer.
Measuring And Marking
Start by measuring the wood pieces carefully. Use a ruler or tape measure to get exact sizes.
Mark the lines clearly with a pencil. These marks guide your cuts and keep the board even.
- Measure twice to avoid mistakes
- Use a straight edge for clear lines
- Mark all sides of the wood
Cutting To Size
Cut the wood along the marked lines with a saw. Take your time to make straight, clean cuts.
Use clamps to hold the wood steady. This helps keep your hands safe and the cuts accurate.
- Use a fine-tooth saw for smooth edges
- Wear safety glasses to protect your eyes
- Check the cut pieces for evenness
Sanding Techniques
Sanding smooths the wood surface and removes rough spots. Start with coarse sandpaper and finish with fine grit.
Sand all sides evenly, including edges. This prevents splinters and makes the board safe for food use.
- Begin with 80-grit sandpaper
- Progress to 120-grit and finish with 220-grit
- Use a sanding block for flat surfaces
- Sand along the wood grain direction

Credit: www.youtube.com
Assembling The Board
Assembling a cutting board is an important step. It brings all the pieces together to create a sturdy board.
You need to glue, clamp, and align the wood pieces carefully. This ensures the board lasts long and looks good.
Gluing The Pieces
Apply wood glue evenly on the edges of each piece. Use enough glue to cover the entire surface but avoid excess.
Press the pieces together tightly. Make sure the glue spreads out between the boards for a strong bond.
Clamping Tips
Use clamps to hold the glued pieces firmly in place. This keeps the board from moving while the glue dries.
Place clamps evenly along the board. Avoid over-tightening, which can squeeze out too much glue or damage the wood.
- Use bar clamps or pipe clamps for large boards
- Check the pressure by hand to avoid damage
- Wipe off any glue squeeze-out immediately
Ensuring Alignment
Make sure the edges of the pieces line up perfectly. Misalignment creates uneven surfaces and weak spots.
Use a straight edge or square to check the alignment. Adjust the pieces before the glue sets.
- Look for gaps between pieces
- Keep the board flat on the work surface
- Align the grain direction if possible
Shaping And Finishing
Shaping and finishing are key steps in making a cutting board. These steps give your board a smooth look and make it safe to use.
Each part of shaping and finishing helps the board last longer and look great in your kitchen.
Edge Profiles
Edge profiles change the look and feel of your cutting board’s edges. You can choose simple or decorative edges.
- Round edges for a smooth, soft finish
- Beveled edges for a sharp, clean look
- Ogee edges for a classic, curved design
- Chamfered edges for angled, flat sides
Final Sanding
Final sanding removes rough spots and prepares the board for finishing. Use fine sandpaper for best results.
| Sandpaper Grit | Purpose |
| 120 | Remove large scratches and shape edges |
| 180 | Smooth surface and edges |
| 220 | Final smoothing before finish |
| 320 | Extra fine smoothing for silky touch |
Applying Food-safe Finish
Applying a food-safe finish protects your board and keeps it safe for cutting food. Use oils or waxes that are safe for kitchen use.
- Apply mineral oil with a clean cloth
- Let the oil soak for at least 20 minutes
- Wipe off extra oil to avoid sticky surface
- Repeat oil application every few weeks
- Use beeswax for extra protection and shine

Credit: www.youtube.com
Maintaining Your Cutting Board
Taking care of your cutting board keeps it safe and lasts longer. Regular maintenance stops cracks and stains.
Clean, oil, and repair your board to keep it smooth and strong. These simple actions protect your board.
Cleaning Tips
Wash your cutting board right after use. Use warm water and mild soap to remove food bits.
Never soak the board in water. It can make the wood crack or warp.
- Wipe the board with a damp cloth
- Use a brush for stuck particles
- Dry the board standing up to air dry
Oiling Schedule
Oiling your cutting board keeps the wood from drying out. Use food-safe mineral oil or beeswax.
Apply oil evenly and let it soak overnight. Wipe off any extra oil before use.
- Oil new boards before first use
- Oil boards once a month or after cleaning
- More frequent oiling if the board looks dry
Repairing Damage
Fix small cracks or cuts by sanding the board. Use fine-grit sandpaper for a smooth surface.
After sanding, clean and oil the board. Deep damage might need professional help or replacement.
- Smooth rough spots with sandpaper
- Remove dust before oiling
- Replace the board if cracks are deep
Frequently Asked Questions
What Materials Are Best For Building Cutting Boards?
Hardwoods like maple, walnut, and cherry are ideal. They resist knife marks and are food-safe. Avoid softwoods as they dent easily and may harbor bacteria.
How Do You Prevent Cutting Boards From Warping?
Use kiln-dried wood and seal all sides with food-safe oil. Store boards flat and avoid soaking them in water to prevent warping.
What Tools Are Needed To Build A Cutting Board?
Basic tools include a saw, sander, clamps, and a planer or jointer. These help shape and smooth the wood properly.
How Often Should You Oil A Wooden Cutting Board?
Oil your cutting board every 3 to 4 weeks. Regular oiling keeps wood hydrated and prevents cracking and drying.
Conclusion
Building cutting boards can be a fun and rewarding project. You only need a few tools and some wood to start. Take your time to measure and cut carefully. Sand the edges smooth for safety and comfort. Finish with oil to protect the wood and bring out its beauty.
With practice, your skills will improve. Enjoy using your handmade cutting board in the kitchen. Simple steps lead to great results. Try making one today and see how satisfying woodworking can be.