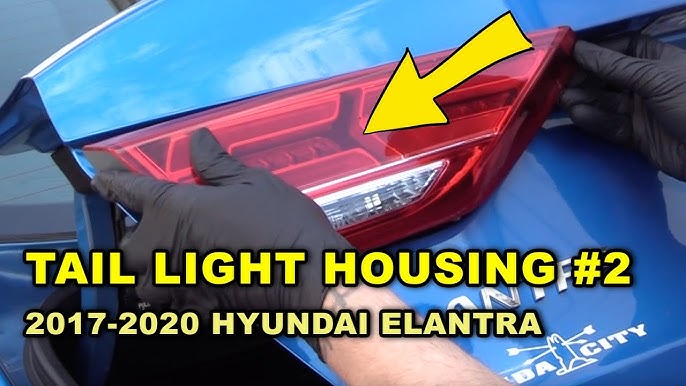
Have you noticed that your 2018 Hyundai Elantra’s brake light isn’t working? A faulty brake light can be dangerous and may even lead to a ticket.
Luckily, changing it yourself is easier than you think. You’ll find simple, step-by-step instructions to replace your brake light quickly and safely. Keep reading to learn how to get your Elantra’s brake light shining bright again—no mechanic needed!
Credit: m.youtube.com
Tools And Materials Needed
Changing the brake light on a 2018 Hyundai Elantra requires specific tools and materials. Having the right items ready makes the job faster and easier. This section lists everything needed for a smooth brake light replacement.
Gathering the tools beforehand avoids interruptions. It helps you focus on the task without searching for items. The materials are simple and can be found at most auto parts stores.
Basic Tools Required
- Flathead screwdriver – to pry open light housing
- Phillips screwdriver – for screws securing the light assembly
- Socket wrench set – to remove bolts if needed
- Gloves – to protect hands and keep bulbs clean
- Clean cloth – for handling bulbs without oil or dirt
Replacement Parts
- Brake light bulb – ensure correct size and type for 2018 Elantra
- Light housing (optional) – if damaged during removal
- Electrical contact cleaner (optional) – to clean sockets if corroded
Safety Equipment
- Safety glasses – to protect eyes from debris
- Car manual – for specific instructions and bulb specifications
- Flashlight – to see clearly inside the light assembly
Locate The Brake Light Assembly
Locating the brake light assembly on your 2018 Hyundai Elantra is the crucial first step before you can change the brake light. Knowing exactly where to find it saves time and prevents unnecessary frustration. It also helps you avoid damaging other parts while working on your car.
Understanding The Rear Light Cluster
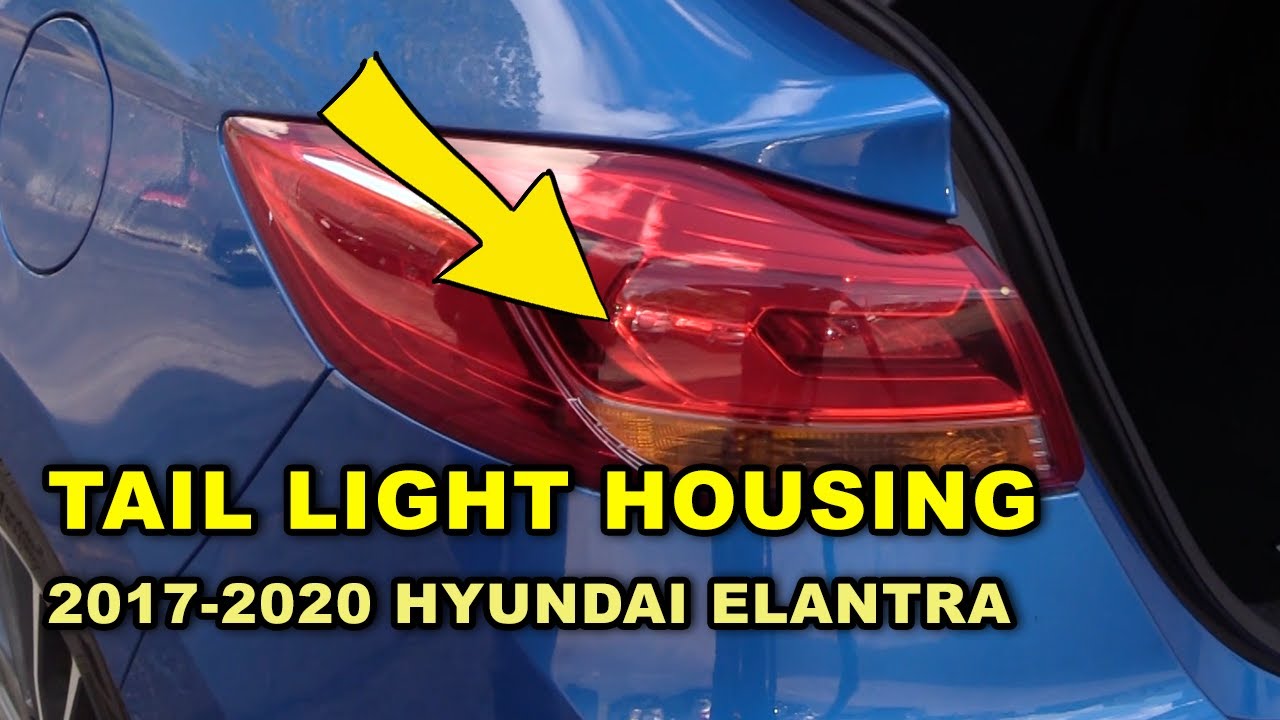
The brake light assembly is part of the rear light cluster on your Hyundai Elantra. You will find this cluster on both the driver’s side and passenger’s side at the back of your car. Each cluster houses multiple lights: brake lights, turn signals, and reverse lights.
Identifying the brake light within this cluster is simple—it’s the light that brightens when you press the brake pedal. Take a moment to check it while someone presses the brake for you, or carefully observe it yourself through the rear window.
Accessing The Brake Light Assembly From The Trunk
Access to the brake light assembly is usually from inside the trunk. Open your trunk and look for a panel or cover on the side behind the rear lights. This cover often has clips or screws holding it in place.
Removing this panel reveals the back of the light assembly, giving you access to the bulbs and wiring. If you’ve ever changed a bulb in your home, you know how important proper access is. The same principle applies here.
Tools You’ll Need To Locate And Remove The Assembly
- Flathead screwdriver or trim removal tool
- Phillips screwdriver
- Gloves to protect your hands
- Flashlight for better visibility
Having these tools ready before you start can make the process smoother. For instance, a trim removal tool helps prevent damage to plastic panels. It’s surprising how often this small tool makes a big difference.
Remove The Brake Light Cover
Removing the brake light cover on your 2018 Hyundai Elantra is a straightforward task that gets you one step closer to fixing or replacing the brake light. It’s important to handle this part carefully to avoid any damage to the cover or the surrounding area. Have you ever struggled with a stuck cover? Understanding the right way to remove it can save you time and frustration.
Locate The Brake Light Cover
First, identify the exact position of the brake light cover at the rear of your vehicle. It is usually integrated into the tail light assembly, often secured by screws or clips. Take a moment to inspect it closely; knowing what holds it in place helps you avoid unnecessary force.
Gather The Necessary Tools
Before you start, make sure you have the right tools handy. A Phillips screwdriver or a flathead screwdriver might be needed depending on your Elantra’s setup. Having these tools ready ensures you don’t have to stop midway to search for them.
Remove Screws Or Clips
Carefully unscrew or unclip the brake light cover. Keep the screws or clips in a safe place so they don’t get lost. Don’t rush this part—applying too much pressure can crack the plastic cover, which will add extra costs to your repair.
Gently Pry Off The Cover
If the cover doesn’t come off easily after removing screws or clips, use a plastic trim removal tool to gently pry it loose. Avoid metal tools as they can scratch or damage the paint. Patience here prevents damage and keeps your car looking good.
Check For Hidden Fasteners
Sometimes, additional fasteners are hidden under rubber gaskets or trim pieces. Make sure to inspect the edges carefully before pulling the cover away completely. Missing these can cause the cover to snap or break unexpectedly.
Disconnect The Wiring Harness
Disconnecting the wiring harness is an important step in changing the brake light on a 2018 Hyundai Elantra. This process ensures that the electrical connection to the brake light is safely removed before replacing the bulb. It helps avoid any electrical shorts or shocks while working on the light assembly.
Take time to locate the wiring harness behind the brake light. Handle the connectors gently to prevent damage. Proper disconnection makes the brake light replacement easier and safer.
Locate The Wiring Harness Connector
Open the trunk and find the brake light housing. Look behind the housing for the wiring harness connector. It is usually a small plastic plug attached to the light fixture. Clear any dirt or debris for better access.
Press The Release Tab
Most connectors have a release tab or clip. Press this tab firmly to unlock the connector. Avoid pulling on the wires directly to prevent damage. Use your thumb or a small tool if needed.
Pull The Connector Apart
After pressing the release tab, gently pull the connector away from the brake light socket. Pull straight out to avoid bending the pins inside. The connection should separate without much force.
Inspect The Wiring And Connector
Check the wiring harness and connector for any signs of damage or corrosion. Clean the contacts if necessary using an electrical contact cleaner. Ensure the connector is dry before reconnecting or replacing parts.
Remove The Old Brake Light Bulb
Removing the old brake light bulb from your 2018 Hyundai Elantra is a task that anyone can handle with a bit of care and attention. This step is crucial to ensure your new bulb fits perfectly and functions correctly. Let’s break down the process into clear, manageable actions so you feel confident tackling it on your own.
Access The Brake Light Assembly
Start by opening the trunk to reach the brake light assembly. You’ll need to remove or pull back the trunk liner carefully to expose the rear light housing.
Look for any screws or clips holding the brake light assembly in place. Removing these will allow you to gently pull the assembly out without causing damage.
Before handling the bulb, disconnect the wiring harness attached to the brake light assembly. This prevents any electrical issues and makes bulb removal easier.
Press the tab on the connector and pull it straight out. Avoid yanking or twisting to keep the wiring intact.
Remove The Old Bulb From The Socket
Locate the brake light bulb socket within the assembly. Grasp the bulb holder firmly and twist it counterclockwise to unlock it.
Pull the bulb straight out of the socket. If the bulb feels stuck, a gentle wiggle can help loosen it without breaking.
Inspect The Bulb And Socket
Once the bulb is out, examine it for any signs of damage like a broken filament or discoloration. Also, check the socket for corrosion or dirt that might affect the new bulb’s performance.
Cleaning the socket with a soft cloth can improve the connection and extend the life of your new bulb.

Credit: www.amazon.ca
Install The New Brake Light Bulb
Installing the new brake light bulb in your 2018 Hyundai Elantra is a simple task. It restores safety and ensures your vehicle signals properly to other drivers. This part guides you through placing the bulb correctly and securing it for long-lasting use.
Align The New Bulb With The Socket
Hold the new brake light bulb by its base. Avoid touching the glass part to prevent damage. Line up the bulb’s pins with the socket slots. Gently push the bulb into the socket until it fits snugly.
Secure The Bulb In Place
Once aligned, twist the bulb clockwise to lock it in the socket. You should feel a slight click or resistance. Make sure the bulb is firm and does not wobble. A secure fit prevents flickering or failure during use.
Reattach The Brake Light Assembly
Position the brake light assembly back onto the car. Align it with the mounting points carefully. Press the assembly until it snaps or screws back into place. Tighten any screws or clips to hold it firmly.
Turn on your car’s ignition and press the brake pedal. Check if the new bulb lights up brightly. Ask someone to help you see the brake light from behind. Confirm the light works before finishing the job.
Reconnect The Wiring Harness
After replacing the brake light bulb on your 2018 Hyundai Elantra, reconnecting the wiring harness is essential. This step restores the electrical connection needed for the brake light to work. Without a secure connection, the brake light will not illuminate correctly.
Reconnect the wiring harness carefully to avoid damage. The connectors should fit snugly without forcing them. A loose connection can cause flickering or complete failure of the brake light.
Locate The Wiring Harness Connector
Find the wiring harness near the brake light socket. It usually has a plastic clip or tab for easy removal. Make sure the connector is clean and free of debris before reconnecting.
Align The Connector Properly
Match the shapes of the connector ends. They only fit one way to ensure correct wiring. Check that the clips line up so the connector can snap into place securely.
Press The Connector Firmly
Push the connector until you hear a click. This sound confirms the harness is locked in. Avoid pushing too hard to prevent breaking the clip or wires.
Test The Brake Light Function
- Turn on the car’s ignition.
- Press the brake pedal gently.
- Check if the brake light illuminates.
If the light does not turn on, recheck the connector or the bulb installation.
Test The New Brake Light
Testing the new brake light is a crucial step after installation. It confirms the light works correctly and ensures safety on the road. This step helps catch any issues early before driving.
Check the brake light in a well-lit area. This makes it easier to see if the light is bright and steady. Testing takes just a few minutes but saves trouble later.
Prepare For Testing
- Have a helper press the brake pedal.
- Turn the car’s ignition to the ‘On’ position.
- Ensure the vehicle is in park or neutral with the parking brake applied.
- Use gloves to avoid fingerprints on the light lens.
Observe The Brake Light
- Watch the brake light glow bright red.
- Confirm the light stays on steadily without flickering.
- Check the light’s brightness from different angles.
- Make sure the light turns off immediately after releasing the brake pedal.
Troubleshoot Common Issues
- If the light doesn’t turn on, recheck the bulb installation.
- Inspect the fuse related to the brake light.
- Look for loose or damaged wiring connections.
- Replace the bulb if it is dim or flickering.
Reattach The Brake Light Cover
Reattaching the brake light cover is an important step after replacing the brake light on your 2018 Hyundai Elantra. This cover protects the bulb and wiring from dirt and moisture. Properly securing it ensures the brake light functions safely and lasts longer.
Take your time to align the cover correctly. A well-fitted cover prevents gaps that could let water inside. This helps avoid electrical problems and keeps your brake light bright.
Clean The Brake Light Housing
Before putting the cover back, clean the housing area. Use a soft cloth to remove dirt and dust. This ensures a tight seal and better attachment.
Align The Cover With The Housing
Match the cover’s edges to the brake light housing. Check that the clips or tabs line up perfectly. Proper alignment makes reattachment easier and secures the cover firmly.
Press The Cover Firmly Into Place
Apply even pressure around the cover’s edges. Push gently but firmly until you hear clips snap into place. This confirms the cover is secure and won’t fall off while driving.
Check For Gaps Or Loose Areas
Inspect the cover for any gaps or loose spots. Run your fingers along the edges to feel for secure attachment. Fix any loose parts by pressing again or repositioning the cover.
Tips For Maintaining Brake Lights
Maintaining brake lights is essential for safe driving. Bright and working brake lights alert drivers behind you. They help prevent accidents and fines. Simple steps keep your brake lights in good condition. Regular checks and care extend their lifespan and effectiveness.
Check Brake Lights Regularly
Inspect your brake lights every few weeks. Turn on the ignition and press the brake pedal. Stand behind your car or use a mirror to see if all lights glow. Replace any burnt-out bulbs quickly. This simple habit avoids driving with faulty brake lights.
Keep Brake Light Lenses Clean
Dirt and dust can dim brake light lenses. Clean them often with a soft cloth and mild soap. Avoid harsh chemicals that can damage the plastic. Clear lenses ensure the brake lights shine brightly and remain visible in all weather.
Use Quality Replacement Bulbs
Choose bulbs made for your 2018 Hyundai Elantra model. Cheap or wrong bulbs may burn out fast or cause flickering. Quality bulbs fit well and last longer. They provide consistent light output for safer driving.
Check Brake Light Wiring
Inspect the wiring for damage or corrosion. Loose or broken wires can cause brake lights to fail. If wires look worn, have a professional fix them. Well-maintained wiring keeps your brake lights working properly.
Replace Brake Light Bulbs Promptly
Do not delay replacing dead brake light bulbs. Driving without brake lights is dangerous and illegal. Keep spare bulbs in your car for quick replacements. Swap bulbs as soon as you notice any light failure.
Credit: www.revemoto.com
Frequently Asked Questions
How Do I Replace Brake Light Bulbs On A 2018 Hyundai Elantra?
To replace brake light bulbs, first open the trunk and locate the light assembly. Remove the screws, pull out the assembly, and swap the faulty bulb with a new one. Reassemble everything carefully to ensure proper fitting.
What Tools Are Needed To Change Elantra Brake Lights?
You only need a screwdriver and replacement bulbs to change the brake lights. A flathead or Phillips screwdriver usually works for removing the light assembly screws. Always check your vehicle’s manual for the exact bulb type.
How Long Does It Take To Change Brake Lights On A 2018 Elantra?
Changing brake lights typically takes 10 to 15 minutes. The process is straightforward and requires minimal tools. This quick fix helps maintain vehicle safety and legal compliance.
Can I Change The Brake Light Myself Or Need A Mechanic?
You can change the brake light yourself easily with basic tools. The task is simple and does not require special skills. However, if unsure, consult a professional mechanic for assistance.
Conclusion
Changing the brake light on a 2018 Hyundai Elantra is simple and quick. You only need basic tools and a little patience. Follow the steps carefully to avoid mistakes. This small repair keeps your car safe and legal. Save time and money by doing it yourself.
Now, your brake light will work properly again. Keep your vehicle in good shape with easy fixes like this.