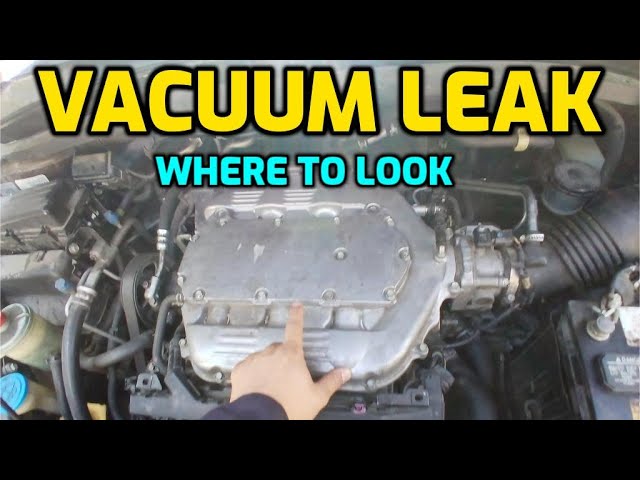
Imagine cruising down the open road, the hum of your car’s engine a comforting backdrop. But suddenly, something feels off.
Your car’s performance isn’t what it used to be, and you’re left wondering what could be wrong. One of the culprits could be a vacuum leak. A vacuum leak in your vehicle can lead to poor fuel efficiency, rough idling, or even engine misfires.
It’s a sneaky problem that can be hard to spot but easy to fix once you know how. In this guide, you’ll learn how to identify and diagnose a vacuum leak, so you can get back to enjoying a smooth ride. Stay with us, and you might just save yourself a costly trip to the mechanic.
Credit: scottysautomotiveservices.com
Signs Of A Vacuum Leak
Noticing a vacuum leak early can save you from costly repairs and keep your engine running smoothly. Vacuum leaks disrupt the air-fuel mixture, causing your vehicle to behave oddly. Recognizing the signs helps you pinpoint the issue before it worsens.
Engine Idle Issues
A common sign of a vacuum leak is an unstable or rough engine idle. You might feel your car shaking or hear it sputtering when stopped. Sometimes, the engine may even stall unexpectedly, especially when you first start driving.
If your idle speed suddenly increases or decreases without explanation, check for leaks. These changes happen because extra air enters the engine, confusing the fuel system. Have you noticed your engine acting strange during idle recently?
Poor Fuel Economy
Vacuum leaks cause your engine to burn more fuel than usual. If you find yourself filling up more often without driving extra miles, a leak could be the culprit. This happens because the engine tries to compensate for the extra air by injecting more fuel.
Tracking your fuel usage regularly can reveal patterns that hint at leaks. It’s a subtle sign, but catching it early means you avoid wasting fuel and money. How much fuel does your car normally use compared to now?
Check Engine Light
The check engine light often turns on when a vacuum leak affects engine performance. Your car’s sensors detect the irregular air flow and alert you to the problem. Ignoring this warning can lead to bigger engine issues down the line.
Use an OBD-II scanner to read trouble codes linked to air-fuel mixture problems. This tool can guide you closer to the leak’s location. Have you checked your engine light codes recently to understand what your car is trying to tell you?
Tools Needed For Leak Detection
Checking for a vacuum leak requires specific tools. These tools help identify leaks quickly and accurately. Some tools are simple and easy to find. Others are more advanced and made for precise detection.
Choosing the right tools depends on your needs and budget. Basic tools work well for small jobs. Specialized equipment suits more detailed inspections. Understanding both types can save time and effort.
Basic Tools
- Flashlight: Helps spot cracks and holes in dark areas.
- Soapy Water: Spray to see bubbles forming on leaks.
- Screwdriver or Prying Tool: Access hard-to-reach vacuum lines.
- Gloves: Protect hands while handling engine parts.
- Mirror on a Stick: View hidden spots behind components.
Specialized Equipment
- Smoke Machine: Releases smoke to show where air escapes.
- Vacuum Gauge: Measures vacuum pressure changes accurately.
- Electronic Leak Detector: Detects escaping gases with sensors.
- Ultrasonic Leak Detector: Finds leaks by sensing sound waves.
- Scan Tool: Reads engine codes linked to vacuum problems.
Visual Inspection Steps
Visual inspection is the first and easiest way to find vacuum leaks. It helps spot obvious problems without special tools. Careful observation can reveal worn or loose parts causing leaks. Follow these steps to check key areas in the engine bay. Take your time and examine each component closely.
Checking Vacuum Hoses
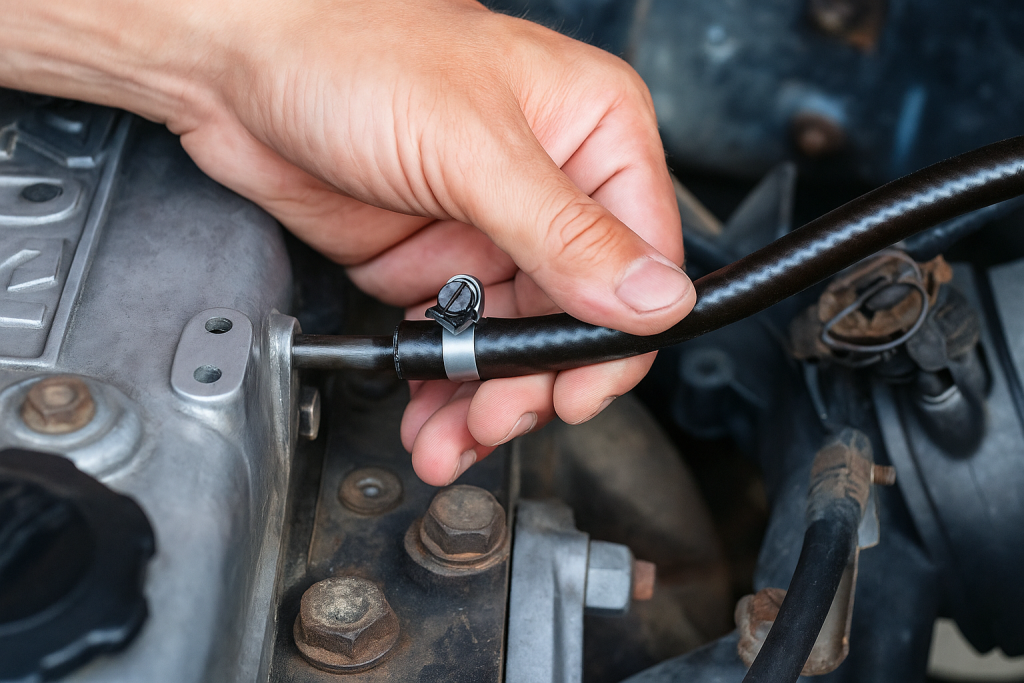
Start by examining all vacuum hoses under the hood. Look for cracks, splits, or brittleness on the hoses. Check if any hoses are loose or disconnected. Squeeze hoses gently to feel for soft spots or holes. Pay special attention to areas near clamps or connectors. Replace any damaged hoses to prevent air leaks.
Inspecting Intake Manifold
Next, inspect the intake manifold for signs of damage. Look for any visible cracks or worn-out gaskets. Check the manifold bolts for tightness and any signs of leaks. Dirt or oil stains around the manifold may signal a vacuum leak. Cleaning the area can help spot small cracks or gaps easier.
Looking For Cracks And Disconnections
Scan the engine bay for any cracked parts or disconnected tubes. Check around throttle body, brake booster, and PCV valve connections. Loose clamps or missing fittings can cause vacuum leaks. Use a flashlight to inspect darker or hard-to-see areas. Fix any broken parts or reconnect loose hoses to restore proper vacuum.

Credit: www.reddit.com
Using Smoke Test For Leaks
Using a smoke test is a reliable way to find vacuum leaks. This method shows leaks clearly by producing visible smoke. It helps spot even small leaks that other methods might miss. Smoke testing saves time and improves accuracy in identifying problem areas.
How Smoke Test Works
The smoke test pushes harmless smoke into the vacuum system. Smoke escapes from any holes or cracks. This makes leaks easy to see with the naked eye. Mechanics watch closely for smoke trails outside the hoses or connections.
The smoke source can be a special machine or a smoke pen. The smoke is thick enough to highlight leaks but safe for the engine. This test works well on tight spaces where leaks hide.
Performing The Test Safely
Safety is key during a smoke test. Work in a well-ventilated area to avoid smoke buildup. Keep the engine off unless the test requires it running.
- Wear protective gloves and goggles.
- Use only smoke products made for automotive use.
- Follow the machine’s instructions carefully.
- Avoid inhaling smoke directly.
- Ensure no open flames are near.
Always check the vehicle manual for any special precautions. Taking these steps protects you and the vehicle during the test.
Spray Method To Locate Leaks
The spray method is a straightforward and effective way to find vacuum leaks in your engine. It involves spraying a specific fluid around suspected leak points and watching for changes in the engine’s behavior. This technique can save you time and money by pinpointing the exact spot that needs fixing.
Using Carburetor Cleaner
Carburetor cleaner is a popular choice for the spray method because it evaporates quickly and is safe for engine components. Spray it around vacuum hoses, intake manifold gaskets, and other connections where leaks might occur.
Be careful not to soak electrical parts or belts, as the cleaner can damage them. If you don’t have carburetor cleaner, starting fluid or brake cleaner can work as alternatives, but use them cautiously.
Interpreting Engine Response
After spraying the cleaner, listen closely to how your engine reacts. If the engine speed increases or the idle smoothens, it’s a strong sign that the spray sealed a leak temporarily.
On the other hand, if the engine stumbles or stalls, the spray might have entered a sensitive area, indicating a different type of problem. Have you noticed how a tiny change in engine sound can reveal so much? It’s like your engine is telling you exactly where it hurts.
Credit: www.cgsulitstore.com
Fixing Common Vacuum Leaks
Fixing common vacuum leaks improves engine performance and fuel efficiency. Small leaks cause rough idling, poor acceleration, and higher emissions. Addressing these issues quickly prevents more damage and costly repairs.
Many vacuum leaks come from damaged hoses or worn gaskets. Repairing or replacing these parts restores proper vacuum pressure. The process is simple and can be done with basic tools.
Replacing Damaged Hoses
Check all vacuum hoses for cracks, splits, or brittleness. Old hoses often become hard and break easily. Remove damaged hoses carefully and replace them with new ones of the same size.
- Use pliers to remove hose clamps gently.
- Cut hoses at damaged sections if needed.
- Install new hoses firmly to prevent leaks.
- Secure hoses with clamps or zip ties.
Inspect hoses regularly to catch wear early. Proper hose replacement keeps the vacuum system sealed and efficient.
Sealing Intake Manifold Gaskets
Intake manifold gaskets can degrade and leak air into the engine. Signs include hissing sounds and uneven engine idle. To fix this, remove the intake manifold carefully and clean the gasket surfaces.
- Use a gasket scraper to remove old gasket material.
- Apply a new gasket designed for your engine model.
- Tighten bolts evenly to the manufacturer’s torque specs.
- Double-check for leaks after reassembly.
Replacing intake manifold gaskets restores air tightness. This step improves engine vacuum and overall performance.
Preventing Future Leaks
Preventing future vacuum leaks helps keep your engine running smoothly. Small leaks can cause big problems over time. Early care saves money and avoids breakdowns. Focus on regular checks and smart habits to protect your vehicle.
Regular Maintenance Tips
- Check vacuum hoses for cracks or wear every month.
- Replace old or brittle hoses promptly to avoid leaks.
- Clean the engine area to spot leaks easier.
- Use high-quality parts for any replacements.
- Schedule professional inspections at least once a year.
- Keep the engine bay dry to prevent hose damage.
Monitoring Engine Performance
- Notice any rough idling or engine stalling.
- Listen for unusual hissing sounds near the engine.
- Watch for sudden drops in fuel efficiency.
- Check the engine light and get codes scanned.
- Feel if the car hesitates or loses power on acceleration.
- Act quickly on any strange engine behavior.
Frequently Asked Questions
What Are Common Signs Of A Vacuum Leak?
Common signs include rough idle, engine misfire, and poor fuel economy. You may also notice hissing sounds near the engine bay. These symptoms indicate unmetered air entering the engine, disrupting the air-fuel mixture and causing performance issues.
How Can I Visually Inspect For A Vacuum Leak?
Look for cracked or disconnected vacuum hoses and damaged intake manifolds. Check around the throttle body and vacuum lines for wear or loose fittings. Visual inspection helps identify obvious leaks before using advanced diagnostic tools.
Can A Smoke Test Detect Vacuum Leaks Effectively?
Yes, a smoke test is highly effective. It involves introducing smoke into the intake system. Leaks become visible as smoke escapes from damaged areas, making it easy to locate even small leaks quickly and accurately.
What Tools Do I Need To Check For Vacuum Leaks?
Essential tools include a vacuum gauge, smoke machine, and carburetor cleaner spray. The vacuum gauge measures engine vacuum, while the smoke machine reveals leaks visually. Carburetor spray helps detect leaks by changes in engine RPM when sprayed near leaks.
Conclusion
Checking for a vacuum leak helps keep your engine running well. Small leaks can cause big problems if ignored. Use simple tools like soapy water or a smoke tester. Listen for hissing sounds around hoses and connections. Regular checks save money and avoid breakdowns.
Take your time and follow each step carefully. A little effort now prevents costly repairs later. Keep your vehicle healthy and enjoy smoother rides.