Your RV air conditioner keeps you cool during those long trips and hot summer days. But when was the last time you gave it a good cleaning?
A dirty AC can struggle to cool properly, use more energy, and even break down when you need it most. If you want your RV’s air conditioner to work efficiently and last longer, you need to know how to clean it the right way.
Keep reading, and you’ll discover simple, step-by-step tips that anyone can follow to keep your RV cool and comfortable all season long.
Credit: rvhelp.com
Tools And Materials Needed
Gathering the right tools and materialshelps clean your RV air conditioner well. Here is what you need:
- Screwdriver– to open the air conditioner cover.
- Soft brush– to remove dust gently.
- Vacuum cleaner– for sucking dirt from vents and coils.
- Fin comb– to straighten bent fins carefully.
- Mild detergent– to clean surfaces without damage.
- Spray bottle– to apply water or cleaner softly.
- Clean cloths– for wiping and drying parts.
- Protective gloves– to keep hands safe.
Having all these ready makes cleaning easier and safer. Keep them near the RV for quick access.
Safety Precautions
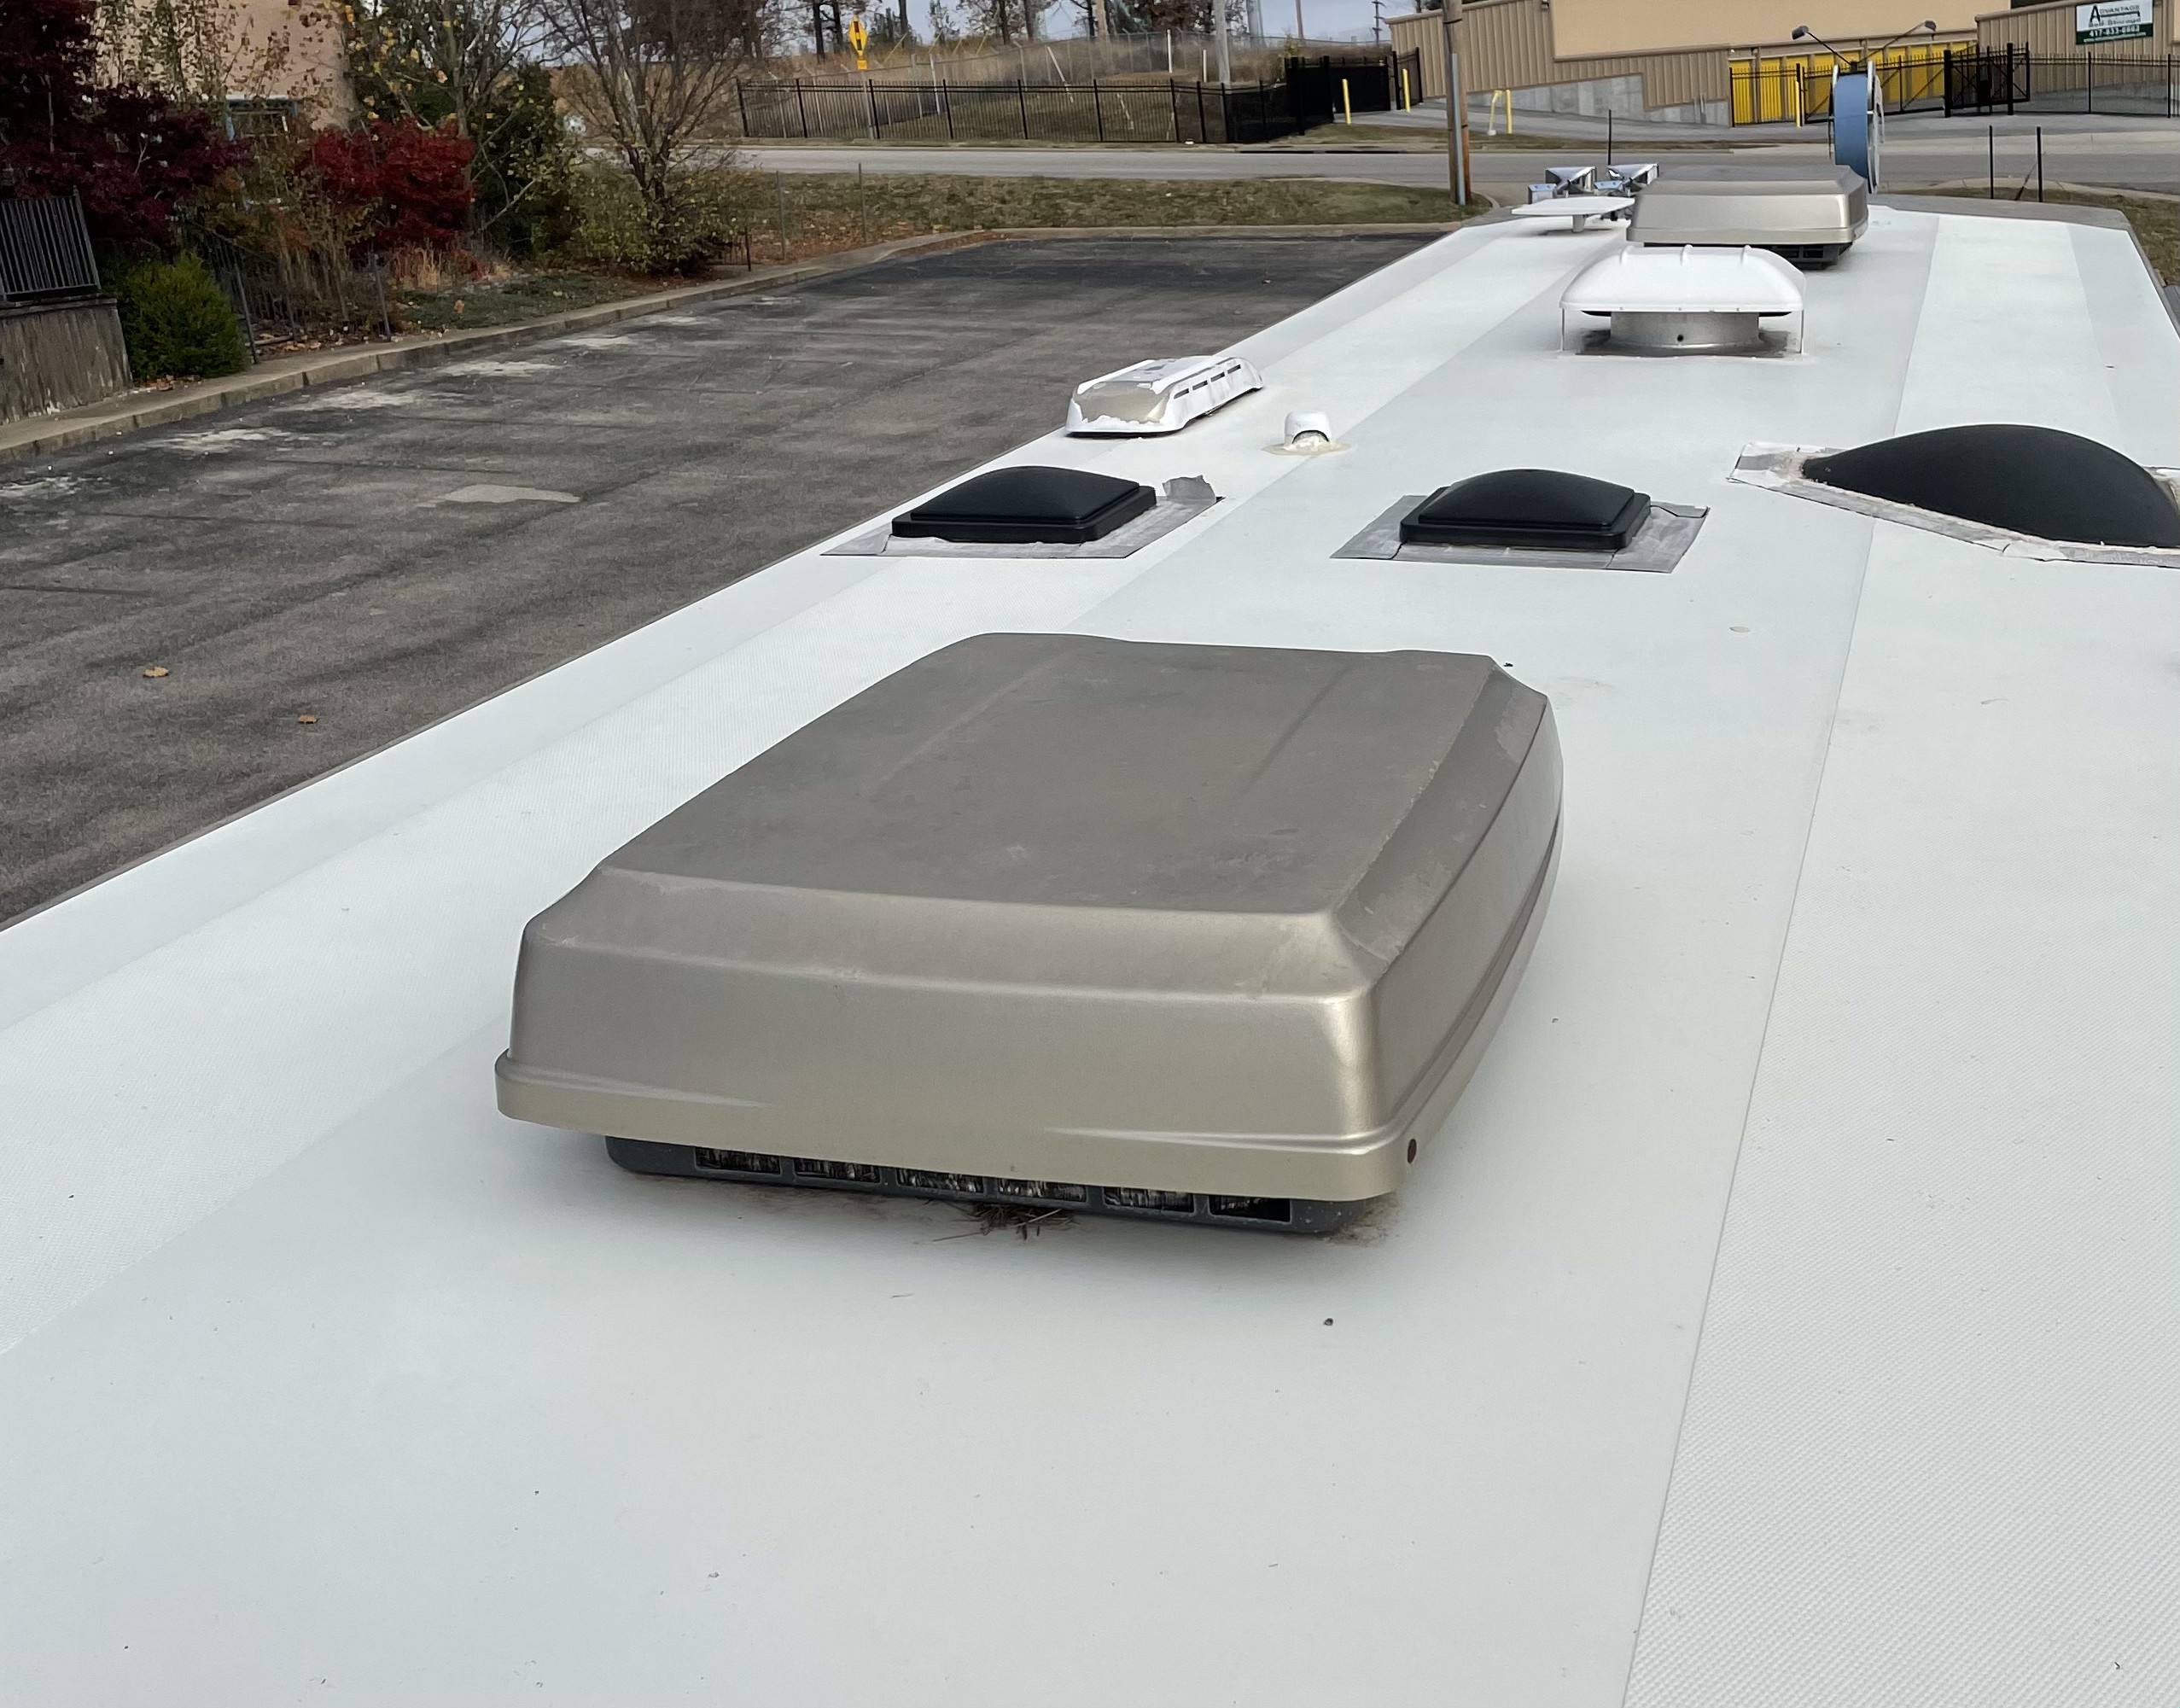
Always turn off the RV’s powerbefore cleaning the air conditioner. This prevents electric shocks and accidents. Use a ladder carefullyto reach the unit. Make sure the ladder is stable.
Wear gloves and safety glassesto protect your hands and eyes from dirt and chemicals. Avoid using harsh chemicals that can damage the air conditioner.
Work in a well-ventilated area. This helps to avoid inhaling dust or fumes. Never spray water directly inside the electrical parts.
- Check the weather before starting. Avoid cleaning on windy or rainy days.
- Keep children and pets away from the work area.
- Use only tools that are safe and in good condition.
Preparing The Air Conditioner
Always turn off the powerbefore starting any cleaning. This stops accidents and protects the unit. Locate the main switch or unplug the air conditioner from the power source. Confirm that no electricity is running to the device.
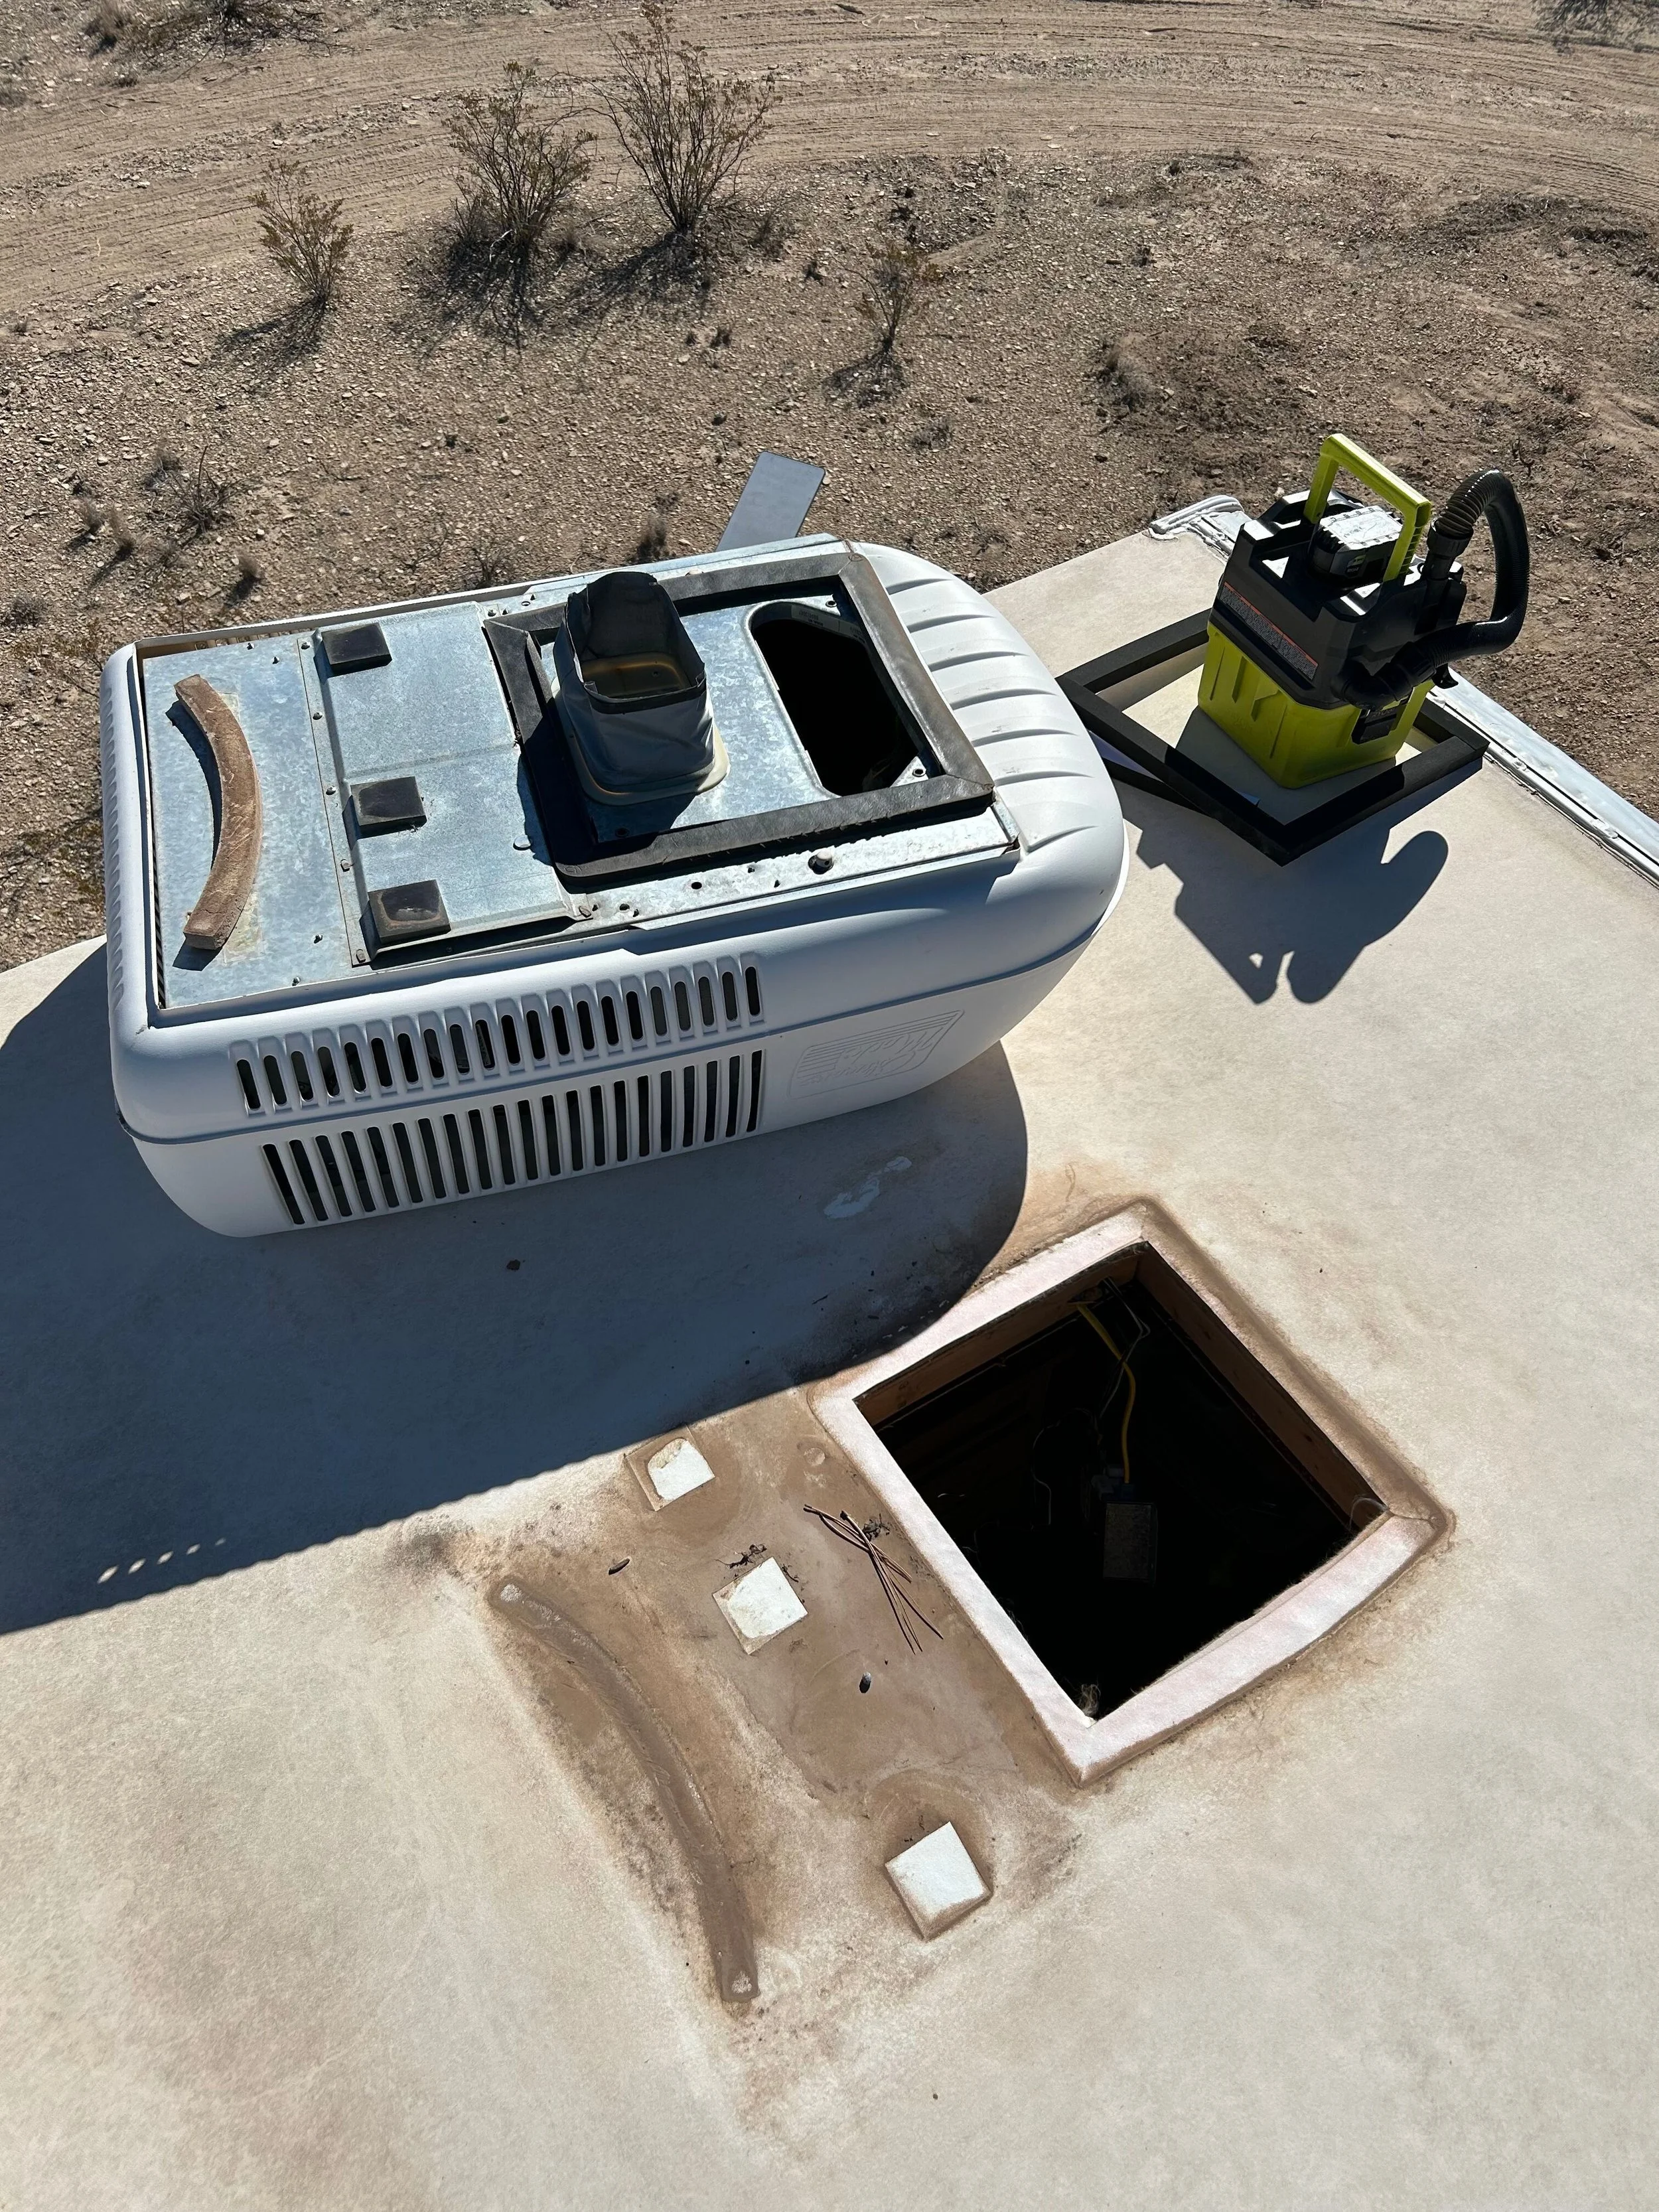
Next, carefully remove the cover. Most covers snap or screw off easily. Use a screwdriver if needed. Keep the screws safe for later. Removing the cover gives full access to the inside parts. This step is key to a thorough cleaning.
Cleaning The Filters
Start by gently pulling out the air filtersfrom the unit. Take care not to damage them while removing. These filters catch dust and dirt, so cleaning them often keeps the air fresh.
Rinse the filters with cool waterto wash away the dust. Avoid using hot water as it can harm the material. Let the water run until the filters look clean.
After washing, place the filters in a dry spot. Allow them to air dry completely before putting them back. Dry filters prevent mold and keep the air conditioner working well.
Cleaning The Coils
First, find the air conditioner’s access panel. This panel is usually on the roof or side of the RV. Remove screws or clips to open it carefully. Inside, you will see the coils. These coils are delicate and need careful handling.
Use a coil cleaner spray made for air conditioners. Spray the cleaner evenly on the coils. Let it sit for a few minutes to loosen dirt and grime. Avoid using harsh chemicals that may damage the coils.
After the cleaner has worked, rinse the coils gently with water. A light spray from a hose works well. Do not use high pressure as it can bend the fins. Allow the coils to dry before closing the panel.
Credit: www.odysseyrvservice.com
Clearing The Drainage System
First, find the drain holeon the RV air conditioner. It is usually located at the bottom of the unit. This hole lets water escape to avoid water buildup.
Clear any dirt or debris around the drain hole. Use a small brush or a cloth to clean the area gently. This helps water flow freely.
Check inside the drain hole for blockages. Use a thin wire or a pipe cleaner to remove any clogs. Be careful not to damage the drain pipe.
Flush the drain hole with water to ensure it is clear. Water should flow out easily without pooling inside the unit.
- Locate the drain hole at the base of the air conditioner.
- Remove dirt and debris around the hole.
- Clear blockages with a wire or pipe cleaner.
- Flush the hole with water to check drainage.
Reassembling The Unit
Carefully place all parts back in their original positions after cleaning. Ensure each screw and component fits securely to avoid damage. Double-check connections before turning the unit on.
Important
Make sure all parts are dry before starting assembly.
Put the filtersback in their slots carefully. Align the fan bladesand motorcorrectly to avoid damage.
Secure the coverfirmly with screws. Tighten all screws evenly to keep the unit stable.
Check the sealaround the edges to stop air leaks. Replace any worn or broken parts to maintain efficiency.
- Reconnect the power cable safely
- Test the unit before closing the RV roof
- Listen for unusual noises during the test

Credit: www.rvacunit.com
Regular Maintenance Tips
Keeping your RV air conditioner clean helps it run smoothly. Dirt and dust can block airflow. This makes the AC work harder and use more energy.
Check the air filter often. Wash or replace it if needed. Clean the evaporator and condenser coils gently with a soft brush or cloth. This removes dirt that can lower cooling.
Clear debris around the outdoor unit. Leaves and twigs can stop air from moving. Make sure the drain is not clogged to avoid water damage.
- Turn off power before cleaning to stay safe.
- Use mild soap and water for cleaning parts.
- Dry all parts well before turning on the AC.
- Schedule regular checks every few months.
Frequently Asked Questions
How Often Should I Clean My Rv Air Conditioner?
Clean your RV air conditioner at least twice a year. Regular cleaning improves efficiency and extends the unit’s lifespan. Before summer and after winter are ideal times to ensure optimal performance and prevent mold or debris buildup.
What Tools Do I Need To Clean An Rv Ac?
You need a soft brush, vacuum cleaner, mild detergent, and spray bottle. These tools help remove dirt, dust, and mold safely. Avoid harsh chemicals that can damage the unit’s components.
Can I Clean The Rv Ac Filter Myself?
Yes, you can clean the filter yourself easily. Remove it, wash with warm soapy water, rinse, and let it dry. Regular filter cleaning improves air quality and cooling efficiency.
Why Is My Rv Air Conditioner Not Cooling Well?
Poor cooling often results from dirty filters or clogged coils. Clean these parts regularly to maintain airflow and cooling power. Also, check for refrigerant leaks or electrical issues.
Conclusion
Cleaning your RV air conditioner keeps it working well and lasts longer. Regular care stops dirt and dust from building up inside. You save money by avoiding costly repairs. A clean AC cools your RV faster and uses less energy.
Take time to clean it before each trip. Small steps make a big difference. Keep your RV comfortable and fresh every time you travel. Simple maintenance brings great results.