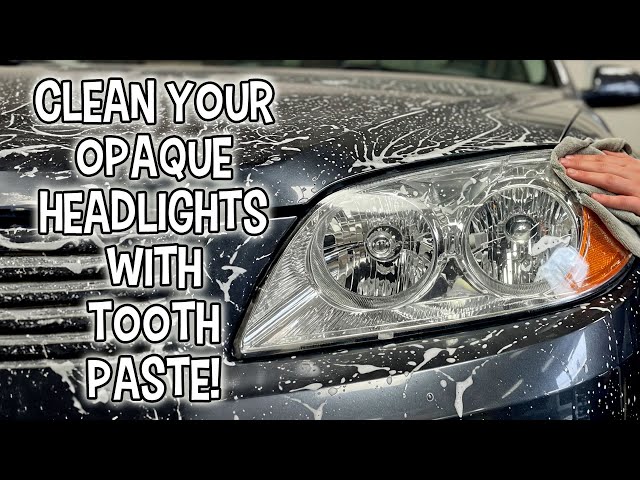
Dull or cloudy headlights can make driving at night dangerous and take away from your car’s sleek look. You might not realize it, but those hazy headlights could also be costing you money.
How? Reduced visibility can lead to accidents or expensive fines. But don’t worry—cleaning your car’s headlights is easier than you might think. In this guide, you’ll discover simple, effective techniques to restore your headlights to their former glory. Imagine driving with crystal-clear lights that not only enhance your car’s appearance but also improve your safety on the road.
Keep reading to learn how you can easily tackle this task and enjoy a brighter, safer driving experience.
Why Clean Headlights Matter
Clean headlights help you see better while driving at night. Dirt and grime can make headlights dim and less effective.
Keeping headlights clean improves your safety and the look of your car. It is a simple task with many benefits.
Impact On Night Visibility
Dirty headlights reduce the light that shines on the road. This makes it harder to see obstacles and road signs at night.
Clear headlights give a stronger and wider beam. This helps you drive safely in dark or bad weather conditions.
Safety Benefits
Clean headlights make your car more visible to other drivers. This lowers the chance of accidents and collisions.
Properly shining headlights help you react faster to hazards. This keeps you and others safe on the road.
- Better visibility for you and others
- Reduced accident risk
- Improved reaction time
Enhancing Vehicle Appearance
Clean headlights make your car look newer and well cared for. Cloudy or yellowed headlights can make a car seem old.
Bright headlights improve your car’s overall look. This can also help maintain the car’s value over time.
Tools And Materials Needed
Cleaning your car’s headlights can improve visibility and safety. Using the right tools makes the job easier and more effective.
Here we list the common supplies and compare DIY methods with commercial kits to help you prepare.
Common Cleaning Supplies
Most headlight cleaning requires simple supplies you may already have at home. These include materials for scrubbing and polishing the lens.
- Water and car soap for initial cleaning
- Sandpaper in various grits (usually 400 to 2000 grit)
- Microfiber cloths to wipe and polish
- Masking tape to protect the car paint
- Plastic polish or toothpaste for polishing
- Spray bottle with water for wet sanding
Diy Vs Commercial Kits
DIY methods use household items and require more effort but cost less. Commercial kits include all parts and instructions for easier use.
| Aspect | DIY Cleaning | Commercial Kits |
| Cost | Low, uses common items | Medium to high, ready-made kits |
| Ease of Use | Needs more time and care | Simple with step-by-step guides |
| Supplies Included | Must buy or find separately | All needed tools and polish included |
| Effectiveness | Good if done carefully | Consistent results with less effort |
Preparing Your Car For Cleaning
Cleaning your car’s headlights makes driving safer at night. Before cleaning, prepare your car properly. This helps protect your vehicle and makes the process easier.
Take time to get the right tools and protect parts of your car near the headlights. Careful preparation prevents damage and saves time.
Washing The Headlights
Start by rinsing the headlights with water to remove loose dirt. Use mild soap and a soft cloth to wash the surface gently. Avoid harsh chemicals that can harm the plastic lens.
- Rinse headlights with clean water
- Apply mild car soap on a soft cloth
- Gently scrub the headlight surface
- Rinse off the soap thoroughly
- Dry with a clean microfiber towel
Protecting Surrounding Areas
Cover the areas around the headlights to avoid damage from cleaning products. Use painter’s tape on the edges and plastic wrap on the car paint near the lights.
- Apply painter’s tape around the headlight edges
- Cover nearby paint with plastic wrap or paper
- Remove jewelry or accessories that might scratch
- Work in a shaded area to prevent quick drying

Credit: www.youtube.com
Step-by-step Cleaning Process
Cleaning your car headlights can improve visibility and make your car look newer. This guide will help you clean headlights safely and effectively.
Follow these simple steps to remove dirt, polish the surface, and protect your headlights from future damage.
Removing Surface Dirt
Start by washing the headlights with soap and water. This removes loose dirt and grime.
Use a soft cloth or sponge to avoid scratching the surface. Rinse thoroughly and dry with a clean towel.
Sanding The Headlights
Wet sanding helps remove the cloudy layer on the headlights. Use fine-grit sandpaper for this step.
Keep the headlight wet while sanding. Sand gently in a circular motion until the surface feels smooth.
- Use 1000 grit sandpaper first
- Then use 2000 grit sandpaper for a smoother finish
- Rinse the headlight often to remove sanding dust
Applying Polish
Apply a polishing compound to restore the shine on your headlights. Use a microfiber cloth to rub the polish in.
Work in small sections using circular motions. Buff until the headlight looks clear and bright.
Sealing For Protection
After polishing, apply a sealant to protect the headlights from UV rays and dirt. This keeps them clear longer.
Use a clean cloth to spread the sealant evenly. Let it dry completely before driving your car.
Tips For Maintaining Clear Headlights
Clear headlights improve your car’s safety at night and in bad weather. Dirt and grime can reduce light and make driving risky.
Regular care helps keep headlights bright and effective. Use simple methods to clean and protect them.
Regular Cleaning Schedule
Set a routine to clean your headlights every two weeks. This removes dirt before it builds up and becomes hard to clean.
- Wash headlights with soap and water
- Dry with a soft cloth to avoid scratches
- Check for cracks or damage
- Use a headlight cleaner if cloudy
Avoiding Harsh Conditions
Harsh weather and chemicals can damage headlights. Avoid parking under direct sun for long hours. Also, steer clear of harsh road salt or cleaning chemicals.
| Condition | Effect on Headlights | Protection Tips |
|---|---|---|
| Strong Sunlight | Fades and yellows plastic | Park in shade or garage |
| Road Salt | Causes corrosion and cloudiness | Rinse headlights regularly |
| Harsh Chemicals | Scratches or dulls surface | Use mild cleaning products only |
Using Protective Coatings
Apply a protective coating to keep headlights clear longer. These coatings guard against UV rays and dirt buildup.
- Choose a UV-resistant sealant
- Follow product instructions for application
- Reapply coating every few months
- Check for damage before applying

Credit: www.carsales.com.au
When To Seek Professional Help
Cleaning headlights can often be done at home using simple tools. Some problems need expert care to fix safely. Knowing when to get help saves time and money.
Professional help is best when damage is serious or hard to reach. They have tools and skills to restore headlights properly.
Severe Damage Indicators
Some signs show your headlights need expert repair. Look for deep cracks, broken parts, or heavy fog inside the lens. These issues reduce light and can be unsafe.
- Large cracks or splits in the headlight cover
- Moisture or water trapped inside the headlight
- Yellowing or cloudiness that won’t improve with cleaning
- Damaged seals or parts that cause leaks
- Headlights not working after cleaning attempts
If you see these signs, a professional can check for hidden damage and fix it safely.
Cost Vs Diy Considerations
Cleaning headlights yourself costs less but may take more time. Professional service costs more but offers better results. Think about your budget and skill level.
- DIY kits cost less but may not fix severe damage
- Professionals use special tools and products
- DIY may risk damaging headlights if done wrong
- Professionals can offer warranty on their work
- Consider how long you want the headlights to stay clear
Choose professional help if your headlights need lasting repair or if you want to avoid risk.

Credit: www.youtube.com
Frequently Asked Questions
How Often Should I Clean My Car Headlights?
Clean headlights every 3 to 6 months to maintain brightness. Regular cleaning prevents dirt buildup and yellowing. Frequent cleaning improves nighttime visibility and overall safety.
What Household Items Can Clean Foggy Headlights?
Use toothpaste or baking soda for mild foggy headlights. These items gently remove oxidation and dirt. Apply with a soft cloth, then rinse with water.
Can I Use A Headlight Restoration Kit At Home?
Yes, restoration kits are designed for easy home use. They include sandpaper, polish, and sealant for clear headlights. Follow instructions carefully for best results.
Why Are My Headlights Turning Yellow Or Cloudy?
Yellowing happens due to UV exposure and oxidation on plastic lenses. Dirt and chemicals can also cause cloudiness. Regular cleaning and sealing prevent this damage.
Conclusion
Cleaning your car headlights keeps them bright and clear. Clear headlights help you see better at night. Dirt and grime reduce light and make driving unsafe. Regular cleaning is simple and saves money on replacements. Use common household items to clean effectively.
Take care of your headlights to improve road safety. Bright lights mean safer trips for you and others. Try cleaning your headlights today for a clearer view.