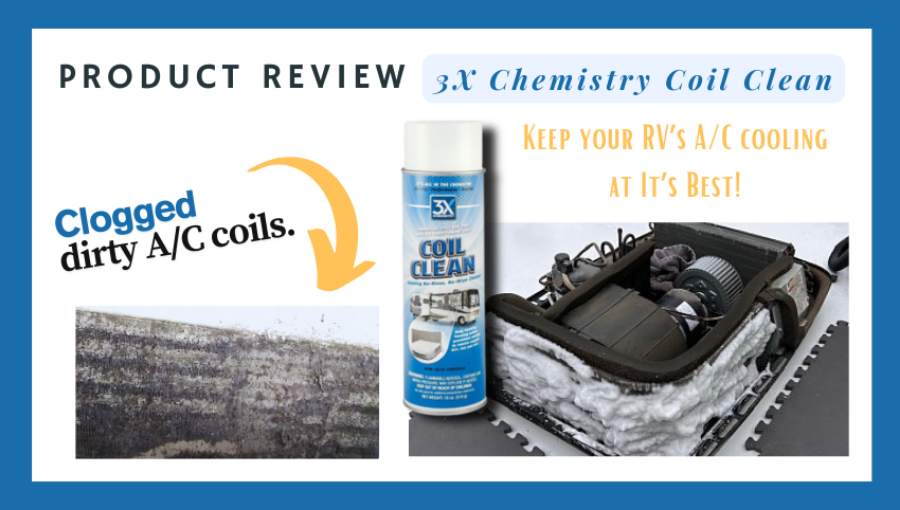
Is your RV air conditioner not cooling like it used to? You might be surprised how much a simple cleaning can boost its performance and save you money.
Keeping your RV air conditioner clean isn’t just about comfort—it helps prevent costly repairs and extends the life of your unit. You’ll discover easy, step-by-step tips to clean your RV air conditioner quickly and effectively. By the end, you’ll know exactly how to keep your system running smoothly no matter where your travels take you.
Ready to get started? Let’s dive in!
Tools And Materials Needed
Gathering the right tools and materialsmakes cleaning an RV air conditioner easier. You will need:
- Screwdriverto open the cover
- Soft brushto remove dust and dirt
- Vacuum cleanerwith a hose attachment
- Spray bottlewith mild soap and water
- Clean clothsfor wiping
- Fin combto straighten bent fins
- Protective glovesto keep hands safe
Keep all these handy before starting. This will help you work smoothly and protect your air conditioner.
Safety Precautions
Always turn off the RV air conditionerbefore cleaning. Unplug it from the power source to avoid electric shock. Wear protective glovesand a mask to keep dust and dirt away from skin and lungs. Work in a well-ventilated areato avoid breathing in dust or cleaning fumes. Use a ladder safely if you need to reach the roof unit. Avoid using water near electrical parts to prevent damage. Check that the air conditioner is completely drybefore turning it back on. Keep children and pets away during cleaning to ensure safety.
Preparing The Rv Air Conditioner
Turn off powerto the RV air conditioner before cleaning. This step ensures safetyand prevents any accidents. Locate the circuit breaker or power switch and switch it off.
Next, remove the coverof the air conditioner carefully. Use a screwdriver if needed. Keep the screws in a safe place to avoid losing them. Gently lift the cover to expose the inside parts. This will help you access the filters and coils for cleaning.

Credit: www.rvacunit.com
Cleaning The Air Filters
The first stepis to carefully remove the air filtersfrom the RV air conditioner. Locate the filter cover and gently pull out the filters. Be sure not to damage them. Handle with care to avoid tearing or bending.
Next, wash the filtersusing warm water and mild soap. Avoid using harsh chemicals that can ruin the material. Rinse thoroughly to remove all soap residues.
Let the filters air dry completelybefore putting them back. Do not use a dryer or direct sunlight, as this can cause damage or shrinkage. Dry filters ensure better performance and clean air flow.
Cleaning The Evaporator Coils
Start by checking the evaporator coilsfor dirt, dust, or mold. Dirty coils reduce cooling power.
Use a coil cleanermade for air conditioners. Spray it evenly over the coils. Let it sit for a few minutes. This helps break down grime and buildup.
Rinse the coils gently with water. Avoid using high pressure to prevent damage. Make sure all cleaner is washed off.
Allow the coils to dry completely before turning the AC back on. Clean coils help your RV stay cool and save energy.

Credit: www.rvacunit.com
Clearing The Drain Pan And Drain Line
First, find the drain panunder the air conditioner unit. It collects water that drips from the cooling coils. Clear out any leaves, dirt, or debrisfrom the pan to stop clogging and water overflow.
Next, clean the drain lineto ensure water flows freely. Use a small brush or a pipe cleaner to remove blockages inside the line. Then, flush the drain line with water or a mix of water and mild vinegar to clear any remaining dirt or mold.
Regular cleaning of the drain pan and line helps prevent water damageand keeps your RV air conditioner running smoothly.
Cleaning The Condenser Coils
Locate the condenser unit on the outside of your RV. Remove any covers or panels to reach the coils. Be gentle to avoid damaging parts.
Clear away leaves, dirt, and other debris. This helps the air conditioner work better and last longer.
- Use compressed air to blow dust off the coils.
- Alternatively, use a soft brush to gently clean the surface.
Always clean in the direction of the fins. This prevents bending or damage.
Reassembling And Testing
Place the cover backsecurely on the air conditioner. Make sure all clips or screws are fastened tightly to prevent air leaks.
Restore power by plugging the unit back into the power source. Turn on the main switch to check if the unit powers up correctly.
Run a performance check by turning on the air conditioner. Listen for unusual noises and check if cold air flows smoothly. Ensure the fan and compressor work well.
- Check that the unit cools the RV effectively.
- Watch for any water leaks or drips.
- Confirm the controls respond properly.
Regular Maintenance Tips
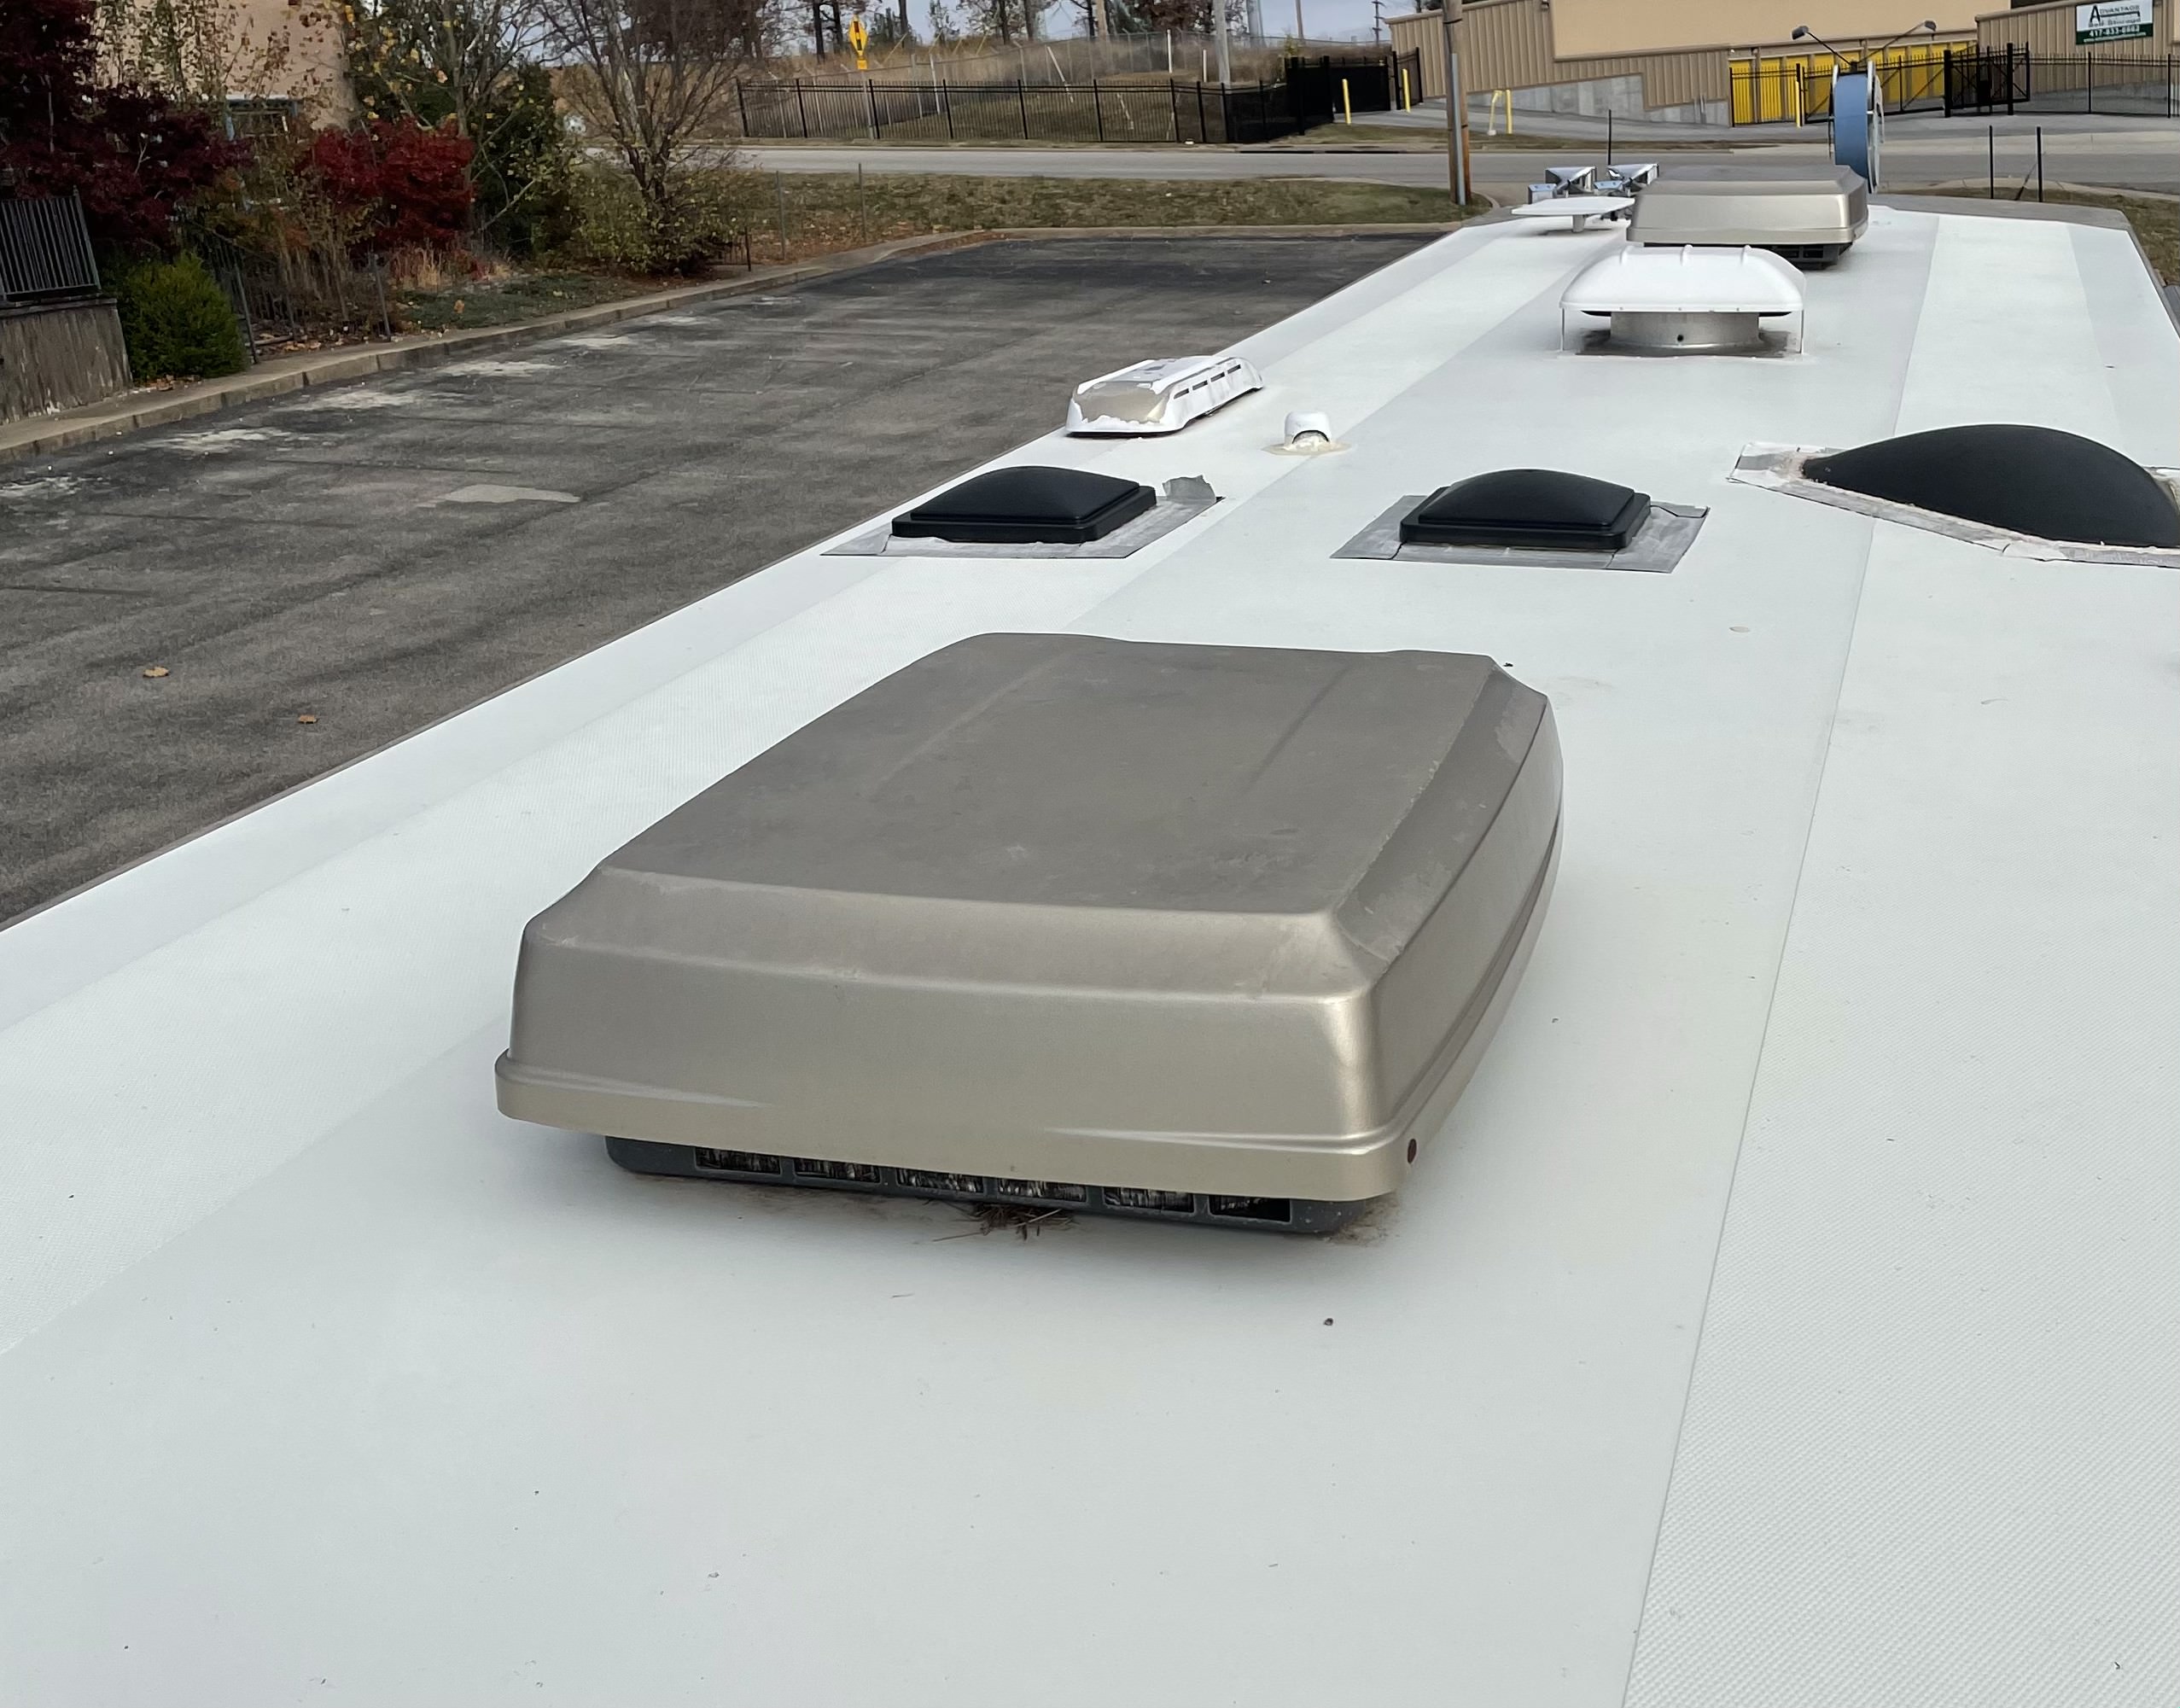
Cleaning your RV air conditioner regularly keeps it running well. Schedule cleaning before each trip or at least once a season. This helps avoid dirt buildup and bad smells.
Check the filters every month. Dirty filters block airflow and make the AC work harder. Wash or replace filters to keep the air fresh and cool.
Look closely for leaks around the unit. Leaks can cause water damage and reduce cooling power. Fix any leaks quickly to protect your RV.
Credit: rvhelp.com
Frequently Asked Questions
How Often Should I Clean My Rv Air Conditioner?
It’s recommended to clean your RV air conditioner at least twice a year. Regular cleaning ensures efficient operation and prolongs the unit’s lifespan. If you use your RV frequently, consider cleaning it every three months to maintain optimal performance and air quality inside your vehicle.
What Tools Do I Need To Clean An Rv Ac?
To clean your RV air conditioner, you’ll need a screwdriver, soft brush, vacuum cleaner, and mild detergent. These tools help you remove dust and debris effectively. Additionally, a garden hose can be helpful for rinsing coils. Ensure you have all necessary items before starting the cleaning process.
Can I Clean The Air Conditioner Filters Myself?
Yes, you can clean RV air conditioner filters yourself. Remove the filters and gently wash them with warm, soapy water. Rinse thoroughly and let them dry completely before reinstalling. Regular filter cleaning improves air quality and ensures efficient operation. It’s an easy task that enhances your RV experience.
What Are Signs My Rv Ac Needs Cleaning?
If your RV air conditioner blows warm air or makes unusual noises, it needs cleaning. Reduced airflow and unpleasant odors are also indicators. Regular maintenance helps prevent these issues, ensuring a comfortable environment inside your RV. Don’t ignore these signs to avoid costly repairs and inefficiency.
Conclusion
Cleaning your RV air conditioner keeps it working well and saves money. Regular care stops dust and mold from building up inside. A clean unit cools better and uses less energy. Take time to check and clean filters and coils often.
Simple steps help your RV feel cooler and fresher. Keep your AC in good shape for all your trips. A little effort goes a long way to comfort and peace.