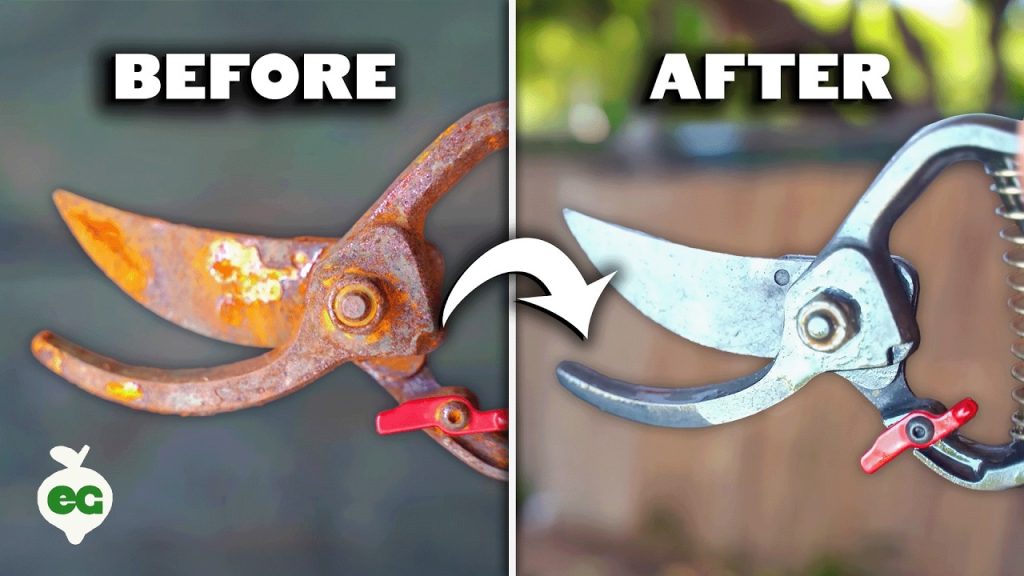
If you want your shears to work smoothly and last longer, keeping them clean is key. Dirty blades can cause rough cuts, rust, and even damage your plants or projects.
But cleaning shears doesn’t have to be a chore. You’ll discover simple, effective steps to get your shears sparkling clean and ready for action. Stick with me, and you’ll learn easy tips that save you time and protect your tools – making every cut precise and effortless.
Ready to transform your shears? Let’s dive in!

Credit: www.jpscissors.com
Choosing The Right Shears
Choosing the right shears is important for easy cleaning and long use. Different shears suit different tasks. Knowing the types and materials helps you pick the best one.
Good shears stay sharp and resist rust. This makes cleaning faster and keeps them safe to use.
Types Of Shears
Shears come in many types for cutting plants, fabric, or hair. Each type has a shape that fits its job.
- Pruning shears: for cutting small branches and plants.
- Fabric shears: sharp blades made for cloth.
- Hair shears: thin blades for smooth hair cuts.
- Kitchen shears: strong for cutting meat and vegetables.
- Garden shears: large blades for trimming hedges.
Materials And Uses
Shears are made from different materials. Each material affects how strong and easy to clean the shears are.
| Material | Use | Cleaning Tips |
| Stainless steel | All types, resists rust | Wipe dry after cleaning |
| Carbon steel | Sharp and strong blades | Oil blades to prevent rust |
| Titanium coated | Long-lasting sharpness | Clean gently to keep coating |
| Plastic handles | Lightweight and comfortable | Wash with mild soap |
| Rubber grips | Non-slip hold | Dry well to avoid damage |
Gathering Cleaning Supplies
Cleaning your shears is important to keep them sharp and working well. You need the right supplies before you start.
This guide will help you find the essential tools and cleaning agents for the job.
Essential Tools
Having the correct tools makes cleaning shears easier and safer. These tools help remove dirt and rust.
- Soft cloth or microfiber towel
- Small brush or old toothbrush
- Screwdriver or hex wrench (if your shears have screws)
- Protective gloves
- Container for soaking blades
Recommended Cleaning Agents
Use gentle and effective cleaning agents to protect your shears from damage. Avoid harsh chemicals.
| Cleaning Agent | Purpose | Notes |
| Warm Soapy Water | Remove dirt and sap | Use mild dish soap |
| Rubbing Alcohol | Disinfect blades | Helps prevent rust |
| WD-40 or Light Oil | Lubricate and protect | Apply sparingly |
| Baking Soda Paste | Remove rust spots | Mix with water to form paste |
Disassembling The Shears
Cleaning your shears properly starts with taking them apart. This helps remove dirt from all parts. Disassembling also makes it easier to inspect and maintain the blades and screws.
Follow simple steps to safely take your shears apart. Keep track of each piece to avoid losing parts or damaging the tool.
Safety Precautions
Always protect yourself and your shears before disassembly. Careless handling can cause injury or harm the tool.
- Wear gloves to avoid cuts from sharp blades.
- Work on a clean, flat surface with good light.
- Keep small parts away from children and pets.
- Use the correct screwdriver to prevent slipping.
- Do not force parts if they do not come apart easily.
Step-by-step Guide
Follow these steps carefully to take your shears apart without damage.
- Hold the shears firmly and locate the pivot screw in the center.
- Use a screwdriver to loosen the pivot screw by turning it counterclockwise.
- Once loose, gently separate the two blades.
- Remove any washers or springs and place them safely aside.
- Inspect each part for damage or rust before cleaning.
| Part | Action |
| Pivotal Screw | Loosen and remove carefully with a screwdriver |
| Blades | Separate gently to avoid bending |
| Washers | Take off and keep safe for reassembly |
| Springs | Remove and check for wear or damage |

Credit: www.jpscissors.com
Removing Dirt And Residue
Cleaning your shears regularly keeps them sharp and safe to use. Dirt and residue can build up on the blades and handles. This buildup can cause the shears to work poorly.
Removing dirt helps prevent rust and keeps the shears in good condition. Use simple cleaning methods to make your shears last longer.
Soaking And Scrubbing
Soak your shears in warm, soapy water to loosen dirt. Use mild dish soap to avoid damage. Let them soak for 10 to 15 minutes.
After soaking, scrub the blades gently with a soft brush or sponge. This removes stuck-on dirt and residue. Avoid hard scrubbing to protect the blade finish.
- Fill a bowl with warm water and mild soap
- Place shears in the water for 10-15 minutes
- Use a soft brush to scrub dirt away
- Rinse shears with clean water
- Dry thoroughly with a soft cloth
Using Brushes And Cloths
Use small brushes to clean hard-to-reach spots on your shears. A toothbrush works well for tight areas. Soft cloths help wipe off loose dirt and moisture.
Always dry your shears after cleaning. Use a dry cloth to prevent rust. Clean handles and joints to keep shears working smoothly.
- Choose a soft toothbrush or small cleaning brush
- Brush along the blades and between joints
- Wipe blades with a clean, dry cloth
- Make sure no moisture remains
- Store shears in a dry place after cleaning
Sharpening The Blades
Keeping your shears sharp is important for clean cuts. Sharp blades make cutting easier and safer.
Regular sharpening helps your shears last longer. It also keeps your plants healthy by preventing damage.
Choosing A Sharpening Tool
Pick a tool that fits your skill and the type of shears you have. Some tools work better for certain blades.
Common sharpening tools include stones, files, and electric sharpeners. Each has its own use and care needs.
- Sharpening stones are good for fine edge control.
- Metal files are simple and easy to use.
- Electric sharpeners save time but need careful handling.
Sharpening Techniques
Hold the blade at the right angle while sharpening. Usually, this is between 20 and 30 degrees.
Use smooth, even strokes to sharpen the edge. Sharpen only one side if your shears have a beveled edge.
- Clean the blade before sharpening to remove dirt.
- Sharpen in one direction, not back and forth.
- Check sharpness often to avoid over-sharpening.
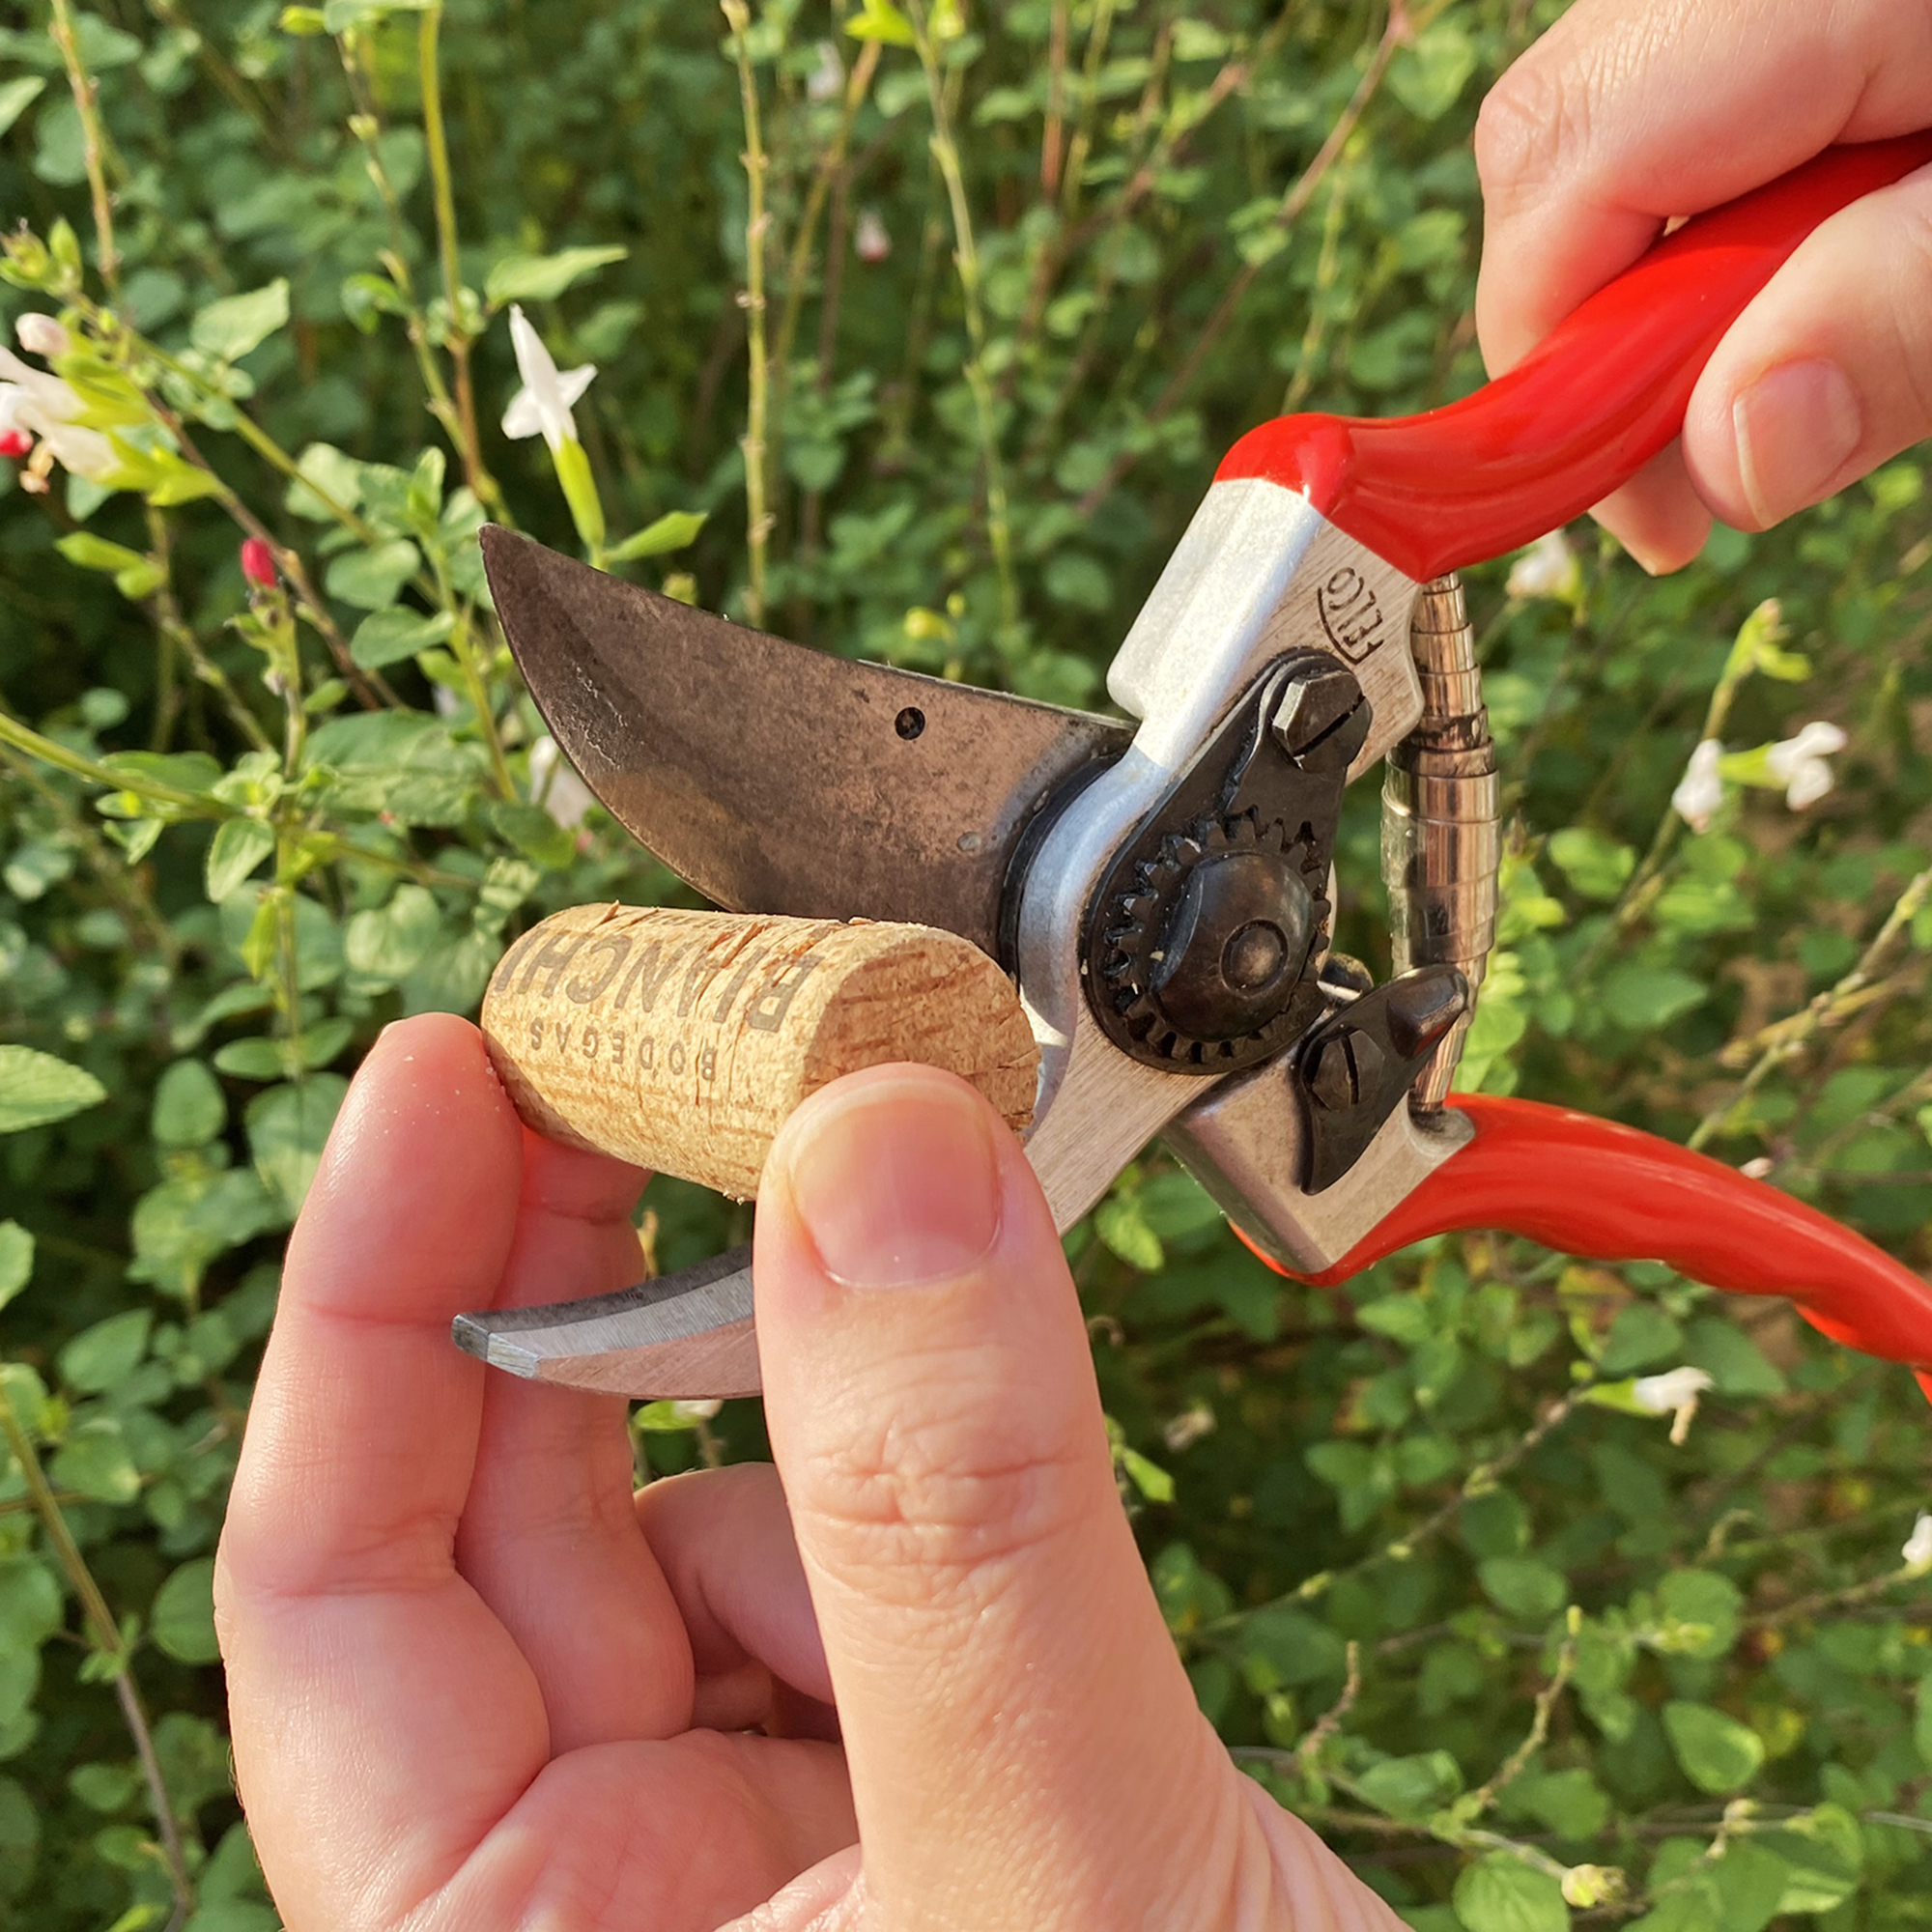
- After sharpening, wipe the blade with oil to prevent rust.
Credit: www.gardeningknowhow.com
Lubricating Moving Parts
Keeping shears in top condition requires regular lubrication. This helps them move smoothly and last longer.
Lubricating moving parts reduces friction and prevents rust. It ensures your shears work effectively.
Types Of Lubricants
Different lubricants can be used for shears. Choose the right one for best results.
- Oil: Common and easy to find.
- Grease: Good for heavy-duty shears.
- Silicone spray: Protects and lubricates.
Application Tips
Applying lubricant correctly is important. It helps keep the shears in good shape.
Always clean the shears before applying lubricant. This removes dirt and old oil.
- Apply a few drops of oil on the pivot point.
- Use a cloth to spread the lubricant evenly.
- Move the blades to ensure even distribution.
Reassembling And Testing
After cleaning your shears, putting them back together carefully is important. Testing them ensures they work well.
Follow simple steps to reassemble your shears correctly. Then check if the blades are aligned for smooth cutting.
Proper Assembly
Start by placing the blades back in their correct positions. Make sure the pivot screw or bolt fits tightly but not too tight.
Check that all parts, like springs and washers, are in place before tightening the screw. This helps the shears open and close smoothly.
- Place blades in the right order
- Insert washers and springs properly
- Tighten the pivot screw firmly but gently
- Test the shears opening and closing
Blade Alignment Check
Good blade alignment is key for sharp cutting. Misaligned blades cause rough cuts and damage the shears.
Look closely at the blade edges. They should line up evenly without gaps or overlaps along the cutting edge.
- Hold the shears open and examine blade edges
- Make sure edges meet evenly along the entire blade
- Adjust the pivot screw if blades do not line up
- Test cut a piece of paper to confirm smooth cutting
Storing Shears Properly
Keeping your shears clean is important, but storing them correctly matters too. Proper storage helps your shears last longer and work better.
Storing shears the right way protects them from damage and keeps them sharp for your next use.
Preventing Rust
Rust can ruin your shears quickly. Make sure your shears stay dry before storing them. Wipe off any moisture with a clean cloth.
You can also use a light layer of oil on the blades. This stops rust and keeps the blades moving smoothly.
- Dry shears completely after cleaning
- Apply a small amount of oil to blades
- Use rust-preventing sprays if needed
Safe Storage Options
Store shears in a safe place to avoid accidents and damage. Keep them out of reach of children and pets.
Use cases or holders designed for shears. These protect blades and keep shears organized.
- Use a blade cover or sheath
- Store shears in a dry toolbox or drawer
- Keep them separate from other tools
Maintaining Shears Regularly
Keeping your shears clean helps them last longer and work better. Dirt and sap can build up on the blades. Regular cleaning stops damage and keeps cuts smooth.
Simple care steps can protect your shears from rust and wear. Check them often to catch problems early. This saves time and money on repairs.
Cleaning Schedule
Set a regular time to clean your shears. After each use is best to remove sap and dirt. A deep clean once a month keeps them in top shape.
- Wipe blades with a damp cloth after use.
- Use soapy water or rubbing alcohol to remove sticky sap.
- Dry blades completely to prevent rust.
- Apply a light coat of oil to the blades and pivot.
- Sharpen blades if you notice dullness.
Signs Of Wear To Watch
Check your shears for these common signs of wear. Spotting them early helps you fix problems quickly.
| Sign | What It Means | Action Needed |
| Dull Blades | Harder to cut cleanly | Sharpen blades |
| Loose Pivot | Blades wobble or separate | Tighten pivot screw |
| Rust Spots | Blade corrosion | Clean rust and oil blades |
| Sticky Blades | Sap or dirt buildup | Clean with alcohol or soap |
| Cracks or Chips | Blade damage | Replace shears if severe |
Frequently Asked Questions
How Often Should I Clean My Shears?
Clean your shears after every use to prevent rust and buildup. Frequent cleaning maintains sharpness and extends their lifespan. Regular care ensures better performance and hygiene.
What Materials Do I Need To Clean Shears?
Use warm water, mild soap, a soft cloth, and rubbing alcohol. A small brush helps remove debris. Lubricate blades with oil after cleaning for smooth operation.
Can I Use Household Cleaners On Shears?
Avoid harsh household cleaners as they can damage blades. Stick to mild soap and water or specialized blade cleaners. This protects the metal and preserves blade sharpness.
How Do I Prevent Rust On Shears?
Dry shears thoroughly after cleaning to prevent moisture buildup. Apply a light coat of oil to blades regularly. Store shears in a dry, safe place to avoid rust.
Conclusion
Cleaning shears keeps them sharp and working well. Regular care stops rust and damage. Wipe blades after each use to remove dirt. Use oil to keep blades smooth and quick. Tighten screws if blades feel loose. Store shears in a dry place to avoid rust.
Clean shears last longer and cut better. Simple steps make your tools ready anytime. Your shears will stay safe and strong with care. Easy cleaning saves money and time in the long run.