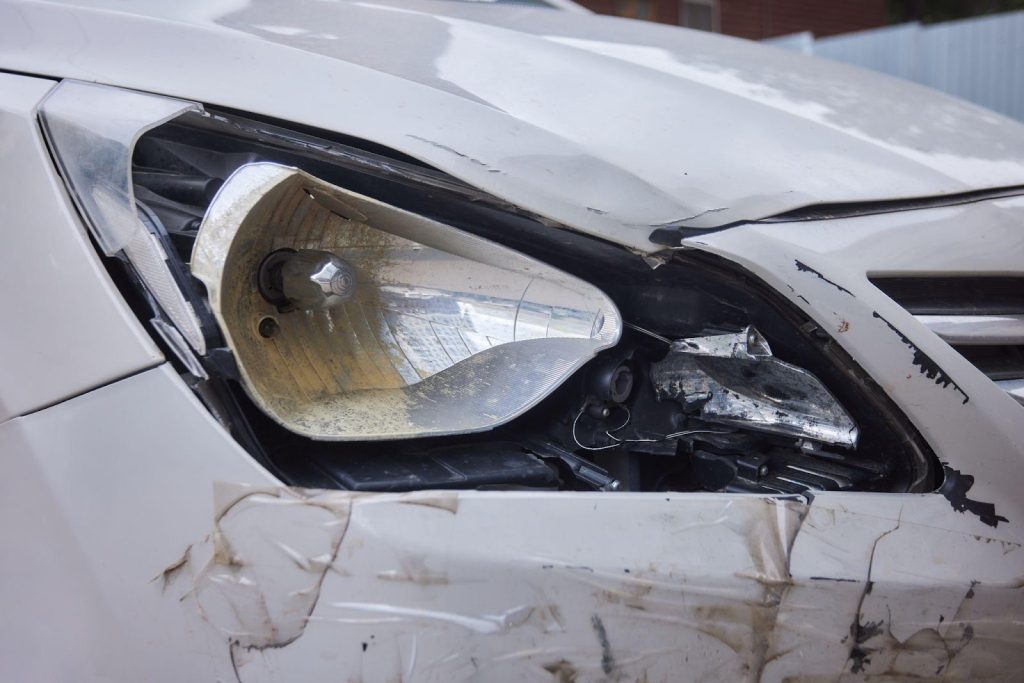
Are your car headlights looking foggy or dim? This can make driving at night harder and less safe.
Cleaning the inside of your headlights can bring back their shine and improve your visibility on the road. But you might wonder, how do you even get inside those sealed lights? Don’t worry—you’re about to learn simple, effective steps to clean your headlights from the inside.
By the end of this article, you’ll know exactly what to do to make your headlights clear and bright again. Keep reading to discover the easy tricks that can save you money and boost your car’s appearance and safety.

Credit: www.carsales.com.au
Tools And Materials Needed
Cleaning the inside of car headlights requires the right tools and materials. Using proper supplies makes the job easier and safer.
Gather all necessary items before starting. This will save time and help you clean more effectively.
Essential Cleaning Supplies
These supplies help remove dirt, grime, and moisture inside the headlights. Each item has a specific role in the cleaning process.
- Microfiber cloths for gentle wiping
- Mild soap or car-safe cleaner
- Distilled water to avoid spots
- Small soft brush to reach corners
- Silica gel packets to absorb moisture
- Screwdriver or socket set to open headlight casing
- Plastic or rubber gloves to protect hands
Optional Protective Gear
Wearing protective gear keeps you safe while cleaning. It also prevents damage to car parts and skin.
| Protective Gear | Purpose |
| Safety glasses | Protect eyes from dust and cleaner splashes |
| Face mask | Avoid inhaling dust or fumes |
| Protective gloves | Shield skin from chemicals and dirt |
| Old clothes or apron | Keep clothing clean from splashes |
Preparing Your Car
Cleaning the inside of your car headlights needs careful preparation. You must protect yourself and your vehicle before starting.
This guide focuses on how to get your car ready for safe and easy headlight cleaning inside.
Parking And Safety Measures
Find a flat, stable surface to park your car. This prevents any movement while you work on the headlights.
- Switch off the engine and remove the keys.
- Engage the parking brake to keep the car still.
- Make sure the headlights are cool to touch before cleaning.
- Wear gloves to protect your hands from dirt and sharp parts.
- Keep a flashlight or work light nearby for better visibility.
Accessing The Headlight Assembly
Open the hood and locate the back of the headlight assembly. You may need tools to remove covers or screws.
| Tool | Purpose |
| Screwdriver | Remove screws holding the headlight cover |
| Socket wrench | Detach bolts securing the headlight |
| Plastic pry tool | Carefully remove clips without damage |
| Microfiber cloth | Clean surfaces inside the assembly |
Removing The Headlight Housing
Cleaning the inside of car headlights often needs you to remove the headlight housing. This lets you access the inside parts easily. Removing the housing requires care to avoid damage.
Before starting, make sure you have the right tools and a clean workspace. Follow simple steps to remove the housing safely.
Locating Screws And Clips
Headlight housings are held by screws and clips. These keep the housing secure on the car. You need to find all of them before removal.
Look around the headlight for small screws and plastic clips. Some may be hidden under the hood or near the bumper.
- Check the top and sides of the headlight
- Look inside the engine bay near the headlight
- Inspect under the bumper or wheel well if needed
- Use a flashlight to see hard-to-reach spots
Careful Detachment Techniques
After locating screws and clips, remove them carefully. Use the correct screwdriver or tool to avoid stripping screws. Take your time to avoid breaking clips.
Gently pull the headlight housing away from the car. If it feels stuck, check for missed screws or clips. Do not force it to prevent damage.
- Use a screwdriver to remove screws slowly
- Use a plastic pry tool to loosen clips without damage
- Hold the housing firmly while pulling it out
- Check again if the housing does not move easily

Credit: www.carsales.com.au
Cleaning The Inside Surface
Cleaning the inside of car headlights helps improve light clarity. Dirt and moisture can reduce visibility while driving.
It is important to clean the inside surface carefully to avoid damage. Use the right tools and techniques for best results.
Choosing The Right Cleaner
Select a cleaner that removes dirt without harming the plastic or glass. Avoid harsh chemicals that can cause damage.
Use mild soap solutions or special headlight cleaning products made for the inside surface. These are safe and effective.
- Mild dish soap mixed with water
- Isopropyl alcohol (diluted)
- Commercial headlight interior cleaners
- Avoid ammonia-based cleaners
- Do not use abrasive powders or solvents
Techniques For Removing Dirt And Moisture
Open the headlight housing carefully to access the inside surface. Remove dirt with a soft cloth or sponge.
For moisture, use a dry cloth or air blower to remove water. Avoid using heat directly on the plastic to dry it.
- Use a microfiber cloth to wipe dirt gently
- Spray cleaner lightly and wipe clean
- Use compressed air to dry moisture
- Allow the headlight to air dry fully before sealing
- Reassemble parts carefully to prevent leaks
Drying And Reassembling
After cleaning the inside of your car headlights, drying and putting them back together is key. This step stops moisture and dirt from returning.
Take your time to ensure all parts are dry and secure. A proper reassembly keeps your headlights working well and looking clear.
Ensuring Complete Dryness
Moisture inside the headlight can cause fogging and damage. Make sure the inside is totally dry before reassembly.
- Use a clean, dry microfiber cloth to wipe all surfaces.
- Leave the headlight open in a warm, dry place for at least 2 hours.
- Use a hairdryer on low heat to speed up drying if needed.
- Check for any remaining damp spots before closing the headlight.
- Allow extra time if you see condensation inside the glass.
Reinstalling The Headlight Housing
Putting the headlight housing back correctly is important for a tight seal and proper function.
| Task | Tip |
|---|---|
| Align the housing | Match all clips and screws carefully before tightening |
| Secure screws | Use a screwdriver to tighten screws evenly, avoid over-tightening |
| Reconnect wiring | Plug all wires firmly back into place without forcing |
| Test the headlight | Turn on the lights to check if they work properly |

Credit: www.youtube.com
Preventing Future Build-up
Cleaning car headlights is important for safety. Keeping them clean helps you see better at night.
Stopping dirt and moisture from building up inside headlights keeps them clear longer. This saves time and effort.
Sealing Tips
Good sealing stops water and dust from entering headlights. Check seals after cleaning to keep them tight.
Use silicone sealant made for cars. Apply it around edges where the headlight lens meets the housing.
- Remove old sealant before applying new
- Let the sealant dry fully before driving
- Check seals yearly for cracks or gaps
Regular Maintenance Practices
Clean headlights often to stop dirt build-up. Use a soft cloth and mild soap for cleaning.
Check headlights for moisture inside. If you see fog, dry them quickly to prevent damage.
- Wash headlights when you clean your car
- Dry headlights after rain or washing
- Inspect seals and lenses for damage monthly
Frequently Asked Questions
How Do You Open Car Headlights To Clean Inside?
To clean inside, first disconnect the battery. Remove the headlight assembly carefully. Some models require removing screws or clips. Follow your car manual for specific instructions. Avoid damaging wiring or seals during removal.
What Materials Are Needed To Clean Inside Headlights?
You need microfiber cloths, mild soap, and water. Use a soft brush for stubborn dirt. A sealant may help prevent fogging. Avoid harsh chemicals that can damage the lens or housing. Always use gentle, non-abrasive tools.
Can Moisture Inside Headlights Be Cleaned Effectively?
Yes, moisture can be removed by drying the inside. Use a hairdryer or silica gel packets to absorb moisture. Ensure the headlight is resealed properly to prevent future condensation. Regular checks help maintain clear headlights.
How Often Should I Clean Inside My Car Headlights?
Clean inside headlights every 1-2 years or when fogging appears. Regular maintenance improves visibility and headlight lifespan. Check for cracks or damage during cleaning. Prompt cleaning ensures optimal light performance and safety.
Conclusion
Cleaning car headlights improves visibility and safety. Regular maintenance is key. Dust, grime, and moisture reduce brightness. Use simple tools like soap, water, and a cloth. Vinegar and baking soda help too. Polish for a clear finish. Stay consistent with cleaning.
Bright headlights ensure safer night drives. Now, you can handle it easily at home. Better headlights, better driving experience. Keep them clean and clear for all journeys. It’s simple, effective, and keeps your car looking great. Safe travels!